Free Crochet Cat Coaster Amigurumi Pattern
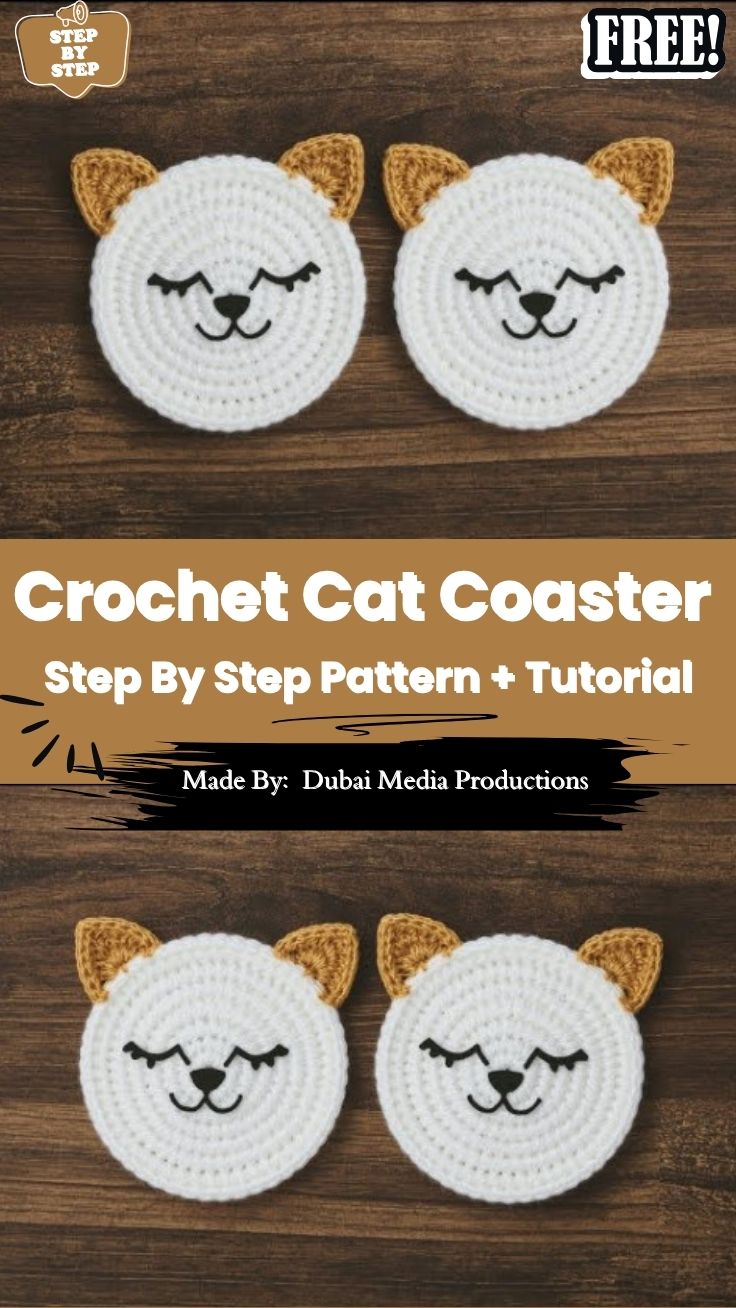
Two pointed ears and a little stitched face turn a plain flat circle into something you actually want to set your mug on. This free crochet cat coaster amigurumi pattern keeps things simple: no stuffing, no tricky 3D shaping just a round base two small ears and a few embroidery stitches.
Because it is worked flat it is a friendly project if you are still getting comfortable with rounds and increases. It uses very little yarn so leftover cotton from other projects is perfect here. Make one for your desk a set for the kitchen or a stack to sell at your next craft fair.
Crochet Cat Coaster Overview
This coaster brings together two skills most crocheters already have: the flat circle and small shaped pieces. The base grows outward from a magic circle, the ears are crocheted as separate triangles and sewn on, and embroidery adds the face at the end.
- Skill level: Beginner-friendly
- Time: About 45 to 60 minutes per coaster once your tension feels steady, face included
- Finished size: Around 4 inches (10 cm) across the base, before the ears. Your yarn, hook and tension will move this a little, so check it against a real mug before you make a whole set.
Style and Look
The finished piece reads as a round cat face with two triangle ears poking up from the top edge. Color does most of the work here. Orange tabby, sleek black, soft gray or cream all look clearly like a cat once the ears go on.
Materials
- Yarn: Worsted weight (US #4) cotton or cotton blend. Cotton gives good stitch definition and handles warm mugs well.
- Colors: One main color for the face and ears, plus a small amount of contrast yarn or embroidery floss for the eyes, nose and mouth.
- Hook: 4 mm to 5 mm, matched to your yarn. A slightly smaller hook gives a firmer fabric that lies flatter.
- Notions: Tapestry needle, stitch marker, scissors, pins, and a flat surface or mat for blocking.
- Optional: Felt or non-slip fabric for the back.
Yardage is small, but it changes with your tension. If you plan to make a matching set, finish one coaster first and see how much yarn it took before buying more.
Abbreviations
- MC – magic circle
- sc – single crochet
- inc – increase (2 sc in the same stitch)
- dec – decrease (sc 2 together)
- sl st – slip stitch
- st(s) – stitch(es)
Before You Start
A coaster has one job: lie flat. So make a few test rounds with your yarn and hook and put them on the table. If the edge lifts into a bowl shape, you need more increases or a looser hand. If it waves like a ruffle, you have too many increases or your stitches are too loose for the hook. Adjust before you start the real piece.
Work in continuous spiral rounds instead of joining each round. This keeps the face smooth with no seam line running across it. Place a stitch marker in the first stitch of every round and move it up as you go.
Step-by-Step Cat Coaster Pattern
Step 1: Crochet the Base Circle
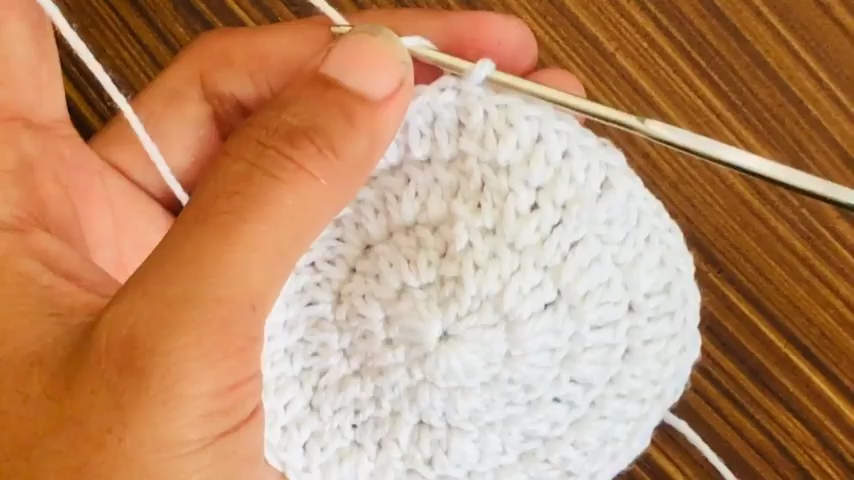
Work 6 sc into a magic circle and pull the ring closed tightly. In the next round, increase in every stitch to double the count to 12.
From there, follow the classic flat circle method: add 6 increases per round and spread them evenly around. That gives you 18, then 24, then 30 stitches, and so on. Keep going until the circle measures about 4 inches across. The video tutorial below shows the exact number of rounds used for this coaster.
Tip: Stagger where you place the increases each round instead of stacking them in the same spot. Stacked increases pull the circle into a hexagon.
Put the piece flat on the table every two rounds. If you catch a cup or ripple early, you only undo two rounds, not the whole base. Count your stitches before moving to the next round, too, because one missed stitch early on grows with every increase round after it.
Step 2: Block the Base
Block the circle before adding anything to it. Pin it flat, mist it lightly with water, and let it dry completely. If it still domes a little, hold a steam iron just above the yarn without touching it, then leave it pinned until fully dry.
Doing this now, before the ears and face go on, keeps the ears from getting bent out of shape.
Step 3: Shape the Cat Ears
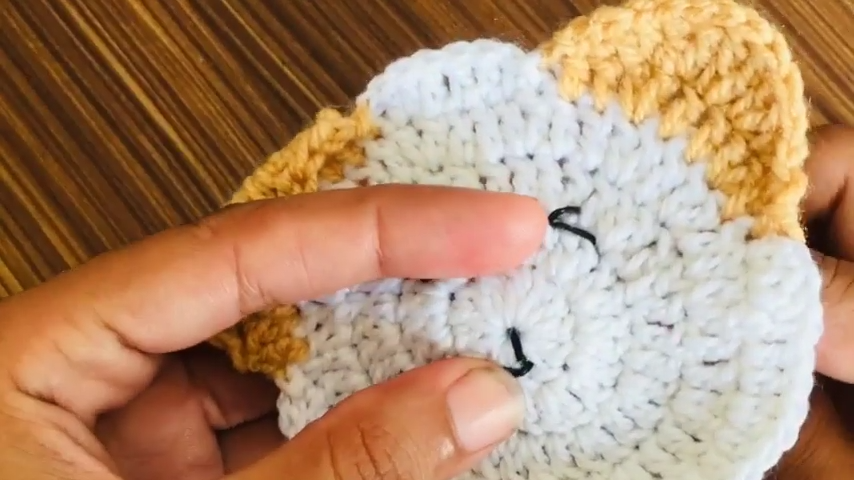
Each ear is a small triangle that narrows to a point. Follow the video for the starting stitch count and the decrease rhythm, since the ear size is matched to this base.
Make both ears in the same sitting with the same hook and the same stitch counts. Ears made on different days often come out different sizes, even when the counts match, because tension shifts.
Step 4: Attach the Ears
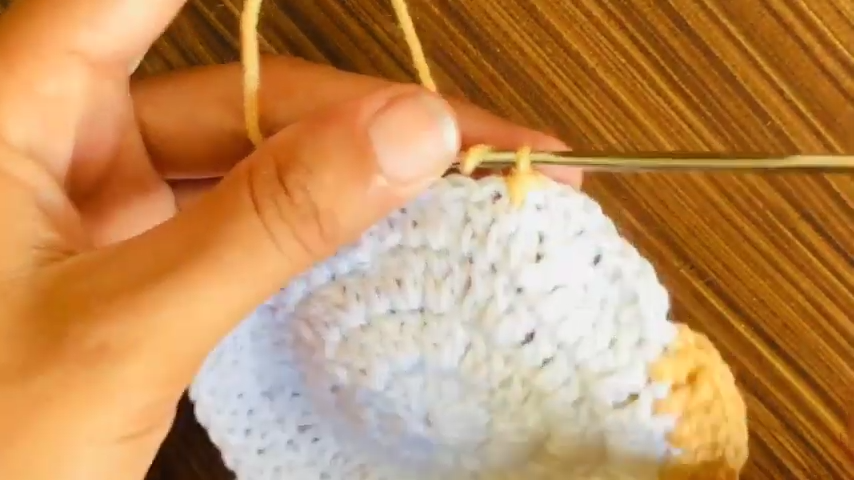
Pin both ears along the top edge of the circle before sewing. Step back and check that they sit at the same height and angle, with an equal gap from the center. Whip stitch along the bottom of each ear, then weave the ends into the back so nothing pulls loose with daily use.
Step 5: Add the Face Details
Embroider the eyes, nose and mouth with contrast yarn or floss. Find the center of the circle first, then count stitches outward the same number on each side, so the eyes line up evenly.
Embroidery is the best choice for a coaster, since it stays flat and a mug sits evenly on top. Safety eyes add a bump that can make cups wobble, so skip them here.
If you want color patches, like an eye patch or a muzzle, you can change color while working the base. Finish the last stitch before the new color by pulling the new yarn through the final two loops. That keeps the switch clean.
Step 6: Finish the Edge (Optional)
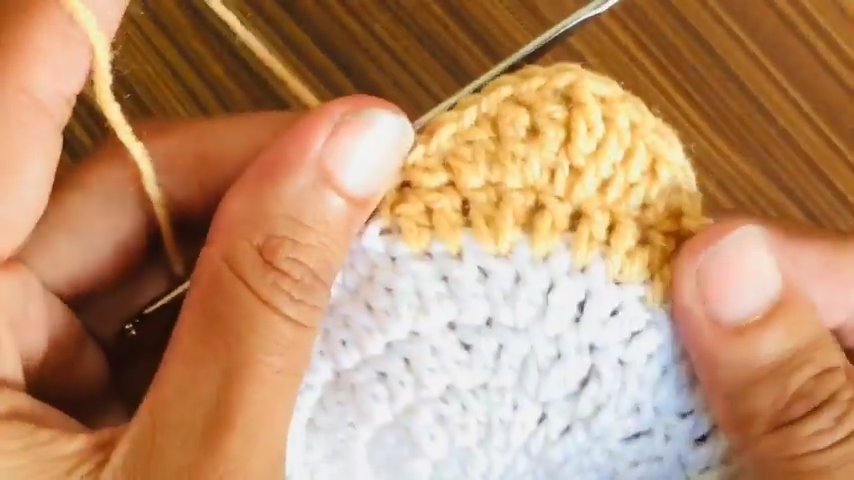
One round of slip stitch or reverse single crochet around the outer edge tidies the outline and makes the edge more durable, since that part gets handled the most. For a coaster that stays put on glass or glossy wood, glue or stitch a thin circle of felt or non-slip fabric to the back.
Watch the Video Tutorial
If you learn best by watching, play the full tutorial before you start. It walks through every stage of the crochet cat coaster amigurumi, from the magic circle and flat base to attaching the ears and stitching the face.
Keeping a Set the Same Size
Write down the stitch count of every round on your first coaster. Then follow that same list for each coaster after it, with the same hook and the same number of rounds. Put two finished coasters on top of each other to check. It is the quickest way to spot one that has grown or shrunk.
Troubleshooting Common Problems
- The coaster cups up like a bowl: There are not enough increases for the size of the circle, or your stitches are pulling tight. Check your counts first, then try a hook half a millimeter bigger.
- The edge ripples or waves: There are too many increases, or your stitches are loose. Recount the outer rounds and try a hook half a millimeter smaller.
- The ears do not match: Usually the stitch counts or tension were different. Hold them together, and redo the one that looks off so it matches the other.
- The face looks crooked: The features were placed without finding the center. Remove the embroidery, mark the center stitch, and count outward evenly on both sides.
- A step shows where rounds begin: This is normal in spiral rounds. Finish the last round with a slip stitch into the next stitch to smooth it out.
Care Tips
Cotton coasters can be hand washed in cool water and dried flat. Press out the water gently instead of wringing, then reshape and let it dry. If you used acrylic, keep very hot mugs off it for long stretches, because steady heat can flatten the stitch texture over time.
Coaster Set Gift Wrapping Ideas
- Stack and tie: Stack four coasters in different cat colors and tie them with a ribbon or a length of matching yarn, finished with a small bow on top.
- Mug bundle: Tuck one coaster under a plain mug and fill the mug with tea bags or hot cocoa packets.
- Clear pouch: Slip a set into a clear cellophane bag so the faces show, and add a handwritten tag.
- Card backing: Stitch each coaster lightly to a square of kraft card with a care note on the back. This works well for craft fair tables.
- Theme pairing: Add a small cat keychain to the package for a cat lover who wants the full set.
For that last idea, the crochet cat face keychain and the tropical kitty keychain both make quick add-ons. If a dog lover is on your list too, the small dog scarf coaster pairs nicely with this cat.
Styling Ideas
A set of four to six coasters in colors that go together, without matching exactly, looks more charming than identical copies. Try pulling colors from your kitchen, like sage and cream or terracotta and black, so the coasters feel like part of the room. A single coaster also looks sweet under a candle or a small plant on a shelf.
FAQs
Does gauge matter for a cat coaster?
Exact gauge matters less than steady tension. What counts is that your circle lies flat and all the coasters in a set come out the same size.
Can I use acrylic yarn instead of cotton?
Yes. Cotton holds its shape better under warm mugs and soaks up drips, but acrylic works fine for a decorative coaster or one used with cold drinks.
Why does my coaster curl up at the edges?
An edge that curls up into a bowl usually means too few increases or tight stitches. Check that you are adding 6 stitches each round, and try a slightly bigger hook if the counts are right.
Can I use safety eyes?
You can, but embroidered eyes are the better choice. They stay flat, so your mug sits level, and they hold up better to washing.
A Whiskered Welcome for Every Mug
Once the base lies flat, the rest is the fun part. The ears go on, the face appears in a few stitches, and suddenly a scrap of cotton is looking back at you from the table. Make one in black, one in ginger, and one in gray, and you will have a little cat family ready for tea time.