Colorful Crochet Fish Amigurumi With Flowing Fins
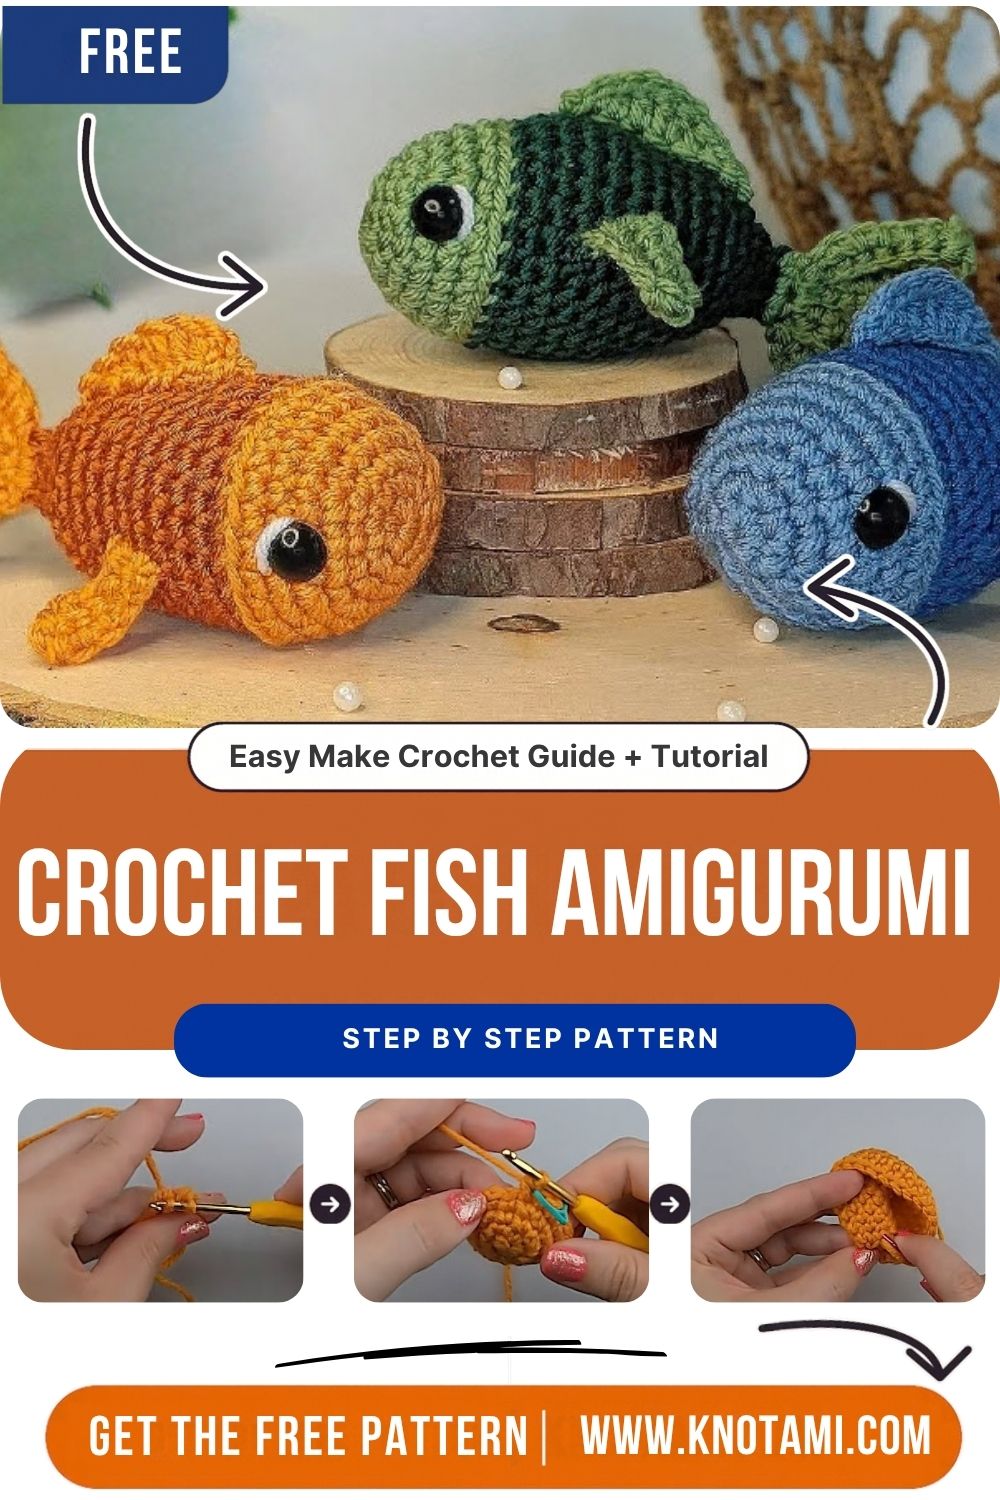
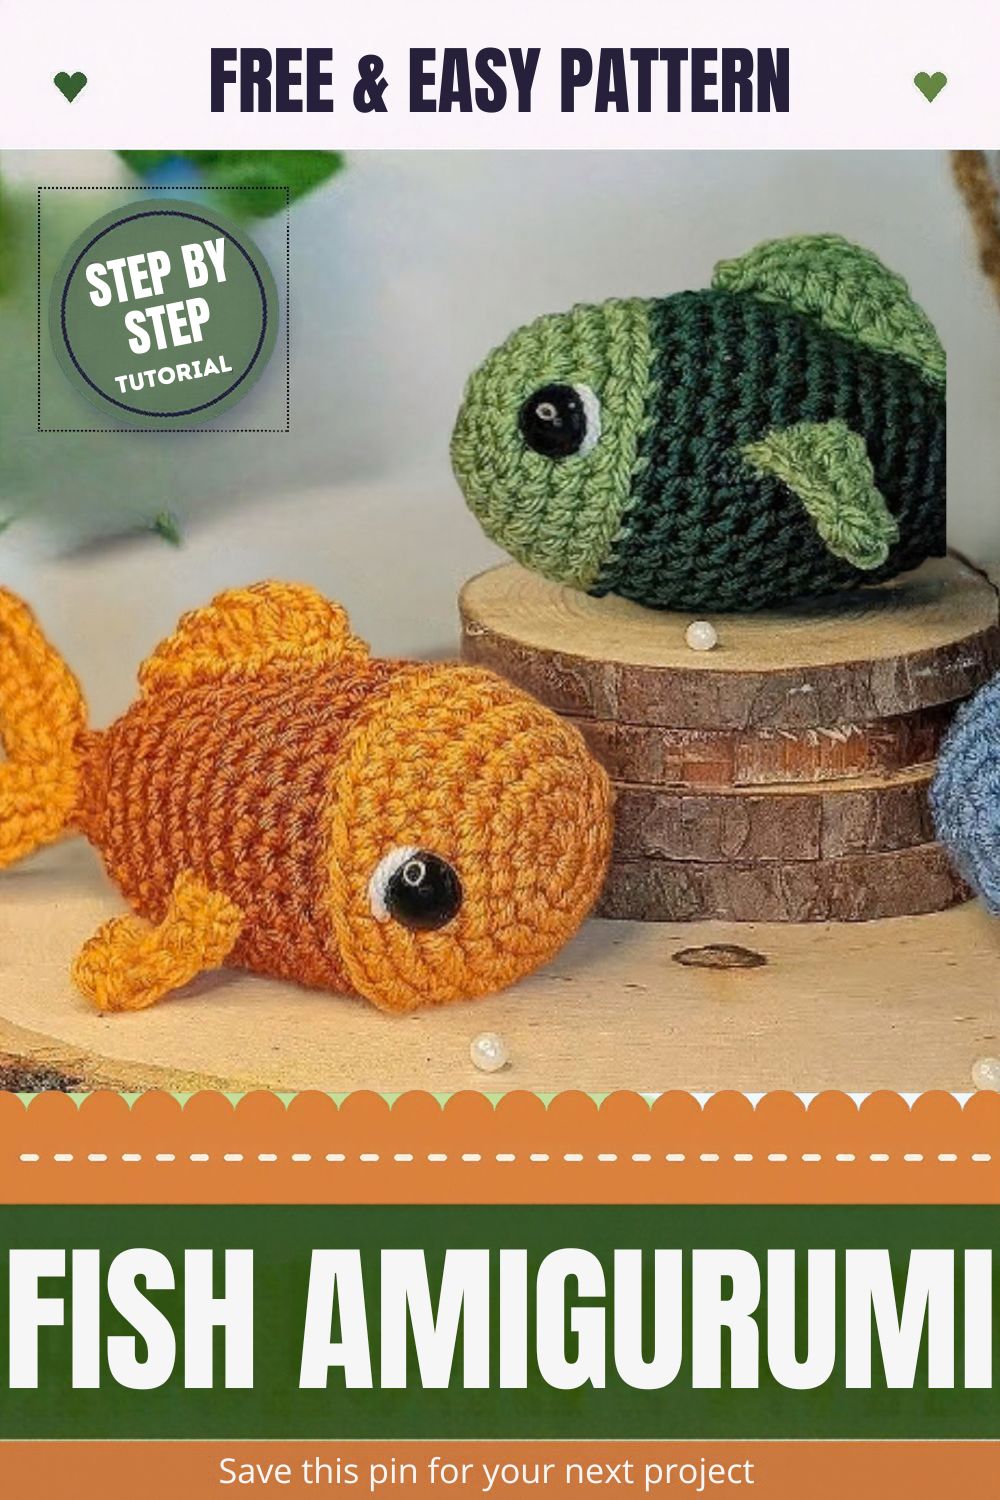
A golden head blends into a burnt-orange body, and a fan of curly strips trails behind in the Colorful Crochet Fish Amigurumi With Flowing Fins. Although the plush fits in one hand, its flowing tail gives it plenty of movement.
You work the head and body as one stuffed piece, starting at the nose, so the color shifts from gold to a deeper orange as you go. The fins, on the other hand, are made separately and sewn on last. Each stage below comes with a photo, from safety eyes and stuffing to fin placement, so your finished goldfish sits balanced.
Crochet Fish Amigurumi Pattern Overview
The fish has three parts: a rounded gold head, a tapered orange body worked straight on from the head, and a set of gold fins. After stuffing, you sew on a top fin, two side fins, and a tail made of several curled strips.
Apart from the fins, everything is worked in continuous spiral rounds. So the project suits a confident beginner who already knows the magic ring, increases, and decreases.
Materials You’ll Need
- Worsted-weight (medium #4) acrylic yarn in gold and a deeper orange
- Crochet hook suited to your yarn (3.5 to 4 mm is common for tight amigurumi)
- A pair of black safety eyes with washers
- Stitch marker
- Polyester fiberfill
- Tapestry needle and scissors
- Optional: white felt or yarn for an eye highlight
Unsure what counts as medium #4 yarn? The Craft Yarn Council’s yarn weight chart lists each category along with suggested hook sizes.
Abbreviations (US Terms)
- MR: magic ring
- sc: single crochet
- inc: 2 sc in the same stitch
- dec: single crochet two together
- sl st: slip stitch
- st(s): stitch(es)
Time Box
- Prep: about 10 minutes to wind yarn and gather notions
- Stitching: roughly 2 to 3 hours for the head, body, and fins
- Finishing: 30 to 45 minutes for stuffing, sewing, and shaping the tail
These times are estimates, so expect them to shift with your speed and yarn.
Tips Before You Start
Crochet more tightly than you would for a blanket, because amigurumi fabric has to hide the stuffing. If a test swatch shows gaps when you stretch it gently, drop down a hook size.
Also, keep a marker in the first stitch of every round. Since spiral rounds have no visible seam, losing your place is the fastest route to a lopsided head.
How to Crochet a Fish Amigurumi Step by Step
1. Start the Head in Gold
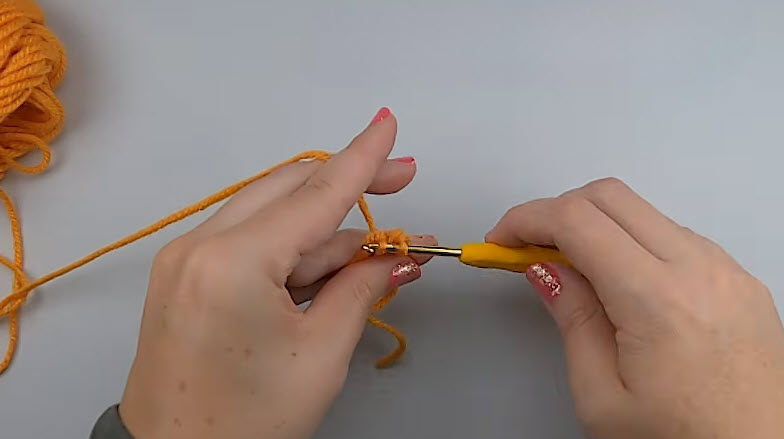
First, make a magic ring with the gold yarn and work 6 sc into it. The stitches will bunch together on the hook at first, which is normal. Then pull the tail snug to close the center before you move on, since a loose ring leaves a hole at the fish’s nose.
2. Grow the Head in Rounds
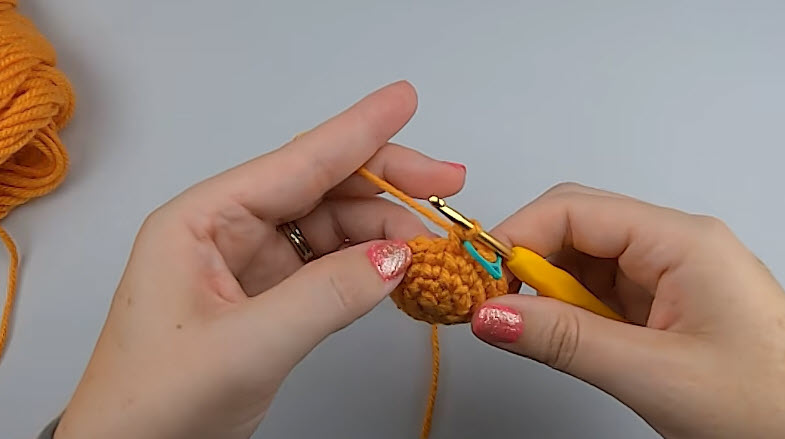
Next, increase evenly in each round to build a flat circle. After that, work even rounds so the edges start to cup upward. Keep moving the marker up into the first stitch of every round as you go.
Stitch check: count at the end of every increase round, because one missed inc throws off the curve of the whole head.
3. Check the Head Shape
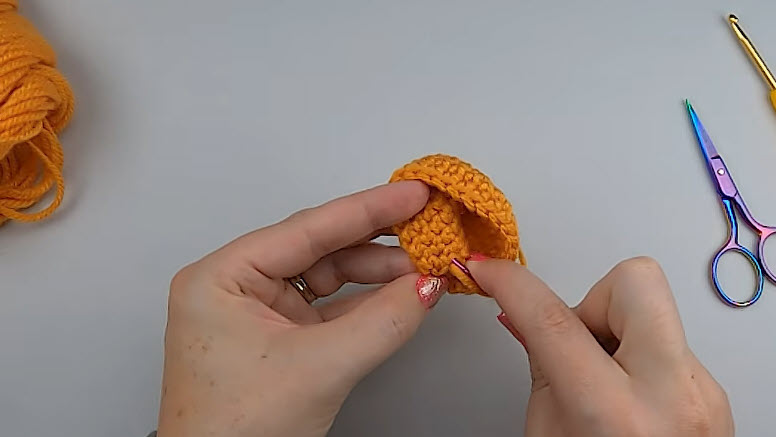
Once the sides rise, the head should look like a deep, rounded cup. To test it, push a finger inside and press outward. The stitches should close up evenly; however, if holes appear, go down a hook size for the rest of the fish.
Before the eyes go in, turn the piece so the right side (the smooth “V” stitches) faces out.
4. Insert the Safety Eyes
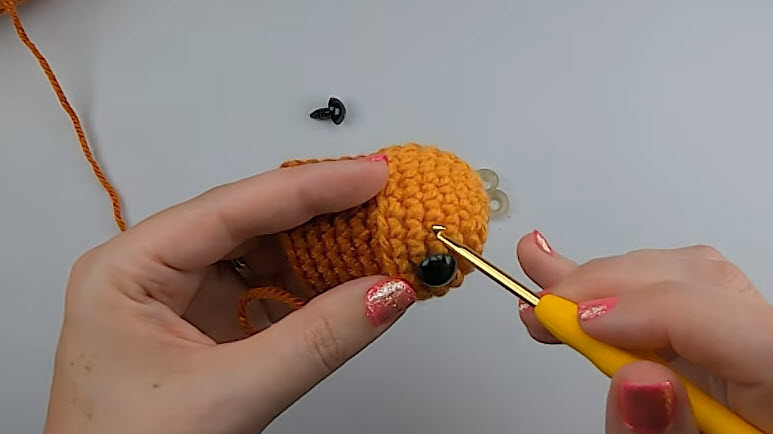
Place the first eye on one side of the head, and then use your hook tip to find the matching spot on the other side. To keep the eyes mirrored, count rounds from the nose and stitches from the center line on both sides.
Pro tip: push the posts through and look at the fish head-on before you snap the washers in place, since locked washers are nearly impossible to remove.
When you’re happy with the placement, secure both washers from the inside before any stuffing goes in.
5. Switch to Orange for the Body
Change to the deeper orange on the final yarn over of the last gold stitch. Then keep working in rounds from the open edge. Work even rounds to lengthen the body, and afterward start decreasing gradually so it tapers toward the tail.
Color note: a small jog at the color line is normal in spiral rounds, so plan the change to fall on the underside of the fish, where it stays hidden.
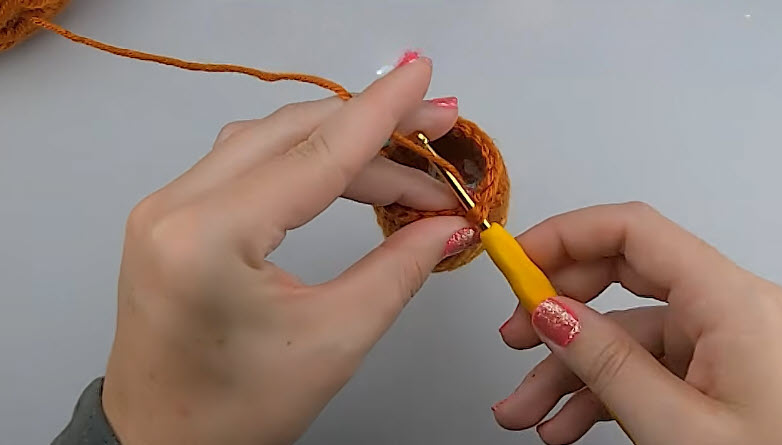
6. Stuff and Close the Tail End
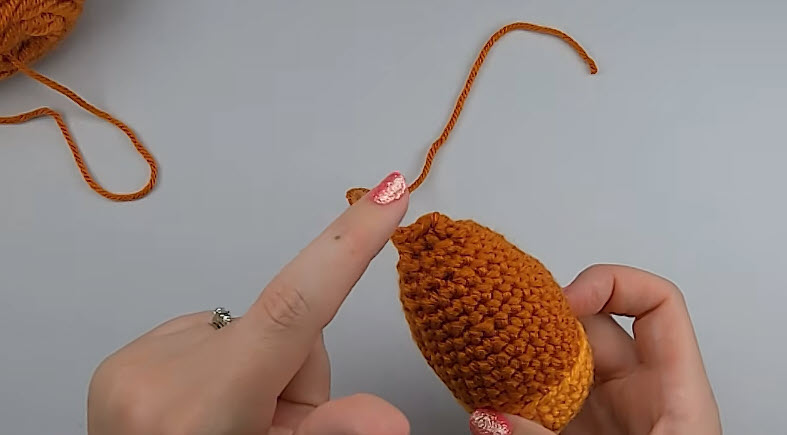
Stuff the head firmly first, and then add fiberfill as the body narrows. If you wait until the opening is tiny, the head becomes hard to fill evenly.
Next, decrease until the end comes to a point. Fasten off and leave a long yarn tail, because it helps anchor the tail fin later.
Shape check: roll the body on the table. It should feel firm all the way to the point, without any flat spots.
7. Make and Sew On the Fins
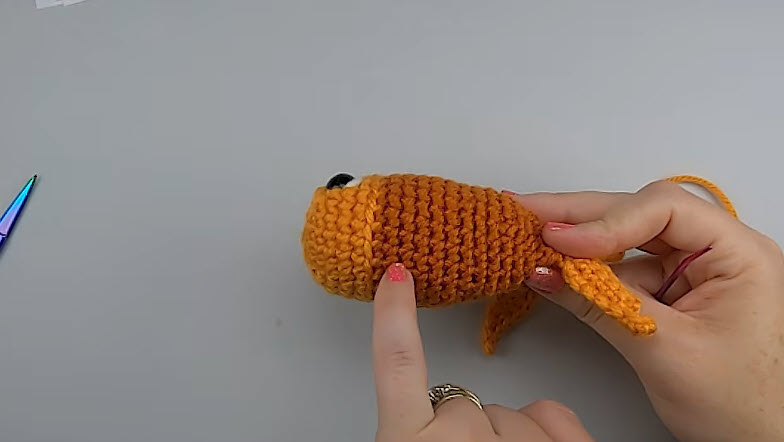
Crochet the side fins, top fin, and tail strips in gold. For the tail, work several stitches into each chain of a foundation so the strips curl (the tail section below explains how to adjust the curl). Before sewing, pin every fin in place. Each side fin sits low on the body just behind the head, while the tail fin attaches at the pointed end.
Then sew with small stitches through both the fin edge and the body surface. Pull each stitch snug so the fins stand out instead of drooping.
8. Check the Finished Fish
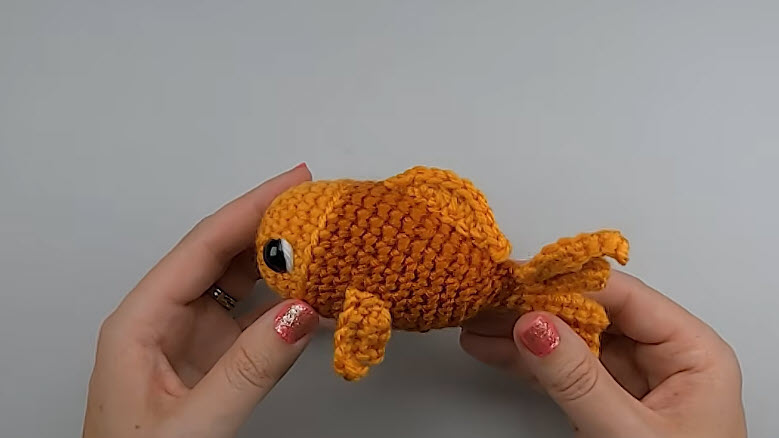
At this stage, your goldfish has a curved top fin along its back, side fins angled slightly back, and a spray of curly tail strips. If you used the optional white felt or yarn, a small highlight also frames each eye.
Balance check: set the fish on its belly. If it rolls, adjust the side fin angles or add a pinch of stuffing to the lighter side.
Common Crochet Fish Amigurumi Mistakes
- Eyes at different heights: count rounds from the nose on both sides before you lock the washers.
- Gaps at the color change: tighten the first two orange stitches right after you switch.
- Soft tail end: stuff in small pieces, and then push each one in with the back of the hook.
- Drooping fins: sew along the full fin base rather than at just one or two points.
Ways to Personalize Your Goldfish
Koi Coloring
Swap the orange for white, and then add small red patches with surface slip stitch.
Clownfish Stripes
Alternatively, work orange and white stripes on the body and give the fins black edges.
Mini Keychain Version
For a smaller fish, use sport-weight yarn and a smaller hook, then add a key ring at the top fin. If you enjoy tiny makes, the crochet red panda keychain works on the same idea.
Embroidered Eyes
For a toddler-friendly fish, replace the safety eyes with black yarn embroidery.
How to Make the Tail Curl and Hold Its Shape
The twisted look of the tail comes from how the strips are built. When you crochet several stitches into each chain of a foundation, the extra fabric has nowhere to go, so it spirals.
- For tighter curls, add more stitches per chain.
- For looser waves, use fewer stitches or a slightly larger hook.
- Give every strip the same stitch count so the tail looks even.
- Before attaching, stitch the strips together at the base so they fan out as one unit.
If a curl turns out too tight, hold a light steam above the strip without pressing it. Use short bursts, though, since steam can relax acrylic for good.
Bonus: Display and Gift Ideas
A single goldfish looks sweet on a shelf, but a small group makes a bigger impression. For example, stitch one plain goldfish, one koi, and one clownfish, then line them up in a shallow basket or clear glass bowl.
For gifting, tuck the fish into a small gift bag with a handwritten tag. The keychain version also fits nicely into a stocking or a party favor bag. If the fish is going to a young child, choose the embroidered-eye option before you start.
Crochet Fish Amigurumi FAQs
Is the crochet fish safe for babies?
Safety eyes are not recommended for children under 3. Instead, embroider the eyes and sew the fins on securely.
Can I make the fish in one color?
Yes. Simply skip the color change and work the whole body in one shade, because the shaping stays the same.
Why does my tail lie flat?
Most likely, the strips need more stitches per chain. For details, see the tail-curl section above.
What yarn works best for amigurumi fish?
Smooth worsted-weight acrylic or cotton works best, since it shows the stitches clearly and holds its shape.
Time to Start Your Yarn Aquarium
Once the fins are set and the tail is fanned out, your goldfish is ready for a shelf, a nursery basket, or a gift bag. After the shaping clicks, try a koi or clownfish version and slowly fill a little yarn aquarium. For another friendly critter, the easy crochet baby duck makes a quick pond companion, while the cute snake amigurumi pattern uses the same tapered, spiral-round body. You can also browse more critters in the Animals & Pets collection.