Free Crochet Sitting Bunny Keychain Pattern
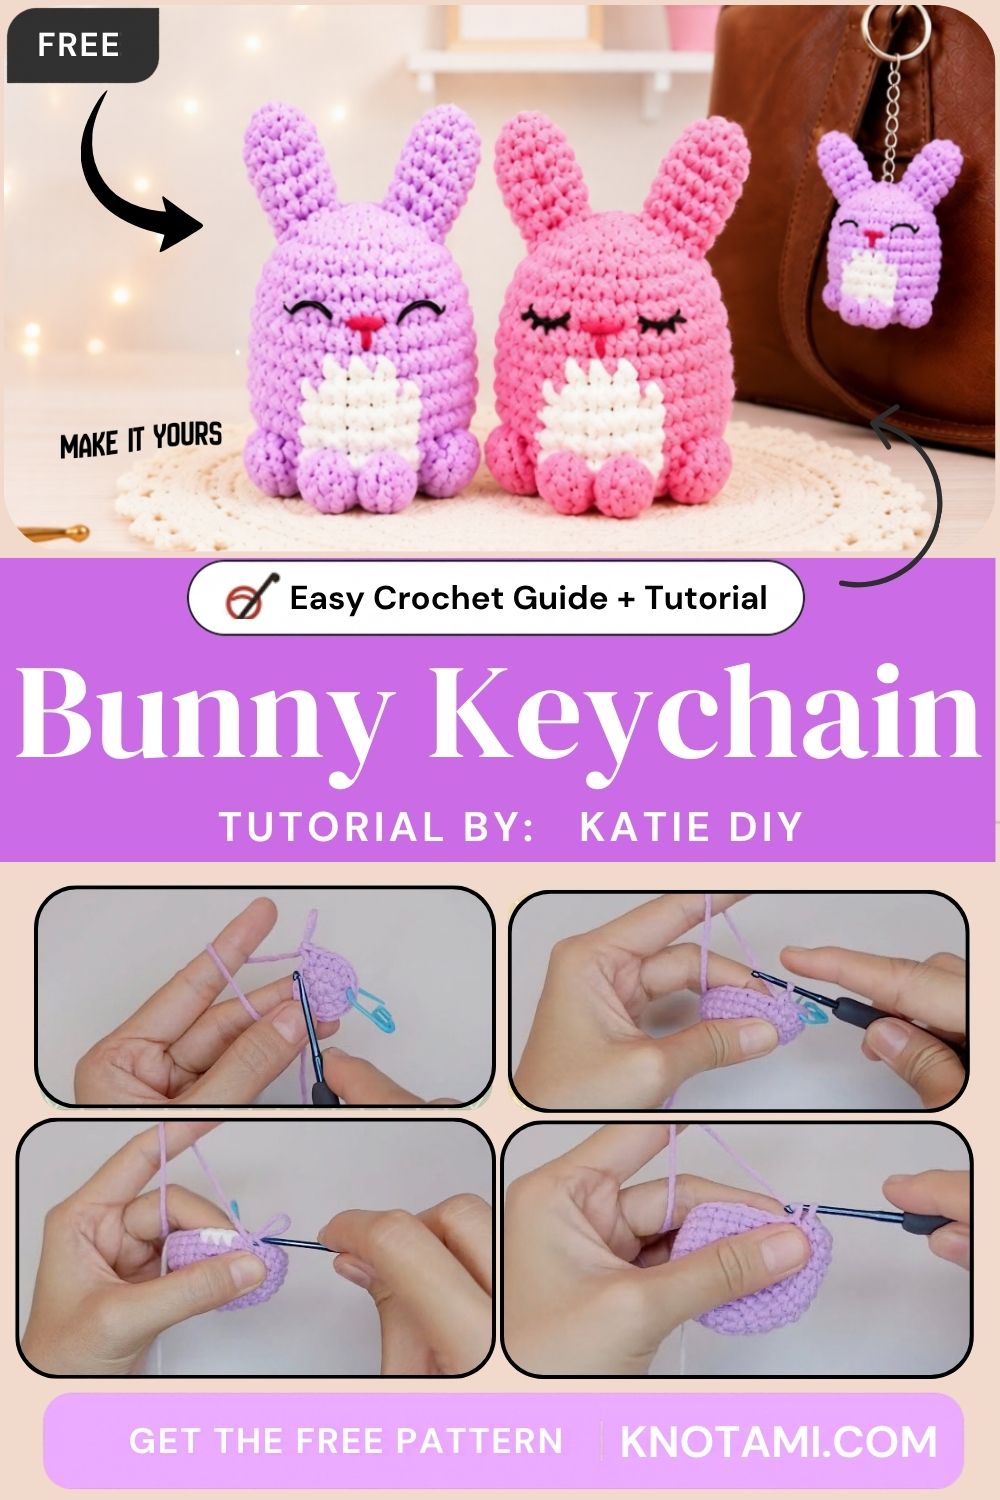
Sleepy stitched eyes, two tall ears and a soft white belly make this free crochet sitting bunny keychain impossible to resist. It’s a beginner-friendly amigurumi that works as a keychain, a bag charm, or a sweet handmade gift.
The body is worked in continuous single crochet rounds into a firm, egg-like shape. A white belly, two upright ears and a little embroidered nose bring the face to life. The whole bunny takes about two hours, and it’s a great way to use up small amounts of cotton or acrylic yarn.
Pattern Overview
The bunny is worked in continuous rounds, with no joining and no turning. The body is shaped with standard increase and decrease rounds and has a white belly on the front. It’s finished with two ears and simple embroidered details. The project is small enough to finish in one sitting, which is part of why it makes such a quick, giftable keychain.
- Skill level: Beginner, if you’re comfortable with a magic ring, increases, decreases and simple sewing
- Time: About 1.5 to 2 hours. Plan 5–10 minutes of prep, 45–60 minutes for the body and ears, and 15–20 minutes for stuffing, assembly and embroidery.
Materials
- Worsted weight (#4) cotton or acrylic yarn in your main color (lavender or pink), plus a little white for the belly and a scrap of red or pink for the nose
- A little dark yarn or embroidery floss for the sleepy eyes
- 2.5–3 mm crochet hook, smaller than the yarn label suggests for a tight fabric
- Polyester fiberfill
- Stitch marker, tapestry needle and small scissors
- Keychain hardware: a swivel clasp or split ring with a short chain
Yarn and Hook
Cotton gives crisp stitch definition, which helps a small round shape hold its form on a keychain that gets tossed into bags and pockets. Acrylic works too and is more forgiving on tension. Either way, choose a smooth yarn, because fuzzy or textured yarns make the belly and face harder to see.
Gauge isn’t critical, but aim for a tight fabric with no gaps between stitches. Using a hook one size smaller than the yarn label suggests is standard for amigurumi, and even more important for keychains, which get handled a lot.
Stuffing and Safety
Stuff firmly, but not so much that the stitches stretch. For a child under 3, stick with embroidered features and keep an eye on small dangling parts like the clasp chain.
Abbreviations
- MR – magic ring
- ch – chain
- sc – single crochet
- inc – increase (2 sc in one stitch)
- dec – decrease (invisible decrease recommended)
- st(s) – stitch(es)
- rnd – round
The invisible decrease is worked through the front loops of two stitches instead of the full stitches. It keeps the decrease rounds smooth, which matters on a piece this small where every stitch shows.
Step-by-Step Instructions
Step 1: Start the Body and Place a Marker
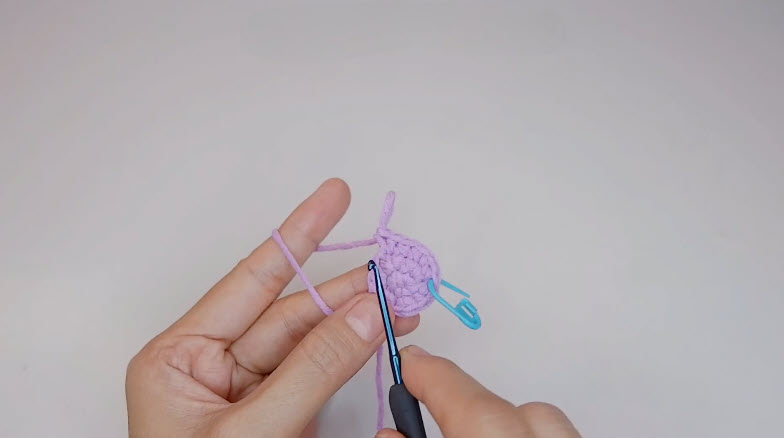
With your main color, make a magic ring and work the first round of sc into it. Pull it tight, then clip a locking stitch marker into the first stitch to mark the start of the round. At this scale, losing track of the round start even once can throw off the whole shape.
Increase evenly each round to build the base of the body. Hold the work across your fingers so the current stitch is easy to see.
Step 2: Work the Straight Rounds
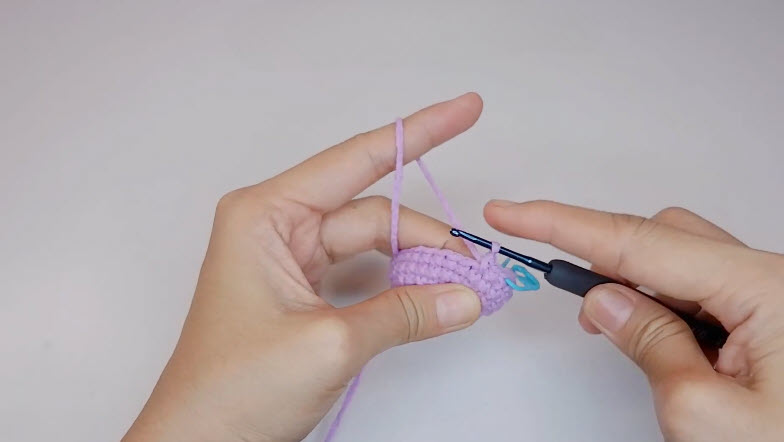
Once the base is wide enough, stop increasing and work sc in every stitch. The piece will start to dome and rise into the body. Move the marker into the first stitch of each new round. Keep your tension even, since loose stitches leave gaps for the stuffing to peek through and tight stitches are hard to work into.
Step 3: Add the White Belly
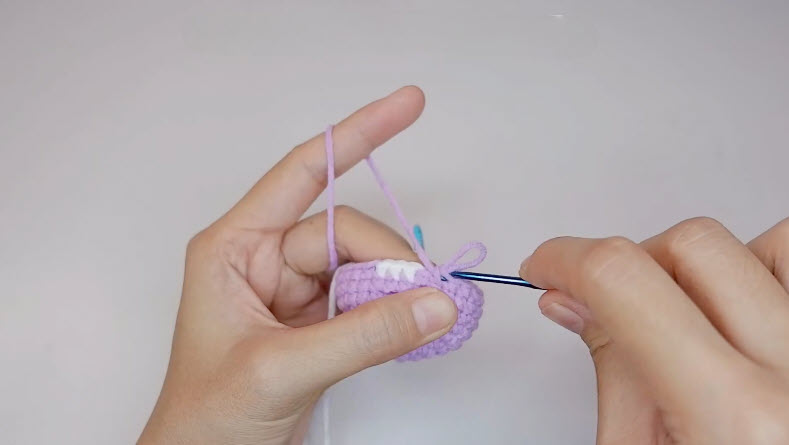
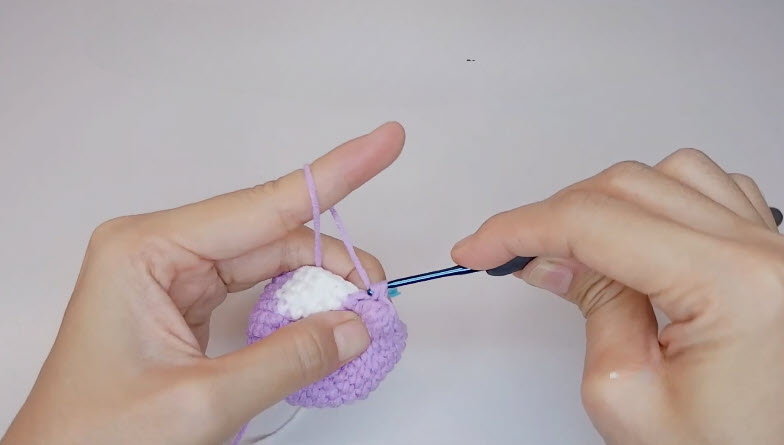
The belly is worked into the front of the body. On the front stitches of each round, change to white. Then change back to your main color for the rest of the round. Pick up the new color on the last pull-through of the stitch before each change, and carry the unused yarn loosely along the inside.
Keep the white section centered on the front, lined up with the same stitches each round, so the belly grows into a neat oval.
Simpler option: If you’d rather not change colors, crochet a small flat white oval separately and whip stitch it to the front of the body before you finish stuffing, while there’s still room to move the needle freely.
Step 4: Decrease and Stuff
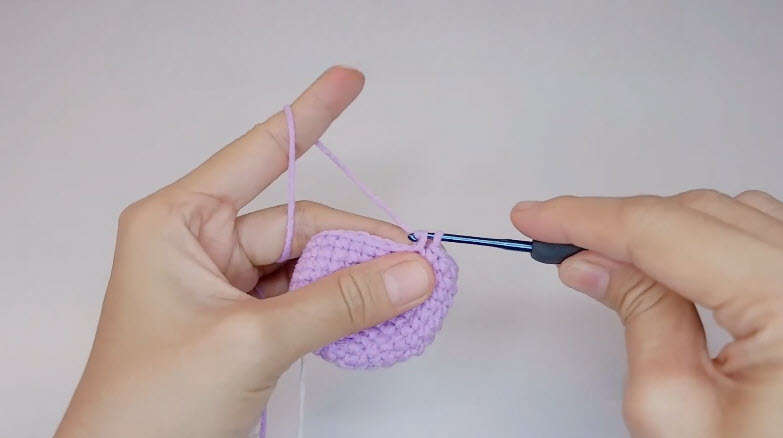
Once the belly is complete, go back to your main color and start the decrease rounds to narrow the top of the body. Use the invisible decrease to keep the shaping smooth. Add stuffing a small pinch at a time as the opening narrows, working it into the base and sides with the blunt end of your hook, so the shape stays round and firm.
Step 5: Close the Body
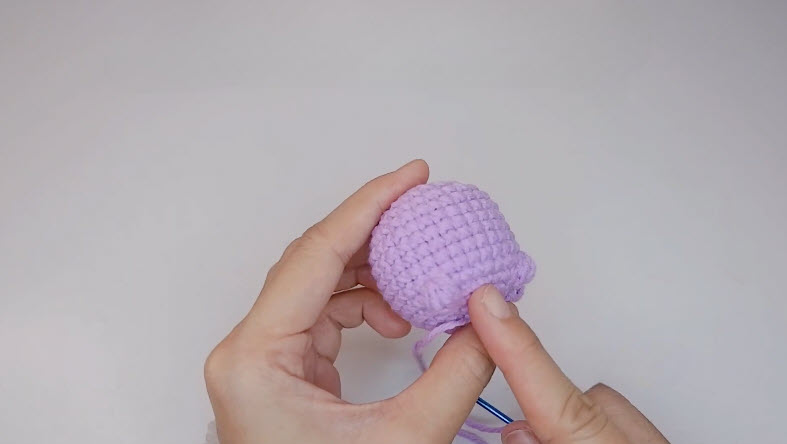
When only a small opening remains, top up the stuffing, then thread the yarn tail through the remaining stitches and pull tight to close. Weave the tail through several stitches in different directions, not in one straight line, so it stays secure through daily handling. Trim it close.
Step 6: Ears, Face and Keyring
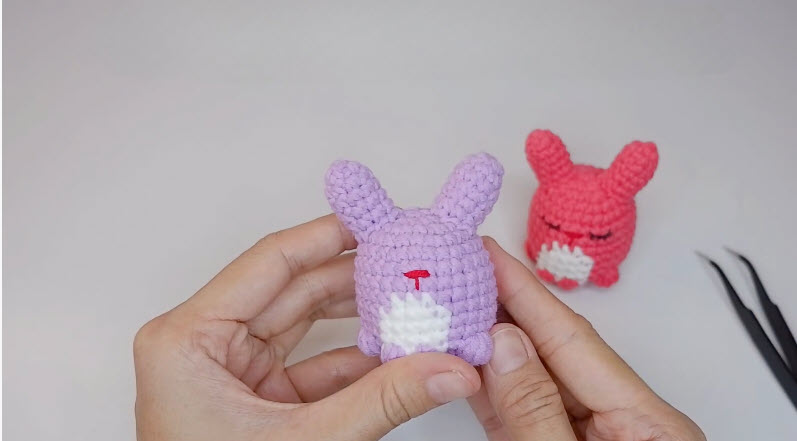
- Ears: Crochet two long, narrow ears in your main color. Start with a small magic ring, increase a little, work straight rounds for the length, then flatten without stuffing. Sew them upright on top of the head, with a small gap between them.
- Nose: With red or pink yarn, embroider a small T-shaped nose, a short vertical stitch topped with a short horizontal one, centered just above the belly.
- Sleepy eyes: With dark yarn, stitch a small curved line on each side of the nose for closed, sleepy eyes. Add tiny straight stitches along each curve for lashes if you like.
- Keyring: Sew a small yarn loop through several stitches at the top of the head, between the ears, and attach the clasp or split ring.
Common Mistakes
- Losing the round start: This is common in continuous rounds, so always use a stitch marker, especially on small projects.
- An off-center belly: Line it up with the center front of the body before you start. It’s much easier than adjusting it later.
- Stuffing all at once: One big handful right before closing leaves lumps. Add small pinches as you go.
Troubleshooting
- The body looks lopsided: An uneven increase round is usually to blame, not the stuffing. Recount your stitches before adding more fill.
- The ears sit unevenly: Pin both ears first and sew them with the same firmness, so one doesn’t flop more than the other.
Size and Color Ideas
For a bigger shelf-sitter instead of a keychain, use a bulky yarn with a larger hook and add an extra straight round or two to the body.
Lavender with a white belly looks soft and classic, while a deeper rose or coral body gives a bolder, more playful look. Keep the white belly as a consistent accent and swap the main color to match a favorite bag or a child’s room.
Make a Bunny Pair: Matching Keychains for Friends
This little bunny is quick enough to make two at once, and a matching pair makes a perfect best-friend gift.
- Mirror colors: Make one lavender bunny with a white belly and one white bunny with a lavender belly.
- Half hearts: Embroider half a heart on each belly, so the hearts line up when the two bunnies sit side by side.
- Initial charms: Add a small letter charm to each keyring chain for each friend’s initial.
- Different faces: Give one bunny sleepy eyes and the other open dot eyes for a “morning person and night owl” pair.
- Seasonal touches: Add a tiny embroidered flower at the ear base for spring, or a small scarf for winter.
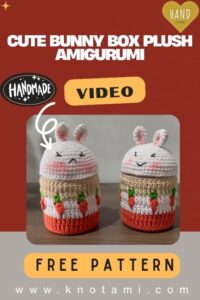
For more bunny fun, try the free crochet bunny keychain or the crochet bunny box. The chick keychain and the cat face keychain make great matching charms.
Care Instructions
Spot clean with a damp cloth and mild soap. Avoid machine washing, since tumbling can loosen the stitching and mat the yarn over time.
FAQs
How long does this keychain take to make?
Around 1.5 to 2 hours, including stitching, stuffing and finishing.
What yarn weight works best?
Worsted weight (#4) cotton or acrylic gives the cleanest stitch definition at this size.
Can I skip the white belly?
Yes. It still works as a solid-color bunny, though the belly adds contrast that helps the shape stand out at a small size.
Is this pattern beginner-friendly?
Yes, as long as you’re comfortable with magic rings, basic increases and decreases, and simple hand sewing.
Hop Along, Little Bunny
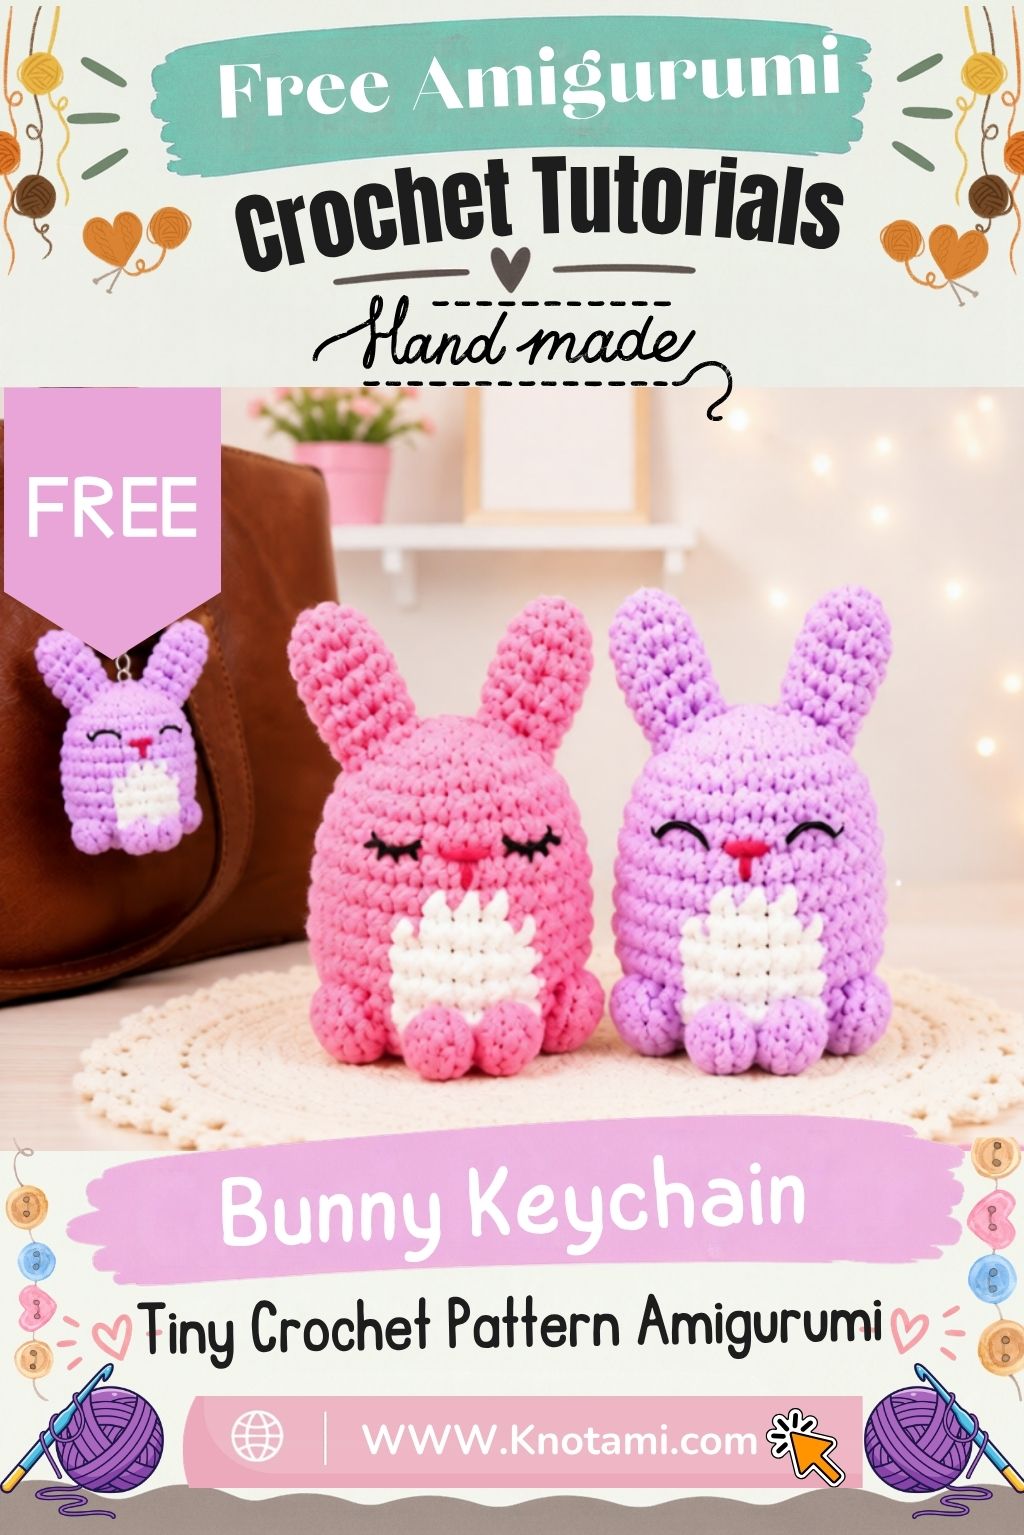
A round little body, a soft white belly and two tall ears are all it takes to make a keychain that brightens every bag. It comes together in an evening, uses only scraps, and leaves plenty of room for your own colors and faces. Pick two favorite shades and make one to keep and one to give.