
Crochet Striped Beanie With Orange Flower Appliques
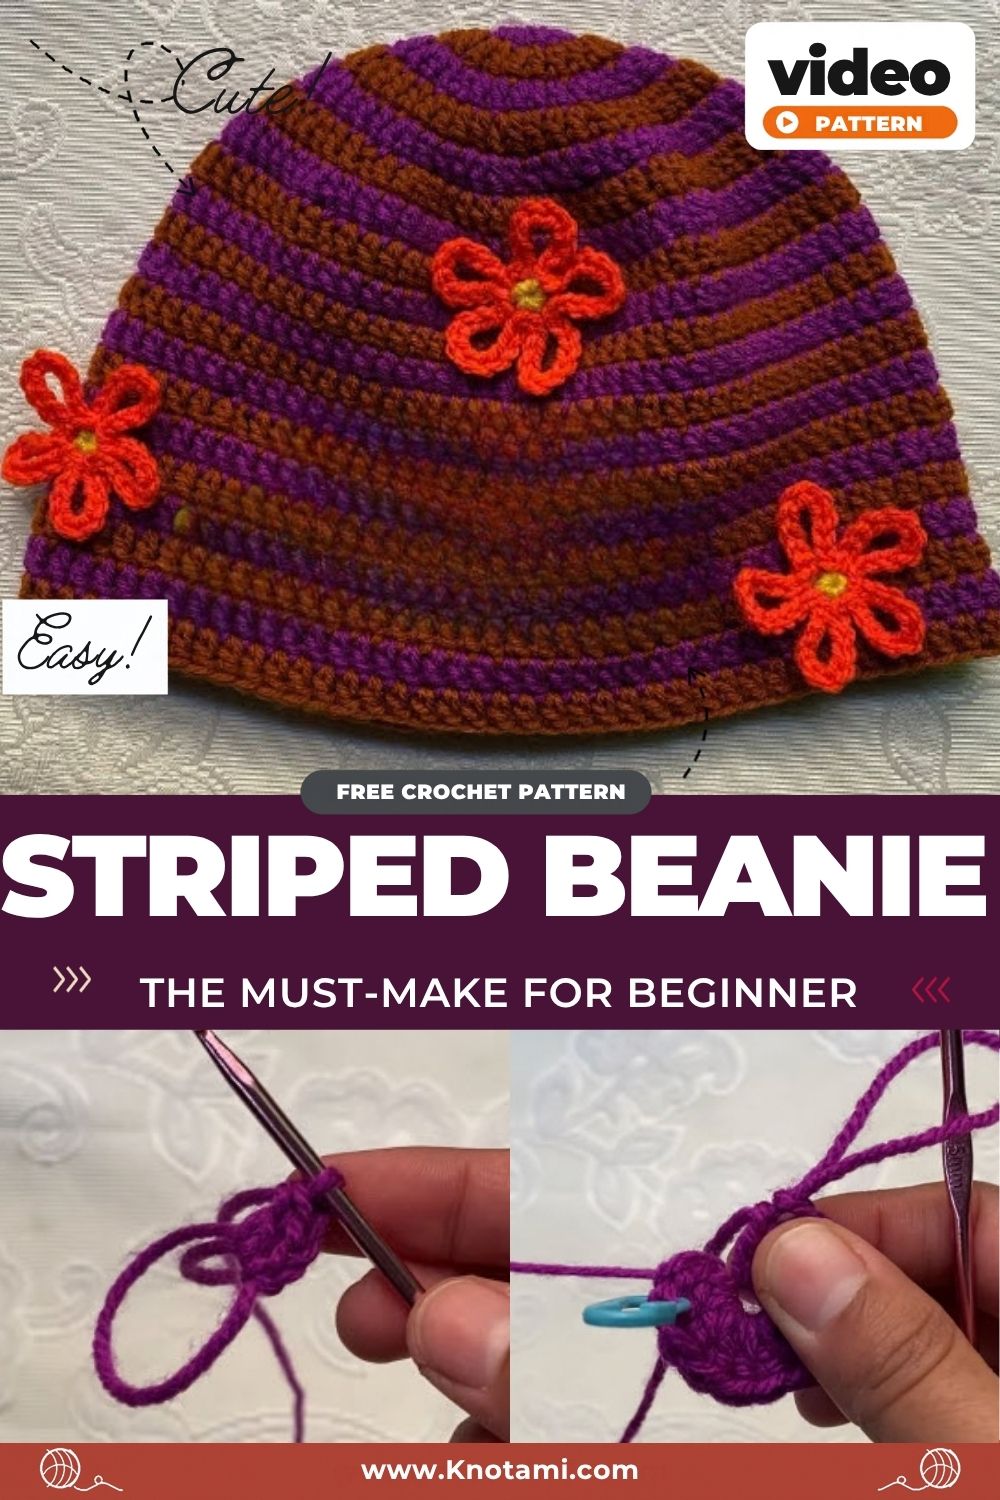
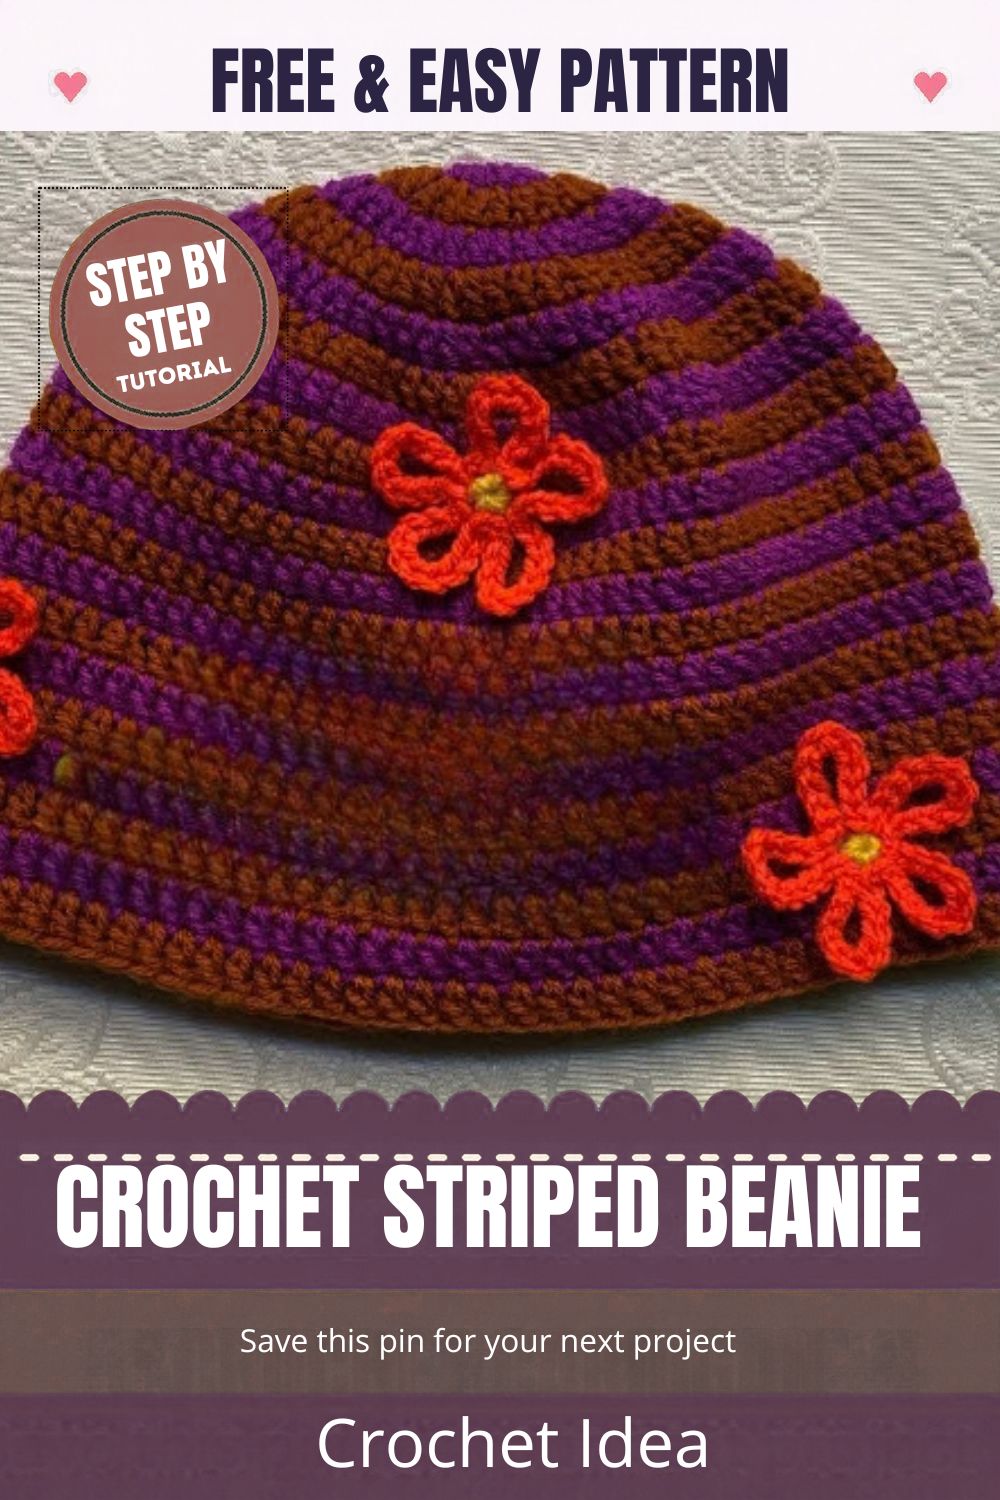
Bands of plum purple and pumpkin orange circle every round of the Crochet Striped Beanie With Orange Flower Appliques, while five bright blooms gather on one side like a small garden. Beyond keeping ears warm, the hat adds handmade crochet charm to cold mornings.
The idea comes from autumn gardens, where late marigolds still glow against cool purple skies. You work the crochet striped beanie top-down in the round, starting from a magic ring and growing a flat crown before the sides drop straight down. Because the colors swap every round, the stripes appear on their own.
Meanwhile, the flowers are made separately with loopy petals and sunny yellow centers. Since you sew them on at the end, the design stays an easy crochet project for a relaxed weekend.
Time Box for the Crochet Striped Beanie
- Prep: about 10 minutes to gather yarn, hooks, and a stitch marker
- Stitching: roughly 4 to 5 hours for the hat, plus about 1 hour for the five flowers
- Finishing: around 30 minutes for sewing, the brim round, and weaving in ends
As for skill, the hat suits a beginner ready for a small step up. If you can make a magic ring, work half double crochet, and count stitches, you can finish it. For many makers, the only new skill is changing colors at the end of a round, and the steps below walk you through it.
Materials for the Crochet Striped Beanie
- Hat yarn: medium weight (worsted, #4) acrylic in purple and rust orange, about 100 g of each
- Flower yarn: bright orange, plus a small amount of yellow
- Hooks: 5 mm (H-8) for the hat and 4 mm for tighter, neater flowers
- Stitch marker: at least one
- Tools: a blunt yarn needle and sharp scissors
- Optional: a pinch of fiberfill for puffy flower centers, small buttons as centers, or a pom-pom maker
Not sure which yarns count as #4? The Craft Yarn Council’s yarn weight chart lists every category along with suggested hook sizes.
Crochet Techniques Used
- Magic ring: starts the crown with no hole at the top.
- Single crochet (sc): covers the flower petals and edges the brim.
- Half double crochet (hdc): forms the main fabric of the hat.
- Increases: shape the flat crown.
- Color change: swaps the yarn at the join of each round.
- Sewing: attaches the flowers with a yarn needle.
How to Crochet a Striped Beanie Step by Step
Each step below matches a photo from the tutorial, so you can compare your work as you go.
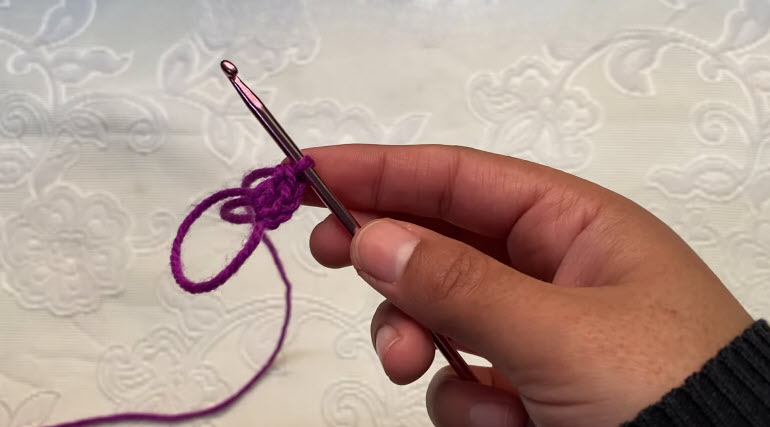
1: Start the Crown With a Magic Ring
- Using purple yarn and the 5 mm hook, make a magic ring and chain 2. The chain does not count as a stitch.
- Round 1: Work 8 hdc into the ring.
- Next, pull the tail firmly to close the center, then slip stitch into the first hdc. (8 stitches)
Pro Tip: pull the tail slowly instead of in one quick tug. A gentle pull closes the ring fully without snapping the yarn, and a tight center keeps the top of the hat from showing a gap.
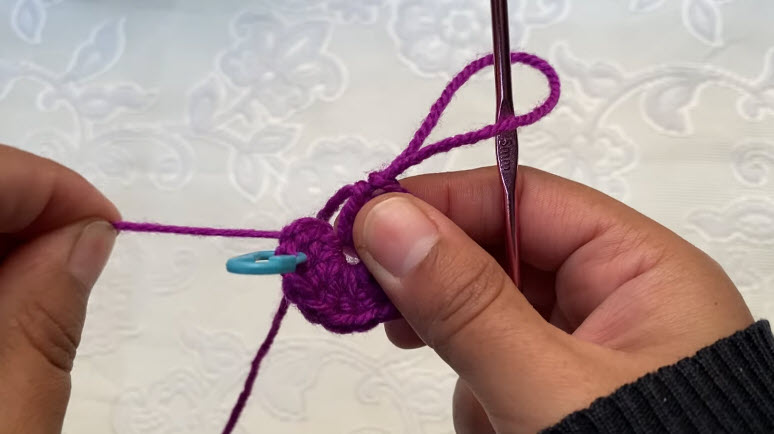
2: Mark Your First Stitch and Grow the Circle
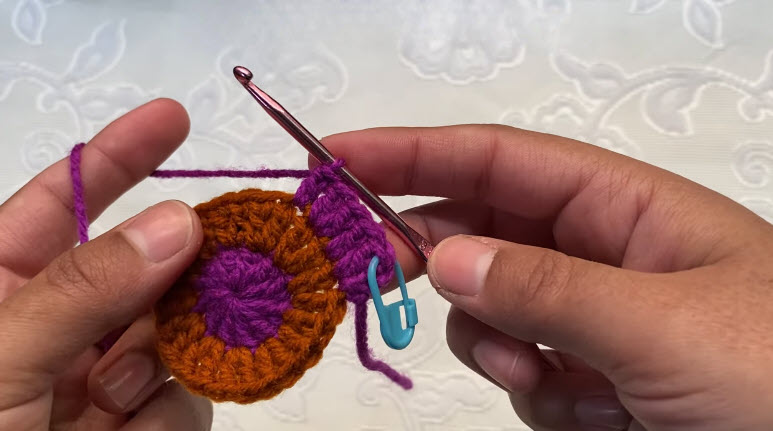
- Place a stitch marker in the first stitch of the round, and move it up every round.
- Round 2: Chain 2, then work 2 hdc in each stitch around. (16 stitches)
- Before closing the round, get your orange yarn ready for the color change.
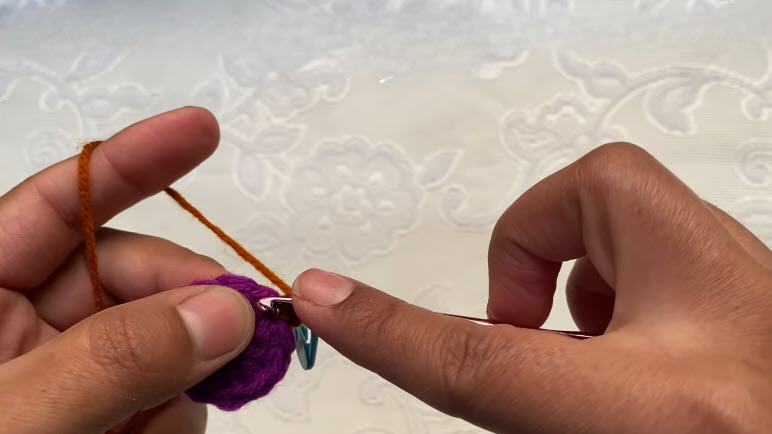
3: Join the Orange Yarn
- Insert your hook into the first stitch of the round to make the joining slip stitch.
- Drop the purple yarn, then yarn over with orange and pull it through. Now the loop on your hook is orange.
- Leave the purple strand hanging on the wrong side. Because you will pick it up again in the next round, there is no need to cut it.
- Round 3 (orange): Chain 2, *hdc in next stitch, 2 hdc in next*; repeat from * around. (24 stitches)
4: Build the Crown and Sides of the Striped Beanie
From here on, alternate purple and orange every round, changing color at each join. At the same time, carry the unused yarn loosely up the inside. Begin each round with chain 2, just as before.
- Round 4: *hdc in next 2, 2 hdc in next*; repeat around. (32)
- Round 5: *hdc in next 3, 2 hdc in next*; repeat around. (40)
- Round 6: *hdc in next 4, 2 hdc in next*; repeat around. (48)
- Round 7: *hdc in next 5, 2 hdc in next*; repeat around. (56)
- Round 8: *hdc in next 6, 2 hdc in next*; repeat around. (64)
- Round 9: *hdc in next 7, 2 hdc in next*; repeat around. (72)
Stitch check: count to 72 before moving on. For an adult size, the flat circle should measure about 7 inches across.
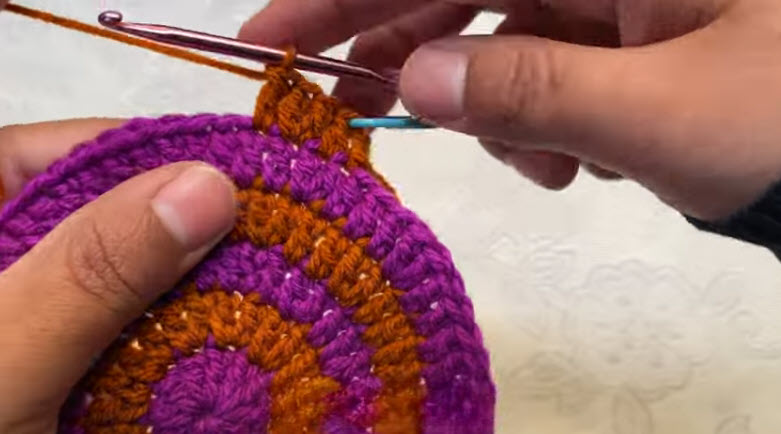
- Rounds 10–25: hdc in every stitch around. (72) As a result, the sides now drop straight down.
Fit check: try the hat on around Round 20. For an adult, the total length from crown to edge should land near 8 to 8.5 inches.
Carrying the yarn instead of cutting it also saves you from weaving in dozens of ends later.
Step 5: Crochet the Orange Flowers (Make 5)
Flower centers:
- With yellow yarn and the 4 mm hook, make a magic ring.
- Work 5 sc into the ring, pull tight, and slip stitch to join. Fasten off.
Petals:
- Join bright orange yarn in any yellow stitch.
- *Chain 8, slip stitch into the same stitch, then slip stitch into the next stitch.* Repeat from * 4 more times for 5 chain loops in total.
- Next, work 12 sc into each chain loop, with a slip stitch between petals.
- Finally, fasten off, leaving a 10-inch tail for sewing.
Pro Tip: keep the chain loops the same length so all five petals look even.
Step 6: Sew the Flowers to the Crochet Striped Beanie
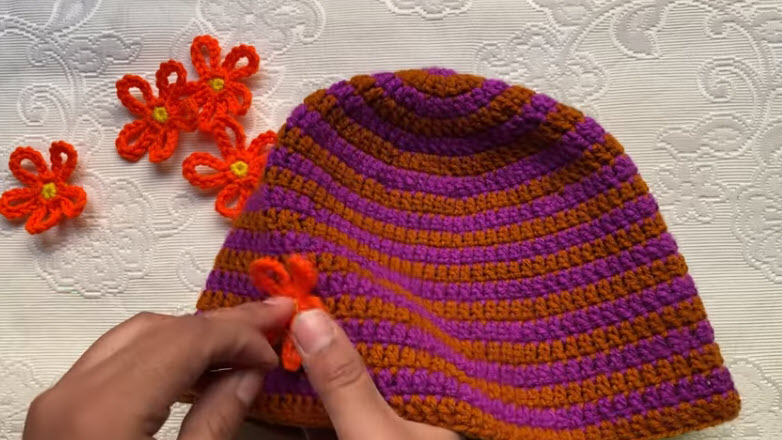
- Lay the hat flat and arrange the flowers before sewing anything.
- Pin each bloom in place. A cluster on one side looks playful, while spreading them around gives a softer look.
- Thread the tail onto your yarn needle. Sew around the yellow center first, and then tack down the tip of each petal.
- Knot on the inside of the hat and hide the tail between stitches.
Step 7: Finishing Touches
- Work one round of sc in either color around the edge for a clean, neat brim.
- Weave in all remaining ends on the inside.
- Steam lightly, or block the damp hat over a bowl to even out the stripes.
Helpful Beginner Tips for a Striped Beanie
Keep Your Tension Even
A beanie needs steady, even tension so it stays soft and stretchy. When the crown ruffles, your stitches are usually too loose. On the other hand, a crown that curls into a bowl means you should loosen up a little.
Use a Stitch Marker Every Round
Joined rounds can shift slightly. By moving your marker up each time, you keep the color changes lined up in a neat seam at the back.
Fix a Flaring Brim
If the bottom edge flares out, add one decrease round just before the final sc round. As a result, the brim hugs the head more closely.
Stuff the Blooms Lightly
Tuck only a pinch of fiberfill behind each flower center, using the needle tip to push it in before you sew the center down. Otherwise, too much stuffing makes the flowers stiff and heavy.
Design Ideas for Your Crochet Striped Beanie
Different Color Pairs
For a new mood, pair navy with mustard, blush with gray, or forest green with cream. In addition, two-round stripes look lovely.
Cute Accessories
Add a pom-pom on top, a small leaf beside each flower, or a folded brim worked in ribbing. If you love floral hats, the crochet baby sad flower hat offers another playful take.
Smaller Sizes
For smaller heads, simply stop increasing earlier:
- Baby: stop at 48 stitches and work to about 6 inches long.
- Toddler: stop at 56 stitches and work to about 7 inches long.
- Child: stop at 64 stitches and work to about 7.5 inches long.
Creative Projects You Can Make With the Pattern
The flower motif works well beyond hats. For example, stitch a few extra blooms for a crochet flower headband, sew them onto a crochet tote bag, or match the stripes on a crochet ear warmer for a full winter set. For even more cold-weather coverage, the crochet bunny balaclava pairs nicely with a striped scarf.
Washing and Care for Your Crochet Striped Beanie
Hand wash the hat in cool water with a gentle soap. Afterward, squeeze out the water with a towel instead of wringing it, and dry the hat flat so the stripes don’t stretch. Acrylic yarn can also go through a gentle machine cycle inside a mesh bag; however, hand washing keeps the flowers looking fresh longer.
Crochet Striped Beanie FAQs
What is the best yarn for a crochet striped beanie?
Soft acrylic or cotton blends in worsted weight are easy to work with. For winter hats in particular, acrylic stays warm, washes easily, and comes in many bright shades.
How do I make the flowers firmer?
Use a smaller hook to tighten the stitches, and then add a little stuffing behind each center. For the hat itself, the final round of single crochet helps the edge hold its shape.
How long does the project take?
Most beginners finish the hat in 4 to 5 hours. On top of that, the five flowers take about an hour, and sewing plus finishing adds another 30 minutes.
Can I skip the color changes?
Yes. A solid hat works the same way, so just keep one color throughout and follow the same stitch counts.
Ready to Stitch Your Own Garden of Blooms?
With every stripe, the hat gets closer to done, and sewing on the final flower feels like a small celebration. So pick two colors you love, grab your hook, and start your magic ring today. Once your crochet striped beanie is finished, share a photo and inspire another beginner to try a first crochet pattern.