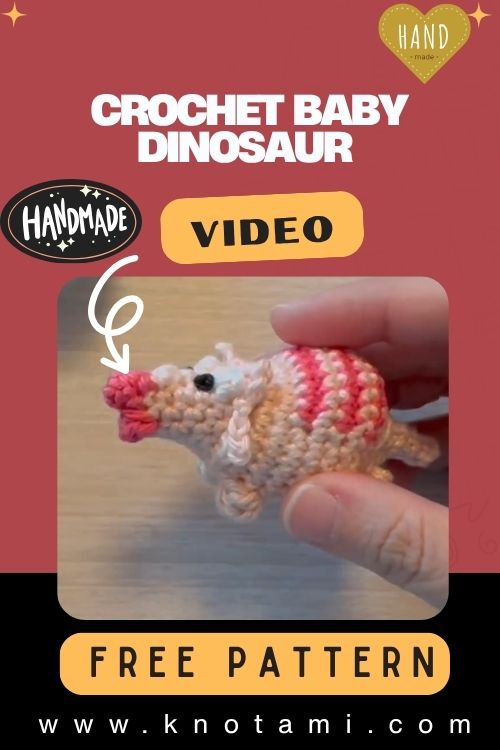
Crochet Baby Dinosaur Triceratops Amigurumi Pattern
There’s something truly magical about taking a skein of yarn and turning it into a little creature that makes people smile. Each loop and stitch builds not just texture and shape, but also a sense of joy and calm that silently fills the room. Crochet connects creativity with tangibility you get to hold the results of imagination in the palm of your hand. That’s the beauty and satisfaction of crafting something from yarn: it’s humble, slow, and so personally rewarding.
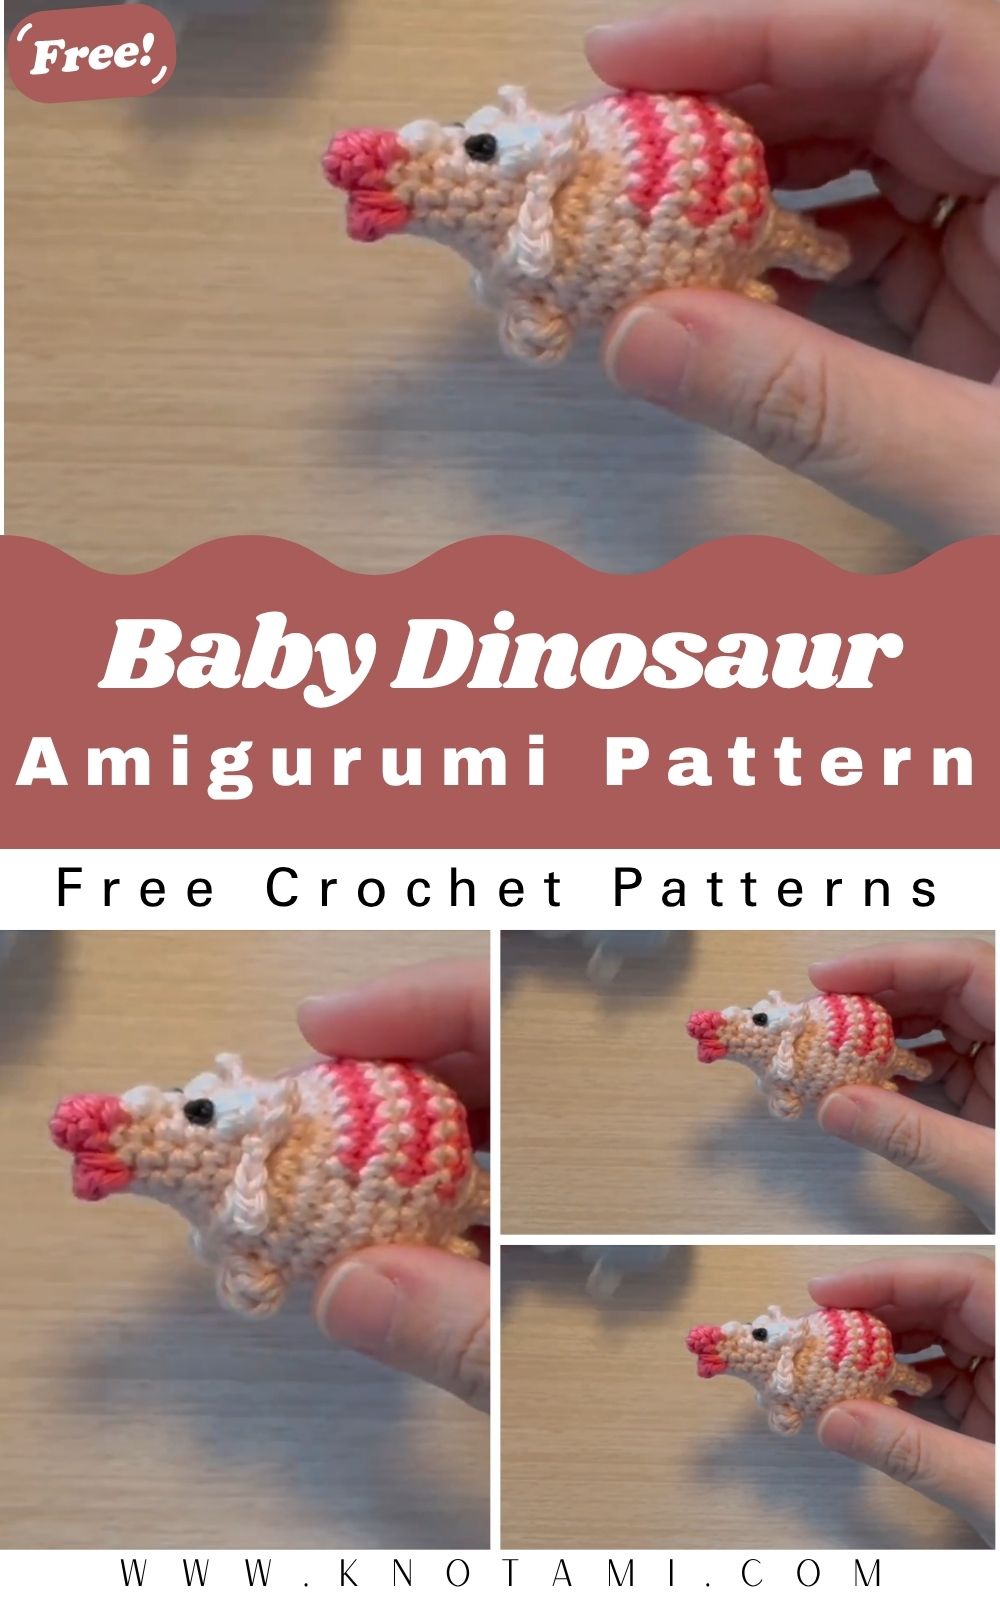
Today’s project, the Crochet Baby Dinosaur Triceratops, is a perfect example of that magic a tiny plush filled with charm, personality, and nostalgic cuteness. Modeled after the gentle, three-horned dinosaurs from prehistoric times, this mini triceratops adds an irresistible touch of whimsy to your handmade collection. From its sweet button eyes to its rounded head frill and stumpy feet, this is a project that stands out in any crochet lineup perfect for gifting or decorating.
Whether you’re new to amigurumi or an experienced crocheter ready for a fresh project, this pattern is incredibly fun and customizable. The design is simple enough for beginners but includes creative features like small horns, shaping techniques, and optional face/frill decorations that let advanced makers add their own flair. It’s sized perfectly for small hands, shelves, keychains, or even as a nursery mobile piece making it versatile, meaningful, and sure to impress.
Perhaps the best part of crafting your own baby dino is the peaceful rhythm that comes over you as you work. There’s no rush just you, your yarn, and the quiet satisfaction of giving life to something handmade. It’s the kind of slow, mindful project that lends itself well to gifting and keepsakes, and it offers creative therapy through the act of making. So settle in and let’s bring this little triceratops to life!
Materials & Tools Section
Before you begin crocheting your baby triceratops, you’ll want to gather the right tools and materials. Using the proper supplies will make the process smoother and guarantee a finished plush that’s both durable and delightfully cute.
Yarn
-
Yarn Weight: Worsted weight (Medium/Category 4)
-
Recommended Material: 100% acrylic or cotton blend
-
Suggested Colors:
-
Main body: pastel or bright green, blue, yellow, or pink
-
Horns and frill: light beige, white, or cream
-
Nose and accents: optional contrasting color
-
Crochet Hook
-
Size: 3.5 mm (E-4) or 4.0 mm (G-6), depending on your tension
Tip: For amigurumi, use a smaller hook than the yarn label recommends to avoid stuffing peeking through.
Additional Notions
-
Safety eyes (6–8 mm) or yarn/thread to embroider eyes
-
Polyester fiber stuffing
-
Tapestry/sewing needle
-
Stitch markers
-
Scissors
-
Optional: blush or fabric paint for cheeks
Choosing Yarn and Colors
-
For a soft, classic look: use worsted acrylic yarn in baby pastels.
-
For an extra plush look: try velvet or chenille yarn (use larger hook).
-
Want a sparkly finish? Try glitter yarn accents on the frill or horns!
4. Step-by-Step Crochet Instructions
This crochet baby dinosaur is made up of several small pieces that are assembled at the end. Below you’ll find the step-by-step breakdown of how to create each piece, with tips along the way to keep everything neat and tidy.
1. Crochet the Head
-
Magic Ring Start:
Begin with a magic circle and single crochet (sc) 6 stitches into it. Tighten and join. -
Build Head Shape:
-
Increase evenly in each round until you reach about 30–36 stitches.
-
Crochet 5–6 rounds even to form the spherical head.
-
-
Insert Safety Eyes:
Add eyes between rows 6–7, leaving 5–6 stitches between them. -
Stuff Firmly:
Add fiber stuffing as you go. Make sure to stuff firmly but avoid stretching the stitches.
2. Form the Neck and Upper Body
-
After finishing the head, decrease slightly for the neck opening (approx. 24 stitches).
-
Work 3–4 rounds with no increases to create a tube-like neck and start shaping the body.
-
Begin increasing again until you reach about 36–42 stitches (full body width).
-
Continue crocheting straight for another 6–8 rounds.
3. Craft the Belly & Lower Body
-
Add 3–4 decreasing rounds to taper toward the tail base.
-
Leave an opening at the bottom for stuffing and closing later.
4. Create the Arms and Legs
-
Arms:
-
Magic ring, 6 sc
-
Increase to 9
-
Crochet 3–4 rounds, fasten off, stuff lightly.
-
-
Legs:
-
Repeat arm steps but add 1–2 more rounds for length.
-
Lightly stuff and pin to body for positioning before sewing.
-
5. Make the Signature Dino Frill
The triceratops frill is what makes this little dino so distinctive.
-
Chain 12–14 stitches.
-
Work single crochets down one side, turn, and work back the other side.
-
Add wavy frill edges by alternating sc and double crochets (dc).
-
Make 1–2 more layers for a fuller frill, if desired.
6. Add the Cute Dino Horns
Three small horns:
-
1 large (forehead)
-
2 medium (above eyes)
-
Magic ring, 4 sc
-
1–2 rounds without increases to form a tiny cone
-
Stuff with ends of the yarn and sew in place
7. Assembly and Positioning
-
Sew horns onto the head, centered with eye placement.
-
Attach the frill to the back of the head or neck base.
-
Attach arms and legs to the body.
-
Add optional nose, blush, or embroidered freckles.
5. Customization Ideas
Want to make your Crochet Baby Dinosaur Triceratops even more adorable? Here are some creative ideas to personalize your plush friend!
Color Themes
-
Rainbow Triceratops: Each frill spike in a different color!
-
Holiday Dino: Red and green body with snowflake cheeks.
-
Pastel Dream: Soft hues like lavender, mint, and peach.
Yarn Variations
-
Fluffy chenille yarn for a squishy soft toy.
-
Cotton yarn for well-defined stitches and firm texture.
-
Sparkle yarn for magical fantasy dinos.
Add Accessories
-
Tiny scarf or bow tie
-
Mini backpack or heart appliqué
-
Optional tail spikes or wings!
6. Advanced Tips & Troubleshooting
Whether you’re a newbie or a seasoned maker, here are expert tips to help you through the pattern:
-
Invisible Decreases: Use front-loop-only (FLO) sc2tog for seamless decreases.
-
Stitch Markers Save Lives: Always use one to mark your round start!
-
Even Tension = Professional Finish: Keep your yarn relaxed but not loose.
-
Prevent Rounds Twisting: Always check the position of your starting stitch.
-
Plush Shape Fix Tip: If a part is uneven, use your needle to massage stuffing in place.
-
Proper Stuffing: Firm at center, softer toward edges for a squeeze-worthy finish.
-
Seamless Joining: Use whip stitch for most parts; ladder stitch for nearly invisible seams.
-
Read Pattern Abbreviations Carefully: sc = single crochet, inc = increase, dec = decrease.
-
Secure to Avoid Shifts: Use pins or clips to preview position before sewing.
7. Care Instructions
Caring for your Crochet Baby Dinosaur Triceratops will help it last for years especially if gifting or storing.
-
Hand wash gently with cool water and mild soap.
-
Squeeze, don’t wring!
-
Lay flat to dry reshape while it’s still damp.
-
Avoid strong sunlight to prevent fading.
-
Store in a cool, dry place. Tissue wrap for extra care if gifting.
8. Display & Gift Ideas
Your finished baby dinosaur is perfect for so many occasions!
-
Home Decor: Display on bookshelves or mantelpieces.
-
Kids’ Rooms: Add to nursery shelves or hang from a crib mobile.
-
Office Desk Buddy: Perfect for keeping you company while working.
-
Holiday Ornament: Add a loop to turn the dino into a tree ornament!
-
Personalized Gift: Add a name tag and gift in a custom box.
9. Benefits Section
Crocheting a baby dinosaur triceratops brings more than just a cute plush toy into the world.
-
Relaxes your mind, like a stitching meditation
-
Reduces stress by encouraging slow, meaningful work
-
Brings joy and pride in what your own hands can make
-
Encourages mindful gifting handmade is the most thoughtful kind
-
Creates a personal bond between maker and receiver
10. Photography & Social Media Tips
Whether you’re blogging, selling, or just sharing, these tips make your little dino look photogenic and ready for Instagram!
-
Photograph in soft natural light (like near a window)
-
Use clean, neutral backgrounds or playful kids’ room settings
-
Add props like wooden toys, yarn balls, tiny books
-
Capture close-ups to show stitch details and color variations
11. Conclusion
A little baby dinosaur that fits in your hands and fills your heart? That’s the beauty of crochet it brings tiny, joyful worlds to life, one loop at a time. Creating a Crochet Baby Dinosaur Triceratops is more than just a craft project; it’s an invitation to slow down, stitch with intention, and create something full of playfulness and love. So go grab your yarn, hook, and a cozy spot, and let this adorable baby dinosaur be the next little friend you bring to life. Happy crocheting, and may every stitch remind you of the joy you’re capable of creating!