How to Crochet Houndstooth Vest Stylish Beginner Pattern
There’s something truly magical about turning a simple ball of yarn into a wearable piece of art. Whether it’s done with yarn and a hook or thread and a needle, the rhythm of crafting becomes therapy in motion. Each loop, stitch, and weave builds not just a project, but a sense of inner peace and satisfaction. Crocheting, especially, brings a soothing joy creating something out of nothing, simply with patience and creativity.
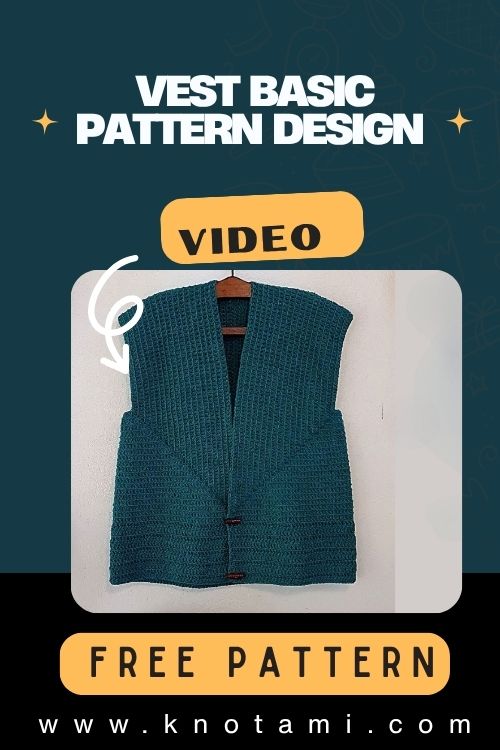
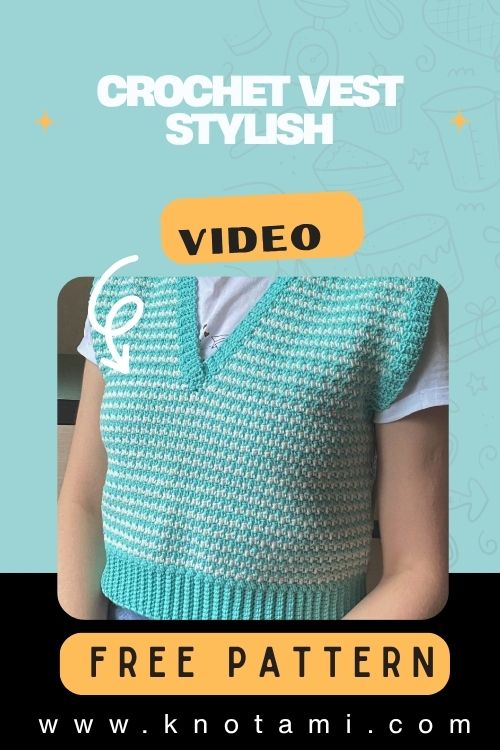
Today, we’re diving into a project that embodies both trend and tradition: the Crochet Houndstooth Vest Stylish. This is not just any vest it’s an eye-catching layering piece that combines fashionable design with classic stitchwork. The iconic houndstooth pattern makes this vest look like a throwback to vintage elegance while still feeling ultra-modern and street-style ready.
The best part? Whether you’re a crochet beginner eager to learn new stitches or a seasoned maker looking for a fun, satisfying project to add to your wardrobe, this tutorial is for you. The colorwork is simpler than it looks, and the repetitive stitch action is a joy to master.
So as you embark on this journey, take a deep breath and lean into the calming rhythm of crochet. Every stitch not only brings you closer to finishing the vest, but also provides a beautiful pause from the rush of life. This is a perfect project for slow crafting one that results in a fashion statement and a heartfelt handmade gift.

Materials & Tools
Here’s everything you’ll need to crochet your own stylish houndstooth vest:
Yarn
-
Type: Acrylic or cotton blend
-
Weight: Worsted (4)
-
Colors: Choose two contrasting colors for the iconic houndstooth effect (e.g., black and white, brown and cream, or pastel pairs)
Tools
-
Crochet Hook: 5.0 mm (H-8)
-
Scissors
-
Tapestry Needle
-
Stitch Markers (optional but helpful for counting)
-
Measuring Tape (for sizing the vest to fit)
Yarn Tips
For best results:
-
Choose smooth, medium-weight yarn that makes color changes crisp and clean.
-
High-contrast colors bring out the houndstooth effect.
-
Stick to yarn that feels comfortable on the skin, especially if you’re wearing the vest directly over a top.
4. Step-by-Step Crochet Instructions
Let’s break down this beginner-friendly Crochet Houndstooth Vest Stylish pattern into manageable steps.
Step 1: Making the Back Panel
-
Chain Foundation: Start by chaining the length that fits the back width (approx. 50–60 chains depending on size).
-
Houndstooth Stitch: Use alternating single crochet and double crochet stitches with two colors (switch color every row if needed).
-
Repeat Rows: Continue row by row until you’ve reached your desired back length (typically waist to neckline).
-
Fasten Off and weave in all loose ends.
Tip: When switching colors, carry the unused yarn along the wrong side of your work to avoid too many yarn tails.
Step 2: Creating the Front Panels
-
Left Panel: Begin with a chain that’s about half the width of your back panel.
-
Follow the same houndstooth stitch pattern as the back panel.
-
Shape the neckline by gradually decreasing stitches when you reach the top third.
-
Right Panel: Repeat the same on the opposite side, mirroring the neckline decreases.
Step 3: Joining Panels
-
Place the front panels over the back panel with the right sides facing each other.
-
Sew the side seams using a tapestry needle (stop when you reach the armhole length).
-
Repeat for the shoulders, ensuring the neck opening remains comfortable.
Adding Ribbing
Crochet a simple ribbed edge (front and bottom):
-
Single crochet around the armholes and neckline and chain 1 to create a clean edge.
-
Optionally, add 1×1 ribbing (front post/back post double crochet) to frame the vest.
Step 5: Finishing Touches
-
Weave in any remaining yarn ends with a tapestry needle.
-
Block gently if needed to shape the vest neatly.
-
Try it on and adjust as needed!
5. Customization Ideas
Want to add your own creative spark? Here are fun ways to personalize your houndstooth vest:
-
Color Pops: Add stripes, rainbow accents, neon-edge ribbing, or a contrasting border.
-
Themed Versions: Holiday red & green, rustic autumn tones, pastel spring mix, etc.
-
Yarn Variety: Use chenille or velvet yarn for a plush finish, or wool for warmth.
-
Add-ons: Sew on pockets, attach crochet buttons, or embroider initials for a unique twist.
6. Advanced Tips & Troubleshooting
Level up your finishing with these expert tips:
-
Use invisible color changes for seamless stitch transitions.
-
Maintain consistent tension to keep the vest’s shape even.
-
Use a blocking mat to relax stitches and smooth edges.
-
Fix mistakes quickly: If one stitch is off, undo to that point instead of trying to compensate.
-
Prevent curling: Add a softer stitch like half-double crochet at the base.
-
Weave in ends while you go to avoid overwhelming finishing steps.
-
Experiment with extended single crochets for less tight tension.
-
Make a swatch first to test yarn and hook sizing.
-
Watch out for twisted chains in the foundation row!
-
Choose a larger hook for ribbing to avoid a tight edge.
7. Care Instructions
To keep your handmade houndstooth vest looking its best:
-
Hand wash only using mild detergent.
-
Do not wring out press between towels gently.
-
Dry flat and reshape while wet.
-
Avoid direct sun when drying: this prevents color fading.
-
Store by folding avoid hanging to preserve shape.
8. Display & Gift Ideas
-
Use it as a statement piece in your winter wardrobe.
-
Perfect for kids’ outfits or school spirit wear.
-
Pair with a handmade gift tag and wrap in tissue paper.
-
Display on a dress form or hanger in your room.
-
Show it off as part of your “handmade wardrobe” online.
9. Benefits of Making This Project
Creating a Crochet Houndstooth Vest Stylish isn’t just about following a pattern. It’s about embracing:
-
Mindfulness from repetitive, calming motions
-
Stress relief as you escape into creativity
-
Pride in making something fashionable and personal
-
Sustainable gifting vs. store-bought plastic items
-
Emotional connection through a handcrafted, wearable piece
10. Photography & Social Media Tips
Want to share your finished vest on Instagram or Pinterest?
-
Use natural daylight and soft shadows.
-
Add props like yarn balls, crochet hooks, or coffee.
-
Use a neutral or color-matched background.
-
Close-ups of the houndstooth stitch make a great carousel slide!
11. Project Summary Table
| Category | Details |
|---|---|
| Skill Level | Beginner / Intermediate |
| Estimated Time | 6–8 hours |
| Finished Size | Varies (customizable) |
| Estimated Cost | $10–$15 |
12. Conclusion
Whether you’re stitching your first wearable or adding another cozy layer to your handmade wardrobe, this Crochet Houndstooth Vest Stylish project is a joy from start to finish. With simple stitches, bold style, and room for personal flair, it’s the kind of make that both comforts the soul and elevates the closet.
So grab your yarn, make yourself a warm cup of tea, and let the gentle rhythm of crochet lead the way. You’re just a few stitches away from creating a handmade treasure that brings smiles every time it’s worn a piece made with patience, love, and your own creative magic.