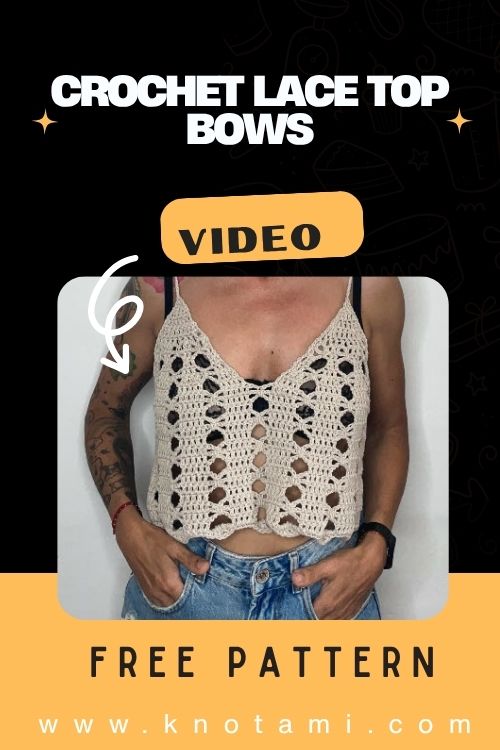
Crochet Lace Top with Bows Elegant Pattern for Beginners
There’s something undeniably magical about turning a simple ball of yarn into wearable art. Each stitch builds on the last, creating not just fabric but a feeling the joy of making something beautiful with your own hands. Crochet offers the rare experience of watching creativity evolve into something tangible, something warm, and something filled with personal meaning. It’s the satisfaction of crafting from the heart, one loop at a time.
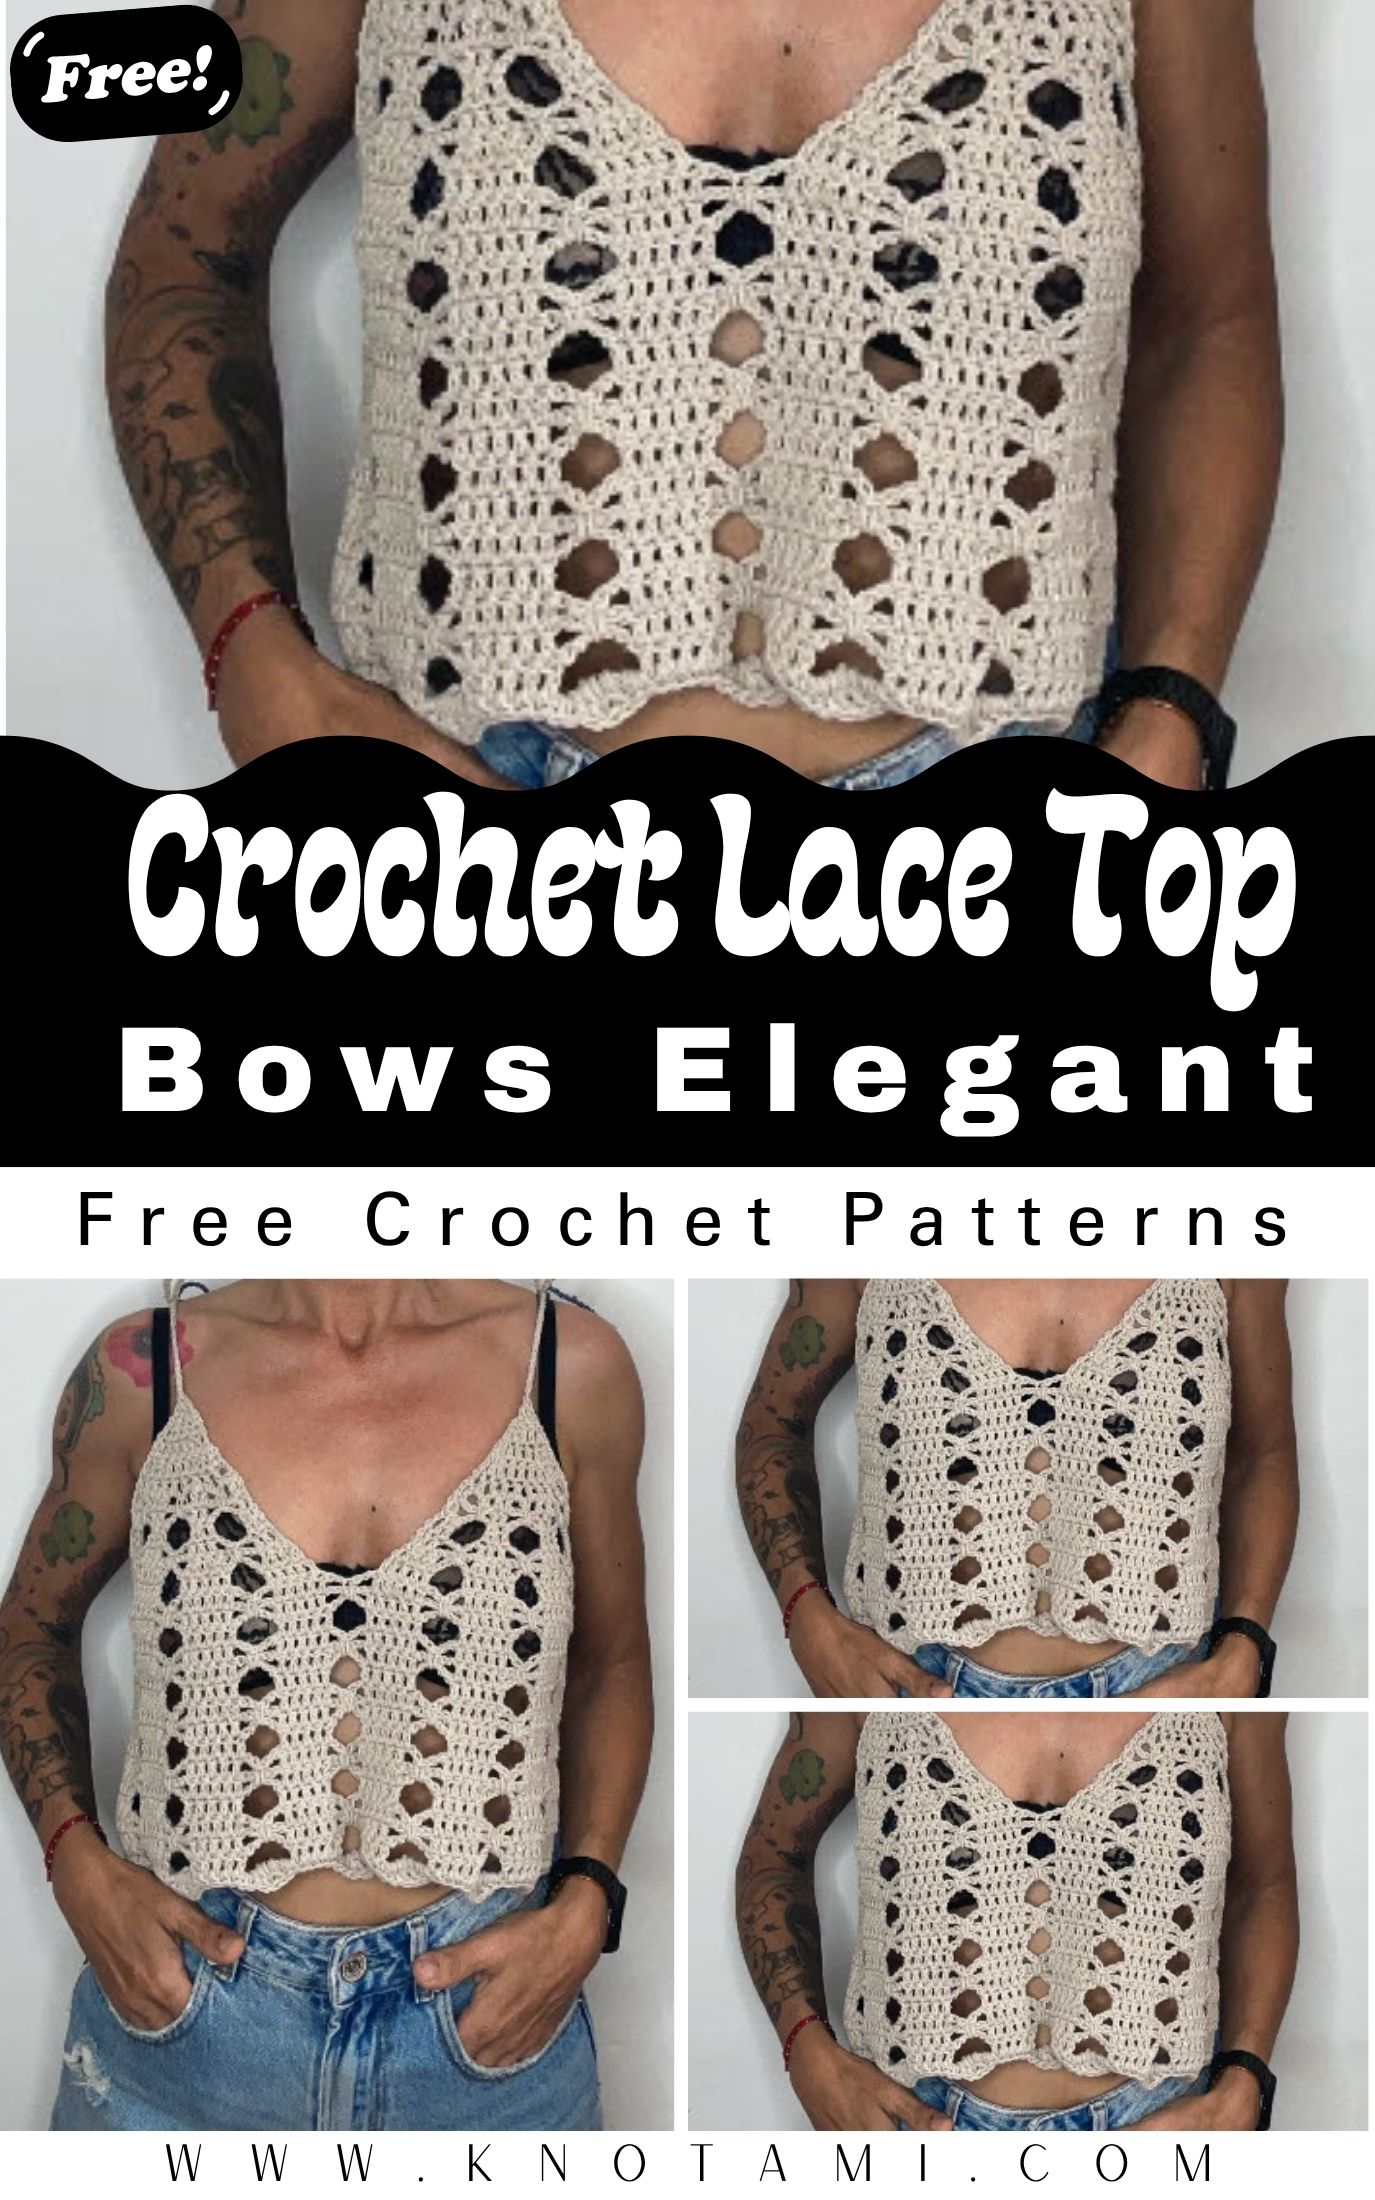
Today’s project celebrates that joy: the Crochet Lace Top with Bows Elegant Pattern. This gorgeous, airy garment combines timeless lace texture with delicate bow accents. Whether you’re a beginner eager to expand your skills or an experienced crocheter looking for a fun fashion project, this pattern beautifully blends simplicity with elegance. It’s both stylish enough for a date night and cozy enough for everyday wear.
With its open lace stitch, lovely ribbon-bow detail, and breezy fit, this crochet top brings playful sophistication to your wardrobe. Best of all, it’s totally beginner-friendly. You’ll learn fun techniques while crafting something that looks store-bought and feels handmade at its core truly the best of both worlds.
Crocheting this top isn’t just about the final product it’s about the soothing rhythm of stitching row after row. It’s about the peace of slow crafting, the pride in creating clothing that’s uniquely yours, and the joy of gifting something made with love. So grab your hook, your favorite yarn, and step into a world where creativity is wearable and heartwarming.
Materials & Tools
Ready to stitch your own Crochet Lace Top with Bows? Here’s exactly what you’ll need to get started:
Yarn
-
Yarn Type: Light-weight (category 3) cotton or cotton-blend yarn
-
Yardage Needed: Approx. 250–350 yards (depending on size)
-
Recommended Colors: Solid pastel, creamy neutrals, soft pink, or elegant sage
Yarn Tip: Cotton yarn provides excellent stitch definition and breathability perfect for lace patterns and summer wear.
Hook
-
Recommended Hook Size: 3.5 mm (E) or 4.0 mm (G)
Tools & Supplies
-
Scissors
-
Tapestry needle
-
Stitch markers
-
Ribbon or yarn for bows
-
Measuring tape
-
Optional: Blocking board
Color Combo Tip: Try contrasting your bow color for added charm (e.g., ivory top with dusty rose bows). For an ethereal vibe, use monochrome tones and satin ribbons.
4. Step-by-Step Crochet Instructions
Let’s create your very own elegant lace top. Even if you’re just starting out, this pattern guides you through every step with clarity and support.
1. Start with a Foundation Chain
-
Measure your bust and create a foundation chain to match (add 1–2 inches for a relaxed fit).
-
Use a multiple of 2+2 chains for even lace alignment.
-
Turn and prepare to begin the lace stitch.
2. Forming the Lace Stitches
-
Row 1: Chain 1, single crochet (sc) into each chain.
-
Row 2 and beyond: Create pairs of open stitches using double crochet (dc) separated by chain-one spaces.
-
Continue rows until desired length (generally 14–18 inches for a cropped top).
Lace Tip: Keep your tension loose and relaxed for a soft drape. A too-tight tension may make the stitch look stiff and uneven.
3. Shaping the Upper Body & Neckline
-
Separate stitches to create two panels for the neckline.
-
Crochet each shoulder separately for 2–3 inches.
-
Slip stitch together to rejoin at the back of the neck.
4. Building the Back Panel
-
Create the same lace pattern for the back panel but keep it simple without bows.
-
Sew or crochet the front and back together at side seams, leaving attractive arm gaps.
5. Adding the Bows
-
Cut 3–4 ribbons or crochet thin strips of yarn.
-
Weave them between lace holes or tie onto neckline and chest areas.
-
Secure with small stitches or light glue if using fabric ribbon.
6. Assembly & Finishing
-
Weave in all yarn ends carefully.
-
Lightly block the top to flatten any curling edges and open the lacework fully.
-
Try on the top, adjust placement of bows if needed.
Finishing Tip: Blocking is key for lace projects it defines the stitch, enhances drape, and elevates the top from good to stunning.
5. Customization Ideas
Don’t stop at the basics here’s how to make your Crochet Lace Top with Bows truly yours:
-
Color Options: Replace classic white with romantic blush or bold mustard.
-
Yarn Alternatives: Use metallic thread for party wear or bamboo yarn for silky feel.
-
Ribbon Choices: Satin, velvet, crochet chains experiment with different bow materials.
-
Themed Versions: Snowflake lace in cool blue for winter; sunflower yellow with brown bows for fall.
-
Add-ons: Crochet matching sleeves, edge trim in scallop stitch, or attach a tiny flower applique.
6. Advanced Tips & Troubleshooting
Here’s how to perfect your crochet lace top and avoid common issues:
-
Invisible Joining: Use slip stitch joins in the back loops only to keep structure neat.
-
Measure as You Go: Lace stretches measure against body or mannequin for accurate sizing.
-
Yarn Splitting? Use a hook with a smooth throat and avoid pointed-tipped metal hooks.
-
Uneven Edges? Add an even row of single crochet at the beginning and end of panels.
-
Read Abbreviations: DC (double crochet), CH (chain), SC (single crochet), SL ST (slip stitch).
-
Fix Bow Slips: Sew bows lightly in place to prevent unraveling.
-
Crochet Too Tight? Go up a hook size to loosen your lace tension.
-
Want a Longer Top? Add additional rows in the main lace pattern before shaping the neckline.
7. Care Instructions
To keep your lace top fresh and fabulous:
-
Hand wash gently in cold water with mild detergent
-
Avoid wringing; press gently between towels
-
Air dry flat to prevent shape distortion
-
Store folded, not hung, to avoid stretching
-
Keep out of direct sunlight to preserve yarn color
8. Display & Gift Ideas
Make the most of your elegant handmade lace top!
-
Wear as a summer crop top with jeans or a skirt
-
Give as a romantic handmade gift
-
Pair with a kimono or cardigan for a layered boho look
-
Use as a styled prop in a flat-lay photo
-
Create matching bows or accessories for a complete set
9. Benefits Section
Making a crochet lace top isn’t just creative it’s deeply rewarding. This project promotes:
-
Relaxation & mindfulness: Let the rhythm of stitching calm your mind.
-
Creative expression: Customize colors, ribbon styles, and neckline.
-
Eco-friendly fashion: Handmade means less waste and fast-fashion guilt.
-
Skill growth: Learn lace stitching and shaping techniques.
-
Emotional connection: Handmade clothing carries stories and love others can feel.
10. Photography & Social Media Tips
Show off your handiwork beautifully with these tips:
-
Shoot in natural light soft sunlight works best to show stitch texture.
-
Place against neutral or soft backgrounds like linen or wood.
-
Use props like yarn balls, scissors, and ribbon to evoke maker vibes.
-
Try close-up shots to highlight the lace pattern intricately.
-
Post progress pics or reels for engaging social content!
🗂️ 11. Project Summary Table
| Category | Details |
|---|---|
| Skill Level | Easy / Intermediate |
| Estimated Time | 6–8 hours (approx.) |
| Finished Size | Varies (easily adjustable) |
| Estimated Cost | $10–15 |
12. Conclusion
Whether you’re dipping your toes into the crochet world or looking for a relaxing new project, the Crochet Lace Top with Bows Elegant Pattern is a perfect choice. It blends beauty, comfort, and creativity into one fashionable piece you can proudly wear or gift. As you tie the final bow and take your first selfie in your finished top, you’ll feel the heartfelt happiness that only handmade art can bring.
So grab your hook, choose your colors, and let every stitch be a reminder: what you create with love doesn’t just clothe it inspires. Happy crocheting!