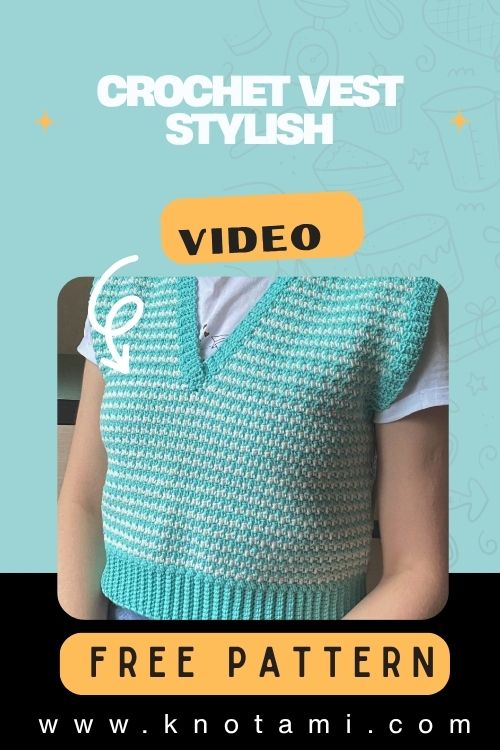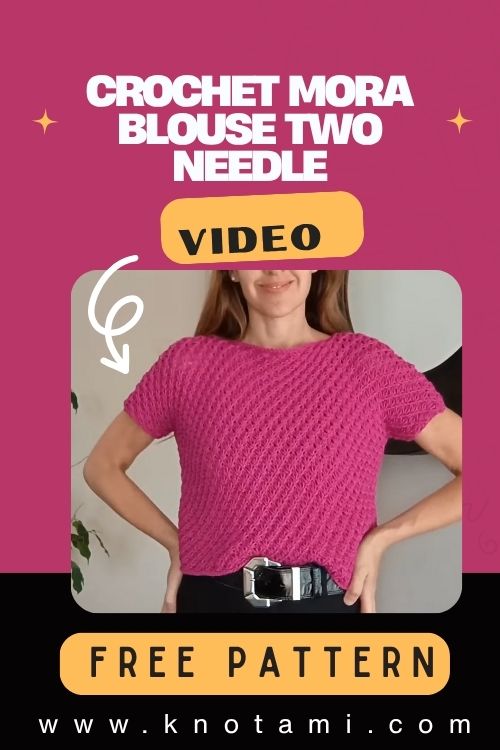
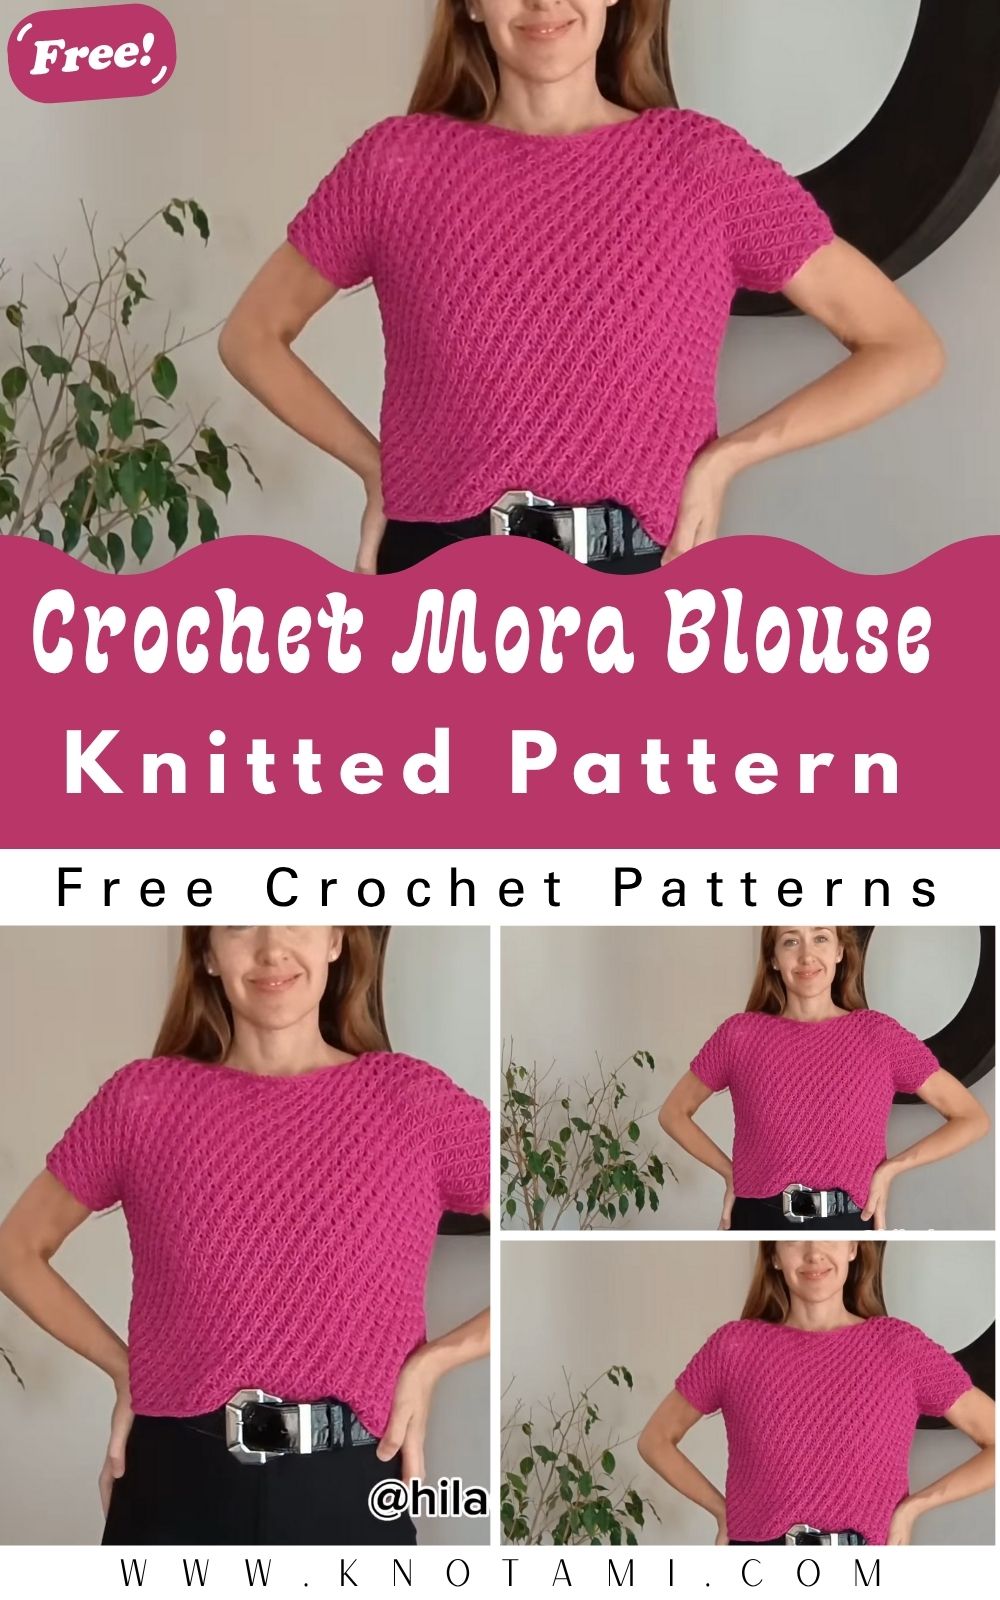
How to Make Crochet Mora Blouse Two Needle Knitted Pattern
There’s a special kind of magic in transforming soft strands of yarn into something beautiful and wearable. Crochet isn’t just a craft it’s an act of creativity, mindfulness, and patience that rewards you with something tangible, cozy, and meaningful. Few things compare to the satisfaction of wearing a handmade piece that you created with your own hands, stitch by stitch, watching the yarn come to life in beautiful patterns and textures.
Among the many crochet projects out there, the Crochet Mora Blouse Two Needle Knitted Pattern stands out for its elegance and charm. It combines the simplicity of two-needle knitting techniques with the beauty of crochet finishes, creating a unique blend of texture and comfort. This blouse is not only fashionable but also wonderfully versatile perfect for casual wear, seasonal layering, or as a heartfelt handmade gift.
Whether you’re just starting your crochet journey or already an experienced crafter, this project offers something for everyone. It’s easy enough for beginners to follow yet includes advanced techniques that keep it interesting and rewarding. You’ll explore beautiful stitch patterns, shaping methods, and design details that elevate your skills while letting your creativity flow freely.
Most of all, making the Crochet Mora Blouse is a slow, soothing experience. Each stitch carries a rhythm, helping you unwind as you create something both stylish and sentimental. It’s a project that brings calm, joy, and a sense of accomplishment the perfect gift for yourself or someone special who appreciates the beauty of handmade art.
Materials & Tools Needed
Before starting your Crochet Mora Blouse, gather all the essentials to ensure smooth crafting. Having the right materials will make a big difference in how your finished piece feels and fits.
Materials List
-
Yarn: Soft cotton or lightweight acrylic yarn, DK or sport weight (size 2–3).
-
Knitting Needles: Two straight needles (3.5 mm – 4.0 mm recommended).
-
Crochet Hook: Size 3.0 mm – 3.5 mm (for edging and finishing touches).
-
Tapestry Needle: For weaving in ends and joining seams neatly.
-
Scissors: Sharp pair for clean cuts.
-
Stitch Markers: To mark pattern repeats or shaping points.
-
Measuring Tape: To ensure size accuracy and even lengths.
Yarn Choice Tips
Choosing the right yarn is essential for this blouse. Go for soft, breathable yarns such as cotton blends for comfort and drape. If you prefer a cozier texture, try bamboo or linen blends for a natural sheen. For color combinations, pastels bring out a soft, feminine look, while bold jewel tones make your blouse stand out beautifully.
Avoid overly stretchy yarns since the structure of the blouse relies on consistent stitch tension. Always check your gauge before beginning to make sure your size will come out perfectly.
Step-by-Step Crochet Instructions
1. Creating the Foundation
Start by casting on stitches for the back panel using your two knitting needles. The number of stitches will depend on your desired size typically between 90–110 stitches for a medium fit. Knit in a rib stitch pattern (K2, P2) for about 5–7 rows to create a snug and elastic hem.
2. Knitting the Main Body
After the ribbing, continue with a stockinette stitch (one row knit, one row purl). This will form the smooth fabric of your blouse. For added design, alternate between sections of stockinette and eyelet lace rows to create a decorative, breathable texture.
As you progress, remember to check your measurements regularly to maintain symmetry between panels. Use stitch markers to indicate any pattern transitions.
3. Shaping the Armholes
Once your panel reaches the underarm level, it’s time to shape the armholes. Bind off a few stitches (usually 5–7) at the start of the next two rows. Continue knitting until the piece measures your desired length from hem to shoulder.
4. Creating the Front Panel
Repeat the same process for the front piece, but this time, add a neckline opening. When you reach the upper third of your work, divide your stitches into two halves and continue working each side separately to form the V or round neckline, depending on your preferred design.
5. Joining Shoulders and Sides
Once both front and back pieces are complete, align them and use your tapestry needle to sew the shoulder seams together neatly. Then, join the sides from the hem up to the armhole area, leaving enough room for comfortable arm movement.
6. Adding Crochet Edging
Now comes the beautiful crochet finishing! Using your crochet hook, work a delicate border around the neckline, sleeve openings, and hemline. A simple shell stitch or picot edge adds a feminine touch, while a scalloped border gives a romantic, vintage flair.
7. Final Touches
Before blocking, weave in all loose ends with your tapestry needle. Lightly steam block or dampen your blouse to help the stitches relax and even out. Let it dry flat on a towel and admire your creation!Customization Ideas
Your Mora Blouse can be as unique as you are. Here are some fun ideas to personalize it:
-
Color Play: Try gradient yarns, ombré tones, or color-blocking for a trendy twist.
-
Seasonal Themes: Use cool blues and whites for winter, or bright tropical hues for summer.
-
Add-ons: Attach small crochet flowers, ribbons, or lace trims for decoration.
-
Yarn Swap: Experiment with silk blends for a luxurious drape or cotton-linen for a rustic look.
-
Pattern Mix: Combine textured stitches (like moss or waffle) for a boho effect.
Each version will feel fresh and uniquely yours!
Advanced Tips & Troubleshooting
Here are some expert tips to make your blouse look perfectly polished:
-
Keep Even Tension: Relax your hands and maintain steady pressure on the yarn.
-
Check Gauge Regularly: Prevent size issues by measuring every few inches.
-
Invisible Seams: Use a mattress stitch for nearly invisible joins.
-
Prevent Twisting: Always double-check your starting rows before continuing.
-
Fixing Uneven Shapes: Gently stretch and block the garment to correct shape.
-
Neat Edges: Slip the first stitch of every row for a cleaner border.
-
Avoid Overstuffing (if applicable): Keep fabric light and drapey, not stiff.
-
Reading Patterns: Familiarize yourself with abbreviations like K, P, YO, and BO.
-
Use Stitch Markers: They’re lifesavers for lace sections and armhole shaping.
-
Block Before Seaming: This helps align panels and makes joining easier.
Care Instructions
To keep your handmade blouse in perfect condition:
-
Hand Wash Only: Use cool water and mild detergent.
-
Avoid Harsh Chemicals: No bleach or strong soaps.
-
Air Dry Flat: Prevent stretching by drying on a flat surface.
-
Avoid Sun Exposure: Store away from direct sunlight to preserve color.
-
Storage Tip: Fold neatly and store in a breathable cotton bag.
Following these simple steps ensures your blouse remains soft, vibrant, and long-lasting.
Display & Gift Ideas
Your Crochet Mora Blouse makes a perfect gift or a personal style statement! Here are some creative ways to showcase or share it:
-
Wardrobe Essential: Pair it with jeans, skirts, or layered dresses.
-
Gift Idea: Wrap it in tissue paper with a handmade tag perfect for birthdays or holidays.
-
Home Display: Hang it on a wooden hanger as décor in your craft space.
-
Boutique Display: Great item to sell at craft fairs or Etsy shops.
-
Memory Gift: Create a matching set for a loved one a truly sentimental gesture.
Benefits of Making the Crochet Mora Blouse
Creating your own Mora Blouse isn’t just about fashion it’s about mindfulness, creativity, and sustainability.
-
Relaxation & Mindfulness: The repetitive motion of stitching is calming and meditative.
-
Stress Relief: Focused crafting helps ease anxiety and clear your mind.
-
Accomplishment: Wearing your own handmade piece feels incredibly rewarding.
-
Eco-Friendly: Handmade clothing reduces waste and promotes slow fashion.
-
Emotional Value: Every stitch carries intention and love a reflection of your care and creativity.
Photography & Social Media Tips
If you want to share your creation online or keep memories of your project, here’s how to make your blouse shine in photos:
-
Use Natural Lighting: Morning or late-afternoon light gives the softest tones.
-
Add Props: Place your blouse next to yarn balls, crochet hooks, or flowers for aesthetic flair.
-
Neutral Backgrounds: Light beige, white, or wooden surfaces keep focus on your work.
-
Close-Up Shots: Highlight textures and stitches to inspire others.
-
Wear It Proudly: Model your blouse to show its shape and fit your handmade pride will shine!
Conclusion
Crafting your own Crochet Mora Blouse Two Needle Knitted Pattern is more than just following stitches it’s about embracing creativity, patience, and the joy of handmade art. From the first cast-on to the final crochet edge, you’ll feel the calm rhythm of crafting flow through your fingers, transforming simple yarn into something beautiful and meaningful.
This project is a perfect blend of style, comfort, and craftsmanship. Whether you keep it for yourself or gift it to someone special, your Mora Blouse will always carry a piece of your heart a reminder of the magic in making something with love. So grab your needles, choose your favorite yarn, and start stitching your story today.