How to Make a Crochet Simple Turtle Amigurumi Pattern
There’s a special kind of joy that comes from taking a simple strand of yarn and giving it form, character, and life. Crafting something by hand is much more than just following a pattern it’s a meditative practice, a release for creativity, and a way of making something tangible that carries warmth and meaning. Each loop and stitch holds not just fibers but thoughts, emotions, and the satisfaction of playing with color and texture to create something completely unique.
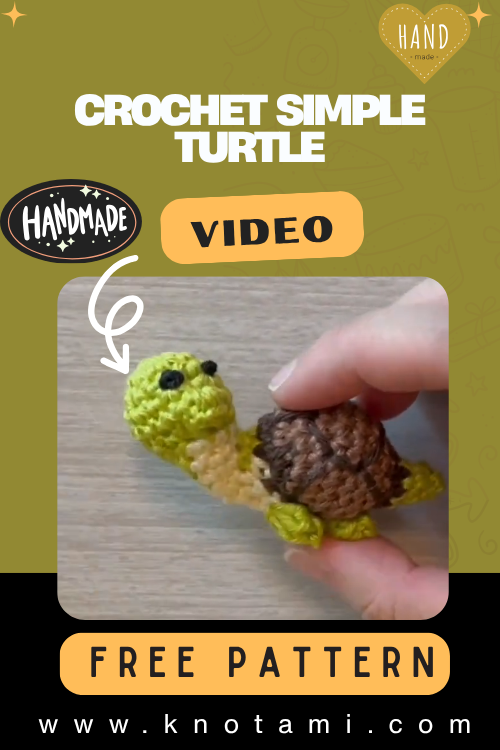
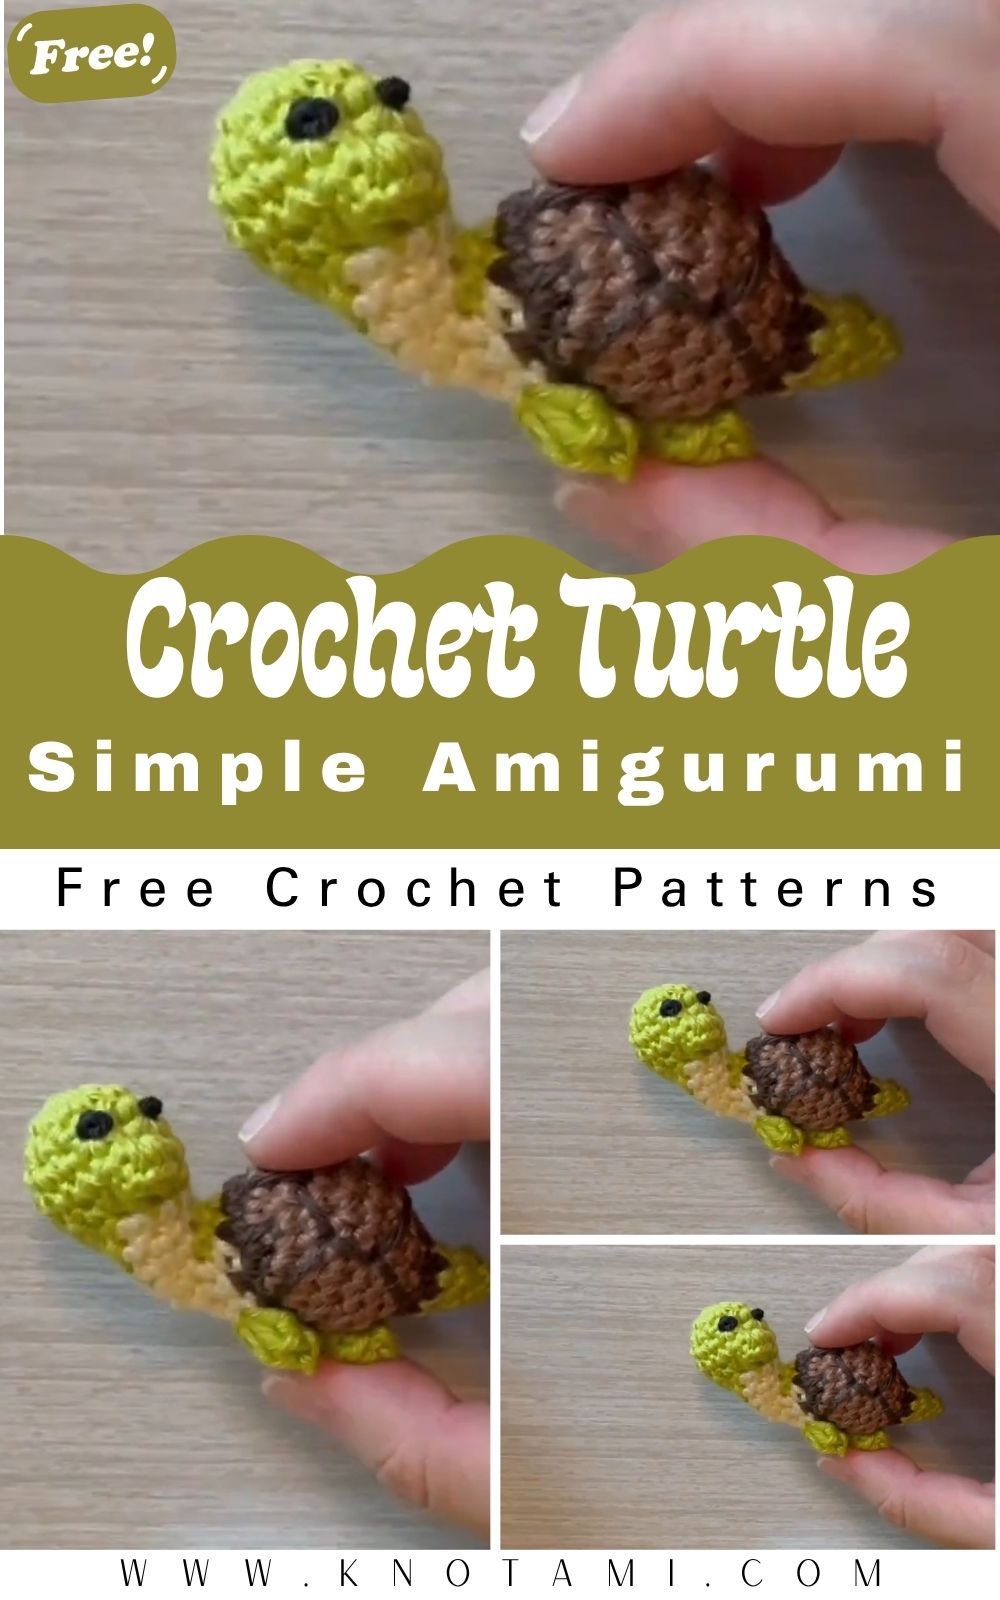
In this tutorial, we’re exploring the adorable and timeless world of amigurumi with a darling Crochet Simple Turtle pattern. This little turtle, with its rounded shell, tiny legs, and friendly face, brings both fun and comfort to your crochet hook. It’s the perfect balance between simple stitches and delightful design a great way to bring a smile to someone’s face or brighten up a room with handmade charm.
Whether you’re completely new to amigurumi or an experienced crocheter looking for a relaxing project, this pattern offers something for everyone. The steps are clear and beginner-friendly, yet give advanced makers the chance to add personal touches and experiment with colors, textures, and accessories. It’s also wonderfully portable ideal for travel crafting or cozy evenings at home.
The slow rhythm of crocheting in the round, shaping a soft body, and assembling little pieces together creates a therapeutic flow. As your turtle takes form, you’ll feel the joy of creating something meaningful one stitch at a time. This project is not only great for gifting but also perfect as a desk companion, keepsake, or a gentle reminder to slow down and enjoy the process just like a turtle would.
Materials & Tools
Before we jump into crocheting your sweet turtle, let’s gather everything we’ll need.
Yarn:
-
Medium-weight (size 4) yarn in two colors:
-
Main Color: (for the shell): green, brown, or any favorite shade.
-
Contrast Color: (for the head, legs, and tail): cream, beige, or light green.
-
🪝 Crochet Hook:
-
Size 3.5 mm to 4.0 mm (US E or G), depending on desired stitch tightness.
Safety Eyes:
-
6–8 mm black safety eyes (or you may embroider eyes with black thread).
Stuffing:
-
Polyester fiberfill (use high-quality stuffing for smooth, durable shaping).
Tools:
-
Tapestry needle for sewing parts together and weaving in ends.
-
Stitch markers to mark the beginning of rounds.
-
Scissors for clean cutting.
-
Optional: embroidery thread for facial features or shell detailing.
Choosing Yarn and Color
For clean stitch definition, cotton or cotton-blend yarns work best, especially for amigurumi. Acrylic yarn is also soft and widely available. Use natural tones for realistic turtles or get creative with pastel, rainbow, or neon color combinations!
4. Step-by-Step Crochet Instructions
This Crochet Simple Turtle is worked in multiple parts the head, shell, legs, tail, and more all assembled at the end.
1. Making the Head
-
Start with a magic ring and crochet in continuous rounds.
-
Use simple increases to shape the head into a sphere.
-
Insert safety eyes between designated rounds before closing.
-
Add light stuffing as you go so the head maintains a rounded shape.
Expert Tip: Don’t overstuff firm but pliable stuffing creates a natural look and avoids overexpansion of stitches.
2. Forming the Neck and Upper Body
-
Continue from the head base or attach separately.
-
Use several rows of single crochet (sc) to form a short neck.
-
Begin slight increases to form attachment area for the shell.
Tip: Use a stitch marker to track your first stitch in each round for a clean, even shape.
3. Building the Main Body (Shell)
-
Start with a flat circular base using continuous rounds.
-
Increase outward until desired shell width is reached.
-
Begin decreasing to create the dome shape.
-
Stuff firmly before completely closing the shell.
Balancing Tip: Shape the shell gradually as you stuff to ensure even distribution and prevent flattening.
4. Shaping and Attaching the Base
-
Create a separate oval or circular base for the shell underside.
-
Use the main color or contrast yarn to match or personalize.
-
Lightly stuff and attach carefully with a tapestry needle.
5. Creating Limbs & Tail
-
Make 4 simple tubular legs in contrast color.
-
Crochet 1 short pointed tail.
-
Lightly stuff legs to keep them flexible; leave tail unstuffed.
Tip: Position legs evenly with pins before sewing to ensure symmetry.
6. Assembly and Positioning
-
Start by attaching the head to the body using whip stitch or invisible seam.
-
Pin limbs in place, making sure the turtle sits level.
-
Attach tail at the back of the shell.
-
Double thread your needle for extra strength when sewing parts that may be handled often.
7. Final Touches and Accessories
-
Embroider a tiny smile or blush with yarn or fabric marker.
-
Add decorative shell markings using contrasting yarn or felt patches.
-
Accessorize with a tiny bow, scarf, or miniature backpack for extra charm.
5. Customization Ideas
Let your creativity make this turtle uniquely yours:
-
Color Variations: Go for rainbow shell stripes, pastel shades, or earthy tones for a nature-inspired look.
-
Yarn Types: Try using velvet yarn for a plush look or cotton for clean definition.
-
Holiday Themes: Add a tiny Santa hat or reindeer antlers for seasonal turtles.
-
Themed Ideas: Make a Baby Ninja Turtle or royal princess turtle with a tiny crown.
6. Advanced Tips & Troubleshooting
-
Invisible Decreases: Use front-loop-only decreases to avoid gaps.
-
Even Tension: Check every few rounds to maintain consistent stitch size.
-
Prevent Twisting: Keep stitch markers in place and work carefully in spirals.
-
Fixing Loose Stitches: Remove and redo tight or loose rounds before assembly.
-
Shaping: Gently roll stuffed body parts in your hands for smooth results.
-
Seamless Joints: Pin before sewing; use matching yarn for invisible seams.
-
Pattern Reading: Memorize common abbreviations like sc (single crochet), inc (increase), and dec (decrease).
7. Care Instructions
Your crochet turtle is durable, but care keeps it adorable:
-
Hand wash gently using cold or mild water.
-
Use baby-safe or delicate detergent to protect fibers and colors.
-
Air dry flat to prevent stretching.
-
Avoid harsh sunlight that fades yarn.
-
For long-term storage, keep in a breathable fabric pouch or display shelf.
8. Display & Gift Ideas
This Crochet Simple Turtle is a thoughtful and charming piece for:
-
Baby nursery decoration or gender-neutral toy.
-
Bookshelf or desk companion adding calm and charm.
-
Personalized holiday ornament with themed accessories.
-
Heartfelt handmade gift for birthdays, baby showers, or holidays.
9. Benefits Section
Beyond being a cute crochet project, this turtle offers emotional and creative benefits:
-
Helps relieve stress with rhythmic, calming motions.
-
Boosts mindfulness and presence.
-
Encourages eco-friendly gifting with handmade options.
-
Feels meaningful made with love for someone special.
-
Fosters a sense of pride and creative accomplishment.
10. Photography & Social Media Tips
Make your turtle shine online!
-
Use soft, natural lighting near a window.
-
Add props like yarn balls, flowers, or tiny books for staged shots.
-
Try shooting from above and at eye-level for dynamic angles.
-
Use a neutral background to let your project pop.
-
Include close-ups of the shell texture and embroidered face.
11. Conclusion
Creating your own Crochet Simple Turtle isn’t just about crafting a cute toy it’s a celebration of slow creativity and handmade joy. With just a bit of yarn, intention, and imagination, you’ve turned something simple into something heartfelt and beautifully unique. Whether you’re gifting it or keeping it for yourself, this sweet turtle holds love in every stitch.
So grab your hook, gather your yarn, and let this little turtle remind you to go slow, enjoy the process, and create something meaningful from your hands.