
There’s a special kind of joy in watching a simple strand of yarn turn into something magical a cuddly creation that brings warmth and smiles. Crochet, with its rhythmic loops and soft textures, allows you to transform imagination into something tangible. Every stitch tells a story, every detail reflects care, and when the final piece comes to life in your hands, it’s pure satisfaction.
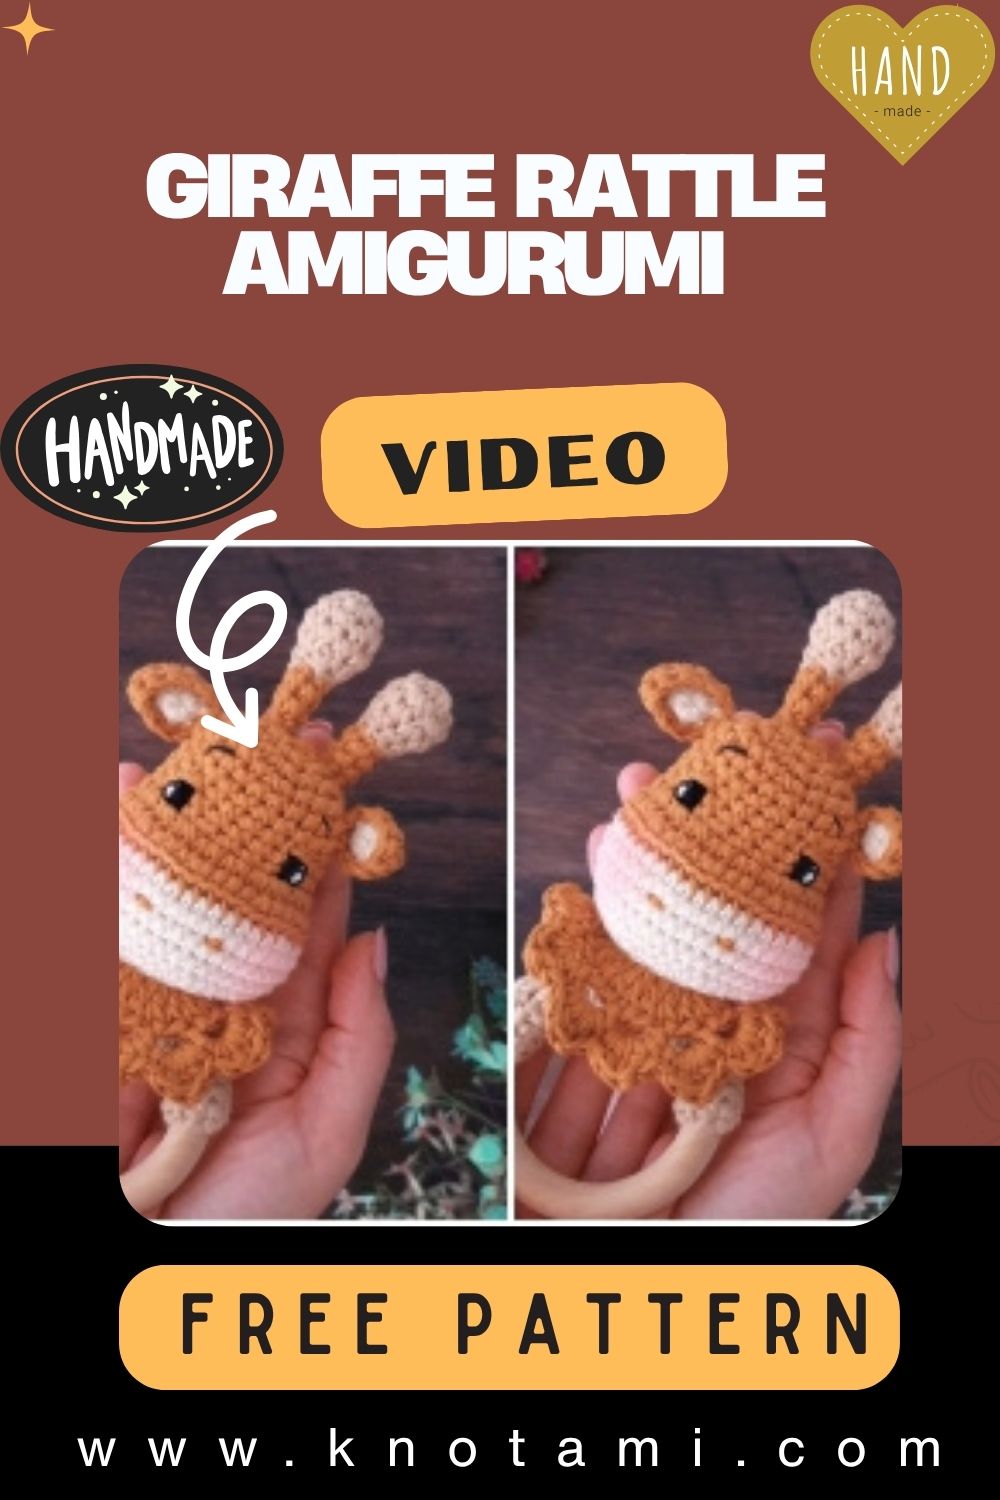
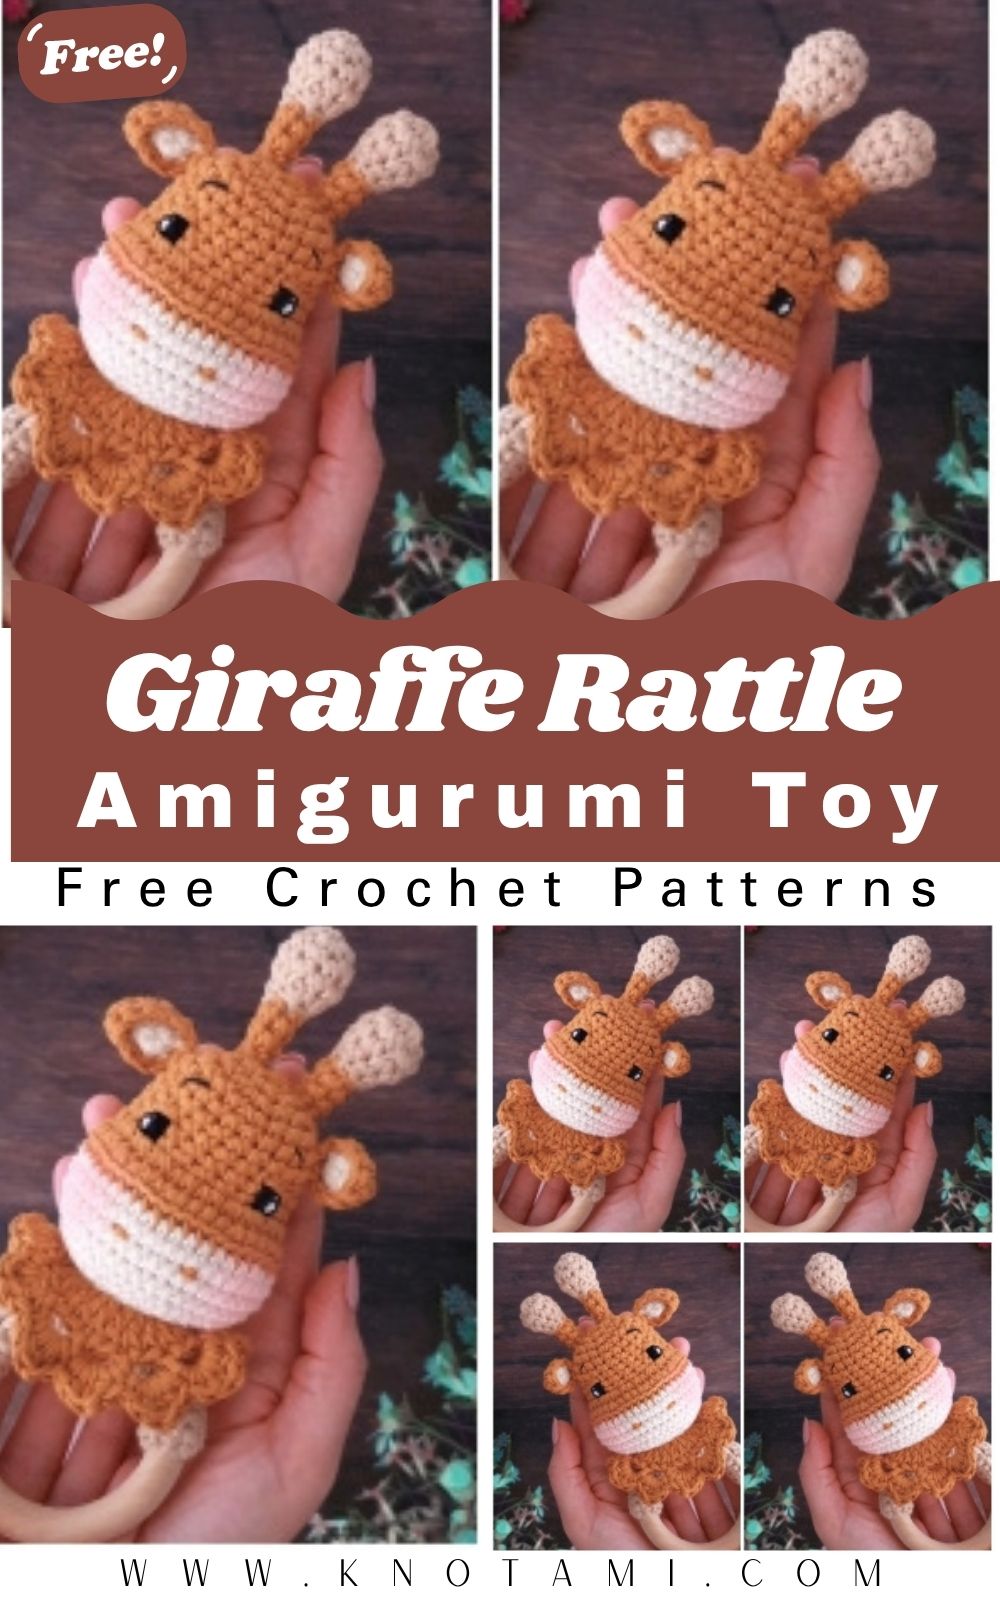
One of the most adorable projects you can make with just a hook, yarn, and love is the Crochet Giraffe Rattle Amigurumi. This delightful toy combines the charm of handmade artistry with the practical joy of a rattle making it both a playful companion for babies and a heartwarming handmade keepsake. With its sweet little face, long ears, and cheerful personality, this giraffe rattle is truly eye-catching and irresistibly cute.
What makes this project even more wonderful is its accessibility. Whether you’re a beginner eager to explore amigurumi or a seasoned crocheter looking for a relaxing project, this giraffe rattle offers just the right balance of fun, creativity, and skill. The techniques are simple enough for newcomers, yet versatile enough to let experienced crafters play with colors, patterns, and textures.
Beyond its cuteness, crocheting this toy offers a calming escape. The soft rhythm of each stitch soothes the mind, while the act of creating something handmade fills your heart with pride. It’s the perfect project for mindful crafting ideal for gifting, nursery décor, or simply as a peaceful pastime that results in something beautiful and meaningful.
Materials & Tools
Before you begin, make sure you have everything ready. The right materials can make a huge difference in both appearance and texture.
What You’ll Need:
-
Yarn: 100% cotton or soft baby yarn (weight: DK or sport weight). Choose yellow or light beige for the giraffe’s body, with brown for the spots, ears, and details.
-
Crochet Hook: 2.5 mm or 3.0 mm hook (adjust based on your yarn thickness).
-
Stuffing: Premium polyester fiberfill for a soft and squishy texture.
-
Rattle Insert: Small plastic or wooden rattle insert to create the jingling sound inside.
-
Safety Eyes: 6 mm or 8 mm black safety eyes (or you can embroider eyes for newborn safety).
-
Tapestry Needle: For sewing parts together and weaving in ends.
-
Scissors: Sharp, small scissors for clean cuts.
-
Stitch Markers: To mark rounds and keep your stitch count accurate.
Choosing the Perfect Yarn
Opt for cotton yarn when making baby toys. It’s durable, washable, and holds shape beautifully. If you prefer something extra soft, try organic cotton blends or bamboo yarn, which add a luxurious feel.
For colors, go classic with soft pastel yellow and light brown, or make it whimsical with mint green, lavender, or even a rainbow giraffe for extra charm. Always use yarn that’s gentle and hypoallergenic if the toy is meant for babies.
Step-by-Step Crochet Instructions
Let’s dive into creating your Crochet Giraffe Rattle Amigurumi. This project is typically worked in continuous rounds using basic stitches like single crochet, increase, and decrease. Use your stitch marker to track the beginning of each round.
1. Making the Head
-
Start with a magic ring and make 6 single crochets into it. Pull tight to close.
-
Increase around each stitch (12 sts).
-
Continue increasing gradually over several rounds until the head reaches the desired width usually around 36–42 stitches at its widest.
-
Work even single crochet rounds to shape the face.
-
Add the safety eyes between rounds 8 and 10, about 6–7 stitches apart.
-
Before closing, insert the rattle ball and add stuffing firmly yet evenly to keep the round shape.
-
Decrease slowly to close the head.
Pro Tip: Shape as you stuff. Don’t overfill the rattle needs room to vibrate for a soft sound.
2. Forming the Neck and Upper Body
-
Attach your yarn to the bottom of the head.
-
Crochet in continuous rounds to form a narrow neck, about 6–8 rows high.
-
Gradually increase to widen the base of the body.
-
Keep your stitches even to prevent twisting.
-
Stuff lightly to maintain shape.
Expert Advice: To prevent the neck from wobbling, stuff it tightly but not stiffly, maintaining balance between softness and support.
3. Building the Main Body
-
Continue crocheting in the round, increasing until the body matches the desired width (usually a little wider than the head).
-
Alternate colors or add brown spots every few rows for the classic giraffe pattern.
-
Once the width is set, work even rounds to build the body’s length.
-
Begin decreasing rounds to taper toward the bottom.
-
Stuff as you go, making sure the filling is evenly distributed.
Tip: Use your fingers or a stuffing stick to push small bits of fiberfill at a time. This avoids lumpy stuffing and keeps the shape smooth.
4. Shaping or Attaching the Base
Depending on your pattern, the base might be closed flat or attached to a ring handle (for baby rattles).
-
If using a wooden teething ring, sew the body base securely around it using your tapestry needle.
-
If closing the base, finish with invisible decreases and weave in the end neatly.
For extra safety, double-knot and hide all yarn tails inside the body.
5. Creating the Ears, Horns, and Tail
Ears:
-
Make two small ovals using beige yarn.
-
Crochet two identical pieces and sew them to the top sides of the head.
Horns (Ossicones):
-
Use brown yarn to create two tiny tubes, lightly stuffed, then sewn between the ears.
Tail (Optional):
-
Chain 8–10 stitches, then add a small tuft of brown yarn at the tip for realism.
These finishing parts add character your giraffe truly comes to life when the ears and horns are in place!
6. Assembly and Positioning
-
Sew all the parts firmly to the head and body.
-
Adjust positioning to ensure the face looks symmetrical and expressive.
-
Double-check that all pieces are securely attached, especially if making this toy for a baby.
Expert Note: Use the pin first, sew later method. Attach pieces with pins to preview placement before stitching them permanently.
7. Adding Final Touches
-
Embroider a small smile or nostrils using black thread.
-
Add blush with soft pink yarn or fabric-safe paint for a gentle baby-like charm.
-
Optional: wrap a mini scarf or bow around its neck for extra cuteness.
Customization Ideas
Your giraffe doesn’t have to look like everyone else’s! Here are creative ways to personalize it:
-
Color Variations: Try pink and cream for a baby girl theme or mint and white for a gender-neutral option.
-
Yarn Textures: Use fluffy chenille yarn for a plush feel or shiny mercerized cotton for a sleek finish.
-
Holiday Themes: Make a Christmas giraffe with a red scarf or an Easter version with pastel hues.
-
Fantasy Giraffes: Add rainbow spots or metallic thread accents for a whimsical touch.
-
Props & Accessories: Tiny bows, crocheted hearts, or a mini hat can instantly elevate your design.
Advanced Tips & Troubleshooting
Take your amigurumi skills to the next level with these expert pointers:
-
Invisible Decreases: Always pick up the front loops of the next two stitches to create a seamless look.
-
Keep Even Tension: Practice consistent pressure with your hook to prevent uneven stitches.
-
Avoid Twisted Rounds: Mark the start of each round and check stitch alignment regularly.
-
Fixing Uneven Shapes: Gently massage the stuffed areas to even out bumps.
-
Proper Stuffing: Add small amounts of stuffing gradually. Overstuffing can distort your shape.
-
Seamless Joins: Use the whip stitch with matching yarn color to make joins invisible.
-
Reading Patterns: Learn common abbreviations like sc (single crochet), inc (increase), and dec (decrease).
-
Counting Stitches: Always count twice per round it saves time fixing mistakes later!
-
Yarn Splitting: If your yarn splits, switch to a hook with a smoother head or adjust your angle.
-
Safety First: Double-check all small parts if gifting to infants; embroider eyes instead of using plastic ones.
Care Instructions
To keep your giraffe rattle looking lovely for years:
-
Hand Wash Gently with lukewarm water and mild baby detergent.
-
Avoid Soaking a quick rinse works best.
-
Air Dry Flat on a towel to keep its shape.
-
Avoid Direct Sunlight to prevent color fading.
-
Store Safely in a clean, dry place or display on a nursery shelf away from pets.
Display & Gift Ideas
There are so many heartwarming ways to share or showcase your finished giraffe rattle:
-
Baby Shower Gift: Wrap it with a matching crocheted blanket or onesie for a handmade baby bundle.
-
Nursery Décor: Place it on a shelf as a whimsical accent.
-
Desk Buddy: Keep one at your workspace to remind you of slow, mindful crafting.
-
Holiday Ornament: Miniaturize the pattern for a festive tree decoration.
-
Personalized Present: Add initials or a date tag for a keepsake-worthy touch.
Benefits of Making a Crochet Giraffe Rattle Amigurumi
Crocheting isn’t just a craft it’s a mindful, therapeutic experience. Here’s why this project brings so many benefits:
-
Relaxation: The repetitive rhythm of crochet calms the mind and encourages mindfulness.
-
Stress Relief: Creative focus melts away daily stress.
-
Sense of Accomplishment: Watching your giraffe come to life brings immense satisfaction.
-
Sustainable Gifting: Handmade gifts reduce waste and add sentimental value.
-
Emotional Connection: Creating something with your hands carries love and intention, making it truly special.
Photography & Social Media Tips
If you love sharing your crafts online, showcase your giraffe beautifully with these photo ideas:
-
Natural Light: Shoot near a window during the day for soft, even lighting.
-
Background: Use pastel or wooden textures for a cozy, handmade vibe.
-
Props: Add yarn balls, crochet hooks, or baby blankets to set the scene.
-
Angles: Capture close-ups of details like the ears or spots.
-
Editing: Keep it natural; enhance brightness slightly but maintain the soft tones of the yarn.
Conclusion
Crafting a DIY Crochet Giraffe Rattle Amigurumi is more than just making a toy it’s creating a memory, a moment of calm, and a symbol of love. With each loop of yarn, you’re infusing warmth and care into something that will make others smile.
Whether you’re gifting it to a little one, decorating a nursery, or simply enjoying the art of slow crafting, this giraffe rattle reminds us of the beauty of handmade treasures. So grab your yarn, your favorite hook, and let your creativity roam free your next adorable giraffe friend is waiting to come to life, one stitch at a time.