

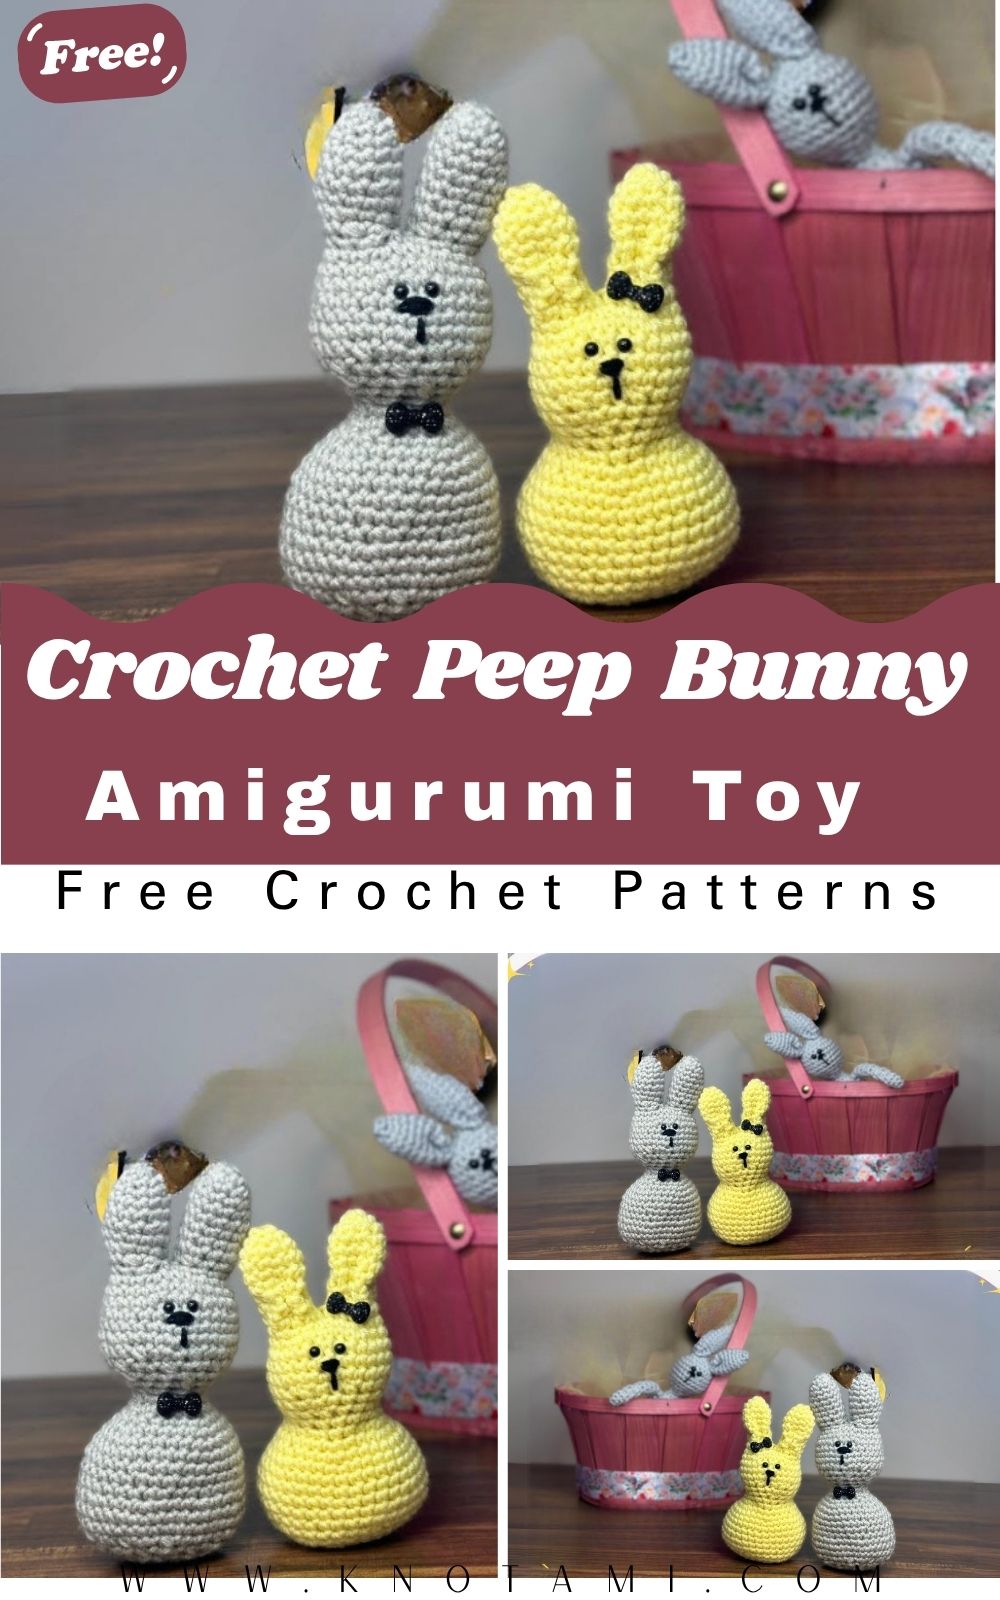
If those nostalgic marshmallow bunny candies make you smile, you’ll love this cozy crochet spin on the classic. The Crochet Peep Bunny Amigurumi Pattern yields a plump, palm-sized bunny with perky ears, a smooth, rounded body, and a sweetly minimal face. Its soft curves and cuddly texture give it instant charm without much fuss.
This pattern is beginner-friendly and a relaxing, quick make for experienced crocheters. Stitch one as a toy, a shelf accent, an Easter basket surprise, a cheerful desk buddy, or a thoughtful handmade gift. It’s adorable in spring pastels, but it also shines in bold brights and calm neutrals any time of year.
I especially love how stash-busting and speedy it is. You can finish one in an evening and still have time to start a second in a new color. Make a single cutie for someone special or whip up a whole rainbow for party favors, market tables, or seasonal décor.
Materials Needed
You don’t need many supplies to bring this tiny Peep bunny to life. Most of these are everyday crochet essentials:
-
Yarn:
-
Main color: pastel yarn (yellow, pink, purple, blue, or green works beautifully).
-
Medium-weight (worsted) yarn, approx. 30-50 yards.
-
-
Crochet Hook: 2.5mm-3.5mm (use a smaller hook for tighter stitches).
-
Stuffing: Polyester fiberfill or soft toy stuffing.
-
Safety Eyes: 6mm-8mm, or black embroidery thread for a stitched face.
-
Tapestry or Yarn Needle: For sewing and weaving in ends.
-
Scissors.
-
Stitch Markers: Helpful for counting rounds.
-
Optional:
-
Tiny ribbon or bow.
-
Embroidery floss for facial details.
-
Keyring or loop if turning it into a charm.
-
Yarn and Color Advice
Pastel colors are what really give this bunny its Peep-inspired personality. Soft yellow is the classic choice, but pink, lavender, mint, or baby blue are just as adorable.
Cotton yarn gives crisp stitches and clean edges, while acrylic yarn creates a softer, squishier bunny. If you want a plush, candy-like look, velvet or chenille yarn works too,o just be sure to keep your stitches tight so the shape holds.
Level of Difficulty
This pattern is very beginner-friendly and perfect if you’re new to amigurumi. The stitches are simple, repetitive, and forgiving, making it a great confidence booster.
You’ll mainly use single crochet, along with basic increases and decreases, all worked in continuous rounds. There are no advanced techniques or tricky joins, and the small size means mistakes are easy to fix without losing much progress.
If you’ve ever crocheted a basic ball or simple animal before, you’ll find this project smooth and enjoyable. Even complete beginners can follow along and learn as they go.
Step-by-Step Project Overview
1. Starting the Body
Begin with a magic ring in your chosen pastel yarn. Work in continuous rounds, increasing gradually to form a small, rounded base. This becomes the bunny’s body and head combined, giving it that simple Peep-like shape.
As you crochet, keep your tension even. Tight stitches help the bunny look smooth and prevent stuffing from showing through.
2. Shaping the Main Piece
Once you reach the widest part of the body, crochet a few even rounds to build height. Then begin decreasing slowly to close the top.
Before closing completely, start adding stuffing in small amounts. If your piece curves slightly, that is normal; you can adjust the shaping with gentle stretching and by redistributing the stuffing evenly.
When the body feels soft but well-shaped, close the opening securely and weave in the end.
3. Making the Ears
The ears are crocheted separately as long, narrow shapes. They’re simple rectangles or slightly tapered pieces that stand upright once sewn on.
At this stage, it helps to pause and check that both sides look even. Pin the ears on top of the body before sewing so you can adjust their angle and spacing.
4. Attaching the Ears
Sew the ears firmly to the top of the body using a tapestry needle. Keep your stitches neat and hidden, en so the join looks clean.
The ears give the bunny its personality, so take your time here. Slightly angled ears can make the bunny look playful, while straight ears give a more classic Peep look.
5. Adding Facial Features
For the face, keep things simple. Add two small eyes using safety eyes or black embroidery thread. Some versions also include a tiny stitched nose or dot mouth, but even just the eyes can be enough.
Minimal facial details are part of what makes this bunny so charming. Small changes in eye placement can give it a sleepy, curious, or cheerful expression.
6. Final Touches
Once everything is attached, gently squeeze and shape the bunny to smooth out any uneven spots. Add optional decorations like a tiny bow, blush cheeks, or embroidered dots for extra cuteness.
Weave in all yarn ends securely, and your mini Peep bunny is ready to enjoy.
Special Features of This Pattern
This Crochet Peep Bunny Amigurumi Pattern stands out for its simplicity and charm:
-
Clear, slow-paced tutorial that’s easy to follow.
-
Minimal pieces and very little sewing.
-
Simple shape that’s great for beginners.
-
Fast project perfect for last-minute gifts.
-
Cute, recognizable Peep-inspired design.
-
Easy to make in batches for decorating or gifting.
It’s one of those patterns that’s just as fun to make the fifth time as it is the first.
Tips for Best Results
These tips will help your bunny look neat and polished:
-
Keep your tension consistent throughout.
-
Use a stitch marker to track rounds easily.
-
Stuff gradually to avoid lumps.
-
Don’t overstate that a slightly squishy bunny looks best.
-
Pin ears before sewing to check symmetry.
-
Adjust the hook size if the stitches look loose.
-
Use good lighting for facial embroidery.
-
Secure all ends tightly, especially for kids’ toys.
-
Shape the bunny gently with your hands after stuffing.
-
Take breaks if your hands feel tired. Small projects still need care.
How to Use or Gift Your Crochet Peep Bunny Amigurumi Pattern
This mini bunny is incredibly versatile and works well in many settings.
You can use it as:
-
A spring or Easter decoration.
-
A small toy or plush companion.
-
A desk buddy for your workspace.
-
A gift topper or party favor.
-
A collectible in a set of pastel bunnies.
It’s a wonderful handmade gift for Easter baskets, birthdays, baby showers, classroom gifts, or craft fairs. For presentation, place it in a small box, clear bag, or basket with shredded paper for a festive touch.
Customization Crochet Peep Bunny Amigurumi Pattern Ideas
One of the best things about this pattern is how easy it is to personalize.
Play with colors to match themes or seasons, pastel shades for spring, white for a minimalist look, or even bright neon colors for a fun twist. You can also make a rainbow set for a cheerful display.
Changing the yarn type completely transforms the bunny. Cotton gives a clean definition, acrylic adds softness, and velvet or chenille yarn makes it extra plush and candy-like.
To change the size, use a thicker yarn and a larger hook for a bigger bunny, or a thinner yarn for a tiny version. You can also add small extras like bows, flowers, embroidered initials, or a loop to turn it into a keychain or ornament.
Conclusion
The Mini Crochet Peep Bunny Amigurumi Pattern is a joyful, relaxing project that proves simple designs can be incredibly charming. It’s quick to make, easy to customize, and perfect for spreading handmade happiness.