

There’s a unique kind of happiness that comes from transforming a simple ball of yarn into something alive with personality. Crocheting invites you into a slow, meditative process where your creativity gently unfolds, one stitch at a time. The beauty of handmade art lies not only in the final product but in the journey the soft rhythm of loops and the peaceful joy of seeing something cute emerge from your fingertips. Each creation carries your time, care, and imagination, turning yarn into warmth and meaning.
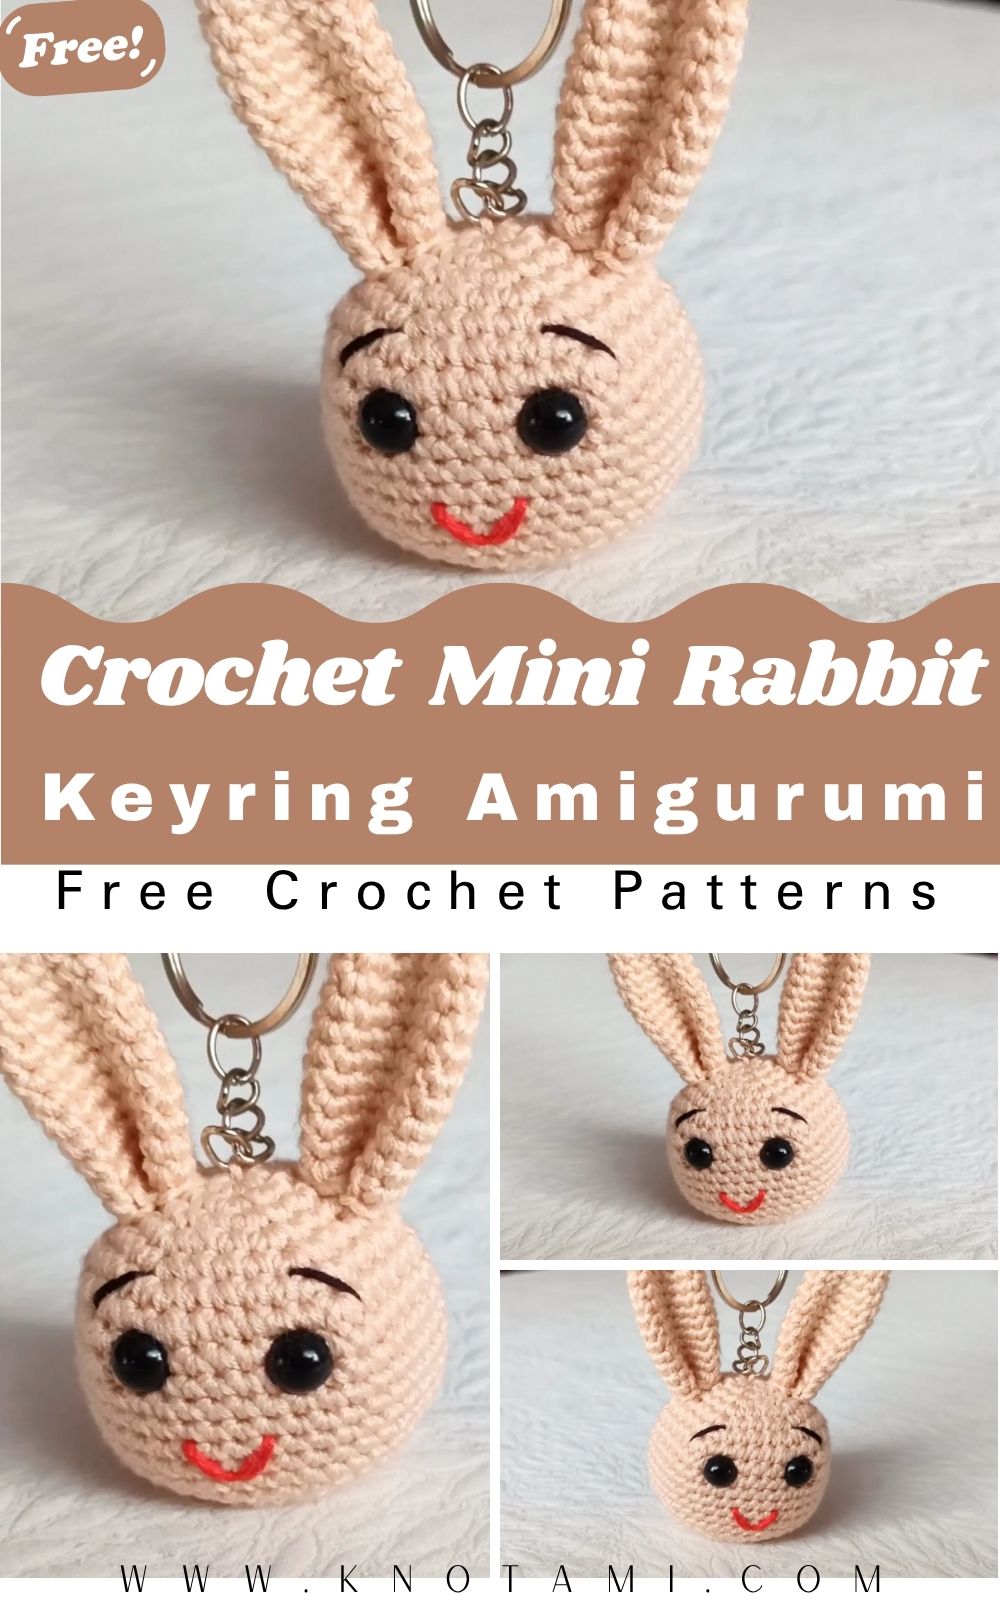
Among all crochet projects, amigurumi keyrings hold a special charm they’re small, quick, and endlessly customizable. The Kawaii Crochet Mini Rabbit Keyring is a perfect example: soft, tiny, and irresistibly cute. This adorable little bunny is designed to melt hearts with its round face, floppy ears, and simple minimalist features that give it that kawaii (cute in Japanese) appeal. Whether clipped to your bag, gifted to a loved one, or displayed as a tiny décor piece, this crochet rabbit captures all the joy of handmade crafting in miniature form.
What makes this project even better is its accessibility. The pattern is beginner-friendly yet full of rewarding details from the smooth round body to the neatly shaped ears and charming facial expressions. For experienced crocheters, it’s a relaxing, quick project that can be finished in one sitting. You’ll enjoy experimenting with yarn textures, pastel tones, and accessories to make each bunny uniquely yours.
Crocheting this mini rabbit feels like self-care. The soft repetition of stitches calms the mind, while the tiny size makes it a fun, no-pressure project. When you attach your completed bunny to a keyring, you’re carrying a little piece of creativity with you wherever you go a reminder that handmade things carry not just beauty, but heart.
Materials & Tools
Before we dive into creating your kawaii bunny, let’s gather all the supplies you’ll need.
Materials List
-
Yarn: DK weight (light worsted) in your desired color
-
Main body: white, cream, or pastel pink
-
Accent (inner ear, cheeks): blush pink or beige
-
-
Crochet Hook: 2.5 mm or 3.0 mm
-
Stuffing: Polyester fiberfill (use sparingly for a compact shape)
-
Safety Eyes: 6 mm or black embroidery thread
-
Tapestry Needle: For sewing and weaving ends
-
Stitch Marker: To mark your round starts
-
Scissors
-
Keychain Ring and Jump Ring: To attach your finished bunny
-
Optional: Tiny ribbon, fabric glue (for blush or felt cheeks)
Yarn & Color Tips
For a clean, defined stitch look, use cotton yarn, which gives your bunny structure. If you prefer a softer, plush feel, use acrylic or velvet yarn, but adjust hook size slightly larger (3.5 mm).
Color suggestions:
-
Classic white or cream for a minimalist bunny
-
Baby pink, lavender, or sky blue for a pastel, kawaii aesthetic
-
Chocolate or caramel tones for a woodland bunny look
To add personality, you can even use variegated yarn for a speckled effect or add soft blush to the cheeks using powder blush and a Q-tip after assembly.
Step-by-Step Crochet Instructions
Now, let’s bring your Mini Rabbit Keyring Amigurumi to life step by step!
1. Making the Head
Using your main yarn color:
-
R1: Magic Ring (MR), 6 sc (6).
-
R2: inc in each st (12).
-
R3: (1 sc, inc) × 6 (18).
-
R4: (2 sc, inc) × 6 (24).
-
R5–R8: sc around (24).
-
R9: (2 sc, dec) × 6 (18).
-
R10: (1 sc, dec) × 6 (12).
Insert safety eyes between R5–R6, spacing them about 4–5 stitches apart. Lightly stuff the head.
-
R11: dec × 6 (6).
Fasten off and weave the tail to close.
Pro Tip: Avoid overstuffing keep the bunny’s head slightly soft and squishy for a cute, plushy look.
2. Forming the Body
-
R1: MR, 6 sc (6).
-
R2: inc in each st (12).
-
R3: (1 sc, inc) × 6 (18).
-
R4–R7: sc around (18).
-
R8: (1 sc, dec) × 6 (12).
-
R9: dec × 6 (6).
Fasten off and stuff lightly.
Sew the body to the bottom of the head. The shape should resemble a chubby egg with the head slightly larger than the body.
3. Creating the Ears
Make 2:
-
ch 5, starting from 2nd ch: sc, hdc, dc, sl st.
-
Fasten off, leaving a tail for sewing.
Shape the ears slightly by pressing them flat with your fingers. Sew both ears symmetrically on top of the head.
Optional: Use blush yarn to embroider a thin inner ear line for added cuteness.
4. Adding the Arms & Legs
Arms (make 2):
-
MR, 4 sc (4).
-
sc around (4) for 2 rounds.
Fasten off and sew to the sides of the body, right under the head.
Legs (make 2):
-
MR, 5 sc (5).
-
sc around (5) for 2 rounds.
Fasten off and attach to the lower sides of the body.
You can angle them slightly forward for a sitting pose or downward for a standing look.
5. Tail (Optional but Adorable!)
-
MR, 6 sc (6).
-
sl st to close and FO.
Lightly stuff and attach at the back.
This small puff adds balance and gives your bunny that extra charm from behind!
6. Assembly & Positioning
-
Sew the body and head together tightly using your tapestry needle.
-
Attach arms, legs, and tail symmetrically.
-
Sew ears last, adjusting for expression closer together looks kawaii, wider apart looks playful.
-
Embroider the nose with pink or brown thread in a small V shape, and a tiny line below for the mouth.
-
Optional: Add blush using pink yarn or soft pastel.
Finally, attach your keyring:
-
Insert a jump ring at the top of the head.
-
Secure it tightly with a chain or thread loop.
Expert Finishing Tip
To give your bunny the perfect face, lightly pinch the area between the eyes and stitch through the head once or twice this sculpting trick adds depth and expression without extra embroidery.
Customization Ideas
Personalize your mini rabbit and make it truly yours!
Color Schemes
-
Classic White Bunny: White with pastel pink ears and cheeks.
-
Chocolate Bunny: Brown body, cream inner ears, and mint-green bow.
-
Rainbow Kawaii Bunny: Alternate pastel stripes for body rounds.
-
Galaxy Rabbit: Navy yarn with silver or white flecks and tiny embroidered stars!
Texture & Yarn Options
-
Cotton: Crisp, detailed stitches (great for keychains).
-
Velvet: Ultra-soft “marshmallow bunny” texture.
-
Tweed: Gives a rustic woodland look.
Accessories
-
Tiny bow or scarf under the neck (chain 20, sc back).
-
Mini carrot charm or heart stitched to the hands.
-
Mini dress or overalls: crochet in contrasting color and slip on.
-
Seasonal version: Add Santa hat for Christmas, or a flower crown for spring!
Advanced Tips & Troubleshooting
-
Invisible Decrease: Insert hook through front loops of next two stitches, yarn over, pull through both, yarn over, pull through remaining loops. Smooth finish guaranteed!
-
Even Stitch Tension: Keep grip consistent; uneven tension causes bumps in small amigurumi.
-
Avoid Twisting Rounds: Use a stitch marker religiously; rounds can shift easily on small patterns.
-
Fixing Shape Issues: Lightly stuff and shape using your fingers; too much stuffing makes your bunny stiff.
-
Joining Parts Cleanly: Use whipstitch or ladder stitch with matching yarn color for invisible seams.
-
Balanced Stuffing: Add in layers, shaping with the back of your hook. Don’t pack it all at once.
-
Reading Patterns: inc = two stitches in one; dec = crochet two stitches together keep a legend handy!
-
Embroidered Eyes Option: Great for babies use satin stitch or French knots instead of safety eyes.
-
Adding Gloss: Brush the completed piece gently with a dry toothbrush to soften fiber fuzz.
-
Mini Keyring Reinforcement: Add a small fabric circle or felt piece inside the head top before attaching the ring for durability.
Care Instructions
Keep your mini bunny cute and clean for years!
-
Gentle hand wash only with mild soap.
-
Do not wring; gently press with towel to remove excess water.
-
Air dry flat on a clean towel.
-
Avoid direct sunlight to prevent color fading.
-
Storage: Keep in a dry, dust-free pouch or display case if not used as a keyring.
If using it daily, check the keyring loop occasionally to ensure secure attachment.
Display & Gift Ideas
This mini rabbit is not just a craft it’s a bundle of joy you can share!
Creative Uses
-
Bag Charm: Attach it to your backpack, purse, or pencil case.
-
Car Key Accessory: A cheerful travel buddy!
-
Desk Companion: A small cutie to brighten your workspace.
-
Home Décor: Display with mini plants or on a bookshelf.
-
Collectible Set: Make bunnies in different colors perfect for Easter or spring displays!
Gift Ideas
-
Birthday Surprise: Add it to a wrapped gift box.
-
Handmade Valentine: Add a heart charm and tag that says “Hoppy Love.”
-
Baby Shower Favor: Safe, soft, embroidered version in pastel tones.
-
Best Friend Token: Matching pair of rabbits with initials embroidered underneath.
Packaging Tip: Place the finished bunny in a small kraft box lined with tissue paper and a thank-you card it elevates your handmade touch.
Benefits of Crocheting the Mini Rabbit Keyring
Crochet is more than a hobby it’s therapy disguised as art.
-
Relaxation & Mindfulness: The steady motion of crocheting slows your thoughts, helping you focus and unwind.
-
Stress Relief: Finishing a small project gives instant joy and calm.
-
Sense of Accomplishment: Holding a finished bunny you made with your hands feels empowering.
-
Eco-Friendly Gifting: Handmade items encourage sustainable, thoughtful gifting.
-
Connection Through Craft: Share patterns, trade creations, or teach someone crochet builds beautiful bonds.
Every bunny you make becomes part of your story each stitch a little act of self-care and creativity.
Photography & Social Media Tips
Want your bunny to shine online? Here’s how to capture its cuteness!
Photography Tips
-
Lighting: Natural daylight is best near a window or soft indirect light.
-
Backgrounds: Neutral tones like wood, pastel paper, or linen fabric highlight pastel bunnies.
-
Props: Add yarn balls, crochet hooks, or a cup of tea for cozy vibes.
-
Angles:
-
45° front shot for balanced proportion.
-
Close-up for face and ear detail.
-
Flat-lay with accessories for Pinterest-worthy images.
-
-
Editing: Lighten slightly and boost warmth for that soft kawaii tone.
Social Media Tips
-
Reels & Videos: Record the “making-of” or show a hand attaching the keyring people love watching progress!
-
Engagement Idea: Post a “Name My Bunny” poll to encourage community interaction.
Conclusion
The Kawaii Crochet Mini Rabbit Keyring Amigurumi combines everything we love about crafting creativity, simplicity, and joy in the little things. From the first magic ring to attaching the final keyring, each moment feels rewarding. In under a few hours, you’ll have a pocket-sized companion that radiates warmth, charm, and personality.
Whether you’re gifting it, selling it, or keeping it for yourself, this tiny rabbit will remind you of the magic in handmade art that something so small can carry so much love. So grab your favorite yarn, settle into your coziest spot, and let your hook dance. Your next adorable bunny is waiting to hop off your hands and into someone’s heart.