

There’s something truly magical about turning a simple ball of yarn into a living, breathing work of art. Crochet brings imagination to life one stitch at a time transforming ideas into soft, tangible creations that carry warmth and personality. Whether you’re a beginner looking for your next relaxing project or a seasoned crafter craving a new challenge, the satisfaction of crafting something handmade never fades.
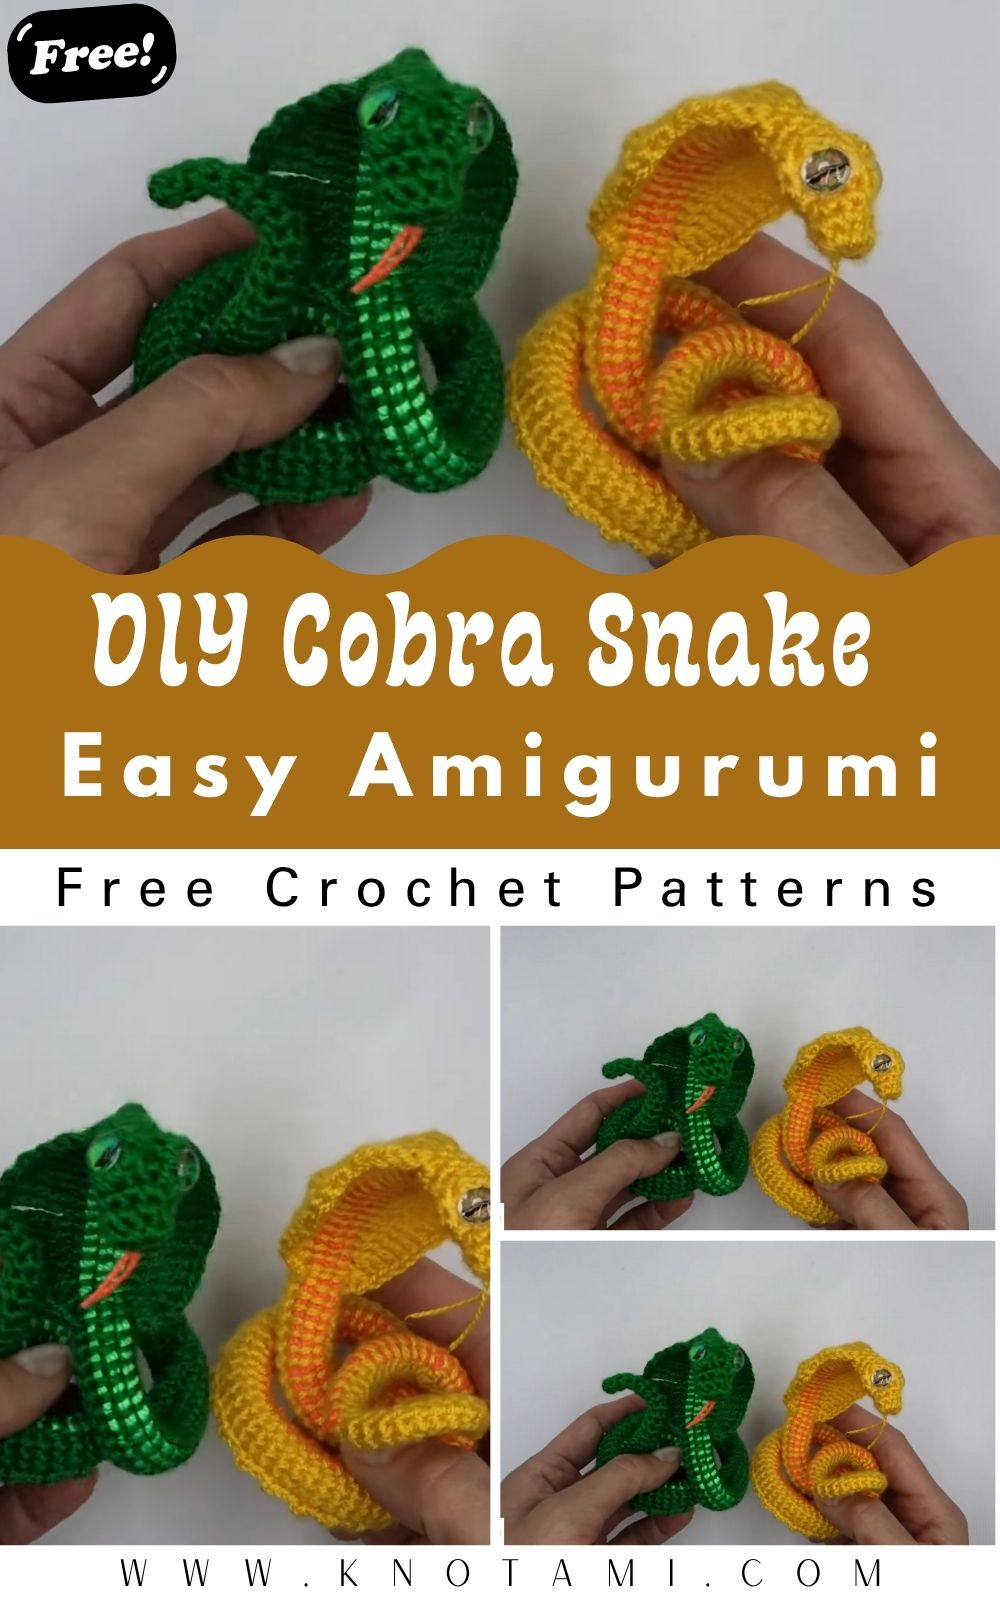
Enter the DIY Crochet Easy Cobra Snake Amigurumi Pattern a project that blends creativity, skill, and a bit of playfulness into a fun and decorative piece. This little cobra isn’t scary at all it’s cute, charming, and perfect for gifting or decorating your space. Its coiled body and detailed hood design make it eye-catching, while its friendly face gives it adorable character.
The best part? This project is perfect for all skill levels. Whether you’ve been crocheting for years or just learned your first magic ring, this pattern offers a balance of simplicity and creativity. You’ll learn shaping techniques, neat color changes, and a few tricks to keep your amigurumi looking clean and professional.
Crocheting is more than a hobby it’s therapy in yarn form. The steady rhythm of hook and thread quiets the mind, bringing calm and focus to your day. Making this crochet cobra isn’t just about creating something cute; it’s about enjoying slow, mindful crafting and finding joy in every loop and stitch. It’s the kind of handmade art that radiates love and accomplishment and makes a wonderful handmade gift!
Materials & Tools
Before you start, gather all your materials to ensure a smooth crocheting experience.
What You’ll Need:
-
Yarn: Light worsted weight (Category 3 or 4) in your choice of colors. A classic combination is green or brown for the body, with a contrasting cream or yellow for the underside.
-
Hook: 2.5 mm to 3.0 mm crochet hook (adjust size based on your yarn).
-
Stuffing: Polyester fiberfill or soft cotton stuffing for the body.
-
Safety Eyes: 6mm or 8mm, or you can embroider eyes for a safer, child-friendly version.
-
Tapestry Needle: For sewing and weaving in ends.
-
Scissors: Sharp pair for trimming yarn.
-
Stitch Markers: To mark the beginning of each round.
Tips for Choosing Yarn
For a realistic texture, use smooth, soft acrylic or cotton yarn. Cotton gives crisp stitch definition, while acrylic adds stretch. If you want a fantasy look, experiment with variegated or metallic yarns they create beautiful snake-like patterns effortlessly.
When choosing colors, think creatively! Try bold combinations like emerald and gold for a regal cobra, or go whimsical with pastel pinks and blues.
Step-by-Step Crochet Instructions
Let’s start crafting your adorable cobra friend! This pattern follows the amigurumi style worked in continuous rounds unless otherwise stated.
Step 1: Making the Head
-
Begin with a magic ring and 6 single crochets (sc).
-
Increase evenly around until you have a smooth, rounded shape usually 18–24 stitches around.
-
Continue crocheting without increasing for several rounds to form the head’s depth.
-
Lightly stuff the head as you go to maintain its shape.
-
Insert the safety eyes between Rounds 5 and 6, spaced evenly.
Expert Tip: Use your fingers to gently shape the face before fully stuffing this helps create the cobra’s signature lifted hood posture later.
Step 2: Forming the Neck and Upper Body
-
After finishing the head, start decreasing slightly to narrow down the neck.
-
Crochet a few rounds without increases or decreases this will define the slender neck.
-
To create the cobra’s expanded “hood,” crochet flat increases on two opposite sides of the neck for several rounds.
-
Once the hood is shaped, return to circular rounds to continue the body.
Expert Tip: Keep your tension even when shaping the hood. Uneven stitches can cause it to curl.
Step 3: Building the Main Body
-
Continue crocheting in the round, maintaining a consistent stitch count for the upper body.
-
Gradually increase the number of stitches to give the body a gentle curve and natural taper.
-
Alternate between your main color and contrast color if you want striping effects.
Pro Tip: Add small amounts of stuffing as you go too much can distort the shape, while too little can make the snake limp.
Step 4: Shaping or Attaching the Base
If your cobra will sit coiled, shape the body into a tight spiral by coiling it as you crochet. You can secure the base by slip stitching or sewing the lower rings together to create a stable bottom.
Tip: For display pieces, add a small weighted bead or rice pouch in the base before closing to help it stand firmly.
Step 5: Creating the Tail
-
Begin decreasing gradually toward the end to form a tapered tail.
-
Close off with a slip stitch once only a few stitches remain.
-
Weave in the end securely using a tapestry needle.
Optional: Use a contrasting yarn color for the tail tip for a cute finishing touch.
Step 6: Assembly and Positioning
If your cobra’s hood or coils need extra structure, use thin craft wire or pipe cleaners inside the body (for decorative use only, not for toys).
Gently shape the hood outward and bend the body into a graceful curve.
Step 7: Adding Final Touches and Accessories
-
Embroider a small smile or tongue using red yarn.
-
Add tiny accessories like a bow tie, mini crown, or even a tiny felt tongue for personality.
-
Lightly brush the surface with your fingers to smooth fibers for a polished look.
Final Tip: A light spray of water and gentle reshaping can help your cobra retain its perfect curves.
Customization Ideas
Your cobra doesn’t have to be traditional let your creativity shine!
-
Color Variations: Try rainbow stripes, black and gold for a mystical look, or pastel shades for a kawaii-style cobra.
-
Fantasy Versions: Add glitter yarn or metallic thread to make a “magical guardian” version.
-
Holiday Themes: Make a red-and-green cobra for Christmas or a spooky black one for Halloween décor.
-
Tiny Props: Give your cobra a mini hat, a flower crown, or even a tiny heart for Valentine’s Day.
The possibilities are endless every version tells its own story!
Advanced Tips & Troubleshooting
Even experienced crocheters face little hiccups here’s how to keep your cobra flawless:
-
Invisible Decreases: Always insert the hook through front loops only to create seamless decreases.
-
Even Tension: Keep a consistent grip on your yarn to prevent uneven body texture.
-
Avoid Twisting Rounds: Mark the start of each round with a stitch marker to stay on track.
-
Fixing Uneven Shapes: Massage lightly after stuffing to redistribute filling evenly.
-
Proper Stuffing Balance: Use small bits at a time; overstuffing stretches stitches.
-
Seamless Joins: Use the “invisible finish” technique to hide end stitches neatly.
-
Reading Patterns: Familiarize yourself with abbreviations sc (single crochet), inc (increase), dec (decrease).
-
Prevent Curling: If your hood curls inward, gently steam-block it into shape.
-
Use Contrast Yarn: For beginners, contrast yarn helps you see stitches more clearly.
-
Finishing Touch: Lightly brush your amigurumi with a soft toothbrush to fluff it up.
Care Instructions
To keep your crochet cobra in top condition:
-
Hand Wash Only: Use lukewarm water and mild detergent.
-
Do Not Twist: Gently press out excess water.
-
Air Dry Flat: Reshape while damp for best results.
-
Avoid Sunlight: Store away from direct heat to prevent color fading.
-
Display Smartly: Keep away from pets and moisture if used as décor.
Display & Gift Ideas
Your little cobra can charm anyone! Here are some creative ways to show it off:
-
Home Décor: Place it on a shelf or beside indoor plants for a playful touch.
-
Desk Companion: Keep it coiled next to your computer as a stress-relief buddy.
-
Kid’s Room Accent: Use as a fun, safe decoration for snake-loving kids.
-
Holiday Ornament: Hang it on a tree or create a jungle-themed garland.
-
Handmade Gift: Perfect for birthdays, housewarmings, or any “just because” moment.
Benefits of Crocheting a Cobra Snake
Crochet projects like this offer more than a cute final result they nurture creativity and mindfulness.
-
Mindful Relaxation: Repetitive stitches calm the mind and reduce stress.
-
Creative Expression: Every snake can be unique your color, your pattern, your story.
-
Sustainable Gifting: Handmade crafts reduce waste and create heartfelt presents.
-
Emotional Reward: Completing a project gives an empowering sense of accomplishment.
-
Community Connection: Share your creations online or gift them to loved ones spreading warmth and joy.
Photography & Social Media Tips
Showcase your handmade cobra beautifully with these easy photo tricks:
-
Natural Lighting: Shoot near a window for soft, warm light.
-
Simple Backgrounds: Use neutral fabrics or wooden surfaces for contrast.
-
Add Props: Yarn skeins, crochet hooks, or potted plants enhance the cozy vibe.
-
Close-Up Shots: Highlight the hood detail, eyes, and texture.
-
Creative Angles: Capture the curve of the cobra from above or the side for dynamic composition.
-
Edit Gently: Slight brightness and contrast adjustments make colors pop naturally.
Hashtag Idea: #CrochetCobra #AmigurumiLove #HandmadeSnake
Conclusion
Crafting your own Crochet Cobra Snake Amigurumi is more than just making a toy it’s a journey of creativity, patience, and joy. From the first stitch to the final curve of its tail, every moment spent brings relaxation and satisfaction.
This adorable cobra adds personality to any space and makes a thoughtful, handmade gift that speaks from the heart. Whether you’re crocheting for fun, for someone special, or simply to unwind after a long day remember that each creation carries a piece of your creativity and love.
So grab your yarn, hook, and a little bit of imagination and let your handmade cobra slither its way into your heart.