

The Magic of Turning Yarn into Something You Love
There’s a quiet kind of wonder in crochet the way a strand of yarn loops into shape and suddenly becomes more than fiber. It’s the soundless rhythm of hook and hand, the softness gathering beneath your fingertips, and the small thrill of watching your imagination materialize stitch by stitch. When you make a plush toy, you’re not just crafting; you’re bottling comfort and personality into something tangible and heartwarming.
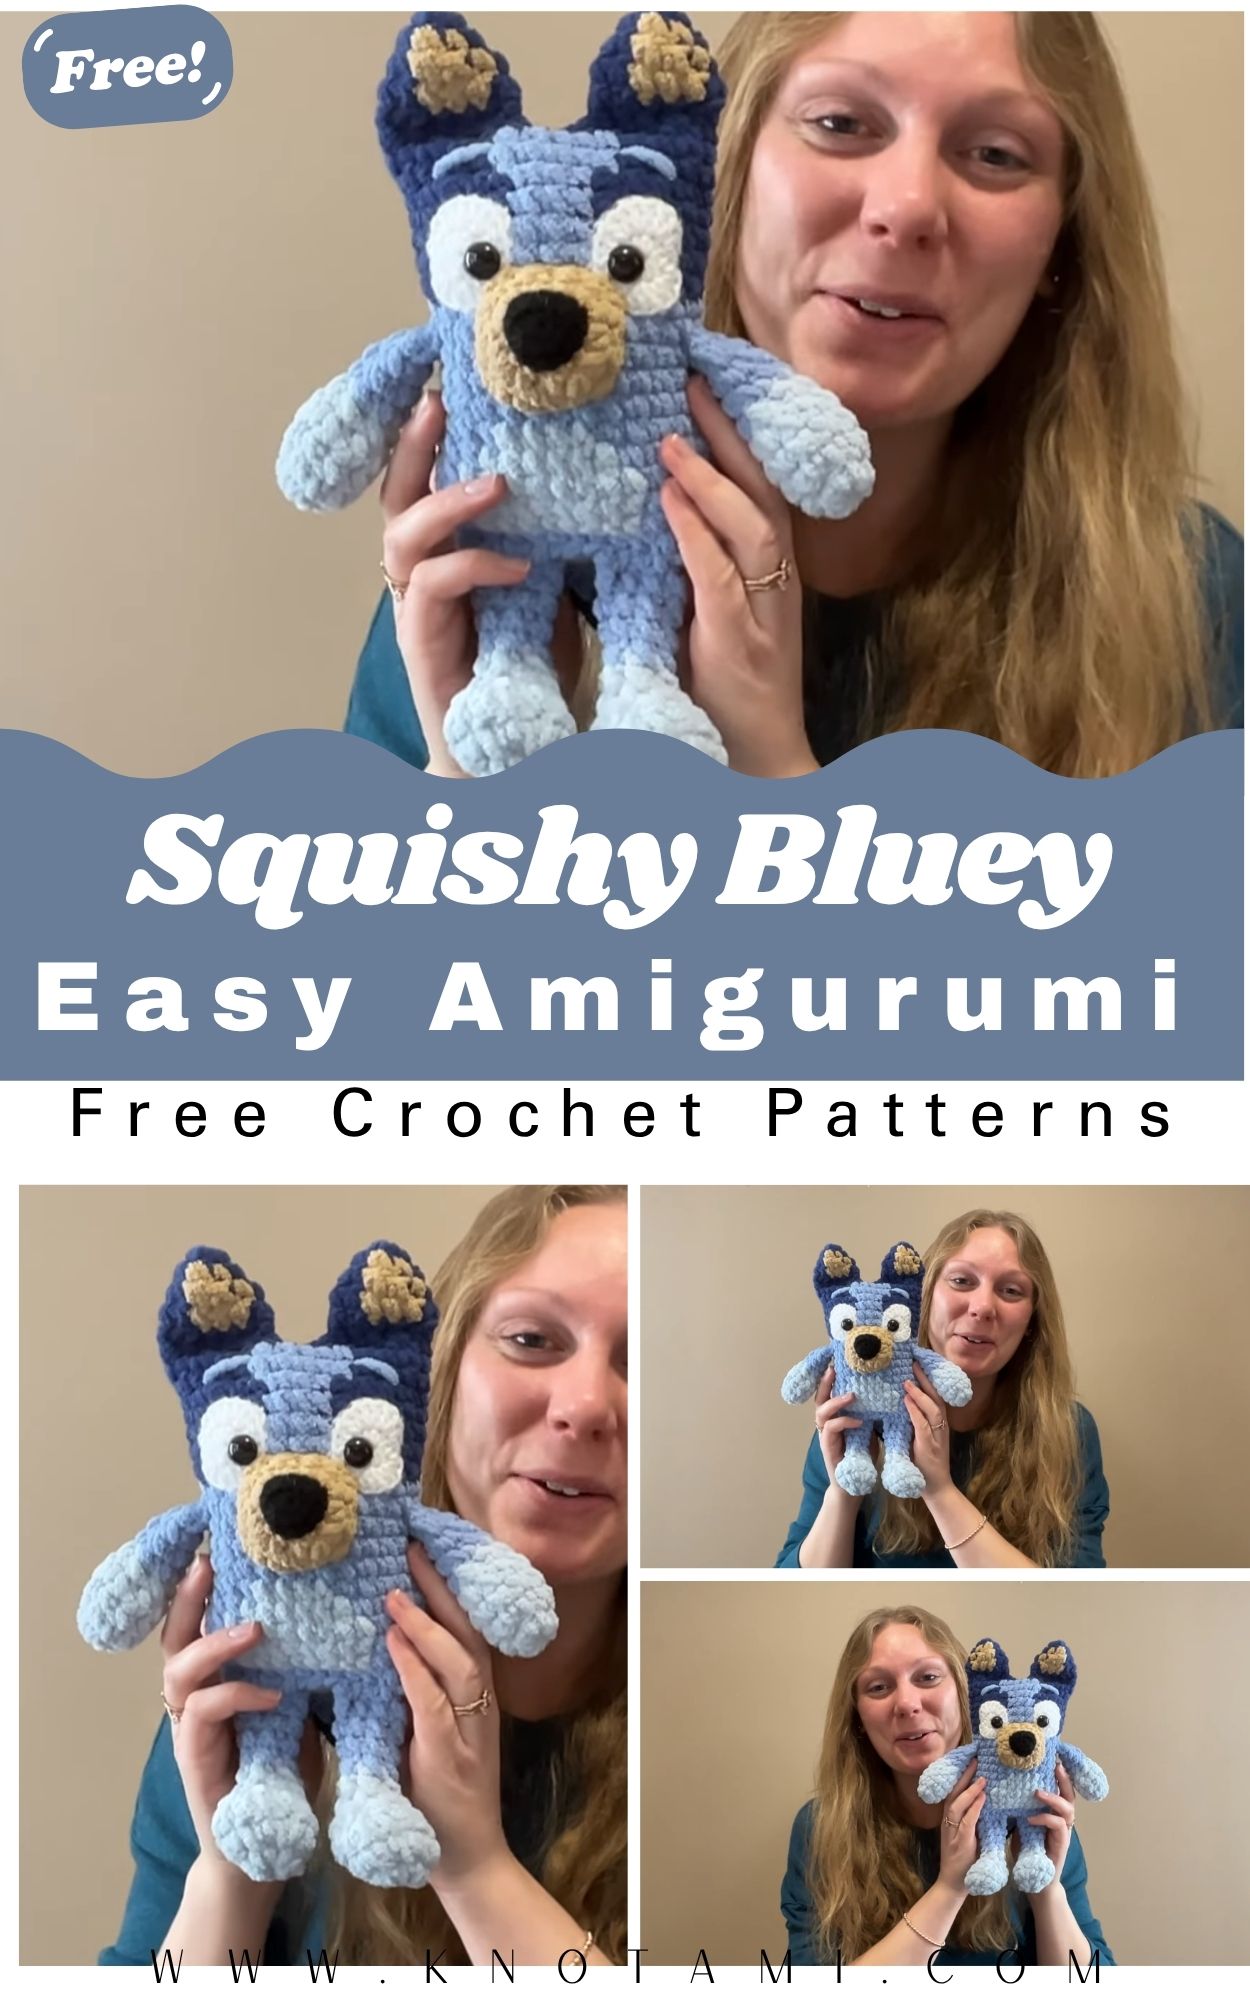
Meet the Crochet Cute Squishy Bluey
Today’s project Crochet Cute Squishy Bluey captures that magic with a character that’s already beloved by kids and adults alike. Bluey’s cheerful colors, expressive features, and playful proportions make this amigurumi irresistibly eye-catching. With a rounded, cuddly silhouette and simplified shapes that still read instantly as Bluey, this pattern delivers maximal cuteness with minimal stress.
Perfect for Beginners and Pros
Whether you’re picking up your first amigurumi or you’ve got a basket full of plush makes, this project meets you where you are. Beginners will enjoy the straightforward construction, repetitive rounds, and helpful shaping cues. Experienced crocheters can lean into polish tidy invisible decreases, crisp color-changes, seamless joins, and charming finishing touches.
Slow Crafting, Big Smiles
Crocheting a squishy Bluey invites you to slow down breathing into each round, gently stuffing as the form takes shape, and savoring the moment you embroider that friendly smile. It’s calming, mindful, and incredibly satisfying to gift: a handmade buddy that brings joy to little hands and nostalgic smiles to grown-ups.
Materials & Tools
Yarn (Worsted/Aran #4 or similar):
-
Sky Blue (main body)
-
Navy/Dark Blue (patches, ears, tail tip)
-
Cream/Light Beige (muzzle, belly, inner ears)
-
Pale Blue (spots/accents)
-
Black (nose, mouth use embroidery cotton or yarn)
Hook:
-
3.0 mm–3.5 mm (E/3–E/4). Choose the smallest size that still feels comfortable to you; tighter stitches prevent stuffing from peeking through.
Notions & Fillings:
-
Safety eyes: 8–10 mm (or embroider for baby-safe version)
-
High-quality polyester fiberfill
-
Tapestry needle (blunt tip)
-
Stitch markers (locking style)
-
Scissors
-
Optional: felt (cream, navy), fabric glue for patches (if you prefer felt accents), a small amount of blush/pastel for cheeks
Choosing Yarn, Weight & Colors
-
Texture: Smooth acrylic gives stretch and a plush handfeel; cotton offers structure and crisp stitch definition; velvet/chenille yields extra squish (tighten gauge).
-
Weight: Worsted 4 is a sweet spot easy to handle, sturdy, and plush. Using DK (#3) will shrink the toy; bulky will supersize it.
-
Color Harmony: Keep Bluey recognizable with true sky/navy tones, but feel free to explore pastel Bluey, galaxy Bluey (blues + speckles), or monochrome minimalism. Aim for high contrast between main body and muzzle/belly for readable features.
Step-by-Step Crochet Instructions
All rounds are worked in a spiral unless stated. Use a stitch marker to mark the first stitch of each round. Standard abbreviations: MR (magic ring), sc (single crochet), inc (increase = 2 sc in same st), dec (decrease, use invisible dec), sl st (slip stitch), ch (chain), BLO/FLO (back/front loop only).
1) The Head (round and cuddly)
Head (Sky Blue):
-
MR, 6 sc (6)
-
inc x6 (12)
-
(sc, inc) x6 (18)
-
(2 sc, inc) x6 (24)
-
(3 sc, inc) x6 (30)
-
(4 sc, inc) x6 (36)
-
(5 sc, inc) x6 (42)
-
(6 sc, inc) x6 (48)
Rounds 9–15: sc around (48 each round) to build height and a soft dome.
-
Place safety eyes between Rounds 11–12, about 6–7 sts apart (adjust for expression).
-
Add a navy forehead patch if desired: surface crochet a small oval or appliqué with felt later.
Shape & Stuff:
16. (6 sc, dec) x6 (42)
17. (5 sc, dec) x6 (36)
18. (4 sc, dec) x6 (30)—start light stuffing
19. (3 sc, dec) x6 (24)
20. (2 sc, dec) x6 (18)—finish stuffing softly but fully
21. (sc, dec) x6 (12)
22. dec x6 (6), sl st, fasten off, leave a long tail for sewing OR keep attached if continuing neck as one piece.
Pro shaping tip: Add stuffing in small wisps so the face remains smooth. Pinch cheeks lightly to see eye placement before locking eyes.
2) Neck & Upper Body (seamless transition)
There are two approaches: (A) continuous (pick up at the head’s last round), or (B) seamed (finish head separately and sew).
Continuous method (recommended):
-
From the last head round (6 sts closed), do not fasten. Instead, pick up 12 evenly spaced stitches around the head base (or resume from a preplanned neck round if you left 12–18 sts). Adjust counts to keep the neck snug.
Neck (Sky Blue):
-
Evenly space to 18 sc (18)
-
sc around (18)
-
(2 sc, inc) x6 (24)
-
sc around (24)
Upper Chest (Sky Blue → Cream at belly):
5. (3 sc, inc) x6 (30)
6. sc around (30)
7. Change to Cream in the front half only for a simple intarsia effect (carry the unused color inside to avoid gaps). Work 15 sts Cream, 15 sts Sky Blue (30).
8–9. Maintain the split color for 2 rounds to form the belly panel.
-
Stuff neck firmly so the head stays upright but avoid a hard “rod” feel.
Tip: When changing color, complete the final yarn-over of the stitch with the new color for a clean transition.
3) Main Body (squishy oval)
Widen & form torso (Sky Blue + Cream belly):
10. (4 sc, inc) x6 (36)
11. sc around (36)
12. (5 sc, inc) x6 (42)
13–16. sc around (42 each) maintain belly panel in Cream for front 18 sts if you want a larger chest patch.
Begin taper:
17. (5 sc, dec) x6 (36)
18. sc around (36)
19. (4 sc, dec) x6 (30)
20. sc around (30)
21. (3 sc, dec) x6 (24) start stuffing torso, keep the belly full and the sides softer
22. sc around (24)
Optional Bluey back spots (Pale Blue):
-
Surface stitch two small rounded patches on the back/side. Or crochet tiny ovals: MR 6, inc round to 12, flatten with a couple of sc rounds, sew on.
4) Base & Legs (sit-friendly build)
Base closure option A (flat base):
23. (2 sc, dec) x6 (18)
24. sc around (18)
25. (sc, dec) x6 (12)
26. dec x6 (6), fasten off, weave in.
Base closure option B (with separate base disc):
-
Crochet a separate flat circle: MR 6; inc to 12, 18, 24, 30, 36 as needed to match the body opening; whip stitch to the opening after stuffing to your liking for a neat, stable bottom.
Legs (make 4; Sky Blue with Cream toes optional):
-
MR 6 (6)
-
(sc, inc) x3 (9)
-
3–6. sc around (9)
-
Lightly stuff only the lower half for a soft bend.
-
Flatten top; sew to lower sides/front of body in a sit or stand position. For a seated Bluey, angle front legs slightly forward and back legs slightly outward.
Tip: If Bluey tips forward, add a small bean pouch (poly pellets sewn into a scrap of stocking) deep in the base.
5) Arms, Ears, Tail & Muzzle
Arms (make 2; Sky Blue):
-
MR 6 (6)
-
(sc, inc) x3 (9)
-
3–7. sc around (9)
-
Optional: switch to Cream for last 2 rounds as “paws.”
-
Stuff lightly; sew to sides at upper body.
Ears (make 2; Navy outer, Cream inner):
Outer (Navy):
-
MR 4 (4)
-
(sc, inc) x2 (6)
-
(2 sc, inc) x2 (8)
-
5–8. sc around (8), leave tail, flatten.
Inner (Cream):
-
Make a smaller triangle/oval piece (MR 3 → grow to 6–7 sts).
-
Stitch inner to outer; sew ears symmetrically to head top, slightly angled.
Tail (Sky Blue with Navy tip):
-
ch 8, sc in 2nd ch from hook and across (7)
-
Row 2–4: sc across (7), taper by dec at one end for a gentle curve
-
Switch to Navy for final rows (tail tip).
-
Roll and whip stitch edge to form a slightly round tail or leave flat for a stylized look. Sew to back.
Muzzle & Nose (Cream + Black):
-
Muzzle (Cream): MR 6, (sc, inc) x3 (9), (2 sc, inc) x3 (12), sc 1–2 rounds; squish into an oval and sew under eyes.
-
Nose (Black): satin stitch an oval on top center of muzzle; embroider a tiny curved smile.
Optional eyebrow/forehead detail: tiny navy stitches above eyes; keep subtle for a soft expression.
6) Assembly & Positioning (the professional finish)
-
Pin all pieces before stitching. Check symmetry from front and side.
-
Sew arms first (they frame the face), then ears, tail, and legs.
-
Tuck in ends neatly draw tails through several stitches before trimming to prevent pop-out.
-
Massage stuffing to distribute evenly. If the head lists, add a dab more stuffing at the neck seam using the tail needle.
Balancing tip: Slightly under-stuff the top of the head to prevent top-heaviness, and over-stuff the belly for a grounded sit.
7) Final Touches & Accessories
-
Belly patch edge: Surface stitch a subtle outline in pale blue.
-
Cheeks: Dab light blush or embroider two tiny pale-pink ovals.
-
Mini scarf or backpack: ch 45, sc back to make a strap; crochet a tiny rectangle pouch and sew straps across shoulders.
-
Name tag: A felt circle with an embroidered initial adds personality.
Customization Ideas
-
Color Play:
-
Pastel Bluey: mint body, lavender accents, cream muzzle.
-
Galaxy Bluey: navy base, speckled yarn patches, silver embroidery stars.
-
Monotone Modern: all-cream Bluey with black embroidered features.
-
-
Yarn Types:
-
Cotton: crisp, clean stitches great for sharp details.
-
Acrylic: soft, forgiving, easy to wash.
-
Chenille/Velvet: ultra-squishy; tighten gauge and use larger safety eyes for balance.
-
-
Themed Editions:
-
Holiday: red scarf, tiny Santa hat, or candy-cane tail tip.
-
Rainbow: stripes on the belly patch or tail.
-
Pastel Dream: soft gradient yarn for body, solid cream features.
-
-
Add-Ons: bows, glasses (wire + yarn wrap), micro crochet bone, tiny book, or an itty-bitty picnic blanket.
Advanced Tips & Troubleshooting
-
Invisible Decreases: Work through front loops only of the next two stitches, yarn over, pull through both loops, yarn over, pull through 2 decreases vanish into the fabric.
-
Consistent Tension: Keep your wrist relaxed and yarn path consistent; re-wrap the yarn the same way each stitch to avoid laddering.
-
No Twisted Rounds: After Round 2–3, flatten your work. If it cups too much, your tension may be tight steam lightly (off the toy) to relax swatches.
-
Clean Color Changes: Change color on the last yarn-over of the stitch before the new color. Tug the old tail gently to tighten the join from inside.
-
Stuffing Strategy: Add in teaspoon-sized tufts, not clumps. Over-stuffing at once causes bumps; under-stuffing leads to dents. Aim for firm but springy.
-
Seamless Joins: Use the mattress stitch or whip stitch with tiny bites. Match yarn color to the part you’re sewing for invisible seams.
-
Fixing Uneven Shapes: If the head leans, take out a little stuffing on the tilt side and add a pinch to the opposite side. Massage to redistribute.
-
Reading Patterns Accurately: Make a quick legend card: sc=single crochet; inc=2 sc in 1 st; dec=invisible decrease; BLO/FLO as indicated; MR=magic ring. Tick off rounds as you go.
-
Counting Insurance: Move your stitch marker every round and “audit” totals at every increase/decrease row.
-
Baby-Safe Version: Replace safety eyes with embroidered eyes. Knot securely and weave tails far into the body.
Care Instructions
-
Gentle Hand Wash: Use lukewarm water and mild detergent; avoid soaking for long.
-
Rinse & Press: Rinse thoroughly, then press in a towel don’t wring.
-
Air Dry Flat: Reshape ears and muzzle while damp; dry out of direct sun.
-
Sunlight Caution: Prolonged exposure fades brights; display away from windows.
-
Storage: Keep in a breathable cotton bag or on an open shelf; avoid sealed plastic in humid climates.
-
Quick Fixes: If a seam loosens, thread matching yarn and backstitch 2–3 times; re-fluff stuffing with fingers.
Display & Gift Ideas
-
Home Décor: Add Bluey to a reading nook or nursery shelf for instant cozy vibes.
-
Kid’s Room Buddy: Soft, friendly, and sized for small arms perfect for story time.
-
Desk Companion: Perch on your workspace for cheerful motivation.
-
Holiday Ornament: Scale down with DK yarn and a 2.25–2.75 mm hook; add a hanging loop.
-
Personalized Gifts: Include a name tag, a mini scarf in the recipient’s favorite color, or a themed accessory (music note, soccer ball, tiny book).
Why Making Crochet Cute Squishy Bluey Feels So Good
-
Relaxation & Mindfulness: The steady rhythm of stitches is a natural de-stressor your breathing slows, your focus softens.
-
Joyful Accomplishment: Watching Bluey emerge from your hands is deeply satisfying; every round is progress you can hold.
-
Creative Expression: Color choices, accessories, and expressions make each Bluey uniquely yours.
-
Eco-Friendly Gifting: Handmade beats mass-produced fewer plastics, more heart.
-
Emotional Connection: A plush made by you becomes a keepsake infused with time, attention, and care.
Photography & Social Media Tips
-
Light it Right: Shoot near a bright window with indirect daylight for true colors and soft shadows.
-
Backdrop Basics: Neutral or pastel backdrops (poster board, a knit blanket, or linen) make Bluey pop.
-
Tell a Story: Add props yarn cakes, your hook, a tiny book or toy so the scene feels cozy and personal.
-
Detail Shots: Close-ups of ears, muzzle, tail tip, and any embellishments help viewers appreciate your craftsmanship.
-
Angles & Framing: Try eye-level shots for personality, top-downs for tutorials, and 45° angles for depth.
-
Gentle Edits: Lightly brighten and sharpen; avoid oversaturation so the yarn texture stays realistic.
Conclusion
Crochet gives us a way to turn quiet moments into something meaningful—and Cute Squishy Bluey is the perfect project to celebrate that joy. From the first magic ring to the last invisible decrease, you’re building not only a plush friend but also a pocket of calm, a flicker of pride, and a memory stitched by hand. Whether you keep Bluey for yourself, gift it to a child, or place it on a shelf where smiles are needed, this little buddy radiates the warmth only handmade things carry.
So pick your yarn, pour a cup of something cozy, and let your hook find its rhythm. One round at a time, you’ll watch Bluey come to life squishy, cheerful, and absolutely full of personality. Happy stitching!