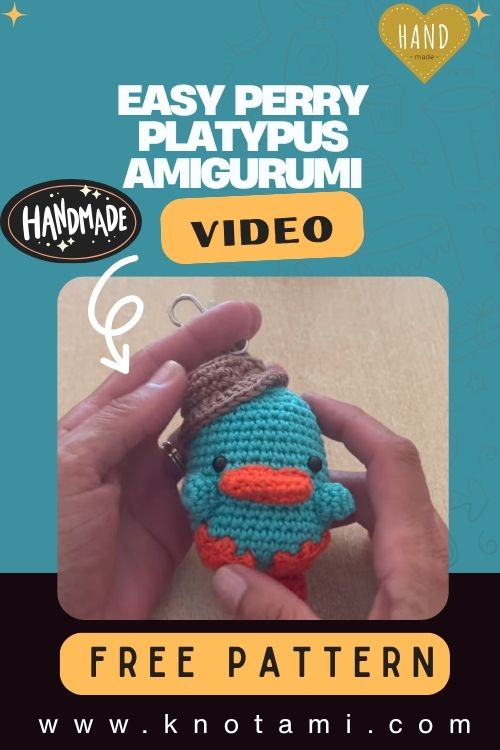
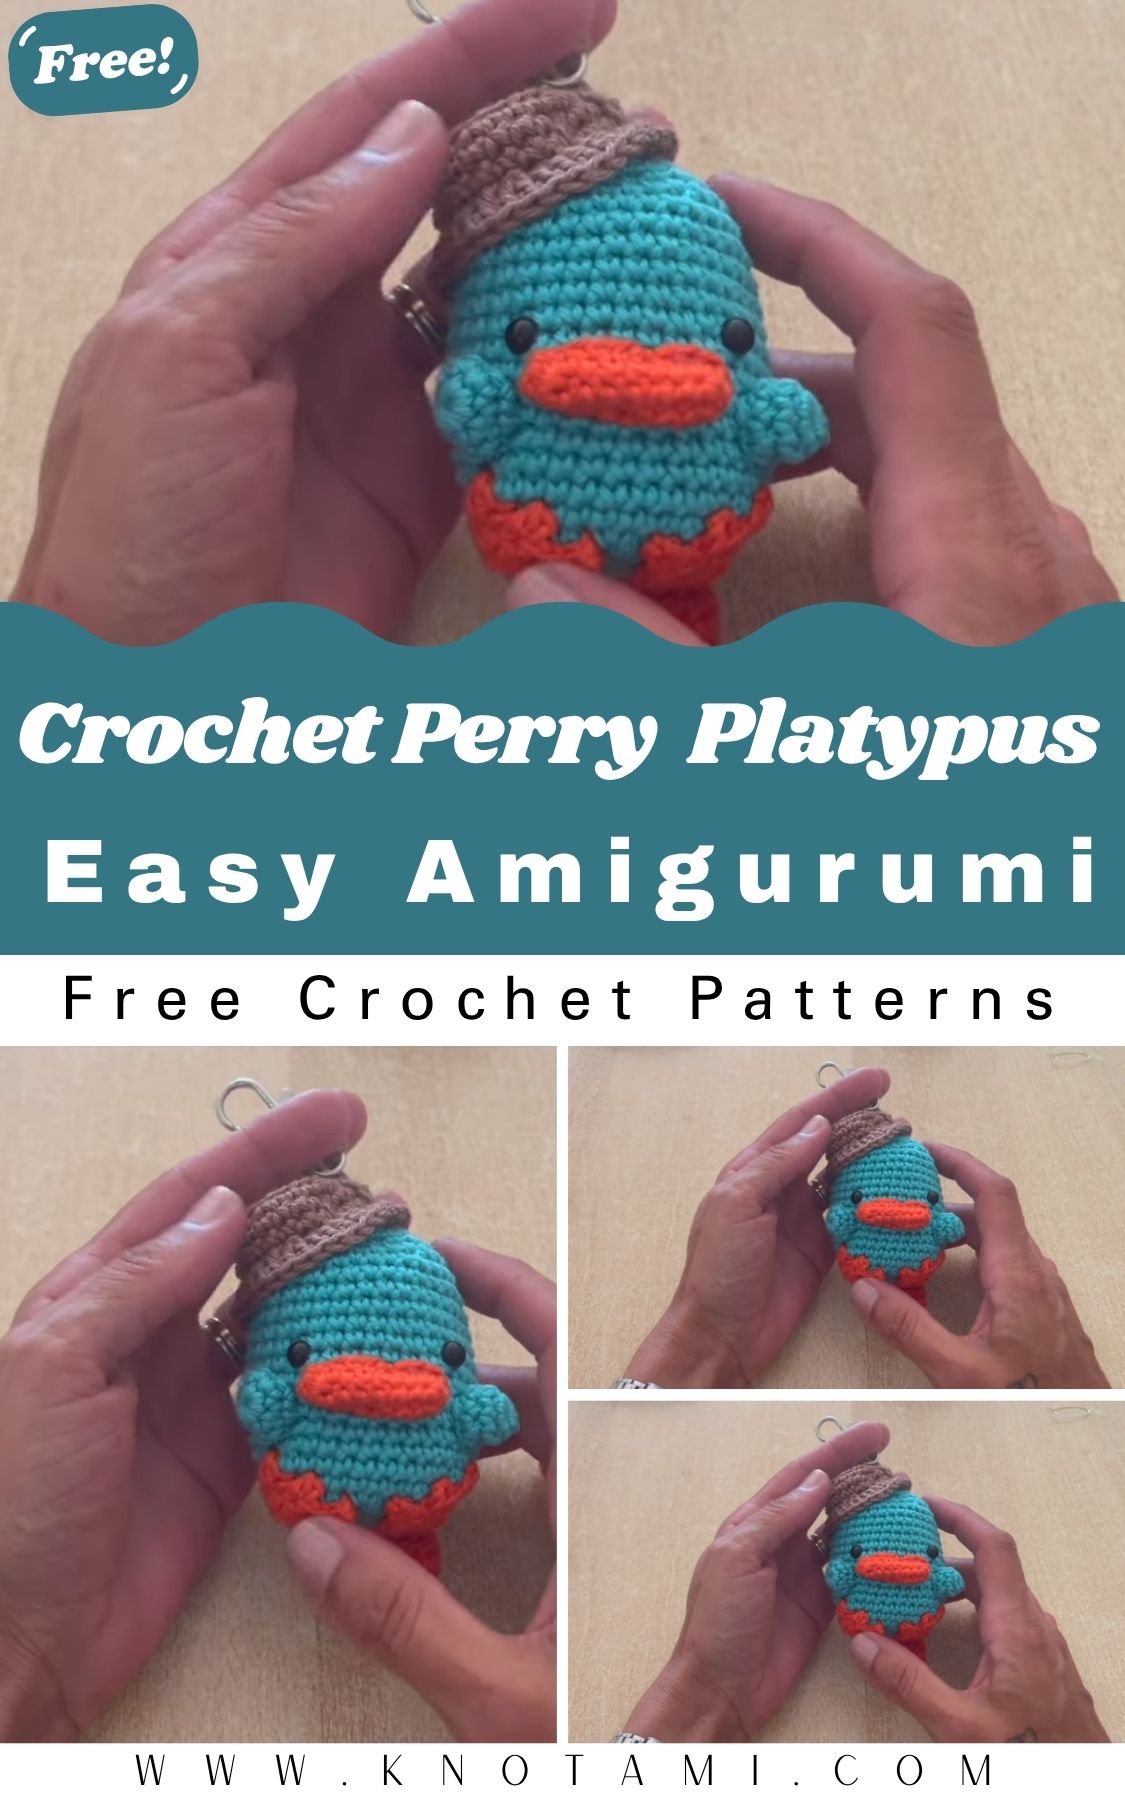
DIY Crochet Easy Perry Platypus Amigurumi Pattern
There’s a certain magic in holding yarn and transforming it into something soft, squishy, and full of life. Whether you’re a beginner or a seasoned pro, crochet has the unique power to bring imagination into reality. With just a hook and some thread, something special begins to take shape. It’s deeply rewarding, soothing, and full of joy and that’s the beauty of crafting. Each loop and stitch adds warmth to the final piece, almost like you’re stitching in memories and personality.
Today, we’re diving into crafting a fun and adorable character: Crochet Easy Perry Platypus, inspired by the popular, iconic cartoon figure. With his quirky face, floppy tail, and duck-billed charm, Perry brings instant smiles and nostalgia. This plush makes a heartwarming gift, a charming desk buddy, or a quirky keepsake for fans of animated adventures.
This project is ideal for both beginners and experienced crocheters. Beginners can try out simple shapes and basic amigurumi skills as they build confidence. Advanced crafters can customize, scale, and experiment all while enjoying the simplicity and fun of the original pattern. Whether you’re just starting or adding to your amigurumi collection, this Platypus offers creative freedom and a satisfying result.
And one of the best parts of this project? The process. Crocheting quiets the mind and allows us to sink into a rhythm of movement and intention. Each stitch offers a moment of pause, of presence. Once your Perry plush starts taking shape, you’ll feel that wonderful rush of accomplishment knowing you’ve handmade something truly special. It’s the perfect gift for slow craft days, cozy weekends, or thoughtful gifting moments.
Materials & Tools
Creating your very own Crochet Easy Perry Platypus is simple with the right materials. Here’s what you’ll need:
Yarn
-
Type: Acrylic or cotton yarn
-
Weight: DK (light worsted) or worsted weight
-
Colors:
-
Teal/Turquoise (body)
-
Golden Yellow (duck bill and tail)
-
Black/Brown (eyes or accessories)
-
Optional: White for body or eye detail embroidery
-
Tip: Cotton yarn gives cleaner stitch definition, while acrylic provides extra softness and flexibility.
Crochet Hook
-
3.0–3.5 mm hook (for DK yarn)
-
4.0 mm for worsted weight yarn
Use a smaller hook if you like tighter stitches and a firmer plush.
Additional Items
-
Polyester fiberfill stuffing
-
6–8 mm safety eyes (or embroidery thread to stitch eyes)
-
Tapestry needle
-
Scissors
-
Stitch markers
-
Small wire brush (for fluffing the tail, optional)
Color picks can make a big difference. For a more playful version, swap out teal for pastel or rainbow yarn.
4. Step-by-Step Crochet Instructions
Below is a complete guide on how to create your charming platypus plush. These instructions are written in US terminology and based loosely on standard amigurumi structure inspired by the reference but created uniquely for this post.
Abbreviations
-
mr = magic ring
-
sc = single crochet
-
inc = increase (2 sc in same stitch)
-
dec = decrease (sc 2 together)
-
sl st = slip stitch
-
st(s) = stitch(es)
-
ch = chain
1. Making the Head
-
Begin with the body color yarn (teal or turquoise).
-
Round 1: 6 sc in a magic ring.
-
Round 2: 6 inc (12 sts).
-
Round 3: (sc, inc) x 6 (18 sts).
-
Continue increasing to reach around 36 sts.
-
Work straight rounds (36 sts) for the desired head length.
-
Insert safety eyes 5 stitches apart.
-
Slightly stuff the head before narrowing for the neck.
Tip: Use a stitch marker to mark the first stitch of each round.
2. Forming the Neck and Upper Body
-
Decrease slightly for 1–2 rows to create a defined neck area.
-
Switch to working the body with increases at either end to shape a slight oval.
-
Continue until the body is approximately 1.5x the head size.
3. Building the Tail & Base
-
Use yellow or golden yarn for the bill and tail.
-
For the beaver-like tail, crochet a flat rectangle or paddle shape using rows of sc.
-
Attach the tail firmly to the back of the body.
4. Crafting the Bill
-
With yellow yarn, make a small, rounded rectangle:
-
Chain 6, sc in each stitch, turn, repeat for 4–6 rows.
-
Lightly stuff and sew at the front of the head, below the eyes.
5. Making Limbs
-
Make 4 small teal limbs cylinder-style shapes.
-
Position under the body and sew securely.
6. Assembly
-
Stuff each part lightly but fully.
-
Sew the head to the body firmly using whip stitch.
-
Add tail, bill, and limbs, pinning each in place to test proportions.
7. Final Touches
-
Insert safety eyes (or embroider them).
-
Embroider small mouth and facial details.
-
Create a felt or yarn fedora hat if you want Perry’s secret agent persona.
Stuffing Tip: Don’t overfill the bill or limbs this helps keep them flexible and soft.
5. Customization Ideas
Get creative with your Crochet Easy Perry Platypus!
| Theme | Ideas |
|---|---|
| Holiday Perry | Santa hat, scarf, red and white colors |
| Spring Perry | Pastel mint or sky blue yarn; add a flower crown |
| Fantasy Perry | Rainbow or sparkle yarn; glittery bill and golden tail |
| Eco Perry | Use recycled cotton yarn, hand-stitch eyes instead of plastic eyes |
Add fun accessories like:
-
Tiny bow tie
-
Crocheted sunglasses
-
Backpack or messenger bag
-
Embroidered initials on tail or body
6. Advanced Tips & Troubleshooting
Here are some crochet pro tips for creating cleaner and polished amigurumi:
-
Invisible decreases prevent bumps on the surface and keep shaping smooth.
-
Use stitch markers to keep round counts even.
-
Avoid twisting yarn mid-round by rotating the piece in your hands as you stitch.
-
If stuffing shows through, try a smaller hook or tighter tension.
-
Use ladder stitch to join parts seamlessly.
-
Don’t break yarn tails off short leave extra to sew parts securely.
-
Use pin markers or basting stitches to determine perfect positioning.
-
If shape turns uneven, unstuff and re-stuff lightly to reshape.
-
Learn to read charts or symbolic patterns for more flexibility.
-
Always check fiber care labels when choosing yarn for toys meant for kids.
7. Care Instructions
To ensure your Perry Platypus plush stays in great condition for years:
-
Hand wash gently in cold water with mild detergent.
-
Avoid wringing or twisting.
-
Reshape and lay flat to dry.
-
Keep out of direct sunlight to prevent fading.
-
Store in a cool, dry area if not on display.
-
For gifting, wrap in tissue or place in a reusable cotton bag.
8. Display & Gift Ideas
This Crochet Easy Perry Platypus plush can brighten up any space!
-
Home décor: Place on bookshelves, sofas, or entry tables.
-
Kids’ rooms: A safe, soft plush for display or cuddle time.
-
Desk buddy: Perfect quirky companion at work or school.
-
Holiday ornament: Using mini yarn and hooks, create a tree-sized Perry!
-
Thoughtful gift: Delight fans of cartoons, handmade crafts, or whimsical characters.
9. Benefits Section
Crafting your own Crochet Perry isn’t just about the finished plush the journey itself offers:
-
A chance to practice mindfulness
-
Eco-friendly handmade gifting, reducing reliance on factory-made plastic toys
-
Creative expression through yarn choices and embellishments
-
Emotional connection through meaningful, personalized gifts
-
A fun way to improve coordination, patience, and planning skills
10. Photography & Social Media Tips
Show off your yarn masterpiece on Instagram, Pinterest, or your blog!
-
Photograph near a window for natural lighting.
-
Use soft backdrops like blankets, wood boards, or fabric canvases.
-
Add cute props: yarn skeins, flowers, tiny books, soft hats.
-
Capture different angles. Close-ups of the bill, eyes, and stitching make great detail shots.
Tip: Use flat lay style for clean Pinterest shots.
11. Conclusion
There’s something so special about taking yarn, shaping it between your hands, stitch by stitch, into a beloved character. Whether Perry Platypus was part of your favorite childhood cartoon, or you’re simply drawn to his quirky charm and bright colors, this crochet version is full of love, craft, and creativity. With just a small amount of yarn, patience, and imagination, you can transform a few simple supplies into a plush bursting with personality and joy.
So grab your hook and make this project your own because handmade crafts don’t just fill space, they fill hearts.