
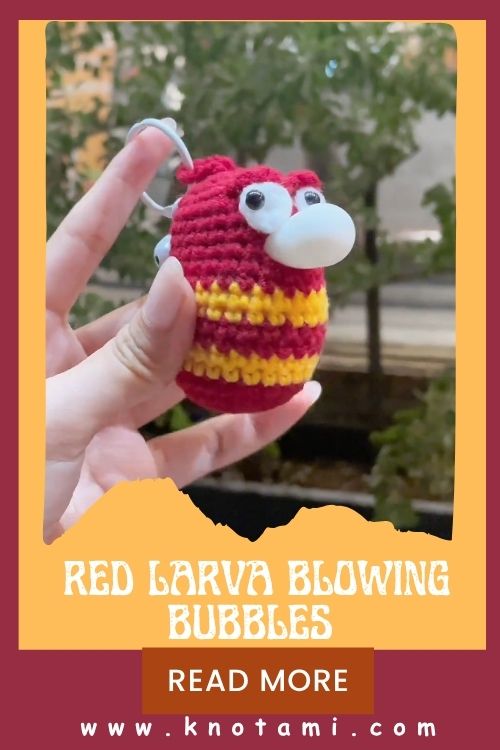
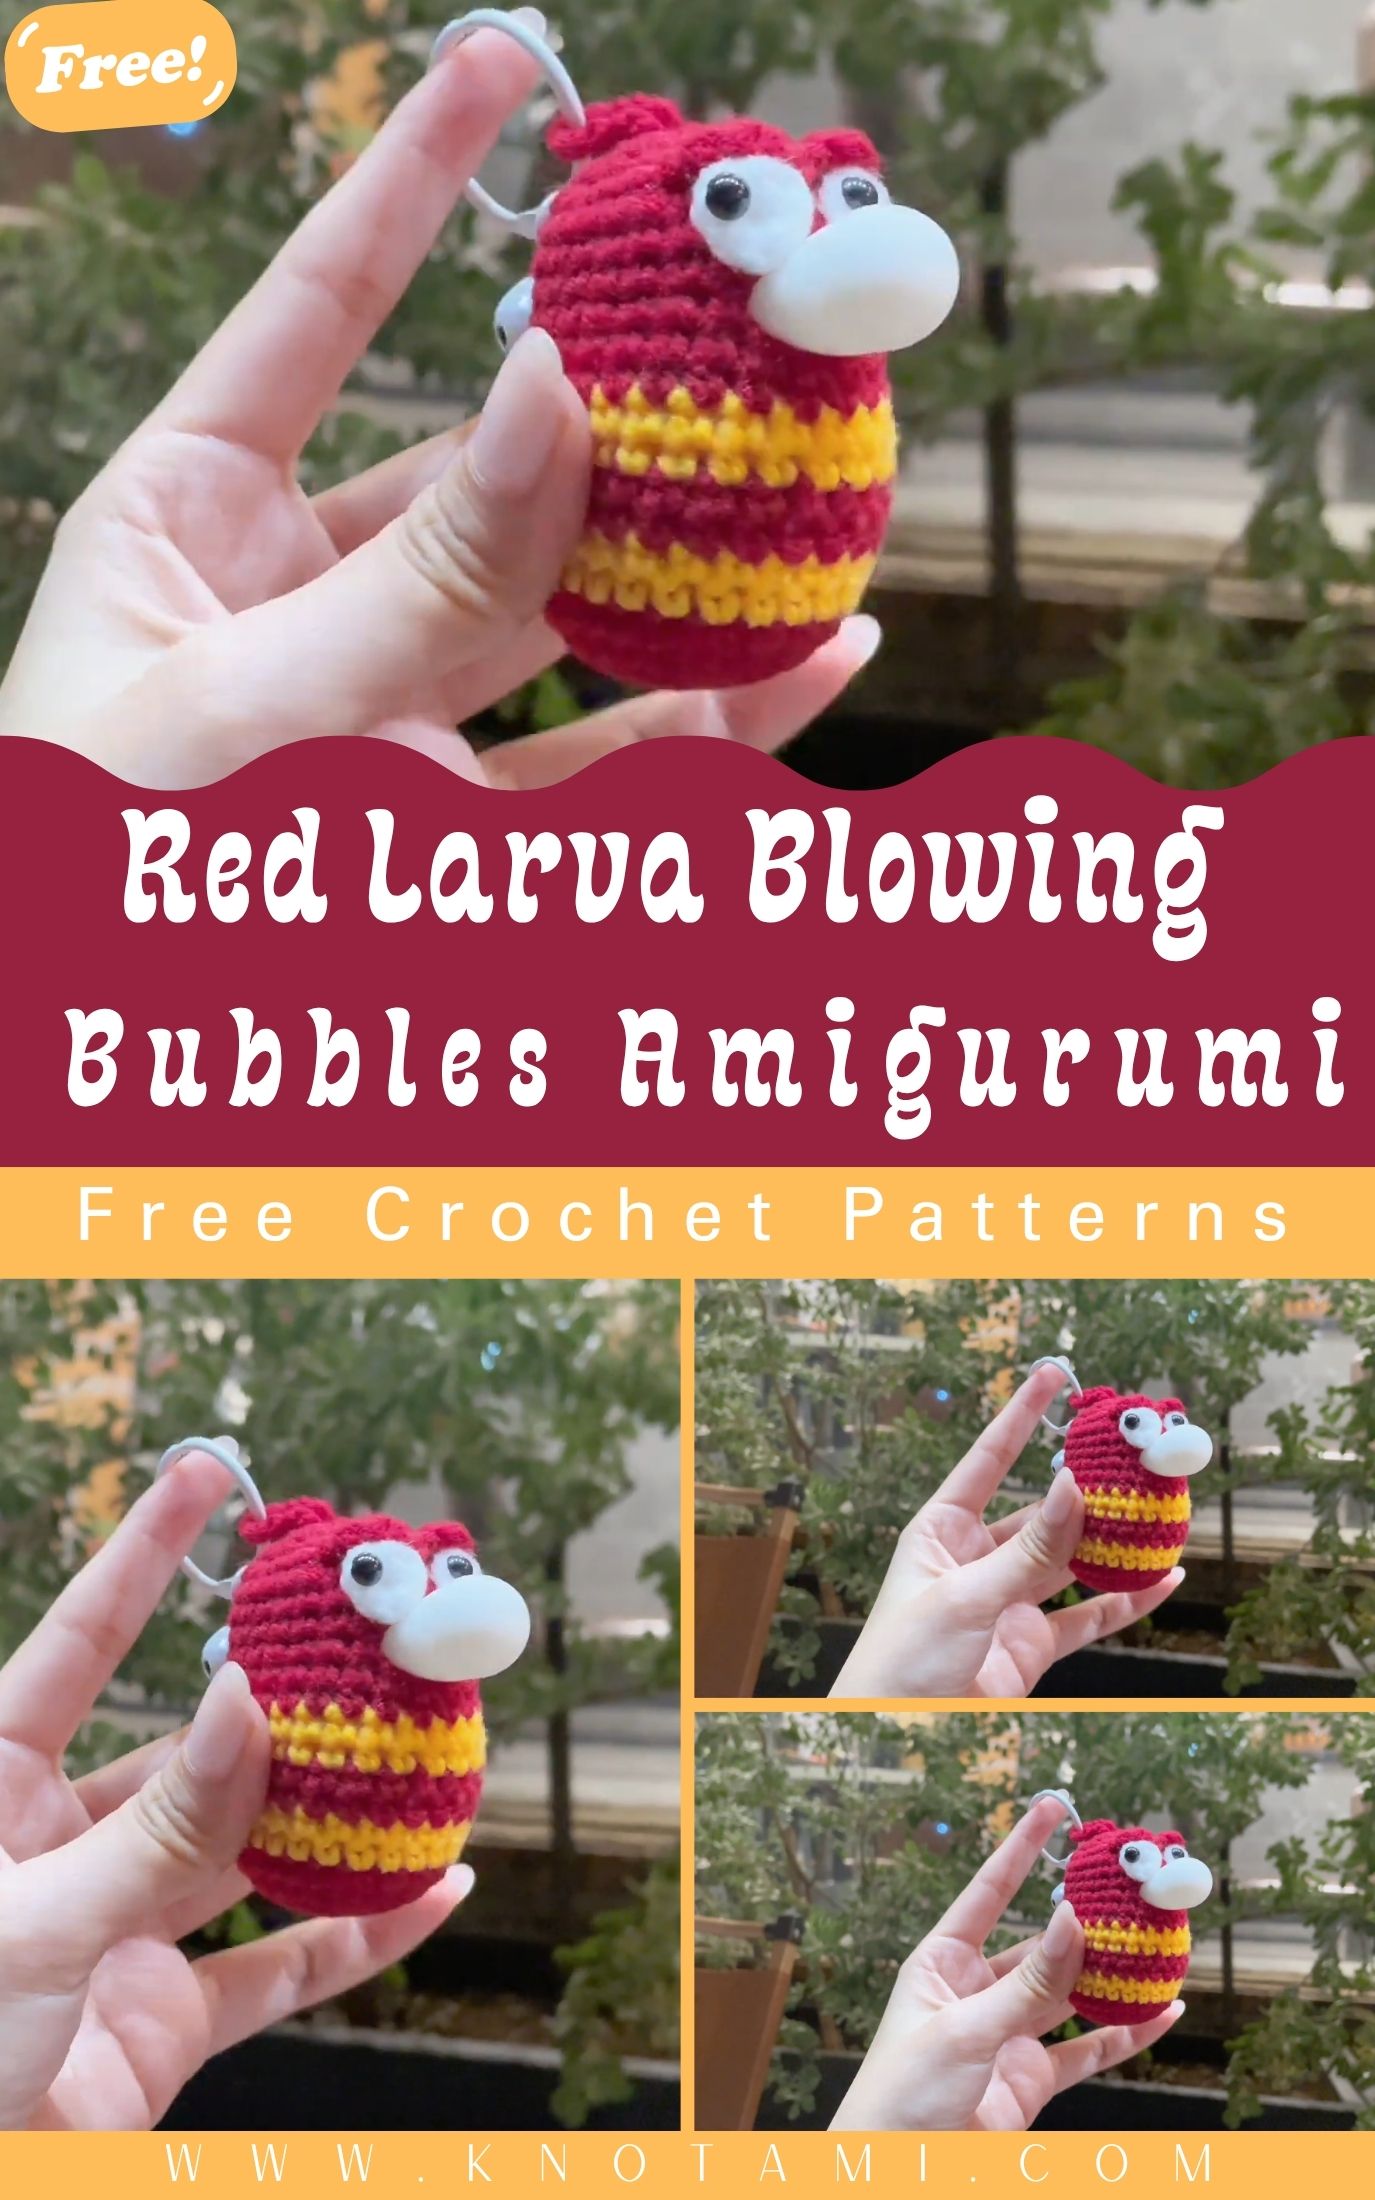
This Crochet Red Larva Blowing Bubbles design offers a fun and unique crochet idea that will immediately grab attention. It adds a playful style and creative beauty to amigurumi animals, dolls, and various characters. Handmade toys are also special because each stitch reflects the effort, care, and your own personality, making them even more unique and memorable.
If you love cute crochet projects, this crochet larva amigurumi is a great choice, as it works as a toy, a cute gift, and a unique room decoration all in one. This amigurumi pattern gives you the opportunity to create animals, dolls, and cartoon-inspired characters in your own way. Unlike plastic toys, a handmade crochet toy feels soft, warm, and safer to cuddle. This way, this red larva bubble design is not just a decoration but becomes a special keepsake, while the bubble detail makes it more lively and charming.
Materials Specifications
Gather everything first, because it keeps the project relaxing and beginner-friendly.
- Worsted or DK weight yarn in red (main body)
- Small amounts of white and black yarn (eyes/mouth details)
- Optional accent yarn: light pink or peach (inner mouth/cheeks)
- Crochet hook that matches your yarn (commonly 2.5–3.5 mm for tight amigurumi)
- Fiberfill stuffing
- Safety eyes (optional) or black yarn for embroidered eyes
- Tapestry needle (for sewing and weaving ends)
- Stitch markers (must-have for spirals)
- Scissors
- Optional: pipe cleaner or thin floral wire (to shape the bubble wand/arm, if you add one)
- Optional: clear craft thread or thin yarn (to “float” bubbles or attach them securely)
Experimental Procedure
This method stays intentionally flexible, because your video scrape did not provide a transcription. However, you can still create the same “Red Larva blowing bubbles” look using a classic amigurumi build: head-body in one piece, then add facial features and bubbles.
Step 1: Start the larva body (magic ring)
- Make a magic ring with red yarn.
- Crochet 6 single crochets into the ring.
- Additionally, place a stitch marker in the first stitch so you never lose your round.
Goal: a tight, firm fabric with no gaps.
Step 2: Increase to form a rounded head
- Increase evenly each round (2 single crochets in one stitch) until the circle becomes a dome.
- Moreover, keep the increases smooth so the head looks round instead of hexagonal.
- Continue for a few rounds without increasing to build height.
Tip: If your circle turns wavy, you increased too fast. Therefore, slow your increase pace.
Step 3: Shape the long larva body
- Begin decreasing gently after the head section.
- Then crochet several even rounds to create the larva’s long tube shape.
- Meanwhile, stuff the head firmly as you go, because it becomes harder later.
Stuffing note: Use small stuffing pieces; as a result, the body stays smooth with fewer lumps.
Step 4: Add the “squishy” larva curve
Red Larva looks expressive because the body often bends slightly.
- To create a curve, add a few short rows or uneven decreases on one side only.
- However, keep it subtle so the doll still sits nicely.
If you prefer simple shaping, skip this and keep the body straight. Additionally, you can bend it later with gentle stuffing placement.
Step 5: Close the base
- Decrease steadily until only a few stitches remain.
- Stuff the body firmly but not rock-hard.
- Therefore, the toy stays cuddly while holding its shape.
- Close the opening with a needle and weave in the end.
Step 6: Create facial features (eyes + mouth)
You can go “cartoon big-eyed” for the cutest effect.
Eyes (two options):
- Safety eyes: Place them before final stuffing if they go through stitches.
- Embroidered eyes: Stitch large ovals using white yarn, then add black pupils.
Additionally, add a small highlight stitch in white to make the eyes sparkle.
Mouth:
- Stitch a curved smile or open mouth using black yarn.
- Moreover, add a tiny pink tongue or inner-mouth detail for extra personality.
Step 7: Make the bubble wand or blowing pose
To sell the “blowing bubbles” idea, you need a clear action detail.
Option A: Bubble wand
- Crochet a thin chain with a few single crochets back to make a handle.
- Then crochet a small ring: chain 8–12 and slip stitch to close.
- Sew the ring onto the handle.
- In addition, attach the wand close to the mouth.
Option B: Bubble “lip” detail only
- Stitch a small circle at the mouth edge using light yarn.
- Therefore, it looks like the larva puckers its lips to blow bubbles.
Step 8: Crochet the bubbles (easy mini spheres)
Bubbles look best in a cluster: small, medium, and one larger.
- Make a magic ring.
- Increase for 2–3 rounds (depending on bubble size).
- Crochet 1 round even.
- Decrease to close.
- Stuff lightly or leave unstuffed for a flatter “bubble” look.
Moreover, use white yarn or very pale blue. If you want a realistic shine, add a thin embroidered swirl.
Step 9: Attach bubbles in a floating cluster
- Stitch one bubble directly to the ring of the wand or to the mouth area.
- Additionally, attach the others in a trail above it, using clear thread or matching yarn.
- Keep the spacing irregular; as a result, the bubbles feel more natural.
Step 10: Final check and shaping
- Adjust stuffing with the back of your hook.
- Meanwhile, check symmetry: align eyes, mouth, and bubbles so the expression reads clearly.
- Weave in all ends securely.
Design, Style & Features
This Natural Crochet Red Larva design stands out because it combines a bold character shape with a storytelling detail.
- Bright red body: The saturated red yarn makes the amigurumi instantly eye-catching. Moreover, it photographs beautifully for gifts and listings.
- Expressive face: Big eyes and a playful mouth create emotion quickly. Therefore, even simple stitches look “alive.”
- Blowing bubbles detail: The wand and bubble cluster add motion. In addition, bubbles give the piece a whimsical, kid-friendly vibe.
- Soft sculpted shape: A slightly curved larva body feels dynamic. However, you can keep it straight if you want a faster build.
- Customizable look: Change eye size, mouth style, or bubble color for endless variations. For example, pastel bubbles create a dreamy nursery decor style.
Uses & Benefits
This Crochet Red Larva Blowing Bubbles project brings more than cute it adds practical value and emotional meaning.
As a toy
Kids love soft textures, and a handmade crochet toy feels comforting in small hands. Additionally, you can embroider eyes instead of using safety eyes for toddler-friendly play.
As a gift
A Red Larva amigurumi makes a memorable birthday or holiday surprise. Moreover, it works for teens and adults who enjoy character collectibles. Add a name tag or favorite colors; therefore, the gift feels personal.
As decor
Put it on a shelf, desk, or craft room display. In addition, the bubble trail creates a fun “scene,” so the piece looks like a tiny sculpture instead of a basic plush.
Emotional and handmade value
Handmade amigurumi carries a quiet message: “I made this for you.” As a result, people keep it longer than mass-produced plastic toys. Meanwhile, you can repair a crochet plush easily, which helps it become a lasting keepsake.
Tips for Beginners
If you feel new to amigurumi, these tips will save you time and frustration.
- Use a smaller hook than the yarn label suggests. Additionally, tight stitches prevent stuffing from showing.
- Mark every round. A stitch marker keeps your spiral clean; therefore, your shaping stays accurate.
- Stuff slowly in layers. Moreover, small stuffing pieces avoid lumps and gaps.
- Count stitches at the end of each round. However, don’t obsess—just catch mistakes early.
- Embroider facial features before you fully close pieces. In addition, it’s easier to stitch details on a slightly flat surface.
- Weave ends with intention. As a result, kids won’t pull tails loose during play.
- Practice bubble sizes first. For example, test three different mini spheres so your final cluster looks balanced.
FAQs (3–5 Questions)
1) What yarn works best for a crochet larva amigurumi?
Use smooth acrylic or cotton yarn in DK or worsted weight. Additionally, cotton gives crisp stitches for a Crochet Red Larva Blowing Bubbles, while acrylic feels extra soft for a handmade crochet toy.
2) Can beginners make this cute crochet plush?
Yes, beginners can make it with basic single crochet, increases, and decreases. Moreover, the bubble pieces use the same skills in smaller rounds, so you get extra practice without stress.
3) How do I make the bubbles look more realistic?
Use pale blue or white yarn and add a tiny embroidered swirl highlight. In addition, attach the bubbles with clear thread so they “float.” As a result, your Crochet Red Larva Blowing Bubbles looks animated and photo-ready.
4) Are safety eyes necessary for amigurumi?
No, you can embroider eyes with yarn or thread. However, if you make this as a baby gift, embroidery often works better for safety. Additionally, stitched eyes still look bright if you add a white highlight.
5) How can I personalize a Red Larva blowing bubbles amigurumi?
Change the mouth expression, add blush cheeks, or make rainbow bubbles. Moreover, you can add a tiny bow tie or name charm. Therefore, your crochet larva amigurumi becomes a one-of-a-kind keepsake.
Closing Remarks
This Natural Crochet Red Larva blowing bubbles project lets you turn simple stitches into a joyful character with real personality. Moreover, the bubble detail adds movement, so your amigurumi looks like it tells a story. Therefore, you can use it as a cuddly toy, a quirky gift, or playful decor. In addition, every handmade stitch carries warmth that plastic toys never match, which makes your finished larva feel truly special.