DIY Crochet Neck Warmer Quick & Easy Warm Pattern
There’s a certain kind of joy that only makers understand the moment when a skein of yarn begins to take shape under your fingers, transforming into something beautiful and functional. Crochet is more than just crafting; it’s an act of mindfulness, creativity, and comfort. Each loop carries warmth, patience, and a little bit of your heart. Whether it’s the soft rhythm of the hook or the gentle flow of yarn, crocheting turns ordinary fibers into something extraordinary a cozy reminder that art can also be wearable.
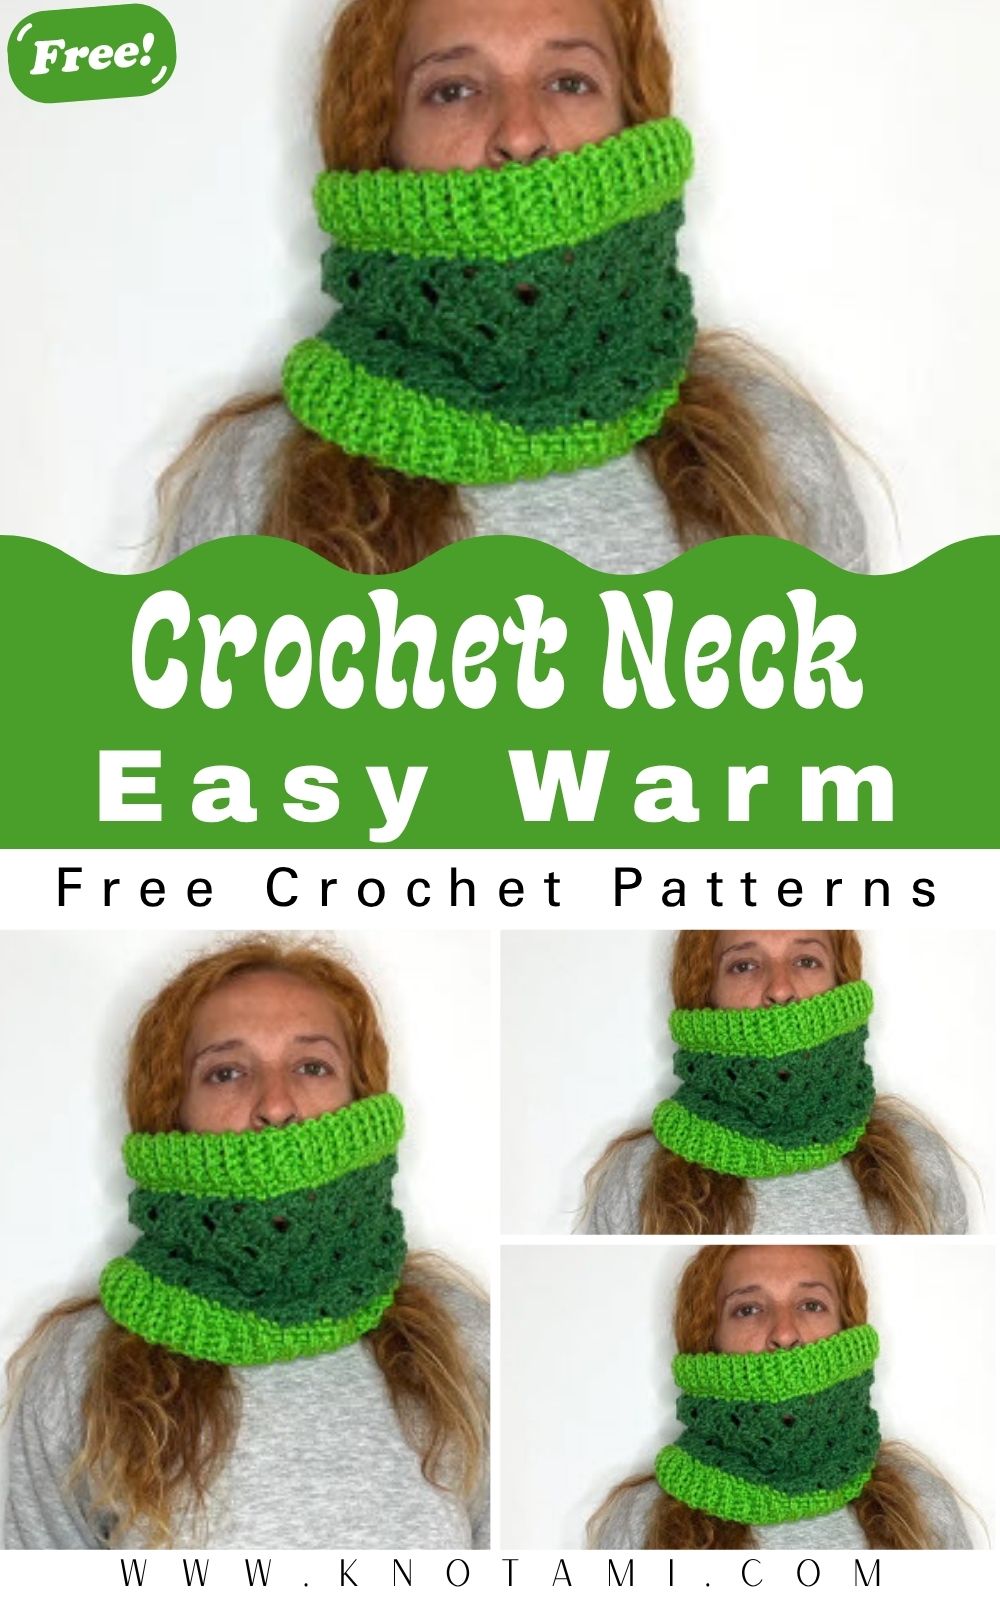
One of the simplest yet most satisfying projects for any crocheter is a DIY Crochet Neck Warmer. This Quick & Easy Warm Pattern combines practicality with handmade charm, making it perfect for cold days when you want to stay warm but stylish. Unlike bulky scarves, a crochet neck warmer hugs your neck comfortably, adding both texture and a handmade touch to your outfit. Plus, it’s small enough to finish in a single afternoon talk about instant gratification!
What makes this project special is its universal appeal. Whether you’re a beginner eager to learn basic stitches or an experienced crocheter looking for a relaxing project, this neck warmer hits the sweet spot. It’s simple enough to complete without frustration, yet flexible enough to let you experiment with yarn textures, colors, and decorative touches.
Beyond the final product, crocheting this neck warmer offers something deeper a sense of calm and satisfaction that only handmade crafts can bring. The soft rhythm of each stitch, the cozy yarn between your fingers, and the joy of creating something useful all combine into a meditative experience. This project is perfect for slow crafting sessions, thoughtful gifting, or simply treating yourself to a dose of warmth made with love.
Materials & Tools
Before we start stitching, let’s gather the materials and tools you’ll need for your cozy DIY neck warmer.
Materials List
-
Yarn: Medium-weight (worsted or #4) yarn, about 150–200g depending on size.
Recommended options: Lion Brand Basic Stitch, Red Heart Soft, or Caron Simply Soft. -
Hook Size: 5.0 mm (H/8) crochet hook (adjust as needed for your tension).
-
Tapestry Needle: For weaving in yarn ends.
-
Scissors: Sharp yarn scissors for neat cutting.
-
Stitch Markers: Optional but helpful for counting rows or stitches.
-
Buttons or Toggle Fastener (optional): To close or decorate your neck warmer.
Yarn & Color Tips
Choosing the right yarn can make all the difference. For a soft and cozy feel, go for acrylic or a wool-blend yarn. These fibers offer warmth without being too bulky. If you want a lightweight version for fall, choose a cotton-acrylic mix for breathability.
Color-wise, neutral tones like beige, cream, and gray make timeless fashion pieces, while bold hues like mustard, forest green, or burgundy add a touch of flair. You can even use variegated yarn for a self-striping effect perfect for adding character without switching skeins.
Step-by-Step Crochet Instructions
This neck warmer pattern is quick, beginner-friendly, and highly customizable. It’s worked flat in rows, then joined to form a soft, snug band. Follow the steps below to make your own warm and stylish piece.
Step 1: Making the Foundation Chain
Start by creating a slip knot on your hook. Chain enough stitches to fit comfortably around your neck typically 60 to 70 chains for adults (you can adjust depending on your preferred fit).
Tip: To avoid tight edges, use a slightly larger hook just for the foundation chain.
Step 2: Building the Base Rows
Once your chain is ready:
-
Skip the first chain from your hook.
-
Work half double crochet (HDC) into the second chain.
-
Continue working HDC stitches across the entire row.
-
Chain one and turn your work.
Repeat this process for about 10 to 15 rows, depending on how tall you want your neck warmer to be.
Step 3: Creating Texture
For extra coziness and style, you can introduce texture into your rows. Try one of these easy stitch variations:
-
Ribbed Texture: Alternate front post and back post double crochet stitches (FPDC/BPDC).
-
Waffle Stitch: Use double crochet and front post stitches for a grid-like texture.
-
Moss Stitch: Alternate single crochet and chain stitches for a subtle woven look.
This step gives your neck warmer personality while making it extra stretchy and warm.
Step 4: Shaping & Adjusting Fit
Once you reach your desired height, measure your piece around your neck again. It should fit snugly but not too tight.
Step 5: Edging for a Clean Finish
Work a single crochet border around the entire rectangle to create a polished look.
For button-up versions, crochet one or two rows of single crochet along one short edge. Then, on the opposite edge, space out buttonholes using chain 1, skip 1 stitch where you want the buttons to go.
Sew your buttons onto the opposite edge using your tapestry needle.
Step 6: Adding Final Touches
Now for the fun part personalizing your neck warmer!
-
Add a faux fur trim around the top edge for a wintery, luxurious feel.
-
Sew on decorative buttons or wooden toggles for a rustic look.
-
Crochet a flower or heart appliqué and stitch it onto one corner.
-
Attach a leather tag or label to give it a professional finish.
When finished, gently stretch your piece and flatten it by hand to help the stitches settle evenly.
Step 7: Optional Assembly Variation Infinity Style
For an infinity neck warmer, twist the piece once before sewing the ends together. This creates a soft twist that drapes beautifully around the neck.
Expert Shaping & Finishing Tips
-
Keep your edges straight by counting stitches each row.
-
If your piece starts curving, loosen your tension slightly.
-
For an even texture, maintain consistent yarn tension throughout.
-
Use stitch markers on the first and last stitches to stay aligned.
Customization Ideas
One of the best parts of crochet is that no two projects have to look the same. Here are a few fun ways to make your neck warmer uniquely yours:
-
Color Blocking: Combine two or three contrasting shades for a trendy, modern design.
-
Winter Edition: Use chunky wool and add a faux fur border for extra warmth.
-
Boho Vibes: Choose multicolored yarn or variegated tones for an eclectic style.
-
Personal Touch: Add initials or embroidered motifs using a contrasting yarn color.
-
Seasonal Themes: Use red and white for Christmas, pastel tones for spring, or burnt orange for autumn coziness.
Advanced Tips & Troubleshooting
Even the simplest crochet projects can present small challenges. These pro-level tips will help you get flawless results:
-
Invisible Decreases: To reduce bulk, insert the hook into the front loops only when decreasing.
-
Even Tension: Keep your yarn hand relaxed; avoid pulling the thread too tightly.
-
Avoid Twists: Always check your foundation chain before joining to prevent spiraling.
-
Straight Edges: Chain one (not two) when turning HDC rows for cleaner sides.
-
Blocking: Lightly steam your finished neck warmer for smooth, even stitches.
-
Joining Seams: Use the mattress stitch or whip stitch for invisible joins.
-
Fix Loose Stitches: Tug gently on nearby stitches to redistribute tension.
-
Pattern Reading: Familiarize yourself with common abbreviations like HDC, SC, and FPDC.
-
Gauge Swatch: Crochet a small sample first to ensure your piece fits properly.
-
Color Changes: When switching yarn colors, always carry your unused yarn neatly along the edge.
Care Instructions
Your handmade neck warmer deserves a little love and care. Follow these steps to keep it looking new for years:
-
Wash Gently: Hand wash in lukewarm water with a mild detergent.
-
Avoid Bleach: Harsh chemicals can weaken fibers.
-
Air Dry Flat: Shape your piece while drying to prevent stretching.
-
Avoid Direct Sunlight: It can fade colors and dry out natural fibers.
-
Storage: Fold neatly and store in a cool, dry place. Add a lavender sachet to keep it fresh and moth-free.
Display & Gift Ideas
A crochet neck warmer isn’t just a practical accessory it’s a heartfelt gift and a beautiful handmade creation. Here are some creative ways to use or gift your finished piece:
-
Thoughtful Gift: Perfect for holidays, birthdays, or “just because” moments.
-
Home Display: Place it on a wooden coat rack or mannequin as cozy décor.
-
Work Companion: Keep one in your office or workspace for chilly mornings.
-
Fashion Statement: Style it with a long coat, sweater, or even over a dress.
-
Holiday Stocking Filler: Roll it neatly, tie it with a ribbon, and tuck it into a Christmas stocking.
Handmade gifts like this carry a personal touch that no store-bought item can match.
Benefits of Making a Crochet Neck Warmer
Crafting your own DIY Crochet Neck Warmer is more than just a creative hobby it’s a wellness ritual.
-
Mindful Relaxation: The rhythmic motion of crocheting soothes the mind and promotes focus.
-
Stress Relief: Working with soft textures and repetitive stitches calms anxiety and tension.
-
Sustainability: Handmade fashion reduces waste and encourages conscious creation.
-
Creative Expression: Choose colors and textures that reflect your personal style.
-
Emotional Value: Every handmade item carries a story of time, care, and love.
Crochet connects heart and hand, offering a slow, joyful way to unwind while creating something beautiful and functional.
Photography & Social Media Tips
If you love sharing your crochet creations online, here’s how to capture your neck warmer beautifully:
-
Natural Light: Photograph near a window or outdoors for soft, flattering light.
-
Add Props: Include skeins of yarn, your crochet hook, or a steaming cup of tea in your shot.
-
Simple Background: Use neutral tones like white, beige, or wooden textures to make your stitches stand out.
-
Styled Shots: Model the neck warmer with a coat or sweater to show how it fits.
-
Close-Ups: Highlight the texture, edges, and details like buttons or decorative stitches.
Conclusion
The DIY Crochet Neck Warmer Quick & Easy Warm Pattern proves that simple projects can deliver big rewards. With just a few basic stitches and a skein of yarn, you can create something cozy, stylish, and entirely your own. Each stitch is a moment of calm; each row brings warmth not just in the fabric, but in your spirit too.
Your next favorite winter accessory is just a few stitches away soft, snug, and made with love.