
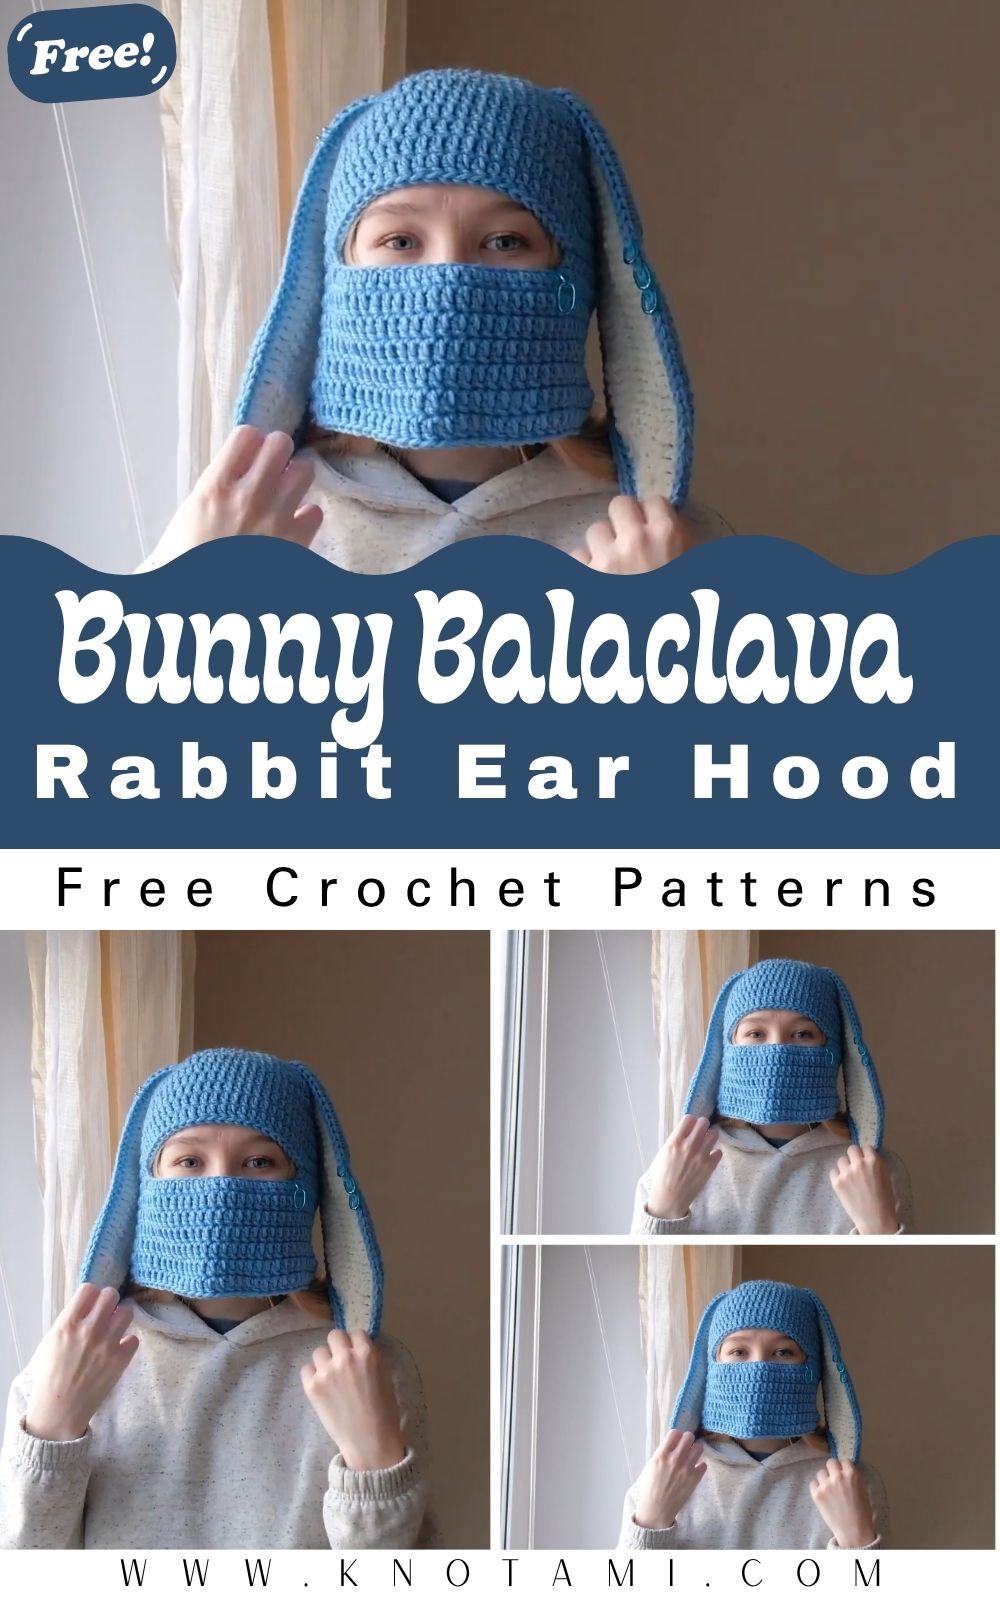
A Crochet Bunny Balaclava Rabbit Ear Hood adds cozy charm to winter outfits. Moreover, it keeps your head and neck warm, and therefore, you stay comfortable while looking playful and stylish outdoors.
The Crochet Bunny Balaclava Rabbit Ear Hood is a fun, practical piece that instantly elevates cold-weather style. First, this crochet balaclava pattern offers full coverage, which helps lock in heat around your head, ears, and neck. In addition, the rabbit ear hood design brings a cute statement look, you stand out effortlessly. However, you can customise yarn, colours, and fit. This handmade crochet hood doubles as a DIY crochet winter accessory for everyday wear.
Materials & Tools
Before diving into the fun part, crocheting your bunny balaclava, let’s prepare all the essentials you’ll need.
Materials List
-
Yarn: Medium-weight (worsted) acrylic or cotton-blend yarn (approximately 200–250g)
Recommended brands: Red Heart Soft, Lion Brand Basic Stitch, or Caron Simply Soft. -
Hook: 5.0 mm (H/8) crochet hook (adjust based on your tension).
-
Tapestry needle: For weaving in ends and attaching ears.
-
Scissors: Sharp yarn scissors for clean cuts.
-
Stitch markers: To keep track of rounds and decreases.
-
Measuring tape: For ensuring your hood fits properly.
-
Optional: Safety eyes or small black felt circles for decoration (if you’re adding a face).
Yarn Selection Tips
The yarn you choose can dramatically affect the look and feel of your bunny balaclava. For a soft and cozy hood, opt for acrylic or acrylic-blend yarn that’s easy to wash and comfortable against the skin. If you want a luxurious touch, try alpaca or merino wool blends for warmth and elasticity.
As for colours, pastel tones like baby pink, cream, lavender, or light grey give a soft bunny-like appearance, while bold shades such as black, brown, or even rainbow yarns can create a modern, playful twist.
Step-by-Step Crochet Instructions
Below is a detailed, beginner-friendly walkthrough to make your DIY Crochet Bunny Balaclava Rabbit Ear Hood. The steps are adapted and simplified from the video tutorial for clarity and ease of following.🪞 Step 1: Making the Head Section
-
Start with a Magic Ring.
Create a magic circle and work 6 single crochets (SC) into the ring. Pull tight to close. -
Increase evenly.
For the next rounds, increase gradually:-
Round 2: 2 SC in each stitch (12)
-
Round 3: 1 SC, inc repeat around (18)
-
Round 4: 2 SC, inc repeat around (24)
Continue this increasing pattern until your circle comfortably covers the top of your head.
-
-
Shape the crown.
Once you’ve reached the desired diameter, work even rounds (no increases) to create the head’s length. This forms the top dome of your balaclava.
Pro Tip: Keep trying the piece on as you go to ensure a snug but comfortable fit. Crochet stretches slightly with wear.
Step 2: Forming the Neck and Upper Hood
Once the crown fits the top of your head, it’s time to build the neck and face opening.
-
Determine the front opening.
Fold the work to find the centre front, and mark where you want the face hole to start. -
Work back and forth rows.
Crochet in rows (instead of rounds) to create the open section that will frame your face. Continue until the opening fits comfortably around your cheeks. -
Join and continue rounds.
Rejoin your stitches and continue crocheting in rounds for the rest of the neck. -
Extend the collar.
Add several rounds to extend the neck portion so it can tuck into jackets or sweaters easily.
Tip: For a snug edge, switch to a smaller hook size for the final two rounds. Step 3: Crocheting the Bunny Ears
Now comes the fun part, the signature floppy bunny ears!
-
Inner Ear:
Using your accent colour (such as light pink), chain 10. Work SC up one side and down the other side of the chain, increasing at both ends to form an oval. -
Outer Ear:
With the maicolour yarn, repeat the same steps, but make it slightly larger by adding one or two extra rows around. -
Join the layers:
Place the inner and outer ear pieces together and single crochet around to join them, leaving the bottom open for attaching. -
Shape the ears:
Bend them slightly in the middle to give them a natural, curved look before sewing them onto the top sides of the hood.
Expert Tip: Stuff the ear tips lightly with fiberfill if you want them to stand up more firmly.
Step 4: Shaping and Assembly
Now that all the main parts are ready, it’s time to assemble them into one adorable piece.
-
Position the ears.
Try on the hood and mark the ideal placement. The ears should sit symmetrically about two inches apart at the top. -
Attach securely.
Use a tapestry needle and whip stitch to attach each ear. Double-stitch for durability. -
Weave in all yarn ends.
Hide any visible ends neatly inside the balaclava. -
Optional facial features:
For a playful twist, you can embroider a small bunny nose, whiskers, or even attach safety eyes. Step 5: Adding Final Touches
-
Crochet a small bow or mini scarf and attach it under one ear.
-
Add a pom-pom “tail” at the back for extra cuteness.
-
Edge the face opening with a row of single crochet to neaten astabiliseize it.
When done, step back and admire your cozy, character-filled bunny hood, a perfect mix of fun and function! Customization Ideas
This pattern offers endless opportunities for personalisation. Here are a few creative ideas to make your project uniquely yours:
-
Colour Variations: Try soft pastels for a classic bunny look or go bold with neon, ombré, or multi-colored yarns.
-
Seasonal Themes: Make a white bunny for winter, a pastel blue one for Easter, or even a spooky black one for Halloween!
-
Add Accessories: Crochet tiny bows, flowers, or attach detachable scarves and hats.
-
Different Textures: Use fluffy yarn like velvet or chenille for extra coziness.
-
Fantasy Designs: Turn your bunny into a mythical creature, add sparkly yarn, tiny horns, or stars embroidered on the ears.
Advanced Tips & Troubleshooting
Even experienced crocheters face challenges sometimes! Here are some pro tips to help you master the Bunny Balaclava:
-
Invisible Decreases: Use front loop–only decreases for smoother shaping.
-
Even Tension: Keep your grip consistent; relax your hand to avoid tightness.
-
Prevent Twists: Double-check your first round before joining — once twisted, it’s hard to fix!
-
Fix Uneven Shapes: Lightly block or steam your finished hood for a clean shape.
-
Stuffing Balance: Add minimal stuffing to ears; overstuffing can distort them.
-
Join Parts Seamlessly: Use mattress stitch or whip stitch to attach ears cleanly.
-
Reading Patterns: Familiarise yourself with abbreviations like SC (single crochet), INC (increase), and DEC (decrease).
-
Adjust Fit: To make it smaller or larger, simply adjust the hook size or yarn weight.
-
Avoid Gaps: When increasing, always pull loops tightly to avoid visible holes.
-
Check Symmetry: Place both ears before sewing to ensure they’re aligned evenly. Care Instructions
To keep your crochet bunny balaclava in top shape:
-
Hand wash gently in lukewarm water with a mild detergent.
-
Rinse thoroughly and press lightly, do not wring.
-
Air dry flat on a towel to maintain shape.
-
Avoid direct sunlight, which can fade colours.
-
Store properly — fold neatly and keep in a cool, dry place away from moisture.
For long-term storage, tuck it into a breathable fabric bag with a lavender sachet to keep it fresh.
Display & Gift Ideas
Your DIY Crochet Bunny Balaclava is more than just a craft,t it’s a conversation piece! Here are fun ways to use or gift it:
-
Home Décor: Hang it as a wall display or place it on a mannequin head for a cozy vibe.
-
Kid’s Accessory: Perfect for Easter egg hunts, Halloween, or playtime dress-up.
-
Desk Companion: Use a mini version as a decorative piece or cozy holder.
-
HandmadeGift Personalisedd, thoughtful, and guaranteed to bring smiles.
-
Holiday Surprise: Wrap it beautifully as a winter gift for friends who love handmade fashion.
Benefits of Crocheting the Bunny Balaclava
Creating a Crochet Bunny Balaclava Rabbit Ear Hood is more than just a fun weekend project; it’s therapy in disguise.
-
Relaxation & Mindfulness: The steady rhythm of stitches helps calm your mind and reduce stress.
-
Sustainable Gifting: Handmade gifts promote eco-friendly practices and reduce mass-produced waste.
-
Joy & Accomplishment: Seeing your finished hood come to life gives a huge confidence boost.
-
Emotional Connection: Handmade items carry love, care, and personal meaning that store-bought items never can.
-
Creative Freedom: You get to express your personality through every colour, stitch, and texture.
Photography & Social Media Tips
Once your bunny balaclava is done, show it off! Here’s how to photograph it beautifully for Instagram, Etsy, or your crochet blog:
-
Use natural daylight: Morning or late afternoon light gives soft, warm tones.
-
Add props: Scatter yarn balls, hooks, or pastel flowers around your project.
-
Soft background: Neutral backdrops (like beige fabric or wood texture) make your hood pop.
-
Highlight texture: Take close-up shots showing stitches and ear details.
-
Wear it or model it: A smiling photo in your handmade balaclava is always heartwarming! Conclusion
The DIY Crochet Bunny Balaclava Rabbit Ear Hood Pattern isn’t just another crochet project;t it’s an experience of creativity, comfort, and joy. With every stitch, you’re weaving warmth and personality into something you can proudly wear or gift. Whether you’re crocheting it on a cozy weekend or sharing it with a loved one, this project reminds us that the simplest materials, like yarn, a hook, and imagination, can create something truly magical.
So pickyour favouritee yarn, grab your hook, and let your hands bring your bunny balaclava to life. Each loop and stitch is a step toward creating not just a cute accessory, but a heartfelt piece of handmade art that radiates joy and coziness.