
The Magic of Handmade Crochet
Crocheting is one of those rare crafts that turns something as simple as a ball of yarn into a piece of art filled with personality and function. The soft slipping of yarn through your fingers, the rhythm of the hook, and the satisfaction of watching loops become a three-dimensional shape it all combines into an experience that is both meditative and rewarding. Each stitch is a testament to creativity, patience, and care. When finished, your project becomes more than yarn it becomes a tangible piece of your imagination brought to life.
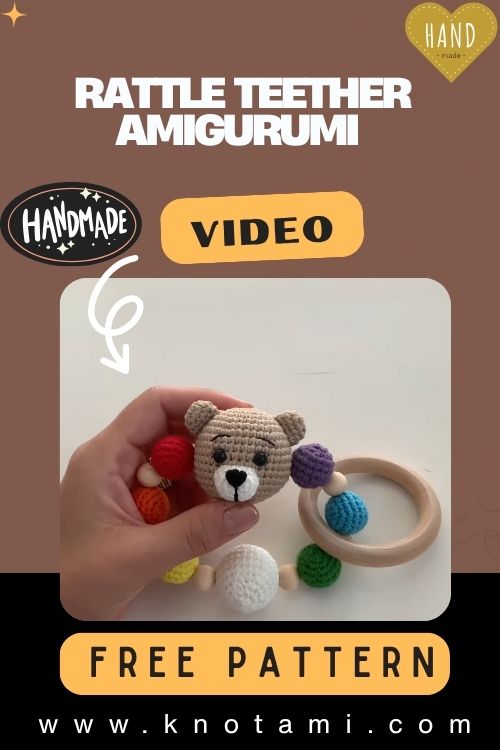
Introducing the Crochet Rattle Teether Amigurumi
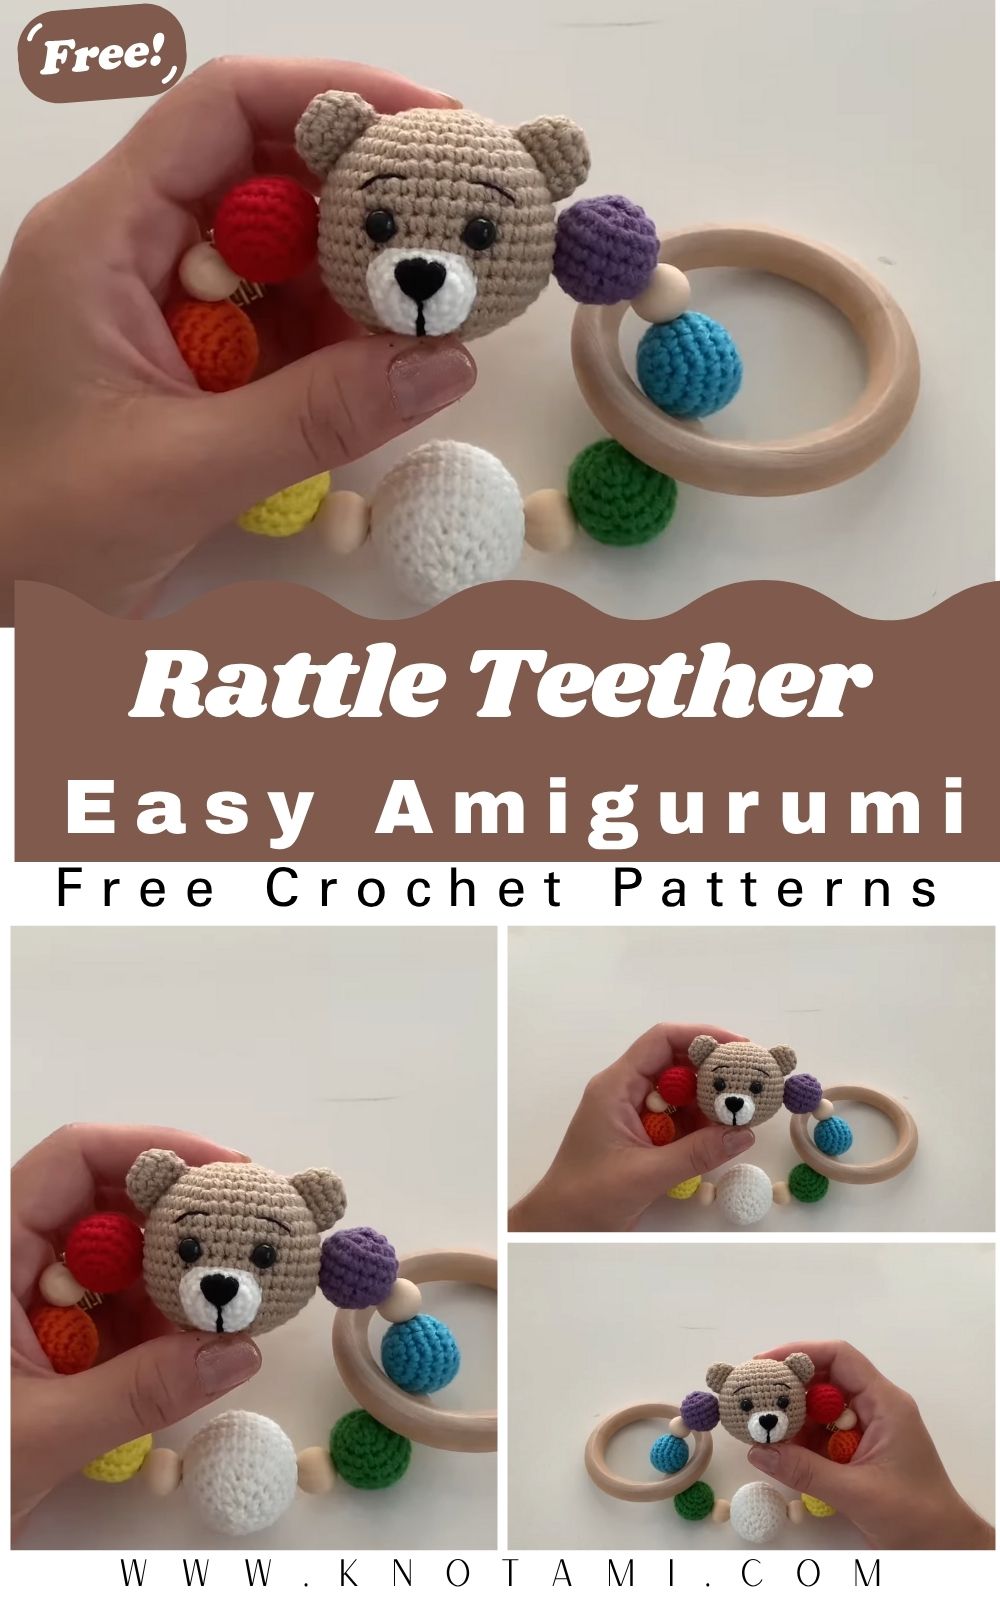
Among the many crochet projects you can try, the Easy DIY Crochet Rattle Teether Amigurumi is a standout. This tiny, adorable toy not only captivates with its charm but also serves a functional purpose: soothing a teething baby while stimulating their senses with gentle rattling. Its rounded shape, safe handle, and soft texture make it perfect for little hands. Beyond its practical use, it’s a delightful decorative piece that can also double as a keychain or crib mobile accent.
Perfect for All Skill Levels
This project is wonderfully flexible in terms of difficulty. Beginners will enjoy following clear, step-by-step instructions using basic stitches, while intermediate or advanced crocheters can explore variations in color, embellishments, and textures. It’s a perfect balance between fun and technique, allowing crafters to feel accomplished regardless of skill level. Plus, it’s compact and fast to complete, giving a sense of instant gratification.
A Calming, Rewarding Craft
Crocheting the rattle teether is as much about the process as the product. Each stitch encourages mindfulness, focus, and a sense of calm. The gentle rhythm of looping yarn and shaping forms is deeply meditative, creating a relaxing experience that is perfect for slow crafting sessions. By the end of the project, you not only have a cute, functional toy but also the joy and satisfaction of having created a handmade gift from scratch.
Materials & Tools
Before starting, gather all materials to ensure a smooth crafting experience.
Required Materials
-
Yarn: 100% cotton or baby-friendly yarn, DK or sport weight. Choose soft pastels, bright fun colors, or natural neutrals. Approximately 50g per color.
-
Crochet Hook: 2.5 mm to 3 mm, depending on yarn thickness and desired stitch tightness.
-
Stuffing: High-quality polyester fiberfill or hypoallergenic cotton.
-
Safety Eyes: 6 mm to 8 mm (or embroider for infants under 3 years for safety).
-
Wooden Rattle Insert or Teething Ring: Smooth, untreated, 2–3 inches diameter, safe for babies.
-
Scissors: For precise cuts.
-
Tapestry Needle: To weave in ends and assemble parts.
-
Stitch Markers: Useful to track rounds and stitch counts.
Yarn and Color Tips
Opt for soft cotton yarn for durability, safety, and easy washing. Smooth yarn allows even stitches and neat shaping. Consider complementary colors for the rattle handle, body, and decorative details. You can also use multiple colors to create a playful, eye-catching amigurumi.
Step-by-Step Crochet Instructions
Follow this detailed guide to create your Crochet Rattle Teether Amigurumi.
1. Making the Head
-
Begin with a magic ring using the main body color (cream, pastel, or neutral).
-
Round 1: 6 single crochets (sc) in the ring.
-
Round 2: Increase in each stitch (12 sts).
-
Round 3: (1 sc, inc) repeat around (18 sts).
-
Round 4: (2 sc, inc) repeat around (24 sts).
-
Rounds 5–6: Work even rounds for head length.
-
Place safety eyes between rounds 5–6, spacing evenly.
Pro Tip: Stuff lightly as you go to maintain a smooth, rounded head. Avoid overstuffing for a softer finish.
2. Forming the Neck and Upper Body
-
Round 1: (3 sc, dec) repeat around (18 sts).
-
Round 2: (2 sc, dec) repeat around (12 sts).
-
Round 3: Work even rounds to create a gentle taper.
This section helps the toy maintain a proportionate, rounded shape.
3. Building the Main Body
-
Switch to a contrasting color if desired.
-
Round 1: 6 sc in magic ring.
-
Round 2: Increase in each stitch (12 sts).
-
Round 3: (1 sc, inc) repeat around (18 sts).
-
Round 4: (2 sc, inc) repeat around (24 sts).
-
Continue increasing gradually until body width reaches 30–36 sts.
-
Work even rounds for height (4–6 rounds).
-
Start decreasing gradually to round off the body top.
Expert Tip: Stuff the body gradually, focusing on the center for stability and softer edges for a natural rattle shape.
4. Shaping and Attaching Limbs or Details
-
Handle Loops: Chain 4–5 and work back across chain: sc, hdc, dc, hdc, sc. Attach securely to the top of the body.
-
Optional Limbs: Create tiny flippers, ears, or decorative appendages following the same method as handle loops. Attach symmetrically using yarn and tapestry needle.
5. Creating the Tail or Base
-
Chain 3, work sc, hdc, sc to form a small tail or stabilizing base.
-
Attach to bottom of the body and lightly stuff for structure.
Tip: The base or tail keeps the toy balanced for grasping or sitting upright.
6. Assembly & Positioning
-
Insert the wooden rattle or teething ring through loops or yarn wrapping.
-
Secure tightly using yarn ends, weaving all tails neatly inside the body.
-
Check for stability and balance before final stitching.
7. Adding Final Touches
-
Smile or Facial Details: Embroider with contrasting yarn.
-
Cheeks or Blush: Use yarn, embroidery thread, or soft fabric paint.
-
Decorative Stitching: Optional shell patterns, spots, or stripes on the body.
These subtle details make your amigurumi more personalized and charming.
Customization Ideas
Bring your own creative flair to the rattle teether:
-
Alternative Color Schemes: Pastel, bright, or muted tones.
-
Gradient/Ombre Yarn: Adds soft transitions and depth.
-
Holiday or Themed Versions: Christmas, Halloween, Easter, or rainbow colors.
-
Fantasy Features: Tiny horns, stars, or glitter yarn.
-
Accessories: Crochet bows, hats, scarves, or small plush friends attached.
Experimenting with color and embellishments allows each toy to become unique.
Advanced Tips & Troubleshooting
-
Invisible Decreases: Work through front loops only to smooth shaping.
-
Even Stitch Tension: Avoid loose or tight areas to maintain a uniform shape.
-
Prevent Twists in Rounds: Use stitch markers and check orientation frequently.
-
Fix Uneven Shapes: Massage and redistribute stuffing gradually.
-
Proper Stuffing Balance: Concentrate stuffing in the center for stability.
-
Joining Parts Seamlessly: Whipstitch through inner loops to hide joins.
-
Pattern Abbreviations: Be confident reading sc, hdc, dc, inc, dec, sl st.
-
Safety Eyes for Infants: Embroider for children under 3.
-
Size Adjustments: Use thinner yarn and smaller hook for mini toys, or thicker yarn for larger versions.
-
Finishing Touches: Block lightly or steam from a distance to smooth stitches.
Care Instructions
To keep your toy soft, clean, and safe:
-
Gentle hand wash using mild, baby-safe detergent.
-
Rinse thoroughly and gently squeeze out excess water.
-
Air dry flat to preserve shape.
-
Avoid direct sunlight to prevent fading.
-
Safe storage: Keep away from pets and store in breathable bags.
Proper care ensures longevity and keeps your handmade toy looking fresh.
Display & Gift Ideas
This rattle teether is functional and decorative:
-
Crib Mobile: Hang multiple toys for a soft, playful display.
-
Keychain or Bag Charm: Attach for portability and fun.
-
Nursery Decor: Display on shelves, baskets, or nightstands.
-
Desk Companion: Add a touch of cozy handmade charm.
-
Gift Set: Pair with blankets or rattles for baby showers or newborn presents.
Handmade gifts carry personality and thoughtfulness that store-bought toys can’t match.
Benefits of Making a Crochet Rattle Teether
Creating this toy provides both emotional and practical benefits:
-
Relaxation & Mindfulness: Crochet promotes calm focus.
-
Stress Relief: Engaging in creative flow reduces tension.
-
Sense of Accomplishment: See your yarn transform into a beautiful toy.
-
Eco-Friendly & Sustainable: Avoid mass-produced plastic toys.
-
Emotional Connection: Handmade gifts strengthen bonds between maker and recipient.
Photography & Social Media Tips
Highlight your finished amigurumi beautifully:
-
Natural Light: Shoot near windows or outdoors.
-
Soft Backgrounds: Fabric, wood, or neutral tones highlight textures.
-
Props: Include yarn, hooks, or flowers for a cozy vibe.
-
Close-Ups: Capture stitch details and textures.
-
Flatlays: Combine materials, finished toy, and rattle ring for storytelling.
Conclusion
The Easy DIY Crochet Rattle Teether Amigurumi is more than a project it’s a labor of love that transforms yarn into a functional, adorable, and meaningful toy. From the first chain to the final stitch, you experience the joy of creating something beautiful and practical. Handmade toys like this not only delight babies but also bring pride and satisfaction to the maker.
Crochet teaches patience, mindfulness, and the joy of crafting something with your own hands. Completing this project gives you a keepsake that is cute, functional, and full of personality. Embrace the meditative rhythm, enjoy the creative freedom, and share the warmth of handmade artistry. Happy crocheting!