
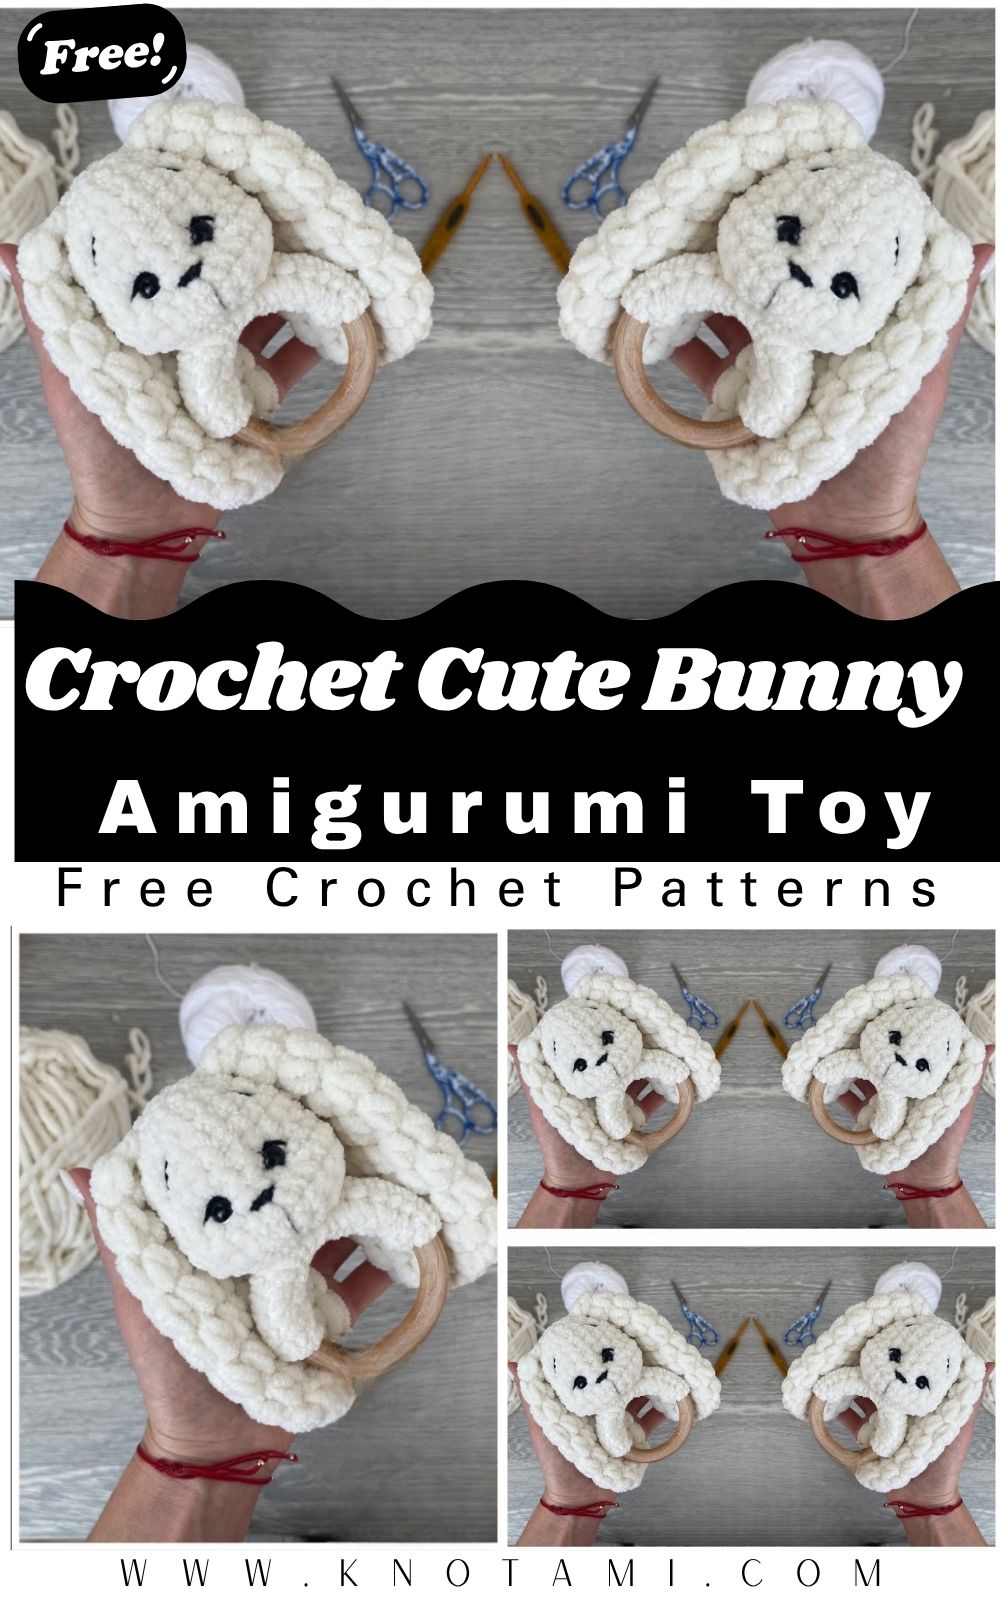
Want a super cute handmade baby gift? This Radiant Crochet Cute Bunny Rattle Amigurumi is soft, cuddly, and perfect for little hands. It has adorable floppy ears and makes a gentle rattle sound. Great for beginners, this easy crochet pattern is fun to make and full of joy.
Searching for a charming and easy crochet project that babies will love? This Cute Bunny Rattle Amigurumi Pattern is the perfect choice! Made with soft plush yarn, it features sweet floppy ears, a huggable body, and a wooden ring handle with a gentle rattle inside. Whether you’re a beginner or experienced crocheter, this handmade crochet idea creates a safe, lovable toy that becomes a treasured keepsake for little ones.
Why This Bunny Rattle Makes the Perfect Crochet Project
This crochet pattern stands out because it uses super-soft plush yarn for that irresistible cuddle factor. The built-in rattle adds sensory fun, while the ring handle encourages grasping skills. It’s an easy crochet project that works up quickly ideal for last-minute gifts or market stalls.
Many beginners love this because it builds confidence with basic amigurumi techniques. The finished bunny feels luxurious yet safe for little ones (with proper assembly). Plus, it’s a fantastic way to use those half-skeins of chunky yarn in your stash.
Skill Level: Beginner-Friendly
This pattern suits beginner crochet enthusiasts who know basic stitches. If you can make a magic ring and single crochet, you’re ready! The steps include clear photos in your mind (and video references), with plenty of tips to avoid common pitfalls. Intermediate crocheters will fly through it even faster. No advanced shaping or complex color changes needed.
Materials and Supplies You’ll Need
Gather these supplies for the best results with this plush bunny rattle:
- Yarn type: Himalaya Dolphin Baby or similar plush/chunky velvet yarn (about 1-1.5 skeins for the main body in your chosen color, plus a small amount for contrasting details like the muzzle or tail). This yarn gives that irresistibly soft, fuzzy texture perfect for baby toys.
- Hook size: 4.5 mm crochet hook (adjust if your tension differs—aim for a tight fabric so stuffing doesn’t show).
- Extra tools:
- 2 rattle inserts (about 2.5 cm each) for that satisfying gentle sound.
- Wooden ring (65 mm diameter) for the handle.
- 9 mm safety eyes.
- Black and white embroidery thread (like YarnArt Jeans) for nose, mouth, and whiskers.
- Holofiber or polyester fiberfill stuffing.
- Yarn needle, scissors, stitch markers, and strong thread for attaching parts.
Pro tip: Choose baby-safe, washable materials. Always double-check that small parts like eyes are securely attached.
Crochet Stitches and Abbreviations Used (US Terms)
Keep this handy list nearby:
- MR: Magic Ring
- SC: Single Crochet
- INC: Increase (2 SC in one stitch)
- DEC: Decrease (SC 2 stitches together, preferably invisible decrease)
- CH: Chain
- SL ST: Slip Stitch
- FLO/BLO: Front/Back Loop Only
- R: Round/Row
All stitches are worked in continuous spirals unless noted. Use a stitch marker to track your rounds.
Step-by-Step Crochet Instructions
This crochet tutorial breaks everything down simply. Work in the round for most pieces.
Head
Start with your main color.
- R1: MR 6 SC (6)
- R2: INC in each stitch (12)
- R3: (SC, INC) x6 (18)
- R4: (2 SC, INC) x6 (24)
- R5: (3 SC, INC) x6 (30)
- R6: (4 SC, INC) x6 (36)
- R7-12: SC around (36) — stuff as you go for a firm shape.
- R13: (4 SC, DEC) x6 (30)
- R14: (3 SC, DEC) x6 (24)
- R15: (2 SC, DEC) x6 (18)
- R16: (SC, DEC) x6 (12)
- Finish off, leaving a long tail for sewing. Insert safety eyes between rounds 8-10, about 6-7 stitches apart. Embroider the nose and mouth on the muzzle area before closing.
Insert the rattle(s) when stuffing the head for even sound distribution.
Ears (Make 2)
- R1: MR 6 SC (6)
- R2: (SC, INC) x3 (9)
- R3: (2 SC, INC) x3 (12)
- R4-8: SC around (12)
- Flatten and sew or crochet closed. Leave the long tail for attachment.
The ears get sewn on top of the head with a slight forward tilt for extra cuteness.
Body and Handle Attachment
For the rattle stick or body section leading to the ring:
Crochet a short tube or directly attach to the ring. Many makers crochet arms/legs separately and join them.
- Create a small body cylinder: Start similar to the head but smaller (aim for 18-24 stitches wide).
- Stuff firmly with rattle inside.
- Attach securely to the wooden ring using strong stitches or by crocheting around the ring in some variations.
Arms and Legs (Optional for Extra Detail)
Simple oval or tube shapes, 2 of each, stuffed lightly and sewn on.
Tail
A small pompom or crocheted bobble in contrasting white adds the perfect fluffy touch.
Sew the head to the body, attach ears, and secure everything tightly. Weave in ends neatly.
Helpful Beginner Tips for Success
- Maintain consistent tension—plush yarn hides mistakes well but loose stitches let stuffing poke out.
- Stuff gradually and firmly for a rounded shape without lumps.
- Use invisible decreases for smoother finishes on the head.
- Pin pieces before sewing to check placement.
- Work in good light when attaching eyes and embroidery for precision.
- Watch your video alongside this guide for visual flow if following the original tutorial style.
Take breaks if your hands get tired from chunky yarn. This beginner crochet project rewards patience!
Common Mistakes and How to Fix Them
- Head too big/small: Check stitch counts carefully. Adjust hook size or tension.
- Uneven shaping: Always mark the start of rounds. Count stitches at the end of each round.
- Rattle too loud/quiet: Use one or two inserts and test by shaking as you stuff.
- Loose parts: Use strong knots and multiple passes when sewing for baby safety.
- Yarn shedding: Plush yarn can shed; consider a light mist or choose higher-quality brands.
If something looks off, don’t be afraid to frog (unravel) and redo—it’s part of the learning process!
Pattern Customization Ideas
Make this crochet pattern uniquely yours:
- Color variations: Pastel pink, blue, gray, or even rainbow stripes.
- Add a tiny bow or flower on the ear for a girl bunny.
- Embroider eyelashes for a sleepy look.
- Make longer or shorter ears for personality.
- Use cotton yarn instead of plush for a lighter, more washable version (great for actual daily use).
Size and Color Suggestions
The finished bunny rattle typically measures about 20-25 cm tall, including the ring, perfect for little hands. Use soft neutrals or bright pastels. White muzzle on a gray body creates that classic radiant bunny glow. One skein usually suffices for the main color with leftovers for accents.
FAQ Section
Is this safe for babies? Yes, when assembled securely. Always supervise and check for loose parts.
How long does it take? Most makers finish in 2-4 hours great for quick handmade crochet ideas.
Can I sell items made from this pattern? Personal use is encouraged; check original designer policies for commercial sales.
What if I don’t have plush yarn? Worsted-weight cotton works beautifully with a smaller hook for a different texture.
Where to find the ring and rattles? Craft stores, online marketplaces, or baby toy supply shops.
Conclusion: Hop to It and Create Joy!
You’ve now got everything needed for this delightful Radiant Crochet Cute Bunny Rattle Amigurumi Pattern. This easy crochet project not only hones your skills but creates a treasured keepsake full of love and cuddles.
Grab your hook, pick those soft yarns, and watch the magic happen stitch by stitch. Your finished bunny will bring giggles and sweet dreams to its new little owner. Share your creations in the comments—I’d love to see your color choices and custom touches!
Happy crocheting, and remember: every handmade item carries a bit of your heart. Start today and enjoy the process.