

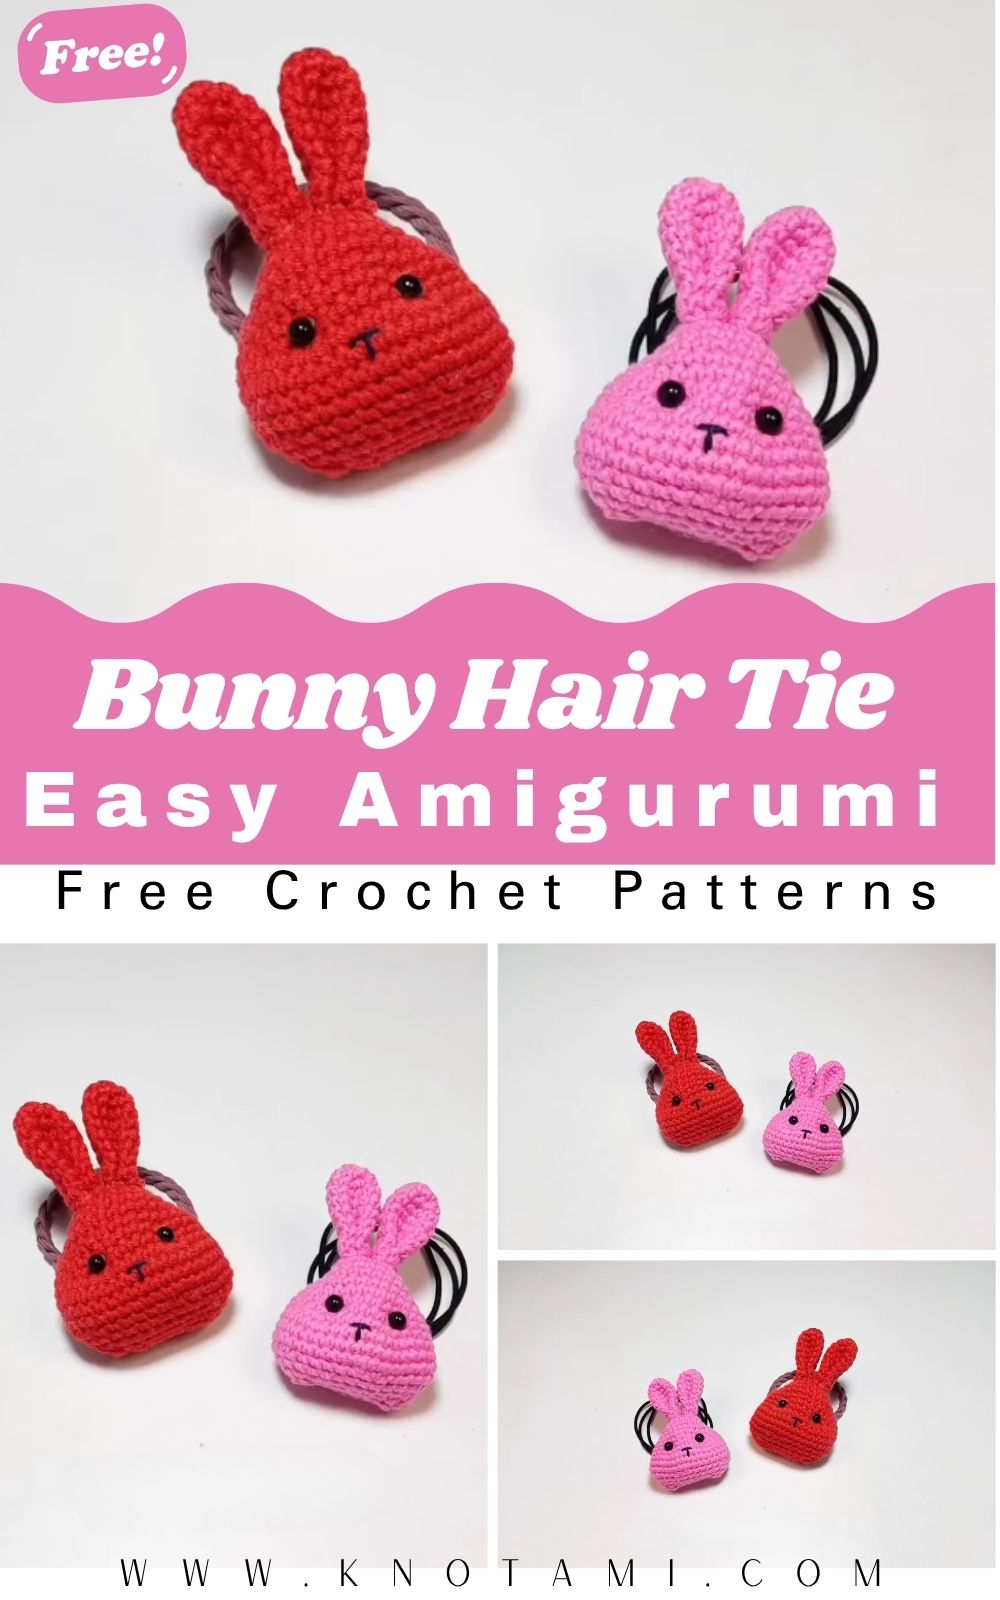
If you’re looking for a small yet adorable crochet project to brighten your New Year, this Crochet Bunny Hair Tie Amigurumi is an absolute delight to make. It combines two things we love practical accessories and cute crochet details in one quick, beginner-friendly project.
This design is charming because it’s both functional and decorative. You can wear it as a hair tie, wrap it around a bun, or even use it as a bracelet or bag charm. It’s a perfect handmade touch for kids, teens, or anyone who loves cute accessories. Whether you’re making it for yourself, your daughter, or as New Year gifts for friends, these bunny hair ties will add a little handmade happiness to any outfit.
Materials Needed
To make your crochet bunny hair tie amigurumi, you’ll need just a few materials that you might already have in your crafting stash:
-
Yarn: Cotton or acrylic, DK (light worsted) weight yarn, around 20–30g total
-
Main color for the bunny (white, beige, gray, or pastel)
-
Accent color for inner ears or bow (pink, yellow, or lavender)
-
-
Crochet Hook: 2.5mm–3mm (adjust based on your yarn)
-
Elastic Hair Tie: Any color, preferably one that matches your yarn
-
Tapestry or Yarn Needle: For sewing parts together and weaving in ends
-
Scissors: For cutting yarn
-
Stuffing (optional): If making a puffier bunny face
-
Safety Eyes or Embroidery Thread: For facial features
-
Optional Add-ons: Small ribbon, button, or bead for decoration
Yarn and Color Tips
Cotton yarn works best for this project because it holds its shape and doesn’t stretch too much, making it ideal for hair accessories. If you prefer something softer, acrylic or velvet yarns can give a plush look, though they may stretch slightly more.
As for color, classic white or gray makes it look elegant and neutral, while soft pinks and pastels add sweetness. You can even use gold or red yarns to create a festive New Year edition
Level of Difficulty
This pattern is beginner-friendly. It uses basic crochet stitches like single crochet (sc), increases, decreases, and chain stitches. You’ll also learn to shape small pieces, sew them together neatly, and attach them to an elastic band.
Even if you’re new to amigurumi, this project is forgiving and quick to finish. The small size makes it perfect for practicing stitch control and shaping. Plus, you’ll have a useful, wearable result at the end which is always rewarding!
Step-by-Step Overview
1. Starting the Bunny Head (Optional)
If your design includes a bunny face, begin by crocheting a small sphere or oval. Use your main yarn color and work in continuous rounds, increasing evenly until it forms a flat circle, then start decreasing to close it. Lightly stuff before finishing to give it a soft 3D shape.
Make sure your tension stays even you don’t want stuffing peeking through the stitches. You can also skip stuffing if you prefer a flatter design.
2. Crocheting the Bunny Ears
The ears are what give this piece its signature charm. Start with a magic ring and work short rows to form long, soft ovals. You can make them symmetrical or vary slightly for a more natural, handmade look.
Add an inner ear using a contrasting yarn color (like pale pink or cream). Simply crochet a smaller oval shape and sew it on or surface-stitch it directly onto the main ear.
Tip: To keep the ears standing upright, use slightly tighter tension or add a light wire inside if desired.
3. Attaching the Ears to the Hair Tie
Once the ears are ready, it’s time to secure them to the elastic hair tie. You can crochet around the hair tie itself or sew the finished bunny pieces directly onto it.
If crocheting around the tie, start with a slipknot over the elastic, then work single crochets evenly all the way around, covering the band. Attach the bunny ears at the top by stitching them firmly in place.
Make sure everything is tight and secure so the accessory stays durable through regular use.
4. Adding the Face and Details
If your bunny includes a face, embroider small eyes and a nose using black and pink thread or attach safety eyes before closing the head. For a minimalist look, you can even skip the face and just keep the cute ears both versions are adorable.
Add any small details you like a tiny bow under one ear, a bead, or a small flower for a feminine touch. These details personalize your design and make it feel truly handmade.
5. Finishing and Adjustments
Check that the ears are even and the stitches around the hair tie are snug. If you see gaps or loose spots, add a few hidden stitches to tighten them.
At this stage, weave in all yarn ends carefully you don’t want any strands showing on such a small, neat accessory. Once done, give it a gentle stretch to make sure everything stays in place.
And that’s it! You now have a beautiful handmade bunny hair tie that’s ready to wear or gift
Special Features of This Pattern
What makes this Crochet Bunny Hair Tie Amigurumi so enjoyable is how simple yet satisfying it is.
-
Quick and beginner-friendly: You can complete it in under an hour.
-
Practical and cute: Works as both a fashion accessory and a handmade charm.
-
Customizable: Endless color and style variations possible.
-
Minimal sewing: Most parts are small and easy to attach.
-
Portable project: Perfect for using up leftover yarn scraps.
It’s also great for craft fairs or handmade gift sets easy to produce in batches and loved by all ages
Tips for Best Results
Here are a few helpful tips to make your bunny hair tie look clean, cute, and long-lasting:
-
Keep your tension even so the stitches look uniform.
-
Use stitch markers to mark your rounds when working in circles.
-
Weave ends securely to prevent unraveling, especially around the elastic.
-
Choose a sturdy elastic band so it holds its shape over time.
-
Avoid overstuffing if making the head it should stay light.
-
Block ears lightly if they curl too much.
-
Match your yarn color to the elastic band for a professional finish.
-
Add small accessories like bows or beads for a personalized touch.
-
Experiment with textures velvet yarn creates a plush, premium look.
-
Make pairs in different colors they look adorable as sets!
How to Use or Gift Your Crochet Bunny Hair Tie Amigurumi
This project is both stylish and thoughtful perfect for personal use or gifting. You can:
-
Use it as a hair tie, scrunchie, or bun wrap.
-
Attach it to a bag, keychain, or pouch as a cute charm.
-
Gift it for birthdays, Easter, New Year, or back-to-school.
-
Include it in a self-care or craft gift box for a handmade touch.
For a pretty presentation, wrap the hair tie around a piece of cardstock or attach it to a small display card labeled Handmade with Love.It makes even a small gift feel extra special.
Customization Ideas
One of the best things about this pattern is how easily you can make it your own.
For a classic bunny, use soft neutrals like white, gray, or beige with a pastel pink bow. For something festive, try red or gold yarns perfect for New Year or Valentine’s Day themes. You can also use sparkle or metallic thread for a shimmery effect.
Want a more plush look? Use velvet or chenille yarn. Want a sleeker version for everyday wear? Stick to cotton yarn for clean, smooth stitches.
You can also experiment with the ear shapes make them long and floppy, short and round, or even slightly asymmetrical for added charm. Add-on ideas include:
-
A mini crochet flower on one ear.
-
Tiny embroidery details on the cheeks.
-
A small bell or bead for a playful touch.
-
A ribbon bow in seasonal colors.
You could even make a matching bunny headband or bracelet version for kids or a full Easter or New Year set for gifting.
Conclusion
The Crochet Bunny Hair Tie Amigurumi is one of those little projects that perfectly captures the magic of handmade crafts simple, quick, and irresistibly cute. Whether you’re making it to celebrate the New Year, to give as a thoughtful gift, or just to brighten your own day, it’s a project full of joy and creativity.