
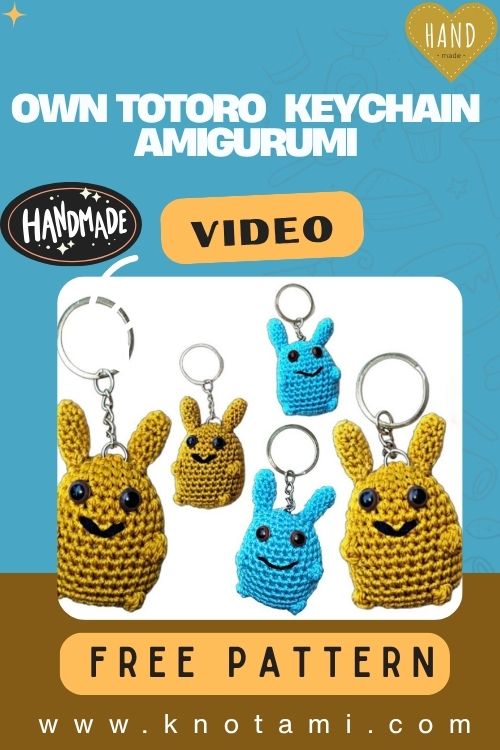
Studio Ghibli-inspired vibes and a relaxing evening of stitching pair perfectly in this Easy Totoro Keychain Crochet Amigurumi Pattern. It’s small enough to finish fast, yet detailed enough to feel special in your hands. This crochet keychain amigurumi uses simple shaping, basic stitches, and minimal sewing, making it great for anyone who loves beginner-friendly projects and handmade accessories.
Character-inspired crochet keychains are everywhere lately, and it makes so much sense. They’re nostalgic, instantly recognizable, and they turn a plain set of keys or a backpack zipper into something personal. Crafters also love that these mini projects photograph beautifully and make meaningful gifts without needing days of effort.
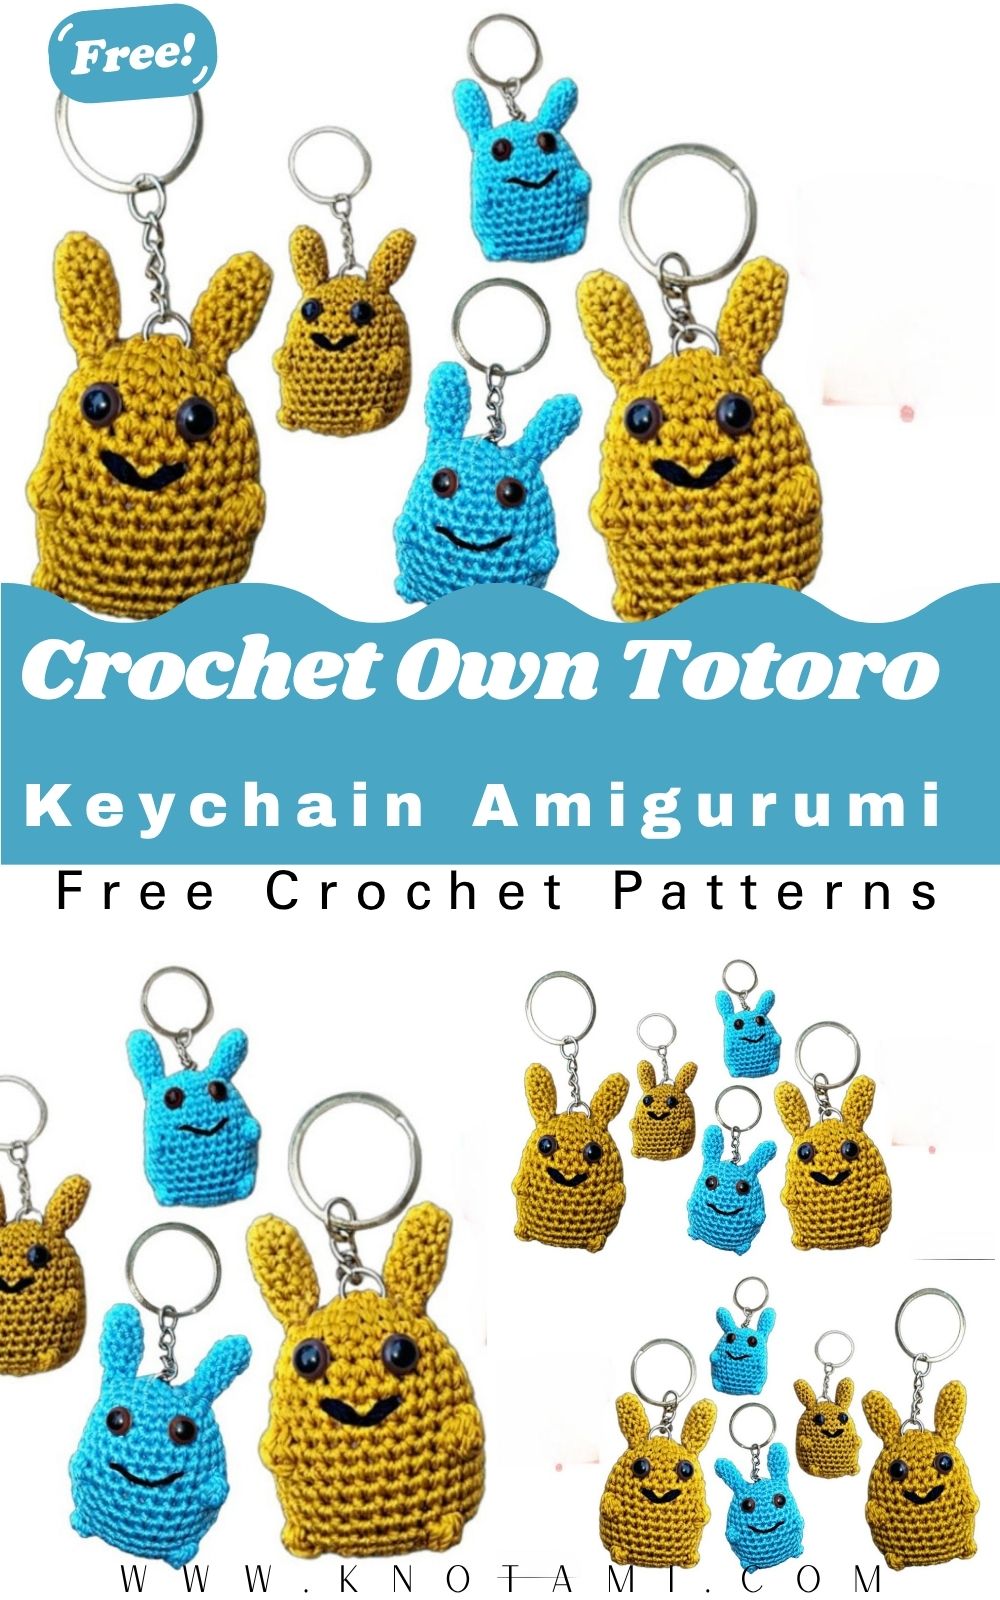
Small-scale amigurumi serves as an exceptional confidence booster for crafters of all levels. Specifically, it allows you to practice essential techniques like increases, decreases, and stuffing without the daunting commitment of a large project. Furthermore, this design—a compact, Totoro-inspired charm—is engineered for speed and cuteness. Featuring a chubby body and minimalist facial details, it is a project you can finish before you have the chance to overthink the process.
In addition to being a great learning tool, the finished size is ideal for a keychain. Consequently, whether you choose a vibrant yellow or a classic forest blue, you will end up with a pocket-sized companion that feels sturdy rather than bulky.
Materials and Essential Tools
Before starting your crochet journey, it is vital to gather high-quality materials. Moreover, choosing the right yarn weight ensures your stitches remain tight enough to hold stuffing securely.
Yarn Requirements
-
Main Color: You will need approximately 15–20 g of DK / Light Worsted (#3) cotton or acrylic yarn. While cotton provides excellent stitch definition, acrylic offers a fuzzier, softer texture.
-
Detail Yarn: Use a small scrap (1–2 g) of black yarn for the mouth embroidery. Alternatively, embroidery floss can be used for a more delicate finish.
Hardware and Notions
-
Hook: A 2.5 mm hook is recommended to create a dense fabric. However, if your tension is naturally very tight, a 3.0 mm hook may be more comfortable.
-
Safety Eyes: 6–8 mm eyes are the standard. In particular, 7 mm eyes provide that signature “blank stare” look associated with forest spirits.
-
Stuffing: High-loft polyester fiberfill is best. Because this is a small item, you only need a handful (approx. 5–10 g).
-
Essentials: Ensure you have a stitch marker, a sharp pair of scissors, and a blunt-tipped tapestry needle.
Understanding the Abbreviations
Before diving into the rounds, familiarize yourself with these standard terms. As a result of mastering these, you will be able to read almost any amigurumi pattern in the future.
-
MR: Magic Ring (The foundation for circular crochet).
-
sc: Single crochet.
-
inc: Increase (Place 2 sc in the same stitch).
-
dec: Decrease (Invisible decrease is recommended).
-
st(s): Stitch(es).
-
rnd: Round.
-
BLO / FLO: Back Loop Only / Front Loop Only.
Step-by-Step Pattern Instructions
This pattern is worked in a continuous spiral. Therefore, do not join rounds with a slip stitch unless explicitly told to do so. Instead, move your stitch marker up to the first stitch of every new round.
The Body (Worked Bottom-Up)
The body is the core of the project. Initially, we build a flat base, which then transitions into a rounded “bowl” shape.
-
Rnd 1: Start with a MR and 6 sc into the ring. (6)
-
Rnd 2: Next, inc in every stitch around. (12)
-
Rnd 3: (sc, inc) repeat 6 times. (18)
-
Rnd 4: (2 sc, inc) repeat 6 times. (24)
-
Rnd 5: (3 sc, inc) repeat 6 times. (30)
At this point, you have completed the base. Subsequently, we will build the height of the body to create that iconic “chubby” look.
-
Rnd 6–9: sc in each stitch around for four rounds. (30)
-
Rnd 10: To begin shaping, (3 sc, dec) repeat around. (24)
-
Rnd 11: sc in each stitch around. (24)
As we progress, the top of the body begins to taper. Meanwhile, this is the perfect time to consider your eye placement.
-
Rnd 12: (2 sc, dec) repeat around. (18)
-
Rnd 13: sc in each stitch around. (18)
Eye Placement and Stuffing
Before the opening becomes too small, you must attach the safety eyes. Specifically, place them between Round 9 and Round 10. In addition, ensure there is a gap of about 6 to 7 stitches between them. Once the eyes are snapped into place, begin stuffing the body. First, push the fiberfill toward the bottom edges to maintain the flat base, and then fill the center until the body is firm but squishy.
-
Rnd 14: (sc, dec) repeat around. (12)
-
Rnd 15: dec in every stitch around. (6)
Finally, fasten off and leave a tail. Afterward, weave the tail through the front loops to close the hole securely.
The Ears (Make 2)
The ears give the character its “bunny-like” charm. Although they are small, they require focus to ensure they match.
-
Rnd 1: MR, 4 sc. (4)
-
Rnd 2: (sc, inc) repeat twice. (6)
-
Rnd 3–4: sc around for two rounds. (6)
Subsequently, flatten the ear and sc through both layers to close the bottom. Consequently, this creates a flat edge that is much easier to sew onto the rounded head.
Masterful Assembly and Face Details
The “soul” of amigurumi lies in the assembly. Even if your stitches are perfect, poor placement can change the character’s expression. Therefore, follow these steps carefully.
Embroidering the Smile
Using your black detail yarn, insert the needle from the back of the head and come out centered between the eyes. Then, create a small “V” or a tiny straight line about one round below the eye line. Notably, keeping the smile minimal ensures the character maintains its “calm” aesthetic.
Attaching the Ears
First, use sewing pins to position the ears on Rnds 12–13. Check the symmetry from the front and the side. Once you are satisfied, use a whip stitch to secure them. Furthermore, ensure you pull the yarn tight so the ears don’t flop when the keychain is in use.
The Keychain Loop
To ensure durability, do not simply attach the metal ring to a single strand of yarn. Instead, create a “bridge” by sewing a loop of yarn through the top of the head multiple times. Alternatively, you can crochet a small chain of 4–5 stitches and attach both ends to the crown. Finally, slide your metal split ring through this reinforced loop.
Troubleshooting Common Beginner Mistakes
While this pattern is beginner-friendly, you may encounter a few hurdles. Below are solutions to common issues:
-
Gaps in the Fabric: This usually happens if your hook is too large. To fix this, try sizing down or practicing the “Invisible Decrease” technique.
-
Visible Stuffing: If you see white fluff poking through, you might be overstuffing. Conversely, you might be stretching the stitches. Try to distribute the fill more evenly.
-
Lopsided Shape: Occasionally, the stuffing settles unevenly. To resolve this, roll the finished body between your palms like a ball of dough to redistribute the fibers.
Expanding Your Collection: Variations
Once you have mastered the basic pattern, you can experiment with customization. For instance, you could:
-
Change the Texture: Use velvet or chenille yarn for a “super-soft” version. However, keep in mind that this will significantly increase the size of the charm.
-
Add Accessories: A tiny felt leaf glued to the top of the head creates an authentic forest-spirit vibe. Similarly, a small pink stitch on the cheeks can act as “blush.”
-
Color Theory: While yellow and blue are suggested, many crafters enjoy making a “seasonal” set—orange for autumn, or mint green for spring.
Conclusion
In summary, this Totoro-inspired keychain is more than just a quick craft; it is a gateway to mastering the art of amigurumi. By following this guide, you have learned to manage tension, place features symmetrically, and reinforce items for daily use. Ultimately, the joy of crochet is found in these small, tactile rewards. Now that you have finished your first one, why not start a second in a contrasting color? The more you practice, the more “soul” your little creations will have.
Happy crocheting!