
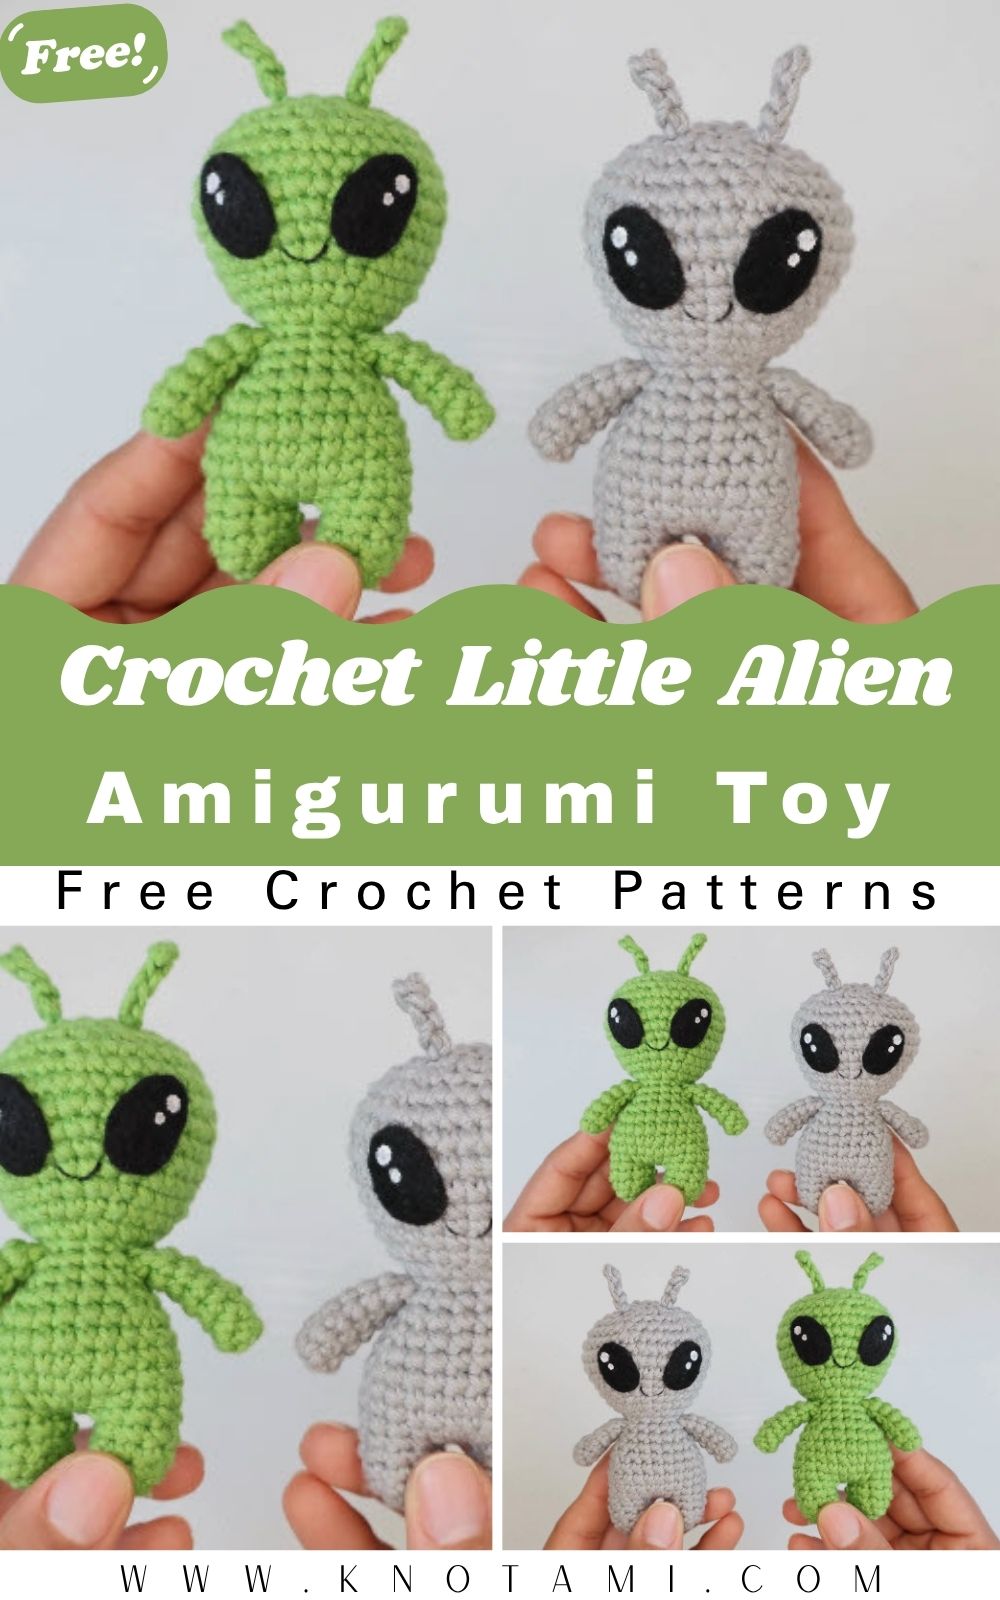
Are you looking to add a touch of cosmic cuteness to your accessory collection? If so, this Alien Crochet Charm Amigurumi is the perfect project for you to start today. Whether you want a new keychain or a small desk buddy, this little green friend is incredibly easy to make. Even if you are just starting your crochet journey, you will find that this pattern is simple to follow and works up very quickly. You only need a few basic supplies and a little bit of time to bring this extraterrestrial creature to life.
In this guide, you will learn how to master the essential stitches required for a successful Alien Crochet Charm Amigurumi. We will cover everything from the magic ring to invisible decreases, ensuring your finished piece looks professional and polished. This project is designed specifically for those who want a rewarding handmade item without spending days on a single piece. So, grab your favorite green yarn and your crochet hook, because you are about to create something truly out of this world.
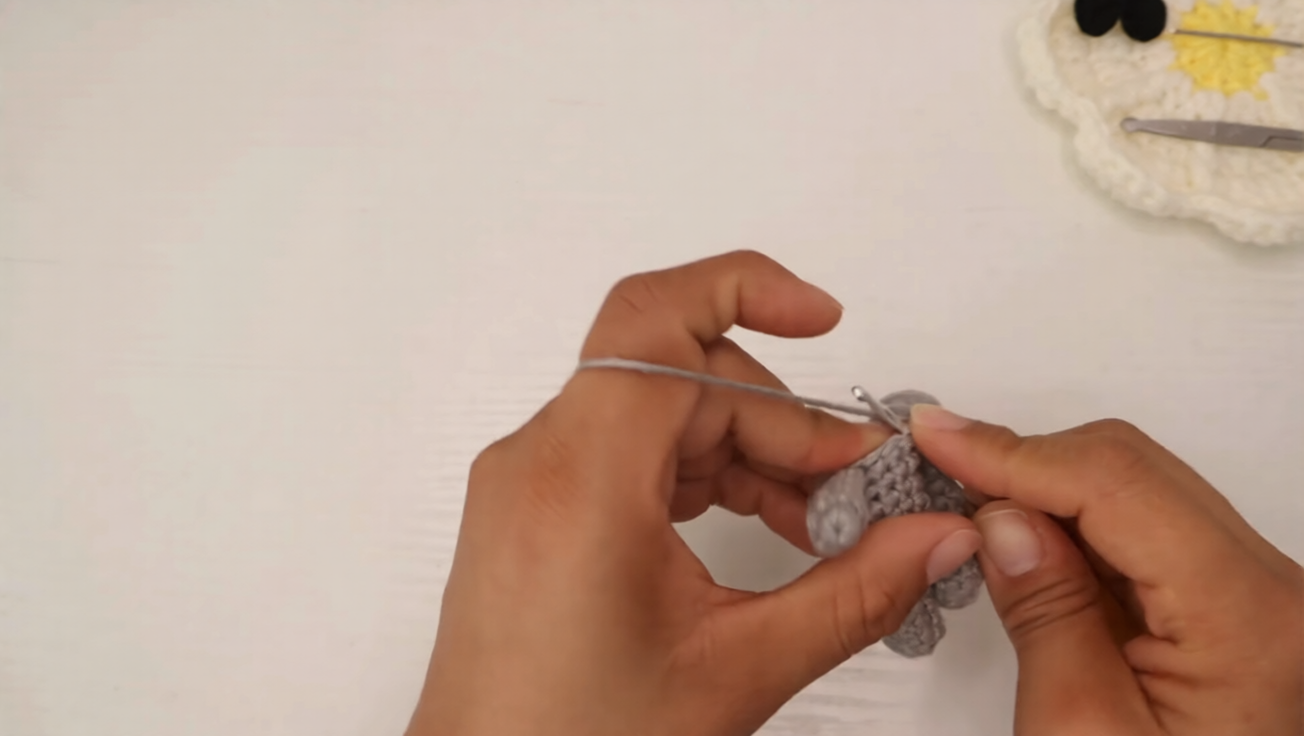
Before you dive into the written instructions, you might find it helpful to watch the process in action. The embedded video above provides a clear visual demonstration of every single step. Moreover, watching the video while reading the guide will help you visualize the placement of the stitches and the assembly of the small parts. Consequently, this dual-learning approach is a fantastic way to ensure your Alien Crochet Charm Amigurumi turns out exactly how you want it to look.
Why Alien Amigurumi Is Everywhere Right Now
Small crochet charms are having a massive moment in the crafting world, and for this reason, they have become staples at craft fairs and on Etsy shops. They’re quick to finish, beginner-friendly, and incredibly easy to gift. Specifically, this pattern is inspired by a small alien doll design featuring big black oval eyes, two upright antennae, and a soft, rounded body. While they are commonly seen in green and grey colorways, the creative possibilities are endless. In addition, the construction is brilliant because you’ll crochet the head and body as one continuous piece. Therefore, you minimize the amount of sewing required, leading to a more satisfying and professional result.
Materials Needed: The Exact Essentials
To begin your Alien Crochet Charm Amigurumi, you first need to gather a few specific supplies. Indeed, using the right tools will make the process much smoother for you. Furthermore, quality materials ensure that your charm holds its shape over time.
-
Yarn: Use a medium-weight (Level 4) yarn in a bright green color. For instance, Red Heart Super Saver is an excellent choice because it is durable and makes the stitches easy to see.
-
Crochet Hook: A 3.75 mm (F) hook is recommended for a standard size. However, you can switch to a 2.75 mm hook if you prefer a tiny, tight-stitched charm.
-
Safety Eyes: You will need one pair of plastic safety eyes. Depending on your preference, 8mm or 10mm eyes usually provide that iconic “extraterrestrial” look.
-
Stuffing: High-quality polyfill toy stuffing is the best choice. As a result, your alien will stay plush without becoming lumpy.
-
Stitch Markers: These are essential because you will be working in a continuous spiral without joining rounds.
-
Yarn Needle & Scissors: A blunt-tipped needle is best for assembly, while sharp scissors are necessary for clean yarn breaks.
Step-by-Step Guide: Creating the Head
The head is the most prominent feature of your Alien Crochet Charm Amigurumi. To start, you will create a magic ring (also known as a magic circle). Next, crochet six single crochets (sc) into the ring. Afterwards, pull the tail tight to ensure there is no hole in the center.
In the second round, you will increase (inc) in every stitch. Consequently, your stitch count will double to 12. Moving forward to the third round, you should increase in every other stitch, which brings your total to 18. By the time you reach the fifth round, you should have 30 stitches. This creates the widest part of the cranium. It is important to maintain consistent tension here so the “skin” of the alien looks uniform.
Shaping the Face and Adding Eyes
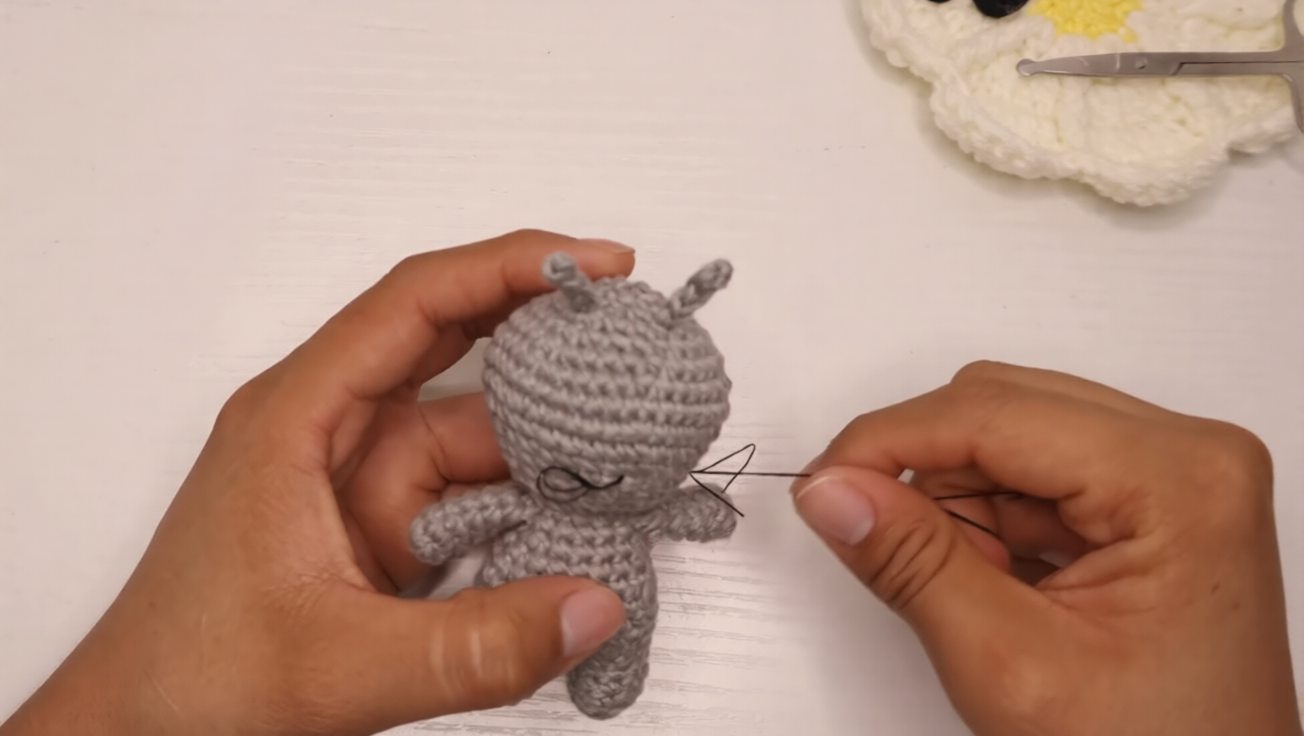
Once you reach around six, the increase stops. Instead, you will simply single crochet in each stitch for five consecutive rows. By doing this, you give the head its characteristic height and depth. During this stage, you must prepare for the facial features.
Specifically, you should place your safety eyes between rows eight and nine. In terms of spacing, leave about four to five stitches between them. Once you are happy with the placement, snap the washers onto the back of the eyes. Immediately following this, you will begin the “invisible decrease” (inv dec) rounds. Because standard decreases can leave gaps, the invisible version is superior for amigurumi. Gradually, the head will begin to narrow toward what will become the neck.
Crafting the Continuous Body
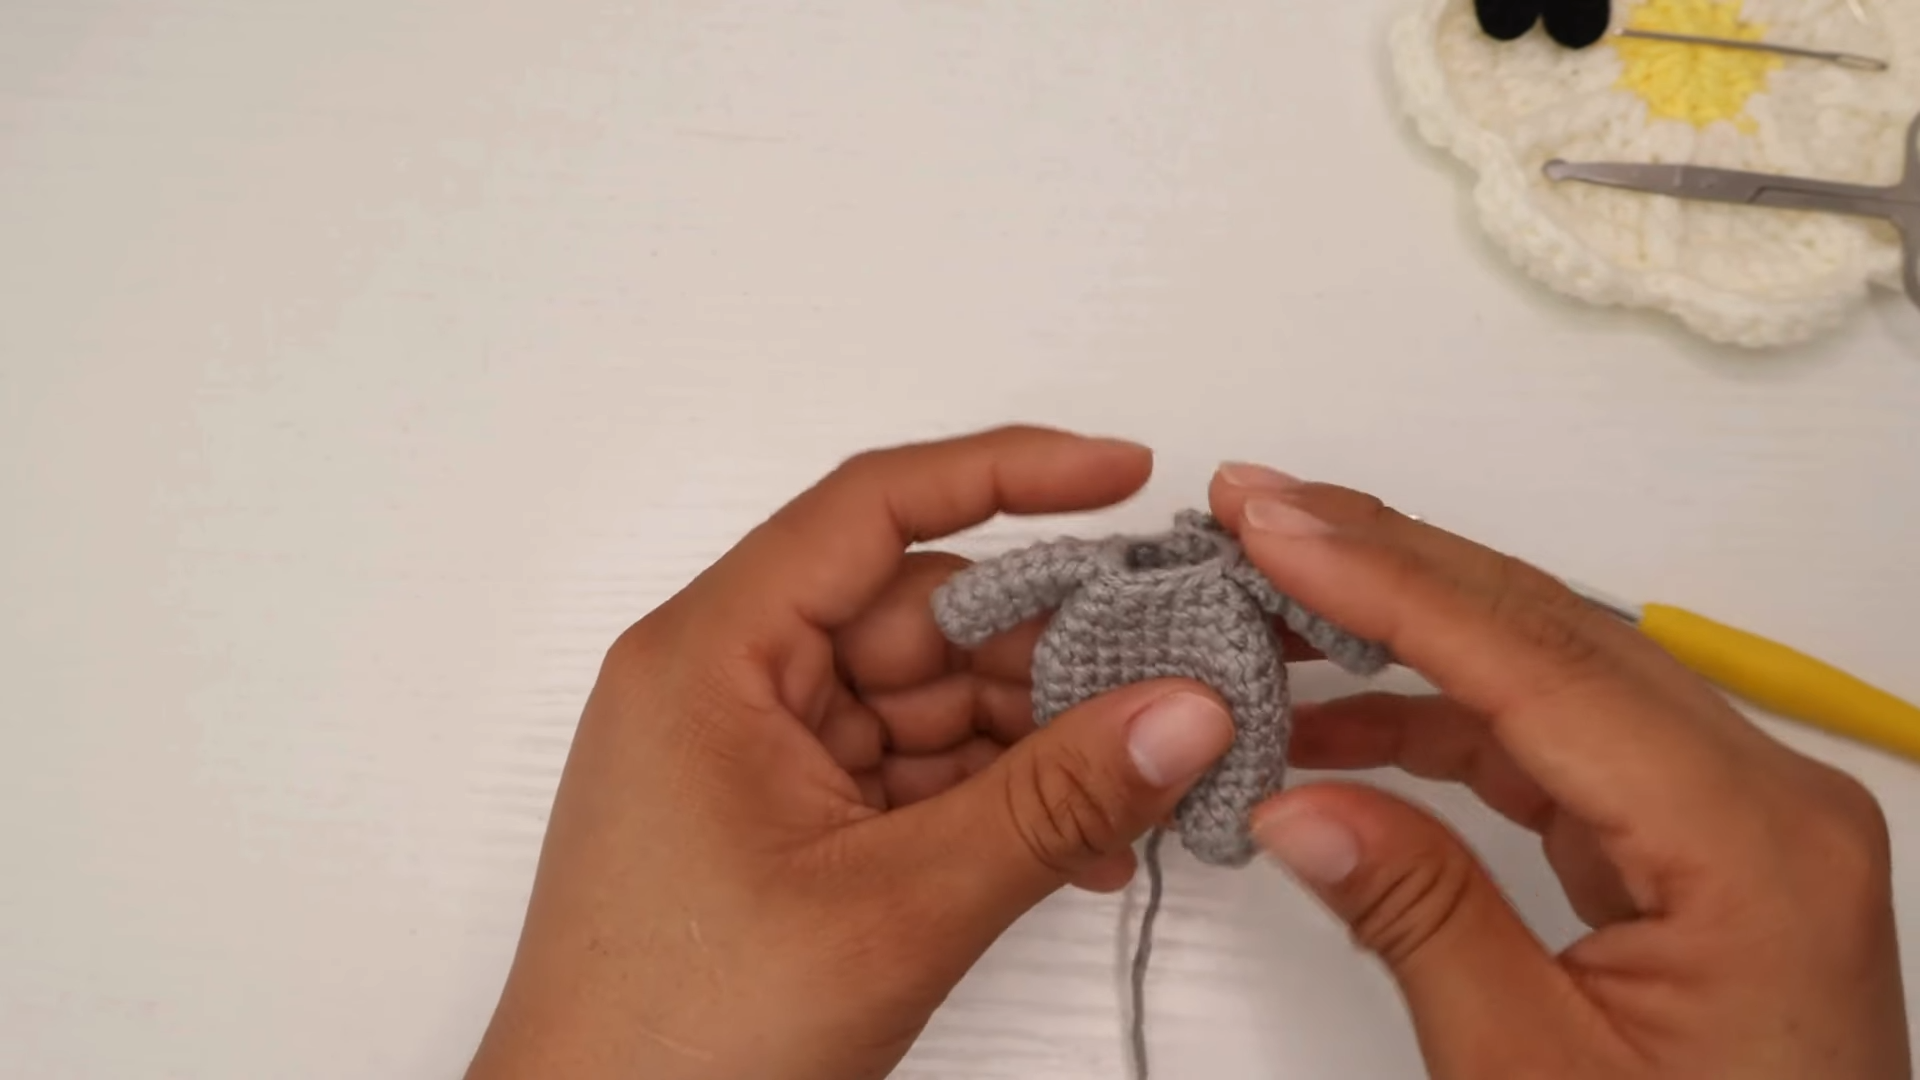
After you have finished the head and added a generous amount of stuffing, you will transition directly into the body. Rather than cutting the yarn, you will continue working downward. In round 14, work in the “front loops only” (FLO). This technique creates a slight ridge, which effectively defines the neckline.
Subsequently, you will increase your stitch count back up to 18. Following the increase, work several rounds of straight single crochet to build the torso. To ensure your Alien Crochet Charm Amigurumi can stand upright, work round 19 in the “back loops only” (BLO). As a result, you create a flat, structural base. Finally, decrease the stitches back down to six and use your yarn needle to weave the tail through the remaining loops, pulling it shut like a drawstring.
Adding Arms, Feet, and Antennas
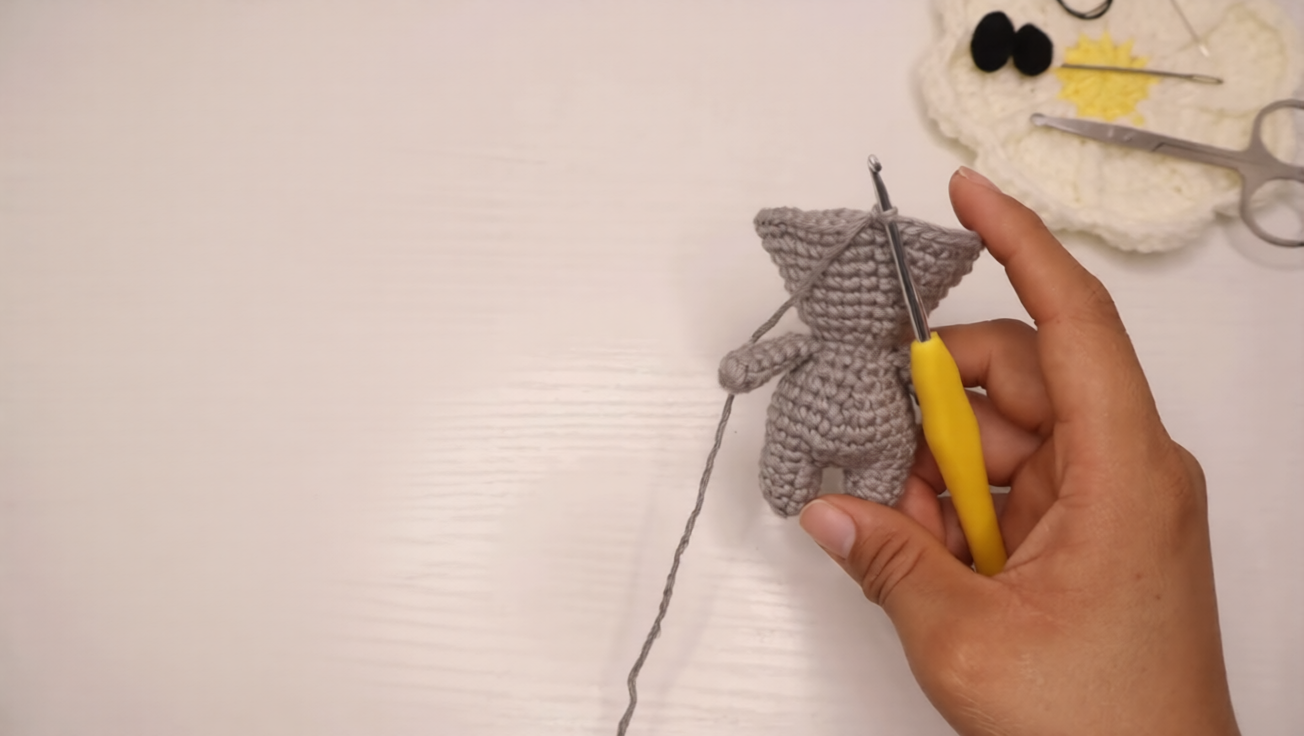
Although the main body is complete, the details are what truly make this alien special. First, let’s focus on the arms. You will chain four and then single crochet back down the chain. Similarly, the feet are made by creating a tiny magic ring with only five stitches, forming a small “bud.”
Furthermore, the antennas require a specific touch. To achieve this, chain eight and slip stitch into the “back bumps” of the chain. This is because it provides extra rigidity, allowing the antennas to stand upright without wires. Once all parts are crocheted, use your yarn needle to sew them onto the body. In conclusion, make sure your stitches are tight and the yarn tails are hidden deep inside the stuffing.
Common Mistakes to Avoid
Even though this is a beginner-friendly pattern, there are a few pitfalls to watch out for. For example, many beginners pull the magic ring too tight before finishing the first round. If this happens, you will struggle to insert your hook for the second round.
Another frequent error is overstuffing the base. While you want the alien to be firm, too much stuffing will cause the flat bottom to bulge. Consequently, your alien will topple over rather than sitting flat on a desk. To prevent this, check your stitch count at the end of every single round. By doing so, you ensure the symmetry of the character and avoid a lopsided appearance.
Frequently Asked Questions (FAQ)
1. Can I use a different color for my alien?
Absolutely! While green is the classic “Little Green Man” look, you can certainly use purple, blue, or neon yellow. In fact, using glow-in-the-dark yarn is a fantastic way to add a cosmic effect to your charm.
2. What if I don’t have safety eyes on hand?
If you don’t have plastic eyes, you can easily embroider small black circles using scrap yarn. Alternatively, you can glue on small circles of black felt. Notably, embroidery is the safer choice if the toy is intended for a baby or toddler.
3. Why is my amigurumi showing visible holes?
Usually, holes appear if your crochet hook is too large for the weight of your yarn. To fix this, try dropping down half a millimeter in hook size. Additionally, keeping a tighter tension will ensure the stuffing stays hidden.
4. How do I make the charm smaller for a keychain?
To achieve a smaller scale, simply switch to a thinner yarn, such as a fingering or sport weight. Along with this, use a 2.0 mm or 2.25 mm hook. As a result, you will have a miniature version perfect for backpacks.
5. Is the invisible decrease really necessary?
While a standard decrease (sc2tog) certainly works, the invisible decrease is highly recommended. The reason is that it keeps the surface of the fabric smooth. Therefore, your finished project will look much more professional and polished.
Conclusion
In summary, creating an Alien Crochet Charm Amigurumi is a rewarding project that combines basic stitches with clever shaping. Whether you are making this for yourself or as a gift, the key is patience and attention to detail. Now that you have the instructions and the video guide, you are ready to start.