Crochet Mallard Duck Amigurumi Pattern & Plush Toy
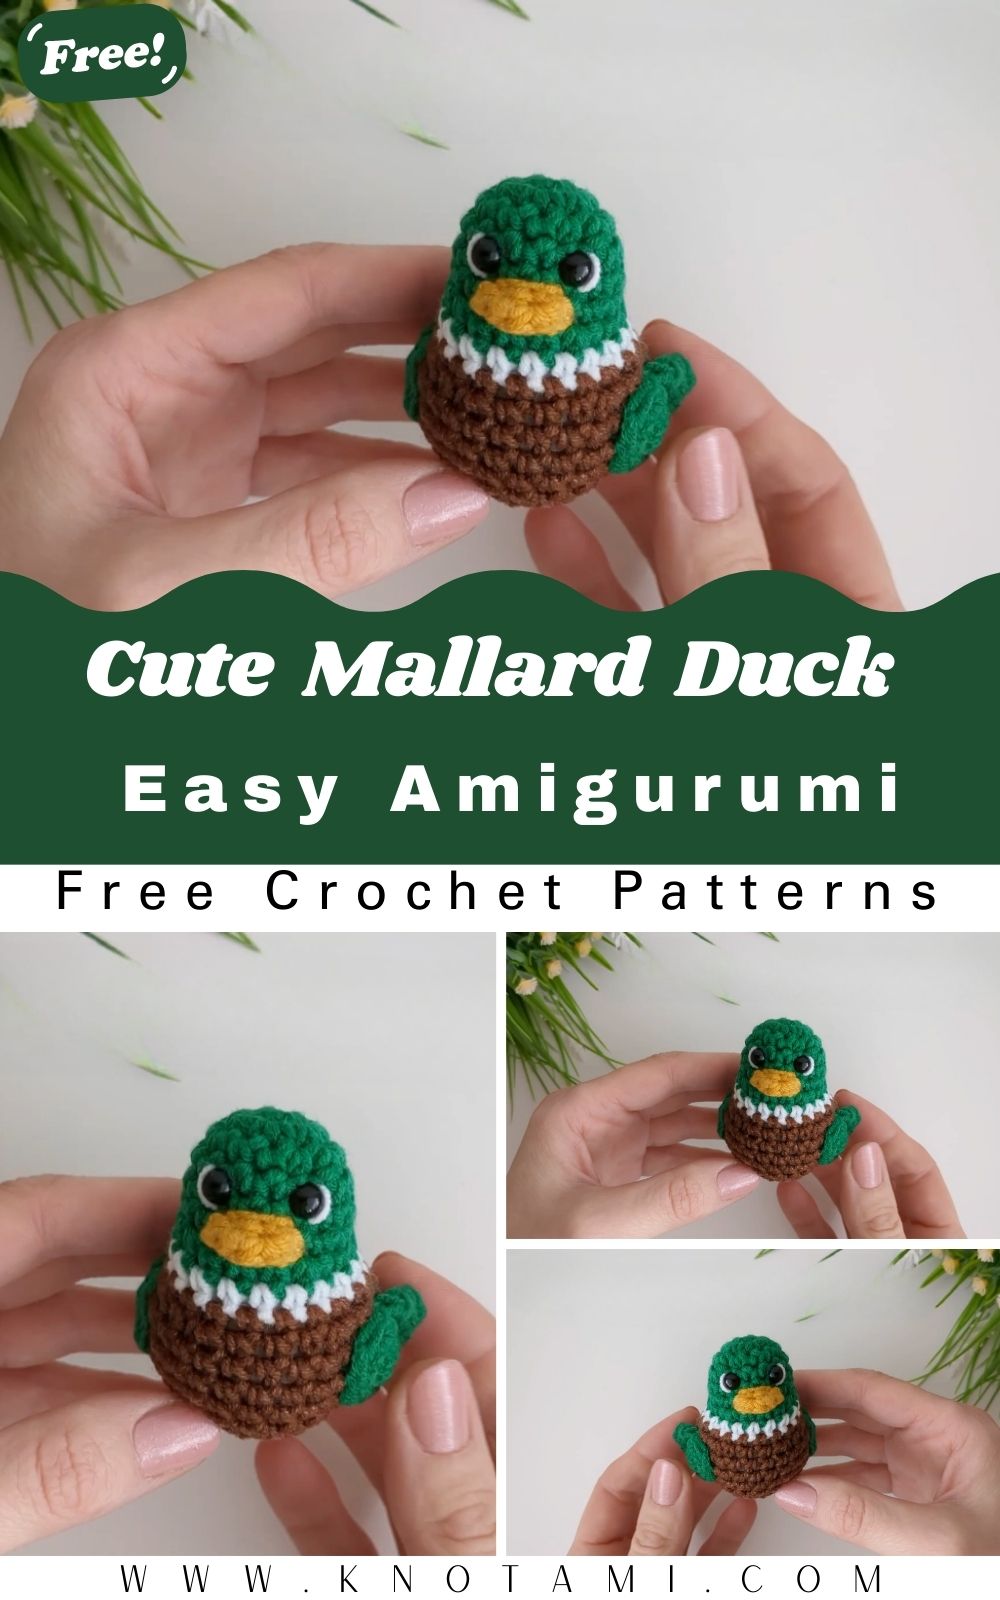
A glossy green head a soft brown body and two little orange feet tucked underneath: this crochet mallard duck amigurumi pattern turns a handful of yarn scraps into a pond companion you’ll want to keep. The huggable little bird works up in an afternoon or two and looks just as at home on a nursery shelf as it does wrapped up as a gift.
Mallards are one of the easiest birds to recognize in yarn, thanks to that green head and white neck ring, which is part of what makes this pattern so satisfying. The color changes do most of the visual work, and with only a head, body, beak, two wings and two feet, beginners with a little amigurumi experience can finish a whole duck without getting lost.
Mallard Color Palette
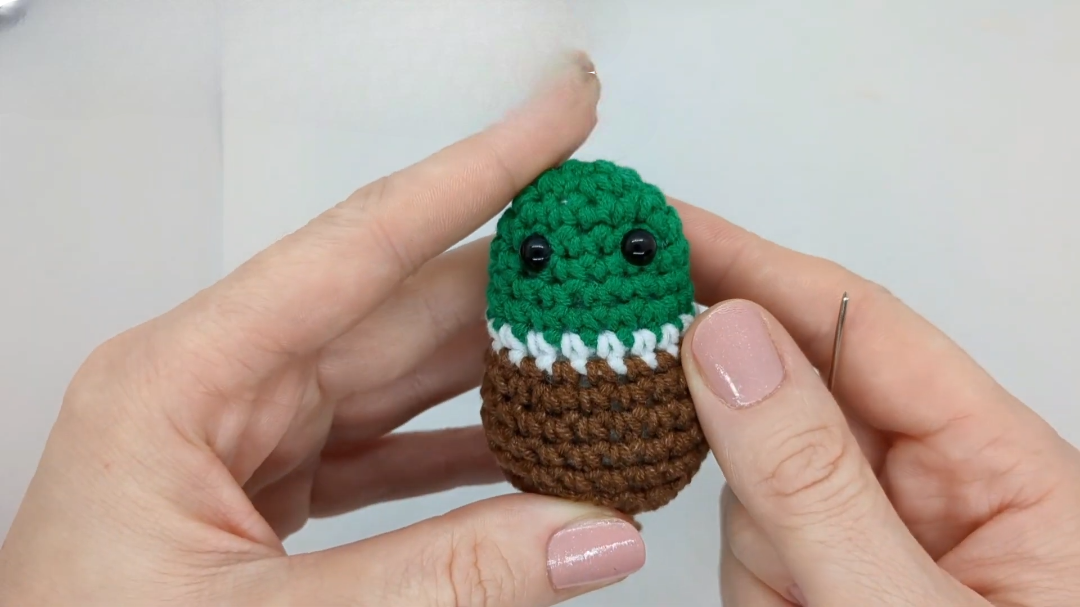
Three color blocks create the classic mallard look: a bright green head, a narrow white ring at the neck, and a brown body. The beak and feet are yellow-orange. Take extra care with the white neck ring. It’s the smallest color block and the one most likely to look ragged if your stitches are uneven.
Project Overview
- Skill level: Beginner with basic amigurumi experience
- Size: A palm-sized duck
- Time: About 15 minutes of prep, 2–3 hours of stitching, and 30–45 minutes for stuffing and assembly
Materials
- Yarn: Worsted weight (US #4) cotton or cotton blend, which keeps the features crisp
- Amounts: About 15 g green, 5 g white, 20 g brown, and 5 g yellow-orange. Leftover scraps work well.
- Hook: 3.0–3.25 mm (US D/3), one size smaller than the yarn label suggests
- Eyes: 9 mm safety eyes, or black embroidery floss for a child under 3
- Other: Polyester fiberfill, stitch markers, tapestry needle, pins, scissors
Gauge: About 6 stitches and 6 rounds per inch in single crochet. An exact match isn’t needed, but keep your tension even so the fabric stays dense.
Abbreviations
- MR – magic ring
- sc – single crochet
- inc – increase (2 sc in the same stitch)
- dec – invisible decrease
- sl st – slip stitch
- FO – fasten off
- st(s) – stitch(es)
Before You Start
The whole duck is single crochet worked in the round. Count your stitches at the end of every round, because in continuous rounds that’s the only way to catch a mistake before it grows. If the invisible decrease is new to you, practice it on a scrap first. It gives much smoother shaping than a standard sc2tog.
For clean color changes, work the last yarn-over of the stitch before the change with the new color.
Watch the Video Tutorial
The video shows each piece and where the eyes and beak go on the face. Follow along with the written rounds below.
Step-by-Step Mallard Duck Pattern
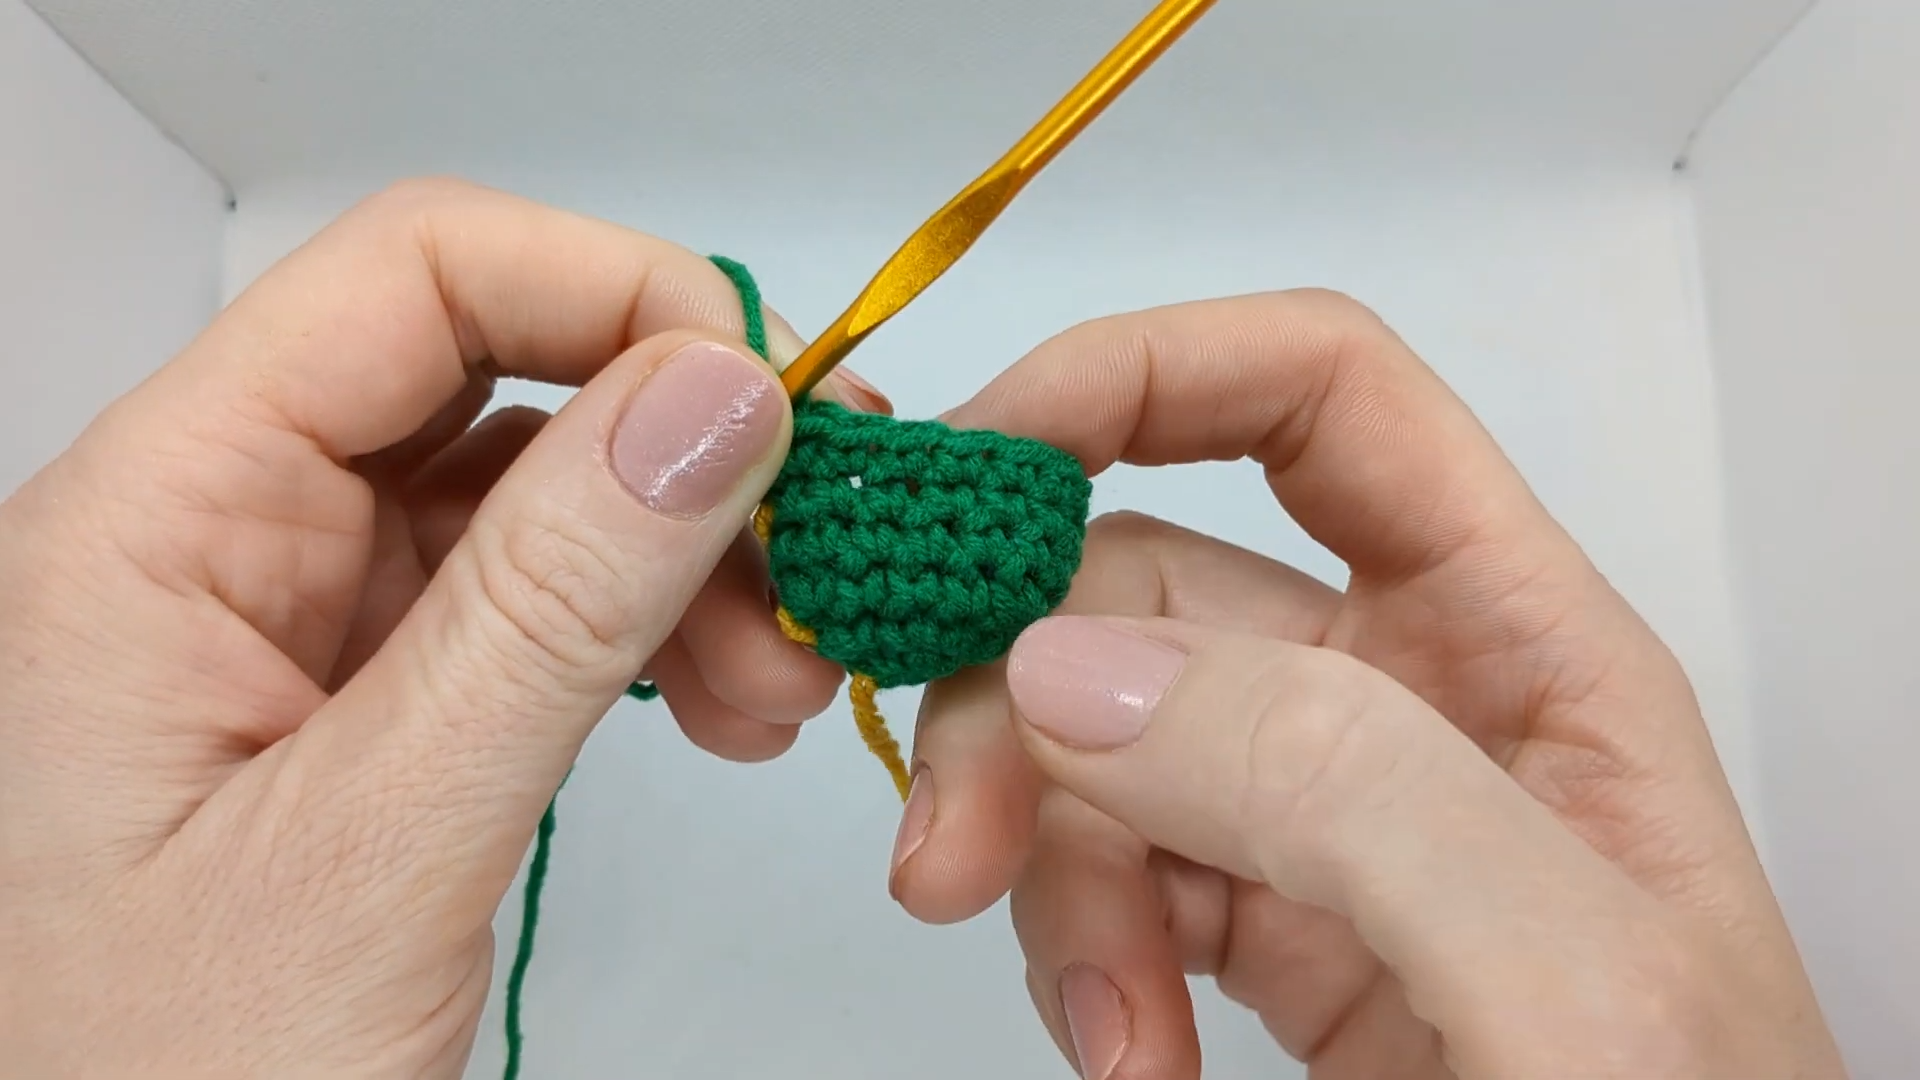
Step 1: Head (12 rounds)
Start with green.
- Rnd 1: 6 sc in MR (6)
- Rnd 2: inc around (12)
- Rnd 3: (sc, inc) around (18)
- Rnd 4: (2 sc, inc) around (24)
- Rnd 5: (3 sc, inc) around (30)
- Rnds 6–7: sc around (30)
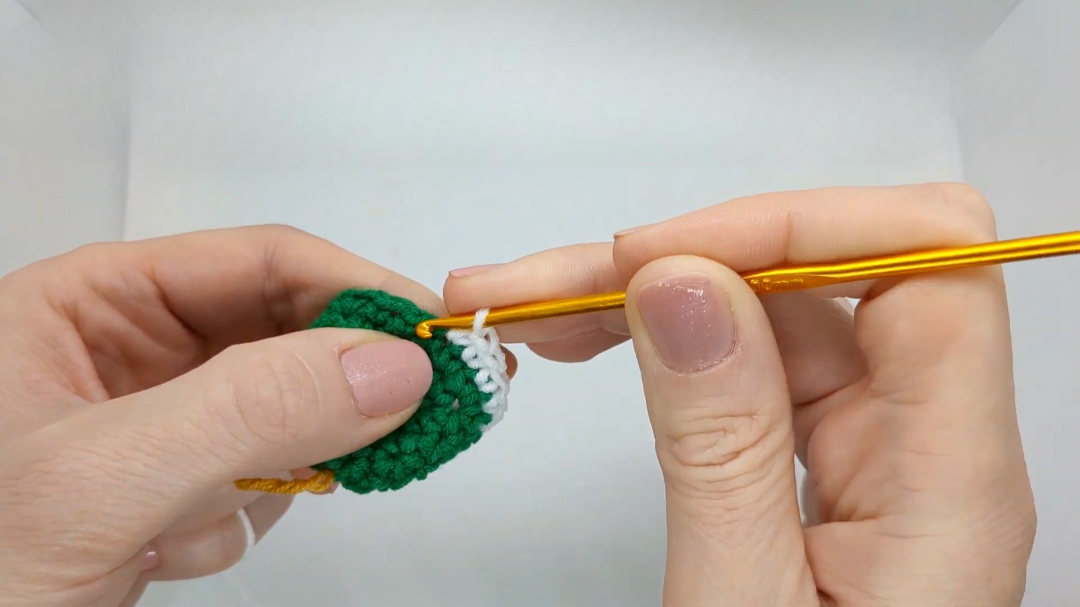
- Rnd 8: Switch to white for the neck ring, sc around (30)
- Rnd 9: Switch to brown, sc around (30)
Now insert the safety eyes in the green part of the head, above the white ring, about 6 stitches apart and centered on the front. Follow the video for the exact round. Check them from the front before pushing on the washers, because repositioning later can damage the fabric.
- Rnd 10: (3 sc, dec) around (24)
- Rnd 11: (2 sc, dec) around (18). Stuff the head firmly.
- Rnd 12: dec around (9). Fasten off and close the opening.
Step 2: Body (14 rounds)
With brown:
- Rnd 1: 6 sc in MR (6)
- Rnd 2: inc around (12)
- Rnd 3: (sc, inc) around (18)
- Rnd 4: (2 sc, inc) around (24)
- Rnd 5: (3 sc, inc) around (30)
- Rnds 6–10: sc around (30)
- Rnd 11: (3 sc, dec) around (24)
- Rnd 12: (2 sc, dec) around (18)
- Rnd 13: (sc, dec) around (12). Stuff firmly.
- Rnd 14: dec around (6). Fasten off and close.
Step 3: Beak
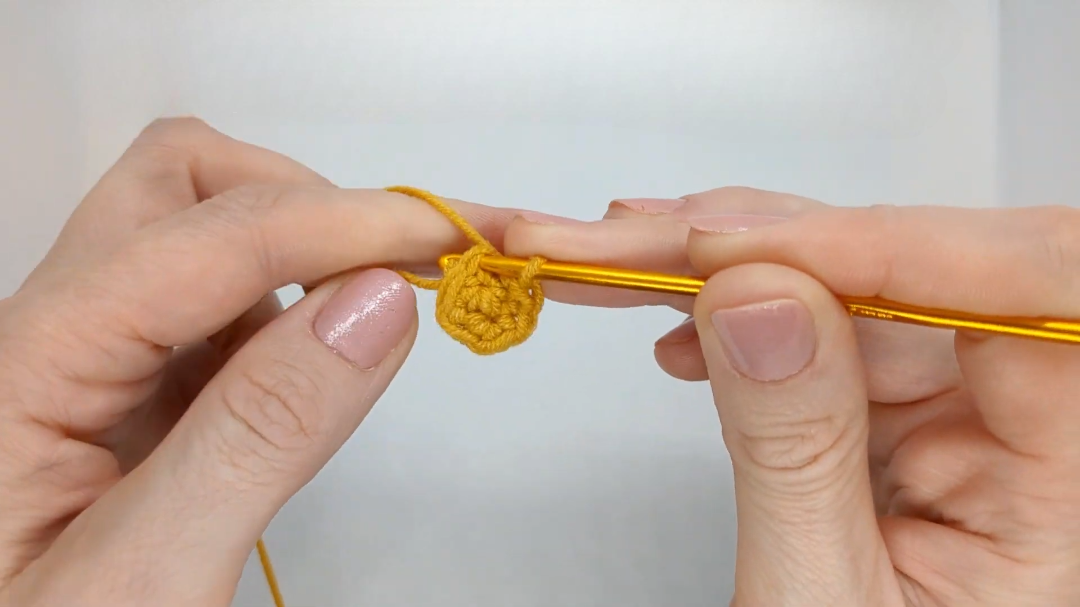
With yellow-orange, make a small rounded beak.
- Rnd 1: 6 sc in MR (6)
- Rnd 2: (sc, inc) 3 times (9)
- Rnd 3: sc around (9)
Sl st and fasten off, leaving a long tail. If you like, add a tiny line of black thread across the middle for definition.
Step 4: Wings (make 2)
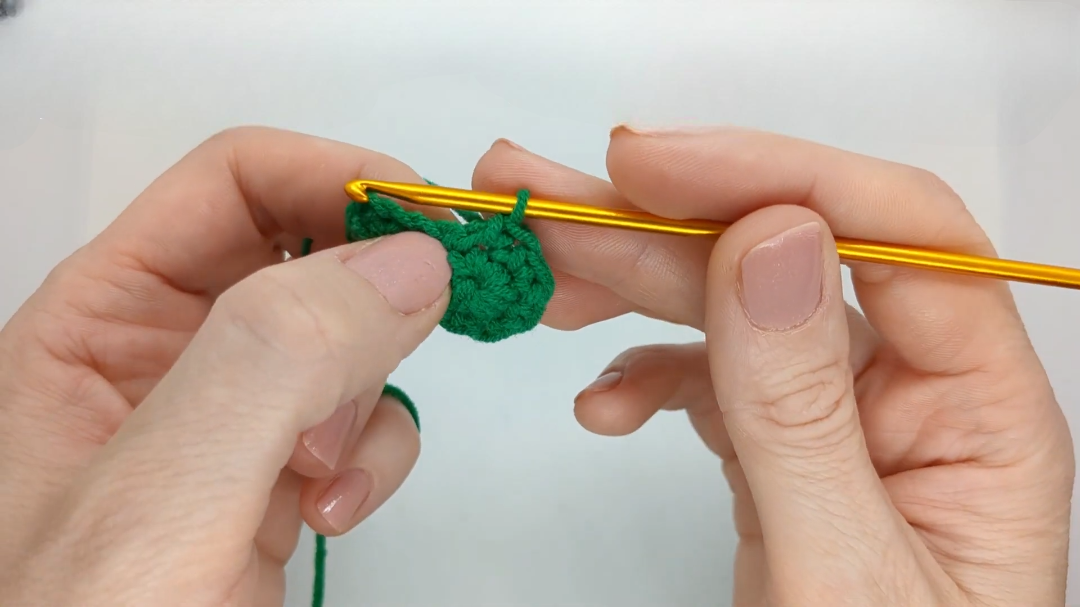
With brown:
- Rnd 1: 6 sc in MR (6)
- Rnd 2: inc around (12)
- Rnds 3–5: sc around (12)
- Rnd 6: dec around (6). Flatten and close without stuffing.
Make both wings in the same sitting at the same tension, then compare them side by side before moving on.
Step 5: Feet (make 2)
With yellow-orange:
- Rnd 1: 6 sc in MR (6)
- Rnd 2: inc around (12)
- Rnds 3–4: sc around (12)
- Rnd 5: dec around (6). Flatten and close without stuffing.
Step 6: Assemble the Duck
- Beak: Stuff the beak lightly and pin it centered just below and between the eyes, on the green part of the head. Check it from the front, side and top before sewing. A beak even slightly off-center is one of the most common reasons a well-made head looks wrong.
- Head to body: Mark the back of both pieces so they don’t twist. Tack the head on with a few loose stitches, check it from the front, side and above, then sew it on firmly with several passes around the seam.
- Feet: Sew them under the front of the body so the duck sits upright without tipping.
- Wings: Sew them at matching points on each side of the body, anchoring each at the top and bottom so they don’t twist.
- Finish: Weave in all ends deep into the body, changing direction as you go, especially at the color changes. Gently shape the duck with your hands to round it out.
Common Mistakes
- A messy neck ring: Change color on the last yarn-over of the previous stitch, and keep your tension steady. If it’s still a little uneven, tidy it with a few white surface stitches.
- A wobbly head: Sew the head on with tighter stitches and extra passes around the seam.
- Uneven eyes: Mark the positions with pins and count the stitches between them first.
- Wings or feet that don’t match: They were made at different times or a round was miscounted. Remake the smaller one rather than stretching it.
- Overstuffed flat pieces: Wings and feet stay unstuffed so they keep their shape.
Troubleshooting
- The head sits crooked: Tack it with loose stitches first and only sew it firmly once it looks straight from every angle.
- The body is lopsided: The increases or decreases were uneven, or a stitch was missed. Rip back to the last correct count and rework it.
- Flat pieces curl: Your tension is loose. Try a smaller hook, or pin the piece flat while slightly damp.
- Stuffing shows through: Go down a hook size and rework the piece.
Customization Ideas
- Fantasy mallard: Swap the green head for teal or lavender.
- Keychain duck: Use a lighter yarn and smaller hook, embroider the eyes, and add a small loop on top of the head.
- Big plush duck: Use chunky yarn and a larger hook with the same stitch counts.
- Accessories: Add a tiny scarf, a mini sailor hat, or a name tag.
Make a Duck Family: Hen and Ducklings
A drake looks sweet on his own, but a whole mallard family on a shelf is even better. The same pattern makes every member of the family with just a change of colors and yarn.
- The hen: Female mallards are mottled brown all over. Work the head and body in brown or tan, skip the white ring, and use orange for the beak and feet.
- Ducklings: Use soft yellow DK yarn with a smaller hook and the same rounds, for little ones that come out noticeably smaller.
- Duckling faces: Use smaller safety eyes or embroidered dots.
- Parade display: Line them up with the drake in front, the hen behind, and the ducklings trailing along.
- Easter basket: A hen with two or three ducklings makes a lovely spring gift.
For more feathered and farm friends, try the crochet chick keychain, the penguin amigurumi and the mini cow amigurumi. If you like water animals, the turtle amigurumi makes a perfect pond buddy.
Care Instructions
Spot clean with a damp cloth and mild soap. For a deeper clean, hand wash gently, reshape while damp, and let it air dry completely. Don’t tumble dry. If you used safety eyes, keep the duck away from children under 3.
FAQs
Is this mallard duck pattern suitable for beginners?
Yes. It uses only basic stitches, simple parts and straightforward assembly.
How do I keep the white neck ring crisp?
Change color on the last yarn-over of the stitch before, and keep the white to one clean round.
What yarn weight works best?
Worsted weight gives the size shown. DK works too and makes a smaller duck. Either way, use a hook small enough to keep the stitches tight.
Why is the head twisted on the body?
The backs of the two pieces weren’t lined up before sewing. Mark the back of each piece before joining.
Is this safe for a baby?
Not with safety eyes, which can become a choking hazard if a washer works loose. Embroider the eyes for a child under 3.
A Pond Pal That Never Needs Water
A green head, one crisp white ring and a round brown body are all it takes to capture a mallard in yarn. Line up the face carefully, and your duck will look ready to paddle off the shelf. Make a drake first, then bring the rest of the family along.