
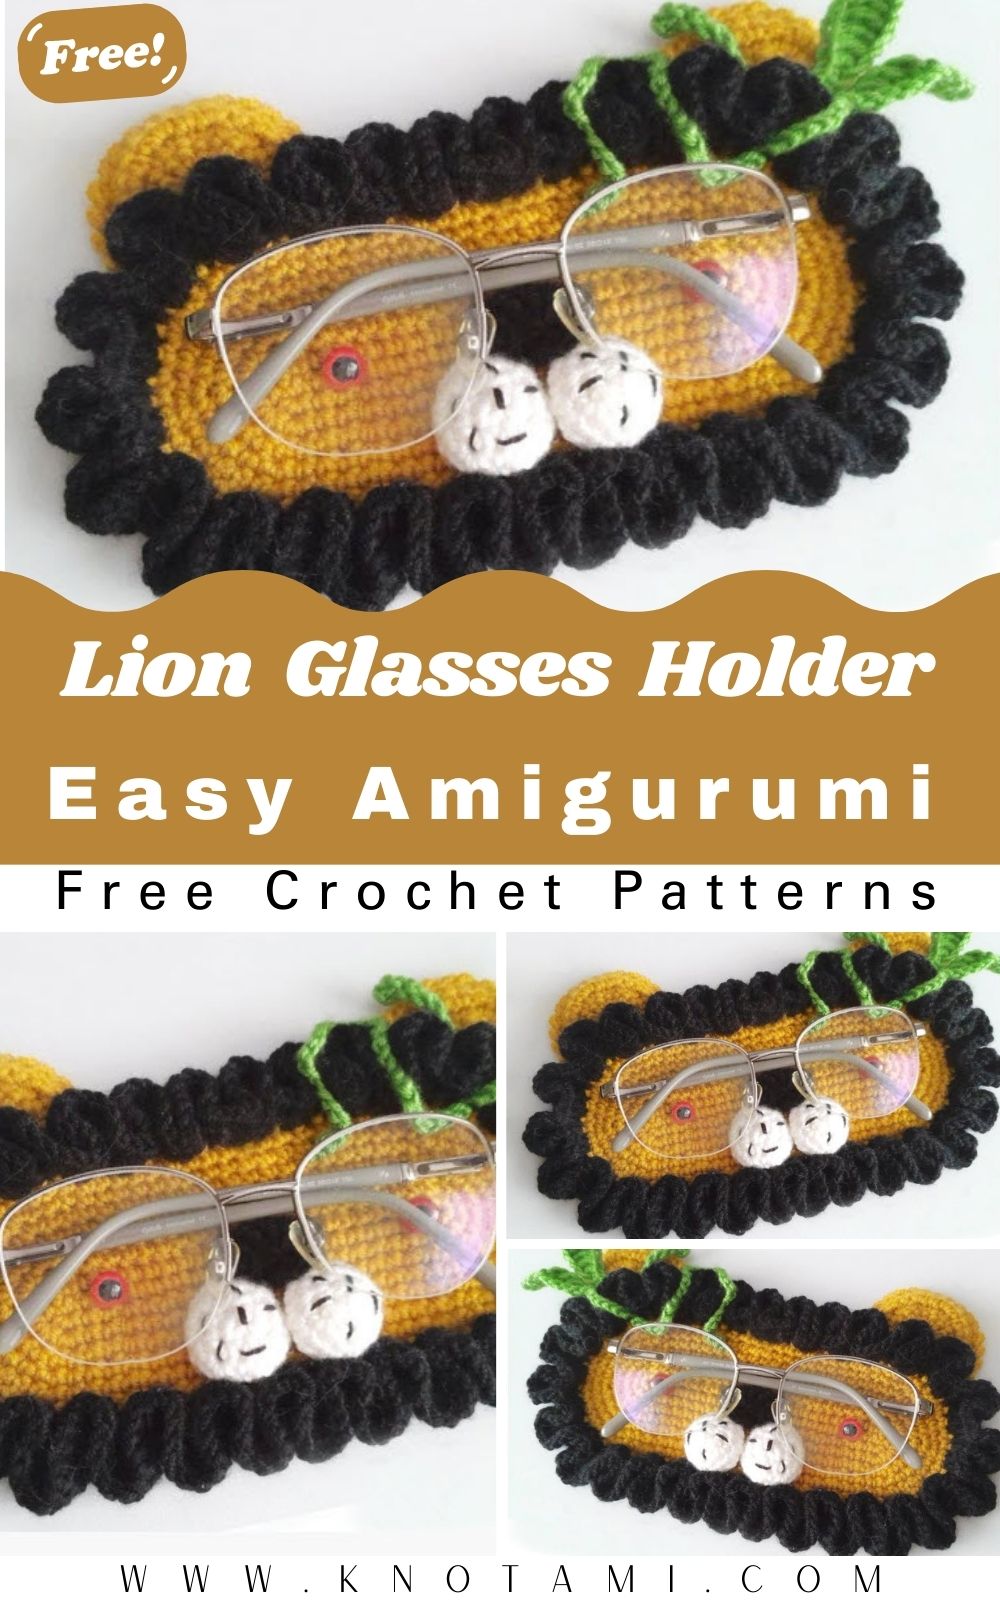
Welcome to your next favorite crafting adventure where you will learn to create a Crochet Lion Glasses Holder Amigurumi. If you are tired of losing your spectacles or finding scratches on your lenses, this project is the perfect solution for you. Not only is it functional, but it also adds a touch of whimsical charm to your bedside table or desk. This adorable lion design is specifically crafted to keep your eyewear safe while looking absolutely fierce. Because you are using soft yarn, you can rest assured that your glasses will remain snug and protected from any accidental damage or dust.
Crafting a Crochet Lion Glasses Holder Amigurumi is a fantastic way to practice your amigurumi skills while making something truly useful. Whether you are an experienced crafter or someone just starting their crochet journey, you will find this project engaging and rewarding. Furthermore, this project allows you to play with different textures and colors, from the golden mane to the cute little leaves that decorate the top. By following this guide, you will transform simple yarn into a loyal lion companion that holds your glasses with pride. Let’s grab your hooks and dive into the world of handmade eyewear protection.
After you watch the video above, you will have a clear visual understanding of how the stitches come together to form the lion’s face. The video acts as a perfect companion to this written guide, showing you the exact placement of the mane and the tiny details of the snout. You should pay close attention to the rhythmic movements of the hook during the mane section, as that is where the lion’s personality truly comes to life. Once you feel comfortable with the visual steps, you can use the detailed instructions below to finalize your masterpiece.
Skill Level: Intermediate
This Crochet Lion Glasses Holder Amigurumi is rated as an intermediate project. While the basic body uses standard single crochet stitches, the construction of the mane and the assembly of the facial features require a bit more focus. If you are a beginner, do not be intimidated! You can certainly complete this if you take your time with the increases and decreases.
Tutor’s Suggestions
When you start your Crochet Lion Glasses Holder Amigurumi, I highly suggest choosing a cotton or a stiff acrylic yarn. This is important because the holder needs to maintain its shape to support the weight of your glasses. Additionally, you should keep your tension consistent throughout the project. If your stitches are too loose, the stuffing in the cheeks might peek through, which we want to avoid. Another great tip is to use stitch markers at the beginning of every row so you never lose your place during the increase rounds. Finally, do not rush the assembly process; pinning the ears and nose before sewing ensures your lion looks symmetrical and happy.
Materials and Step-by-Step Guide
Materials Needed
-
Yarn in Yellow or Orange (Main Body)
-
Black Yarn (Mane and Details)
-
Green Yarn (Optional Leaves)
-
Crochet Hook (Size 2.5mm or 3.0mm)
-
Fiberfill Stuffing
-
Safety Eyes or Black Buttons
-
Yarn Needle and Scissors
Step 1: The Base and Body
To begin your Crochet Lion Glasses Holder Amigurumi, you will start with 22 chains. This forms the foundation of the protector. For Row 1, you will work 22 single crochets on both sides of the chain to create an oval base. As you move to Row 2 and Row 3, you will focus on the corners by adding 3 and then 5 single crochet increases. This creates the width needed for the glasses to fit inside. By Row 4, you simply work even stitches to build the height of the walls.
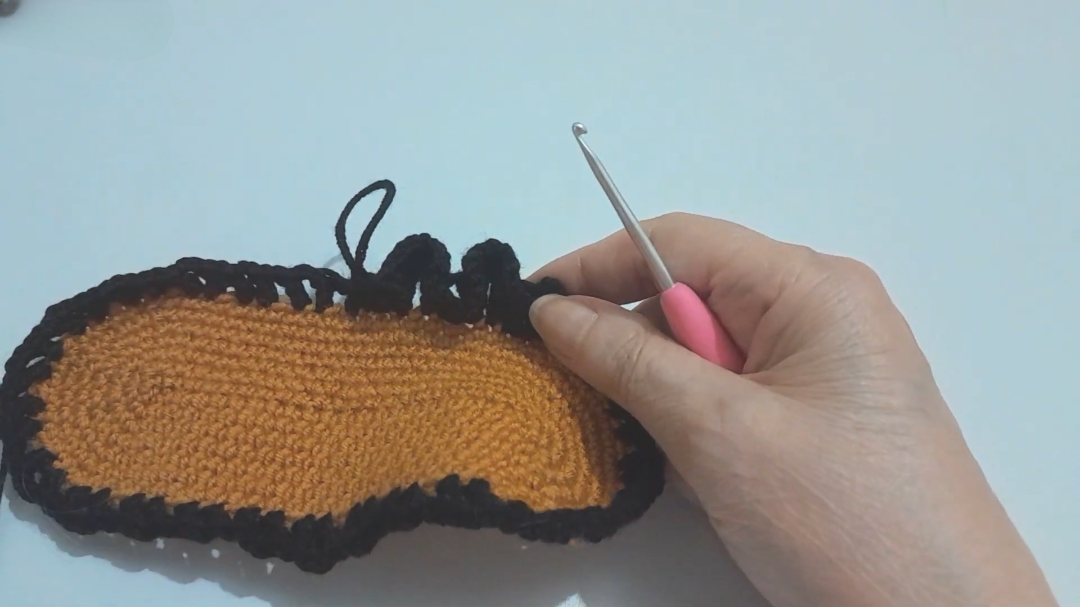
Step 2: Shaping the Holder

In Row 5, you will skip one space at the corners and add 5 increases to give the holder a slight curve. For Row 6, you skip five spaces at the corners and add 3 increases. This specific technique helps the Crochet Lion Glasses Holder Amigurumi hug the glasses securely. Row 7 is a simple row of single crochets without any increases to stabilize the structure.
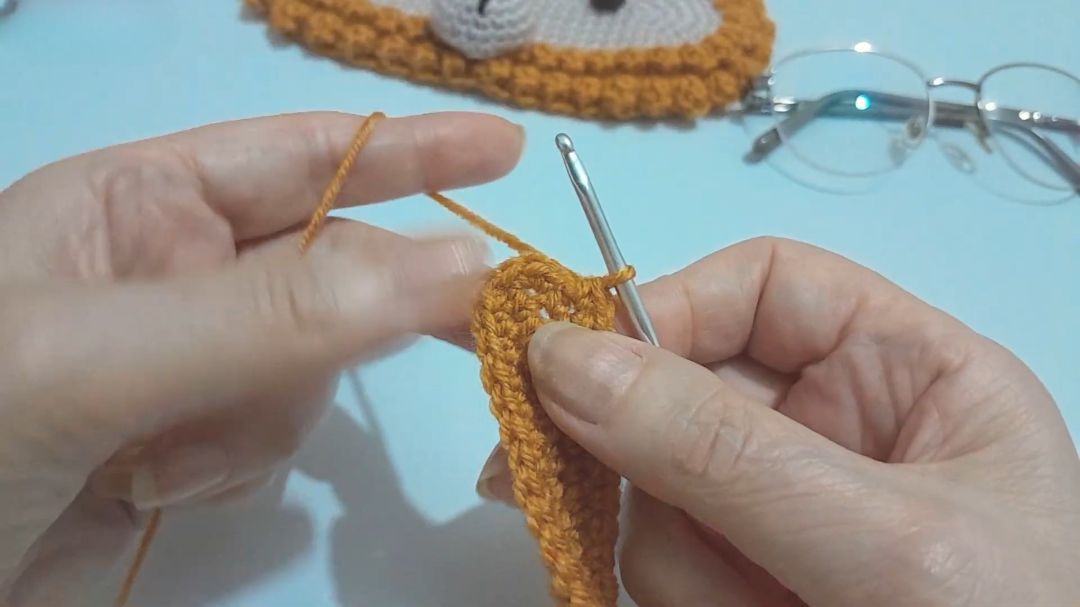
Step 3: Creating the Magnificent Mane
Switch to your black yarn to start the yele (mane). You will work a series of chains and double crochets. The pattern follows a sequence of 4 chains, skipping a space, then working double crochets and chains to create a ruffled effect. You will repeat the process of 4 to 5 double crochets in the spaces to make the mane look thick and bushy. This is the most iconic part of your Crochet Lion Glasses Holder Amigurumi, so take your time to make it look full.
Step 4: The Ears and Nose
The ears are worked in small rounds, starting with 4 chains and increasing gradually to Row 3. You will finish with a border in Row 6 to give them a finished look. For the nose, use black yarn and work double crochets in two short rows to create a triangular shape. These small details are what make your Crochet Lion Glasses Holder Amigurumi look like a real king of the jungle.
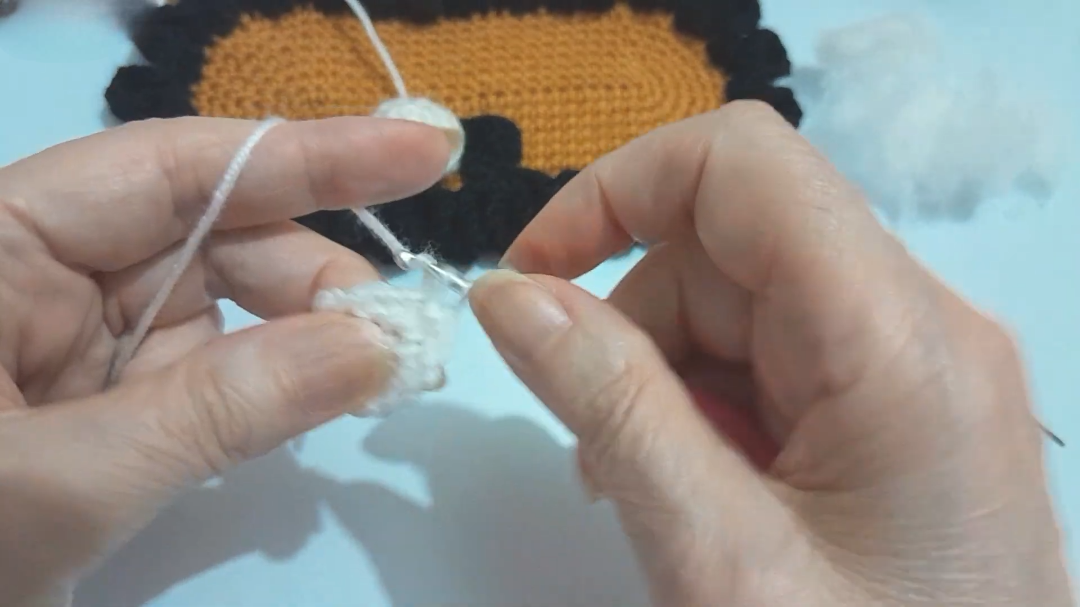
Step 5: Cheeks and Finishing Touches
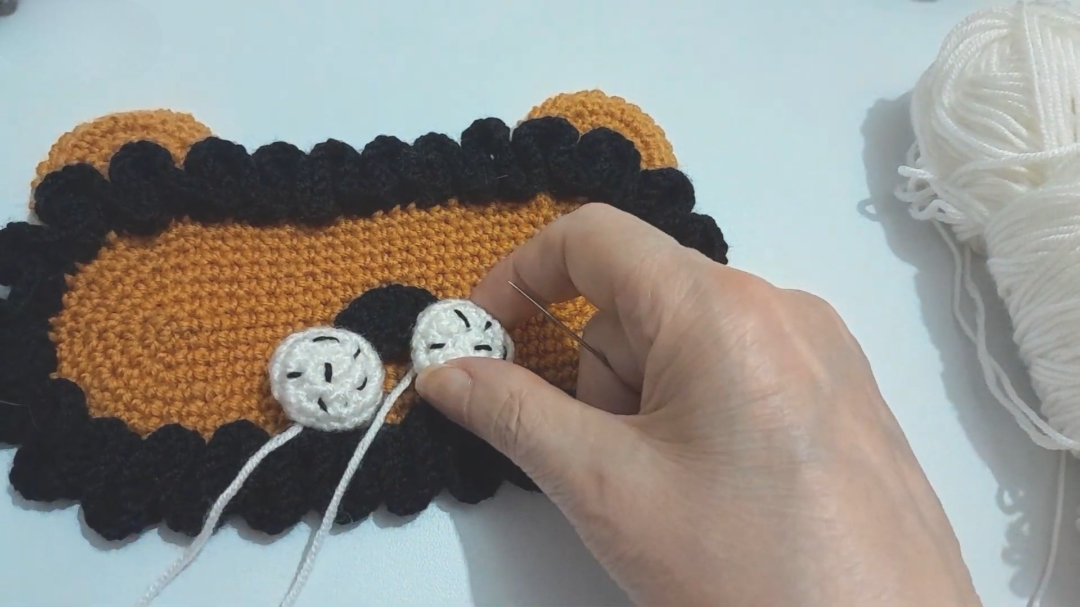
The cheeks are small spheres. You start with 6 single crochets in a magic ring and increase to 16. After a few rows, you will decrease and fill them with stuffing. Once you have all the pieces, you will sew the nose and cheeks onto the front. You can use black thread to stitch on some whiskers and attach the ears firmly. If you like, you can add two green leaves at the top for a jungle vibe.
Where Can You Use This?
You can use your Crochet Lion Glasses Holder Amigurumi in various places around your home. It is perfect for your nightstand so you can easily find your glasses the moment you wake up. It also works wonderfully on an office desk, keeping your computer glasses safe while you work. Because it is so lightweight and portable, you can even take it in your bag when you travel to ensure your eyewear doesn’t get crushed in your luggage. It also serves as a beautiful piece of decor for a nursery or a child’s bedroom.
Tips and Tricks
-
Tension Control: Ensure you pull your yarn tight during the cheek sections to hide the stuffing.
-
Color Choices: You can experiment with different shades of brown or even rainbow colors for a funky mane.
-
Stitch Markers: Use a scrap piece of yarn or a plastic marker to keep track of the start of each round.
-
Safety First: If you are giving this to a child, use embroidered eyes instead of buttons to prevent choking hazards.
-
Blocking: If your holder looks a bit wonky after finishing, you can lightly steam it to help the stitches settle into place.
Common Mistakes to Avoid
One common mistake you might make is forgetting to count your stitches during the increase rows. If your count is off, the Crochet Lion Glasses Holder Amigurumi might turn out lopsided. Another error is sewing the facial features too low; you should place them in the upper half of the body so the glasses don’t cover the lion’s face when they are inside. Additionally, ensure you don’t overstuff the cheeks, or they might become too heavy and tip the holder over. Lastly, avoid using very thin yarn, as it will result in a holder that is too flimsy to stand up on its own.
FAQs
Q1: Can I wash my crochet lion holder?
Yes, you can gently hand wash it using cold water and mild soap. However, you should avoid wringing it out. Instead, reshape it while damp and let it air dry completely to maintain its form.
Q2: What size of glasses will fit in this holder?
The 22-chain start is designed for standard-sized spectacles. If you have oversized sunglasses, you may want to add 4 or 6 extra chains to the initial foundation to make the opening wider.
Q3: Do I have to use black for the mane?
Not at all! While the tutorial uses black, you can use dark brown, orange, or even a variegated yarn to give your Crochet Lion Glasses Holder Amigurumi a unique and personalized look.
Q4: Can I use this as a phone holder?
While it is primarily designed for glasses, the soft interior and sturdy base make it a great temporary spot for a small smartphone, though it may not be wide enough for larger “plus” sized phones.
Q5: Is this project suitable for kids to learn?
If the child has basic knowledge of single and double crochet, they can certainly try it with your help. It is a very rewarding project because they get to see a character come to life.
Expanding Your Crochet Skills
When you work on a project like the Crochet Lion Glasses Holder Amigurumi, you are doing more than just making a case. You are learning how to combine structural crochet with decorative amigurumi techniques. This balance is essential for advanced crafting. For instance, the way the mane is attached teaches you how to work into the front loops or around posts, which is a skill used in many complex garment patterns. By mastering this lion, you are preparing yourself for more intricate animal designs in the future.
Furthermore, the satisfaction of completing a handmade item is unmatched. You will find that making these as gifts for friends and family is a wonderful way to share your talent. Everyone wears glasses or sunglasses at some point, making this a universal gift. You can customize each lion to match the personality of the recipient. Perhaps a pink lion for a niece or a classic golden one for a grandparent. The possibilities are endless when you have the basic pattern down.
In conclusion, the Crochet Lion Glasses Holder Amigurumi is a blend of utility and art. It solves a common problem while giving you a creative outlet to express your love for fiber arts. As you finish the final stitches and sew on the last whisker, you will realize how much you have learned about shaping and assembly. Thank you for following along with this tutorial. Remember to keep practicing and exploring new stitches. Your journey into the world of crochet is just beginning, and there are so many more creatures waiting for you to create them. Happy hooking and may your lion always keep your vision clear and your glasses safe!