
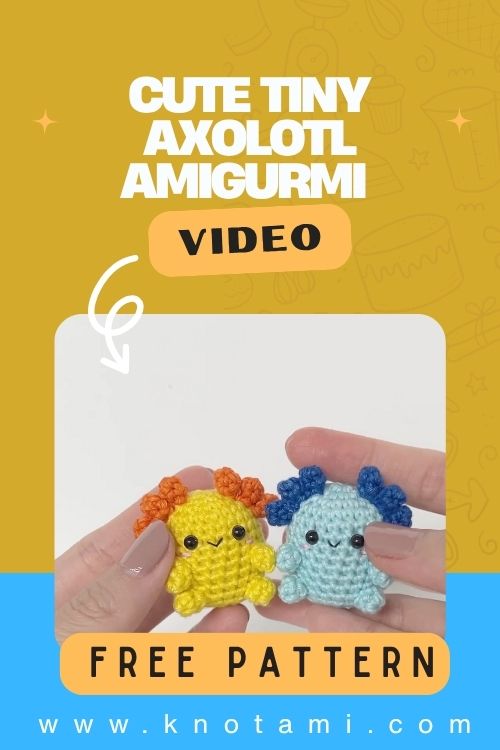
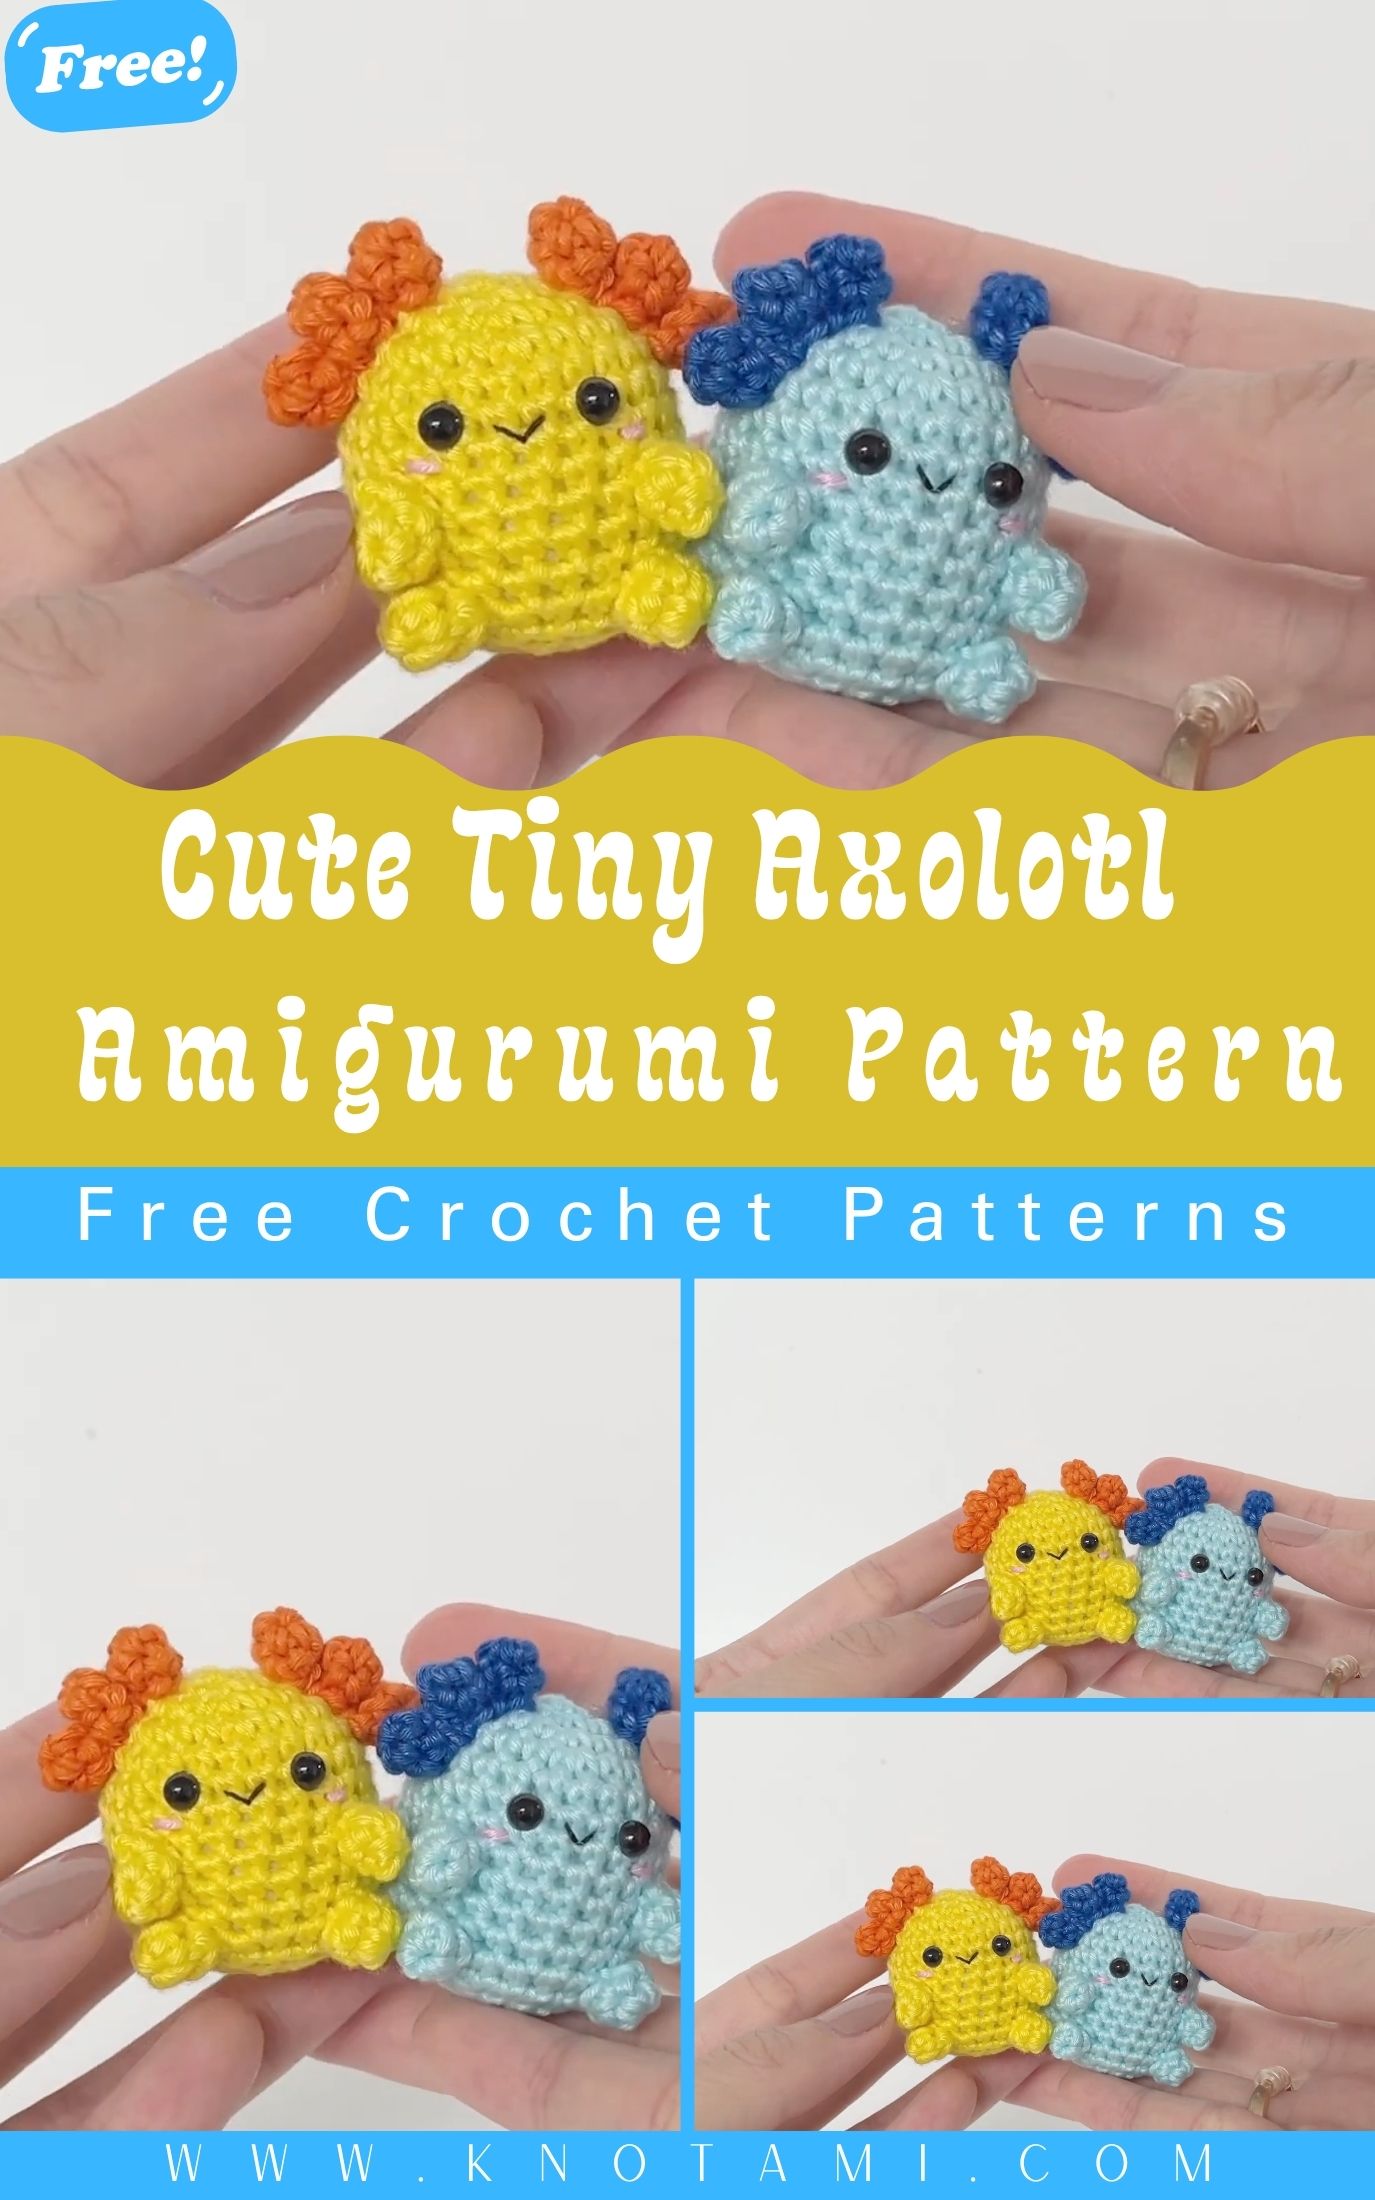
Crochet lover who enjoys making adorable little creatures, this Crochet Cute Tiny Axolotl pattern is going to melt your heart. This charming little aquatic plushie combines the joy of amigurumi with the magic of creativity. Small, soft and bursting with personality, this axolotl is the kind of project that makes you smile every time you pick up your hook.
The cute, tiny axolotl amigurumi has become a fan favorite among crochet enthusiasts and for good reason! It’s quick, simple, and irresistibly adorable. Whether you want to make one as a thoughtful handmade gift a cute decoration for your desk or a cheerful keychain companion this pattern is perfect for you.
Materials & Tools
To make your very own Crochet Cute Tiny Axolotl here’s what you’ll need:
-
Yarn: Use soft acrylic or cotton yarn in pastel shades like pink white or lavender. A DK (light worsted weight) yarn works best for a smooth and neat finish.
-
Crochet Hook: Recommended size is 2.5 mm–3.0 mm depending on your yarn thickness. A smaller hook gives tighter stitches and a more polished plush.
-
Fiberfill Stuffing: Essential for giving your axolotl its cute, chubby shape. Use small amounts and stuff gradually.
-
Stitch Markers: Super helpful for keeping track of your rounds in amigurumi projects no lost stitches!
-
Yarn Needle & Scissors: For sewing up any small parts and weaving in yarn tails neatly.
-
Optional Accessories: Add safety eyes (6 mm) for extra cuteness, or attach a keychain ring to make your axolotl a travel buddy. You can even embroider sleepy eyes or tiny smiles for more personality!
Beginner Tip: Always keep your stitches tight to avoid stuffing showing through. If your fabric looks too loose, switch to a smaller hook size.
Step-by-Step Instructions
Let’s bring your tiny axolotl to life! These instructions are simple, beginner-friendly, and full of encouragement.
Step 1: Start with a Magic Ring
Begin your axolotl by making a magic ring with 6 single crochets (sc). This will form the top of the head. Pull tightly to close the ring.
Step 2: Build the Body Shape
Increase in each round until your circle reaches about 18–20 stitches. Continue working single crochet rounds without increases to create a cylinder shape for the body. You can adjust the length depending on how chunky you want your axolotl to look.
Step 3: Add the Tail
Once your body reaches the desired size, start decreasing slightly to shape the end of the tail. This gives your amigurumi a smooth and rounded back.
Step 4: Create the Gills
For the axolotl’s signature gills, crochet three small bobble stitches or short chains with picot endings on each side of the head. You can mix colors (e.g., pink and white) for extra flair.
Step 5: Add the Arms
Crochet two short tubes (around 5–6 stitches per round, 3 rounds tall). Sew or attach them on the sides near the head. The arms should look stubby and cute.
Step 6: Stuff & Close
Gently stuff your axolotl with fiberfill shaping it as you go. Close the final round tightly using a yarn needle weaving in the ends securely.
Step 7: Finishing Touches
Attach your safety eyes, embroider a tiny smile and if you’d like, sew on a keychain ring to turn your creation into a portable plushie charm.
Pro Tip: Use a contrasting yarn color to make the gills pop it adds depth and makes your tiny axolotl stand out!
Special Features & Pro Tips
What makes this Crochet Cute Tiny Axolotl pattern truly special is its simplicity and charm. Here’s why crocheters love it:
-
No-sew Design: Many creators love that you can make most parts continuouslless sewing more fun!
-
Fast & Beginner-Friendly: Takes just 1–2 hours to complete, even for new crocheters.
-
Adorable Size: Perfect palm-sized plush or keychain accessory.
-
Customizable Colors: Try making rainbow, pastel, or even glow-in-the-dark versions using special yarns.
-
Creative Stitch Details: Add bobble or popcorn stitches for texture and realism.
-
Handmade Gift Idea: Great for birthdays, Valentine’s Day, or just as a cute desk buddy.
Expert Tip: Always use stitch markers when working in continuous rounds it keeps your shape even and prevents uneven edges.
Uses & Creative Ideas
Your finished Crochet Cute Tiny Axolotl isn’t just a toy it’s a piece of art with endless possibilities! Here are a few creative ways to use it:
-
Keychain Charm: Add a small metal ring to carry your mini axolotl everywhere you go.
-
Cute Gift: Surprise a friend or loved one with this adorable handmade keepsake.
-
Home Décor: Display it on shelves, office desks, or near your plants for a cozy touch.
-
Plushie Collection: Combine it with your other amigurumi creations like bees, frogs or turtles for a charming crochet family.
-
Seasonal Themes: Make Christmas-themed axolotls with tiny scarves, or spring ones in pastel shades!
Idea: You can even turn it into a bag charm or use it in a crochet mobile for nursery decor it’s that versatile!
Conclusion
Crocheting the Cute Tiny Axolotl is a perfect reminder that small projects can bring big joy. Whether you’re new to amigurumi or a seasoned crafter, this little creature offers endless fun and satisfaction. It’s quick, relaxing, and so rewarding to see your adorable creation come to life.
So grab your yarn and hook and dive into the world of crochet! Once you make one, you’ll definitely want to crochet a whole family of axolotls in every color imaginable. Trust me each stitch will bring a smile to your face!
Happy crocheting!