
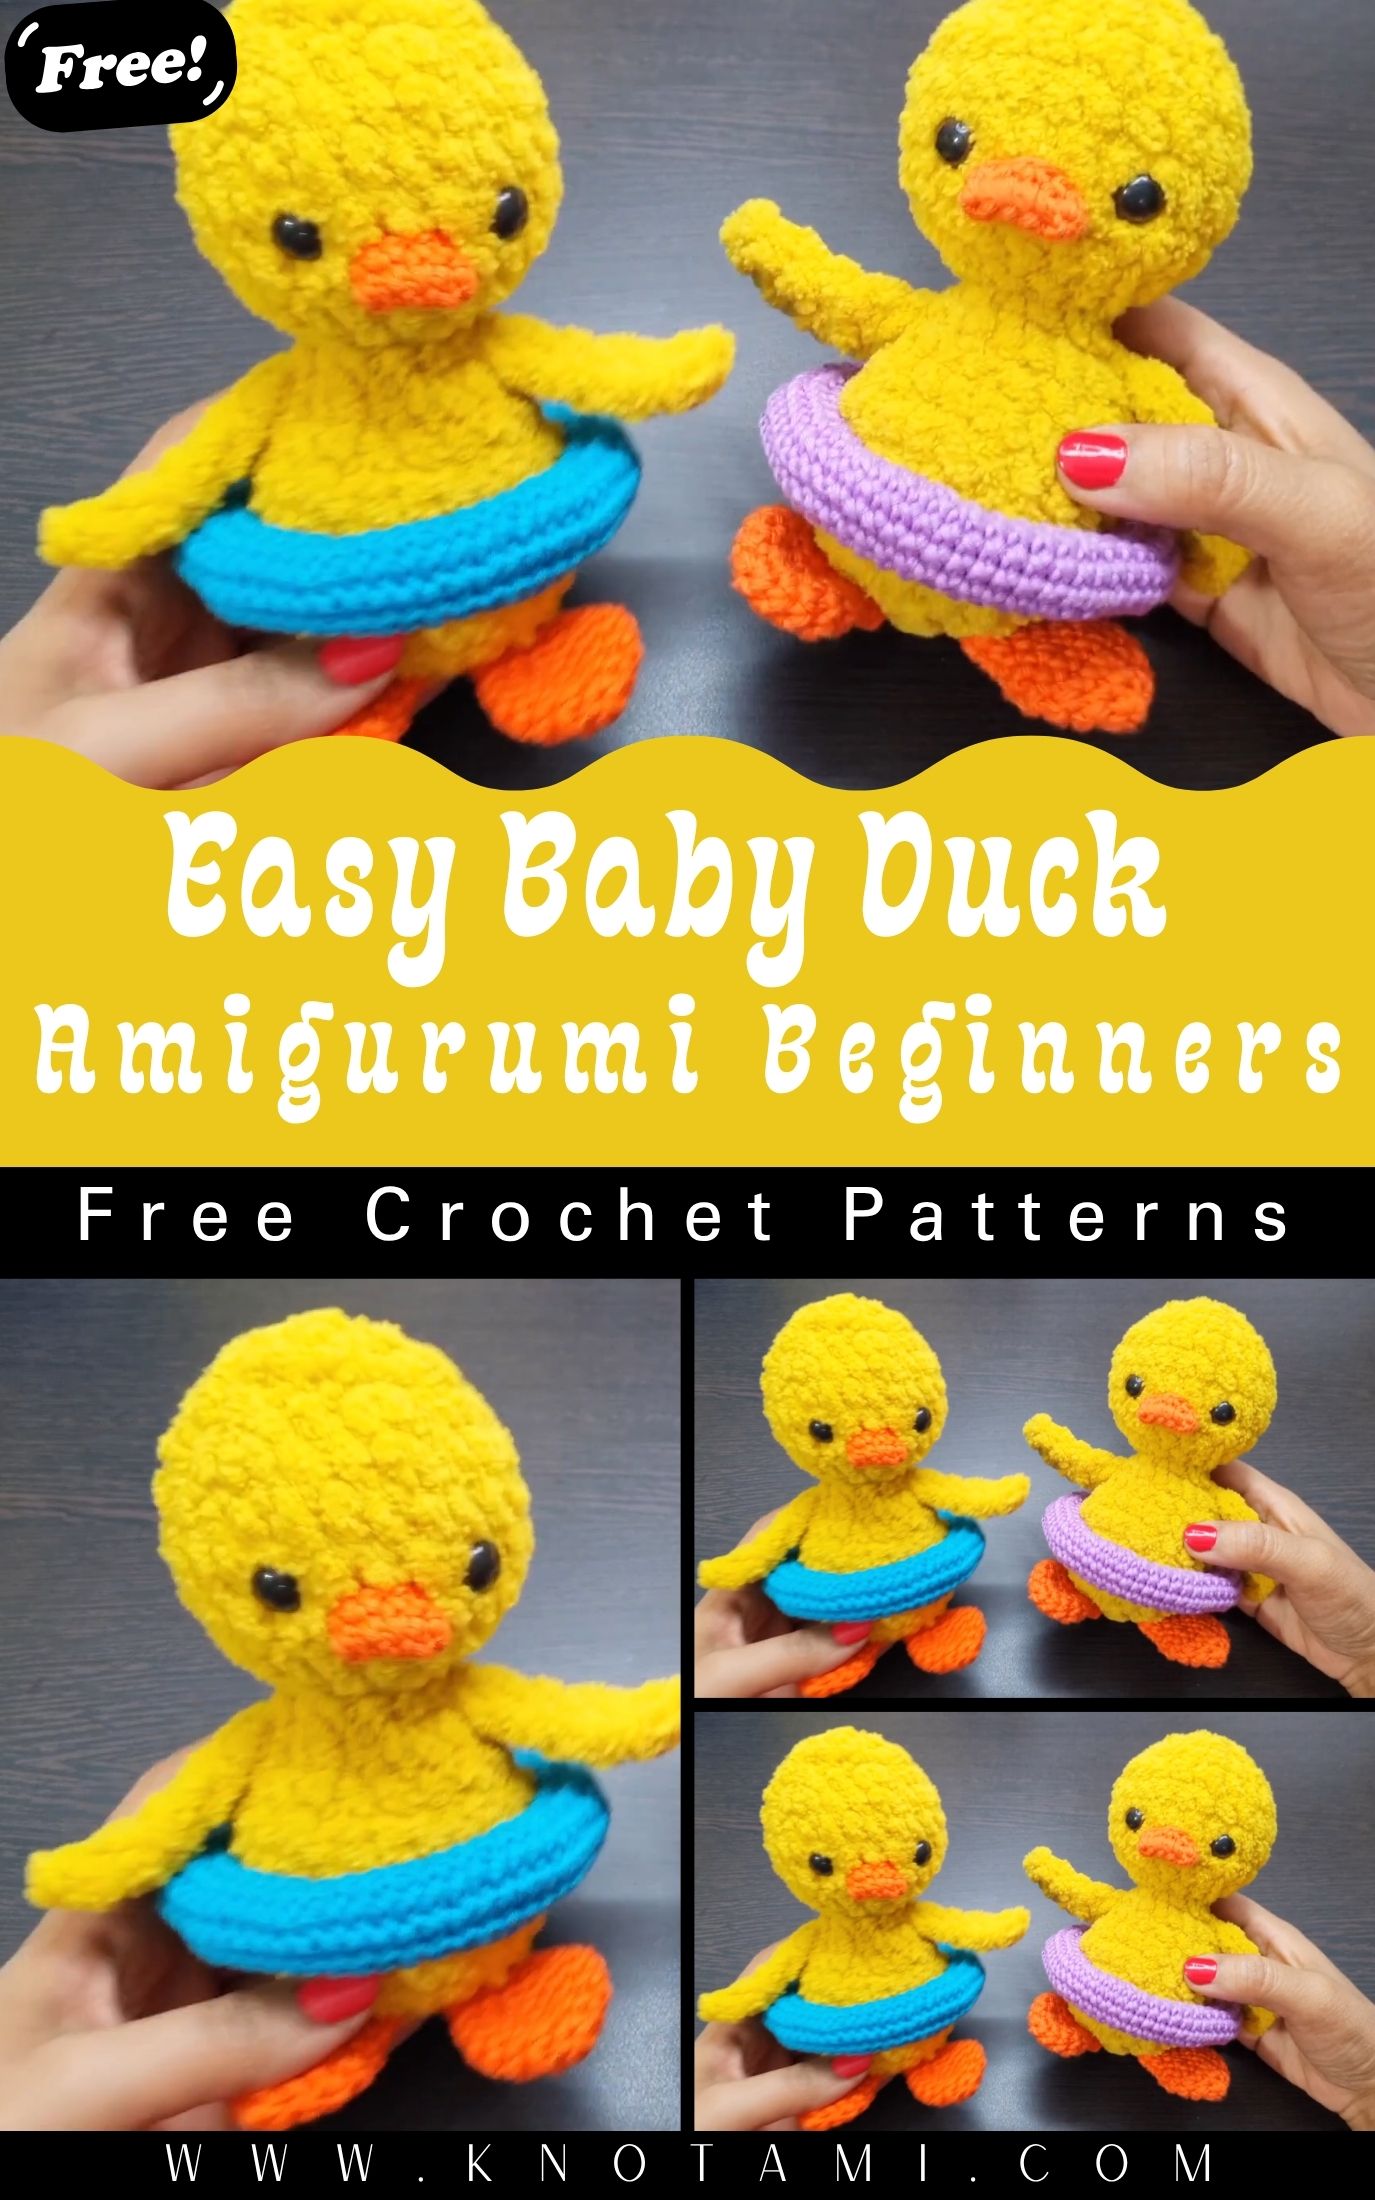
A quick and fun project that will instantly cheer you up—that’s why this crochet baby duck amigurumi is perfect. You can make it to add a playful and cute touch to your nursery, gifts, and table decorations. Using soft blanket yarn, you quickly achieve a soft and adorable result. This project is suitable for beginners and easily scales from simple animals to classic kawaii-style toys.
I still remember the first time I crocheted a tiny animal and realized I could “sculpt” cuteness with yarn. This baby duck gives you that same handmade magic without complicated shaping. You’ll build the body with clear increases and decreases, then add sweet details like wings, little feet, and a bright beak. Because you work with plush blanket yarn, the stitches grow quickly; therefore, you see progress in every round. Even better, this amigurumi duck works as a baby shower gift, a springtime decoration, or a cheerful key display (if you size it down). If you love soft toys, this crochet plushie is a perfect easy amigurumi starting point.
Required Materials
Here’s everything you need to recreate the duck using the scraped instructions, plus a few practical tips for beginners:
- Yellow blanket yarn (8 ply) for the main body
- Plush yarn hides minor tension issues, so it’s forgiving.
- Orange cotton yarn (8 ply) for the beak and legs/feet
- Cotton gives crisp detail and holds shape nicely.
- Safety eyes: 8 mm
- Use safety backs and secure them firmly before stuffing.
- Crochet hooks
- 2.5 mm hook (great for cotton yarn details like beak/legs)
- 4 mm hook (helps with blanket yarn if your plush is dense)
- Tapestry needle for sewing parts and weaving ends
- Fiber fill stuffing
- Stuff gradually to avoid lumps.
- Stitch marker (or a scrap yarn piece)
- Keeps your rounds accurate in continuous spirals.
- Scissors
Tip: Plush yarn often makes stitches harder to “see.” Because of that, rely on counting stitches and using a marker every round.
Method FOR ( Crochet Baby Duck)
Below is a simplified, beginner-friendly roadmap based directly on the scraped pattern. I’ll keep it to 5 steps, and I’ll highlight the key rounds, counts, and assembly moments so you can follow confidently.
Step 1: Crochet the duck body in a smooth spiral
Start with yellow blanket yarn and make a slip knot, then chain 2. Work the first round by making 6 single crochet into the first chain. Next, increase to shape the sphere:
- Round 2: increase in each stitch (12 sts)
- Round 3: 1 sc, inc repeat (18 sts)
- Round 4: 2 sc, inc repeat (24 sts)
After that, build height without shaping so the body looks plush and rounded:
- Rounds 5–7: 24 single crochet each round (24 sts per round)
Because stitch definition can blur in blanket yarn, count carefully and move your marker as you go.
Step 2: Shape the face, place eyes, and close the first section
Now you’ll begin decreasing to form the duck’s head area. Follow the scraped sequence:
- Round 8: 2 sc, dec repeat (18 sts)
At this point, insert 8 mm safety eyes between rounds 6 and 7. Keep a gap of 5 stitches between the eyes so the duck looks balanced. Next, continue tapering:
- Round 9: 1 sc, dec repeat (12 sts)
- Next round: decrease 6 times (this closes the opening tightly)
Stuff as you go. Add small tufts first, then compress gently with your hook or the back of your needle for a smooth shape.
Step 3: Continue the body rounds to create the “belly” and final closure
After the face section, the scraped instructions show the body expanding again and then finishing with decreases. Work the next growth rounds to reshape the lower body:
- Round with 12 stitches (stabilize)
- Round: 1 sc, inc repeat (18 sts)
- Next round: 1 sc in each stitch (18 sts)
- Next: 2 sc, inc repeat (24 sts)
- Then work 3 rounds of 24 single crochet (Rounds 15–17)
To finish, taper down for a rounded bottom:
- Round: 2 sc, dec repeat (18 sts)
- Round: 1 sc, dec repeat (12 sts)
- Round: decrease 6 times and fasten off, leaving a long tail
Before you fully close, add more fiber fill so the duck stands nicely and doesn’t cave in. Then sew the opening shut with your tapestry needle.
Step 4: Make the wings with simple chains and mixed stitches
Switch back to yellow blanket yarn for wings. Each wing uses a quick chain-and-return method that feels very beginner-friendly.
For one wing:
- Make a slip knot, chain 6
- In the second chain from the hook: 1 single crochet
- Then work: 2 half double crochet, 1 single crochet, and slip stitch in the last chain
- Fasten off with a long sewing tail
Make two wings using the same steps. This simple shape creates a nice curved “feather” look without complex increases.
Step 5: Crochet legs and beak, then assemble neatly
For the legs/feet, use orange cotton yarn and begin with a magic ring:
Leg (make 2):
- Round 1: 6 single crochet in magic ring
- Round 2: increase in each stitch (12 sts)
- Round 3: 1 sc, inc repeat (18 sts)
- Rounds 4–5: 18 single crochet each round
- Round 6: 1 sc, dec repeat (12 sts)
- Rounds 7–8: 12 single crochet each round
To finish the leg, join both sides and work 6 slip stitches across to flatten and close. Leave a long tail for sewing, then fasten off.
Beak:
- Chain 6 with orange yarn
- Work increases and single crochet around the chain to form an oval beak shape
- Add a second round of 11 single crochet, then slip stitch and fasten off with a long tail
Finally, assemble:
- Stitch wings to the sides (slightly behind the eye line looks cute)
- Sew legs at the base so the duck sits upright
- Attach the beak centered below the eyes
Use pins or scrap yarn to hold parts in place before sewing. That way, you can adjust symmetry quickly.
Styling Ideas and Beginner Tips for a Polished Finish
Even a simple amigurumi can look “professional” when you add small refinements. Here’s how to make this baby duck extra charming:
- Choose eye placement carefully. Since the pattern places eyes between rounds 6 and 7, keep the 5-stitch gap consistent. If you shift even one stitch, the expression changes a lot.
- Stuff with intention. Add more stuffing to the lower body than the top so the duck sits properly.
- Use tight stitches on cotton pieces. Cotton can loosen over time. Therefore, use the smaller hook (2.5 mm) and keep tension firm for legs and beak.
- Hide seams with direction. Sew wings with the top edge slightly angled upward; it makes the duck look lively.
- Weave ends inside the body. Push the needle through the plush, travel a few stitches, then trim. The tail disappears into the fluff.
Common Beginner Problems FOR ( Crochet Baby Duck)
If you’re brand new to amigurumi, a few issues might pop up. Fortunately, quick fixes exist.
- “I can’t see my stitches in blanket yarn.”
Count stitches every round and feel the tops of stitches with your fingers. Also, keep your marker updated. - “My duck looks lumpy.”
Use smaller amounts of fiber fill and spread it evenly. Then add more in layers until it feels smooth. - “The eyes feel loose.”
>Always insert safety eyes before you close the body too much. Press the backs on firmly so they lock. - “My beak curls.”
Cotton sometimes curls with uneven tension. Therefore, keep your stitches consistent and shape the beak gently with your fingers before sewing.
Why This Baby Duck Makes a Great First Amigurumi
This design teaches you the core skills you’ll use in almost every crochet animal:
- consistent single crochet in the round
- shaping with increases and decreases
- placing safety eyes
- simple assembly and stitching
- switching yarn types for detail
Most importantly, it gives you a finished plush that looks adorable even if your stitches aren’t perfect yet.
Final Thoughts FOR ( Crochet Baby Duck)
This inspiring Crochet Baby Duck amigurumi combines soft texture, beginner-friendly shaping, and cute details that feel genuinely rewarding to make. You can stitch it as a gift, keep it as a cheerful décor piece, or use it as practice before trying more advanced animals. Once you finish one, you’ll want a whole flock.