

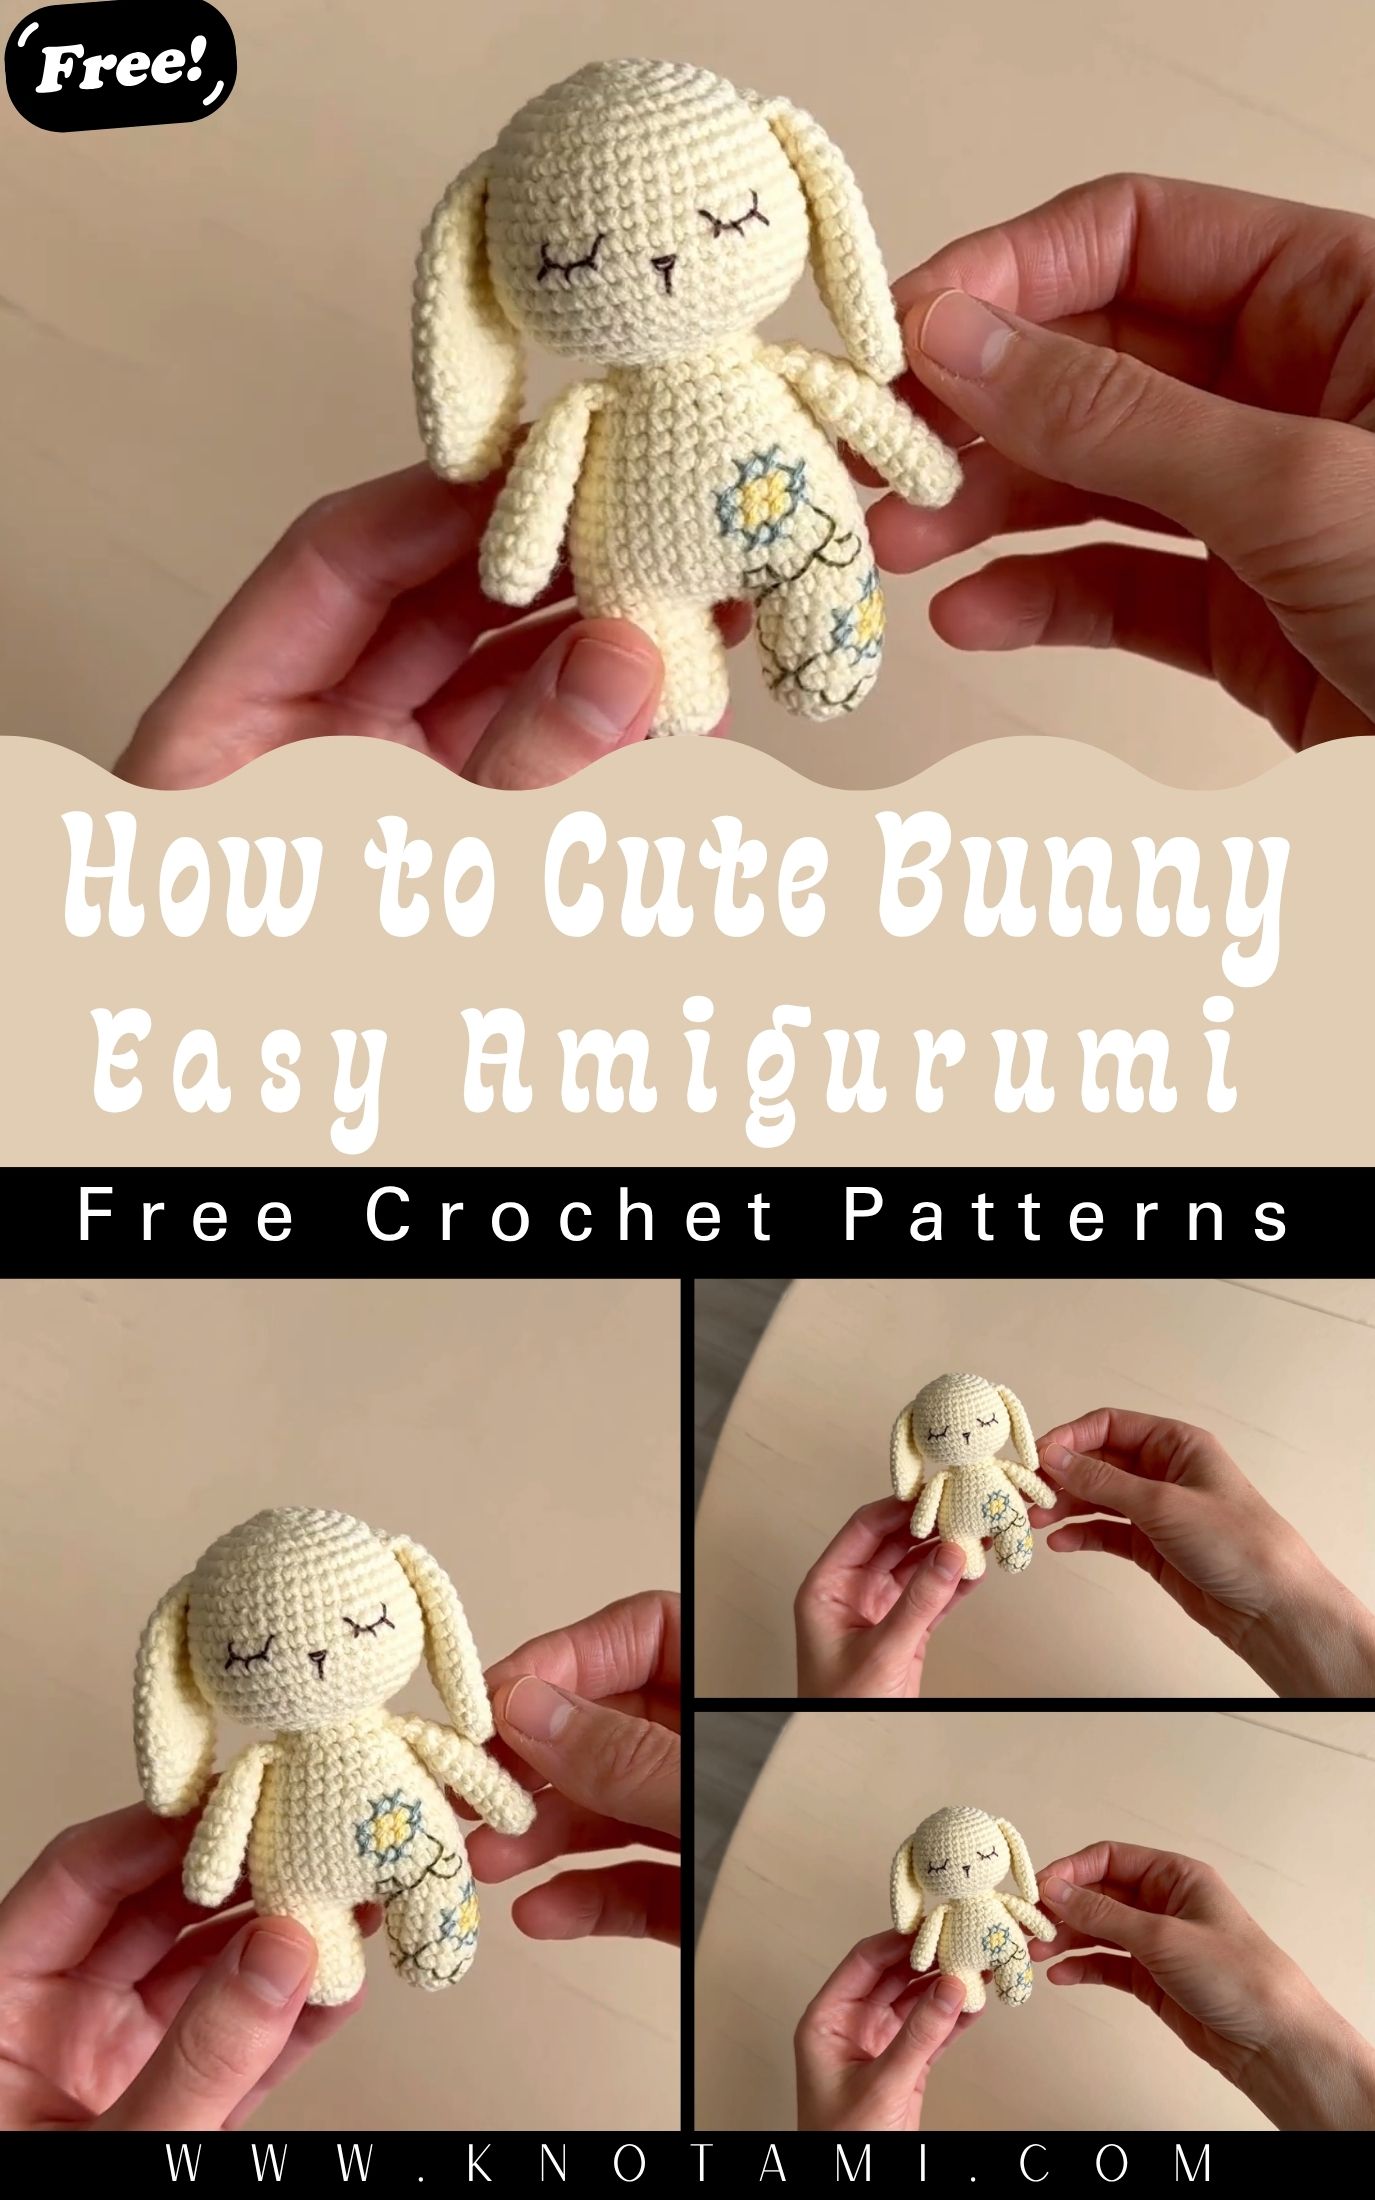
Handmade crochet bunnies have a special kind of charm you just can’t buy in a store. Whether you’re an experienced crocheter or just learning the ropes, creating your own cute bunny amigurumi is one of those projects that instantly sparks joy. Each little stitch builds character, turning simple yarn into an adorable plush friend with floppy ears and a cuddly, round body.
The cute bunny amigurumi pattern is loved by both beginners and seasoned crocheters because it’s fun forgiving and quick to make. There’s no need for complex techniques, just your basic crochet stitches, a little stuffing, and a pinch of creativity! These little bunnies make perfect handmade gifts for birthdays, Easter baskets, or as cozy shelf décor.
Materials & Tools
To crochet your cute bunny, you’ll only need a few simple supplies:
-
Yarn: Use medium-weight (worsted or DK cotton/acrylic blend) yarn. Cotton gives a neat finish, while acrylic makes your bunny extra soft and fluffy.
-
Crochet Hook: A 2.5 mm – 3.0 mm hook is ideal for tight stitches that hold stuffing nicely.
-
Fiberfill Stuffing: Soft polyester fiberfill keeps your bunny plump and squishy.
-
Stitch Markers: Perfect for marking the start of each round especially useful for beginners.
-
Yarn Needle: Used to sew body parts together and weave in loose ends neatly.
-
Scissors: For trimming yarn ends and shaping the final look.
-
Optional Accessories: Safety eyes (6–8 mm) for a polished look, blush or embroidery thread for the nose, and a keychain ring if you want to turn it into a cute bag charm.
Each of these tools helps bring your bunny to life while keeping the crafting process smooth and beginner-friendly.
Step-by-Step Instructions
Follow these simple steps to crochet your adorable bunny. This amigurumi bunny tutorial is designed to be friendly, easy, and enjoyable for all skill levels!
-
Start with a Magic Ring
Begin by making a magic ring and crochet 6 single crochets (sc) inside it. Pull tight to close the loop. This forms the base of your bunny’s head. -
Increase Rounds for the Head
In the next few rounds, increase your stitches evenly for example, 2 sc in each stitch for round 2, then 1 sc, 1 increase for round 3, and so on until the head reaches your desired width. -
Build the Bunny Body
Continue working even (no increases) for several rounds to form the rounded body. Once you’re happy with the size, begin decreasing every few stitches to close off the bottom. -
Crochet the Ears
For each ear chain 8 then single crochet back down the chain. Slightly taper the top by skipping the last stitch. Make two ears and sew them securely to the top of the head. -
Make the Arms & Legs
Crochet small tubes or ovals with single crochet stitches. Stuff lightly and attach them evenly to the sides of the body. -
Add the Tail (Optional)
You can make a mini pom-pom or crochet a small circle, stuff it, and sew it to the back for a fluffy bunny tail. -
Stuff and Close
Add your fiberfill stuffing carefully before sealing. Adjust the stuffing to ensure the bunny feels soft but not overfilled. -
Attach Safety Eyes & Embroider the Face
Place the eyes symmetrically and use pink embroidery thread for the nose and mouth. A touch of blush or soft yarn can give your bunny extra cuteness. -
Finishing Touches
Sew all parts securely, weave in loose ends, and fluff up your bunny. You can add a bow scarf or mini hat for extra charm.
And that’s it your cute crochet bunny is ready to hop into someone’s heart!
Special Features & Pro Tips
What makes this easy crochet bunny pattern so wonderful is its simplicity and flexibility.
-
Beginner-Friendly Construction: No complicated stitches just single crochet increases and decreases.
-
Quick to Make: You can finish one bunny in just a few hours making it perfect for gifting or selling.
-
No-Sew Option: You can crochet the ears and limbs directly onto the body if you prefer a seamless design.
-
Customization Galore: Try pastel colors for Easter, bright shades for kids, or neutral tones for modern decor.
-
Pro Tip: Use stitch markers on every round to keep track of increases. It saves time and prevents uneven shapes.
-
Shape Maintenance: Stuff as you go this helps keep your bunny smooth and evenly rounded.
-
Personal Touch: Add tiny accessories like ribbons tiny buttons or embroidered initials to make it unique.
These small details are what transform your project from cute to wow!
Uses & Creative Ideas
Once your crochet bunny for beginners is complete, there are endless ways to enjoy or gift it:
-
Perfect Handmade Gift: Great for birthdays baby showers or Easter baskets.
-
Cute Home Décor: Display it on a shelf, nightstand, or workspace for a cozy handmade touch.
-
Adorable Keychain or Bag Charm: Attach a ring to make a portable crochet companion.
-
Collectible Plushie: Create a whole bunny family by using different yarn colors and sizes.
-
Seasonal Customization: Add scarves for winter bunnies flowers for spring, or Santa hats for Christmas versions.
Each bunny you make carries your creativity, love and care and that’s what makes handmade crafts so special.
Conclusion
Crocheting a cute bunny isn’t just about making something adorable it’s about enjoying the process. Every stitch tells a story of patience creativity and joy. Even if you’re new to crochet, this easy amigurumi bunny pattern will guide you toward creating something you can proudly hold and share.
Remember: the best part about crochet is that it doesn’t have to be perfect it just has to be made with love. So grab your hook, pick your favorite yarn, and start crafting your new fluffy friend today. Happy crocheting!