
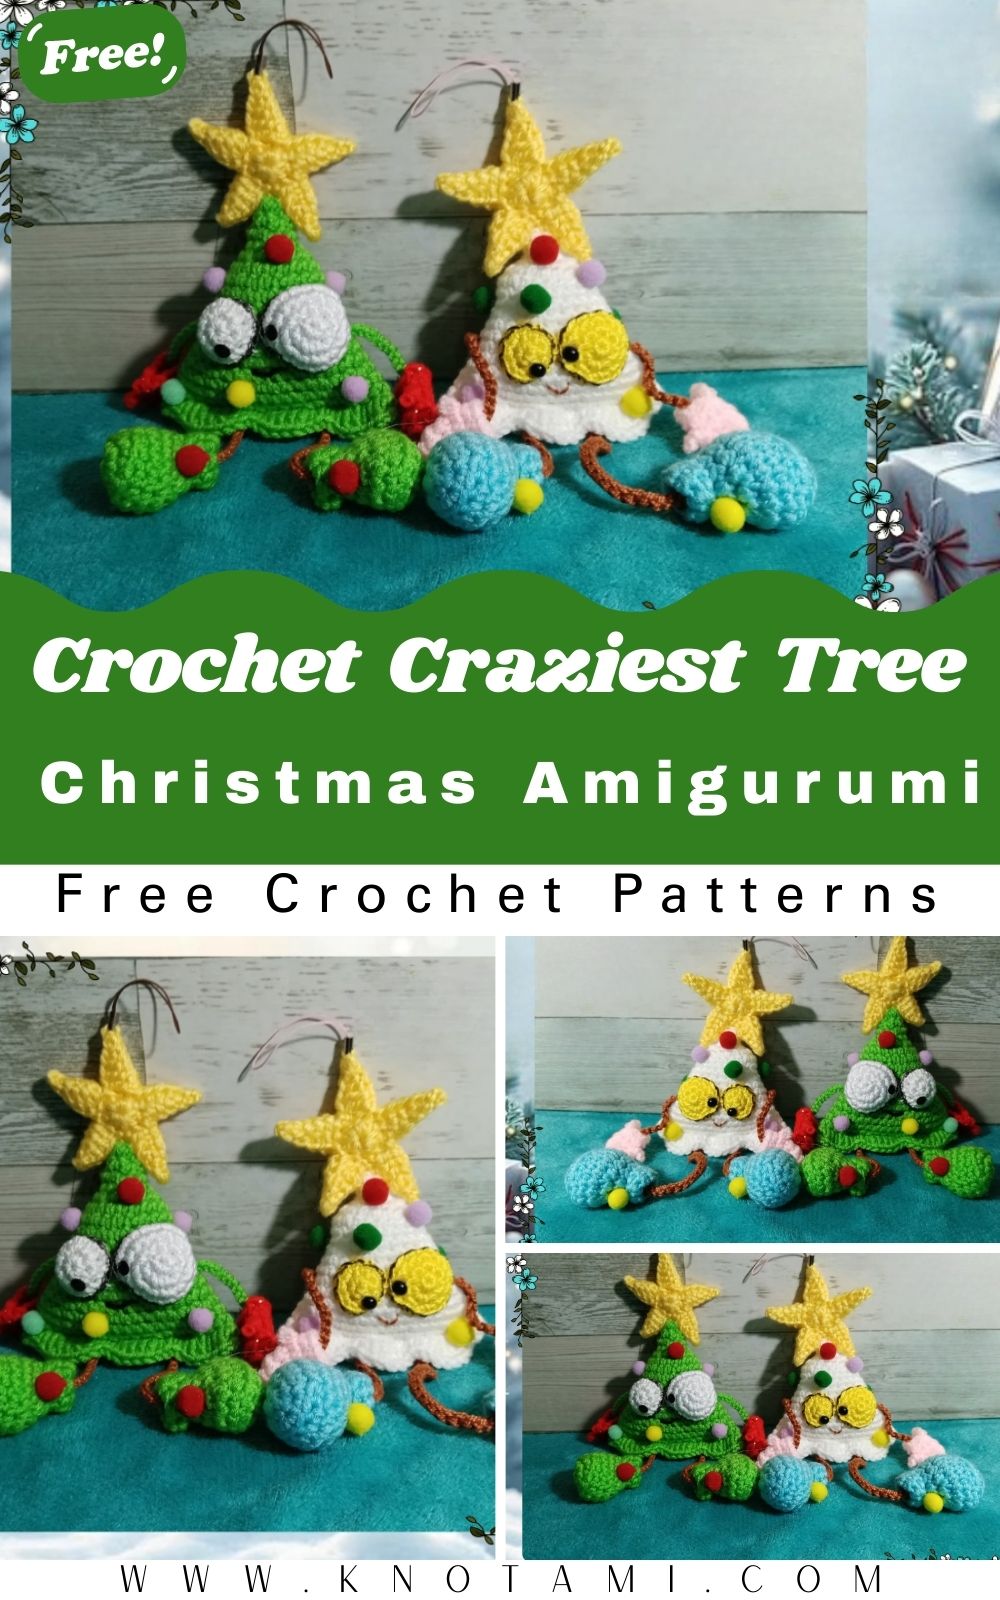
Welcome to the wonderful world of holiday crafting where we are going to create something truly special. If you love the holiday season as much as I do, then you know that nothing beats the charm of handmade decorations. Today, we are focusing on a project that will bring a smile to everyone’s face: the Crochet Christmas Tree Amigurumi. This little character is not just a tree; it has personality, arms, legs, and even a tiny star on top. Whether you are looking to spruce up your own home or you want to give a heartfelt gift to a friend, this Crochet Christmas Tree Amigurumi is the perfect solution for your festive needs.
Crafting your own holiday decor is a rewarding experience that allows you to customize every single detail. By following this guide, you will learn how to master the shapes and stitches required for a high quality Crochet Christmas Tree Amigurumi. Furthermore, this project is designed to be accessible for those who are still honing their skills. Because we use simple stitches like the magic circle and single crochet, you will find the process smooth and enjoyable. Let’s get our hooks ready and dive into this festive journey to create a piece of art that will be cherished for many Christmases to come.
The video embedded above provides a visual walkthrough of the entire process, making it much easier to follow along with the trickier parts like the star and the eyes. While the written instructions below offer a detailed roadmap, watching the video will help you see the exact hand movements and tension needed for the Crochet Christmas Tree Amigurumi. Therefore, I highly recommend keeping the video open as you work through each section. You can pause and rewind whenever you need to ensure your stitches are perfect. Seeing the tree come to life in real time is incredibly motivating and ensures that you do not miss any of the charming details that make this amigurumi so unique.
Skill Level / Level of Difficulty
The difficulty level for this Crochet Christmas Tree Amigurumi is Intermediate. While the basic body of the tree uses foundational stitches, the assembly of the small parts like the mittens, the five pointed star, and the limbs requires a bit of patience and fine motor skills. However, if you are a confident beginner who has made a few basic shapes before, you should be able to complete this project successfully. The most challenging part is often the “loop” method used for the thumb on the mittens and sewing the two star pieces together. Consequently, as long as you take your time and follow the steps, you will achieve a professional result.
Tutor’s Suggestions
Before you begin your Crochet Christmas Tree Amigurumi, I have a few personal tips to make your experience better. First, I suggest using a stitch marker for every round because it is very easy to lose your place when working in a continuous spiral. Second, make sure you choose a yarn that doesn’t split easily, as this will make the small details like the eyes and arms much cleaner. Additionally, I recommend stuffing the body firmly but not so much that the stitches stretch out and show the filling. Lastly, always leave long yarn tails when finishing a piece. These tails are essential for sewing the parts together securely, and having extra length is always better than running out mid-seam.
Materials and Step by Step Guide
Materials Needed
-
Green yarn for the tree body
-
Yellow yarn for the star and eyes
-
Brown yarn for the arms and legs
-
Red yarn for the mittens
-
Crochet hook (2.55mm suggested)
-
Fiberfill stuffing
-
Tapestry needle
-
Small colorful beads or balls for decoration
-
Hot glue or silicone glue
-
Black marker (for eye details)
Step 1: The Mittens
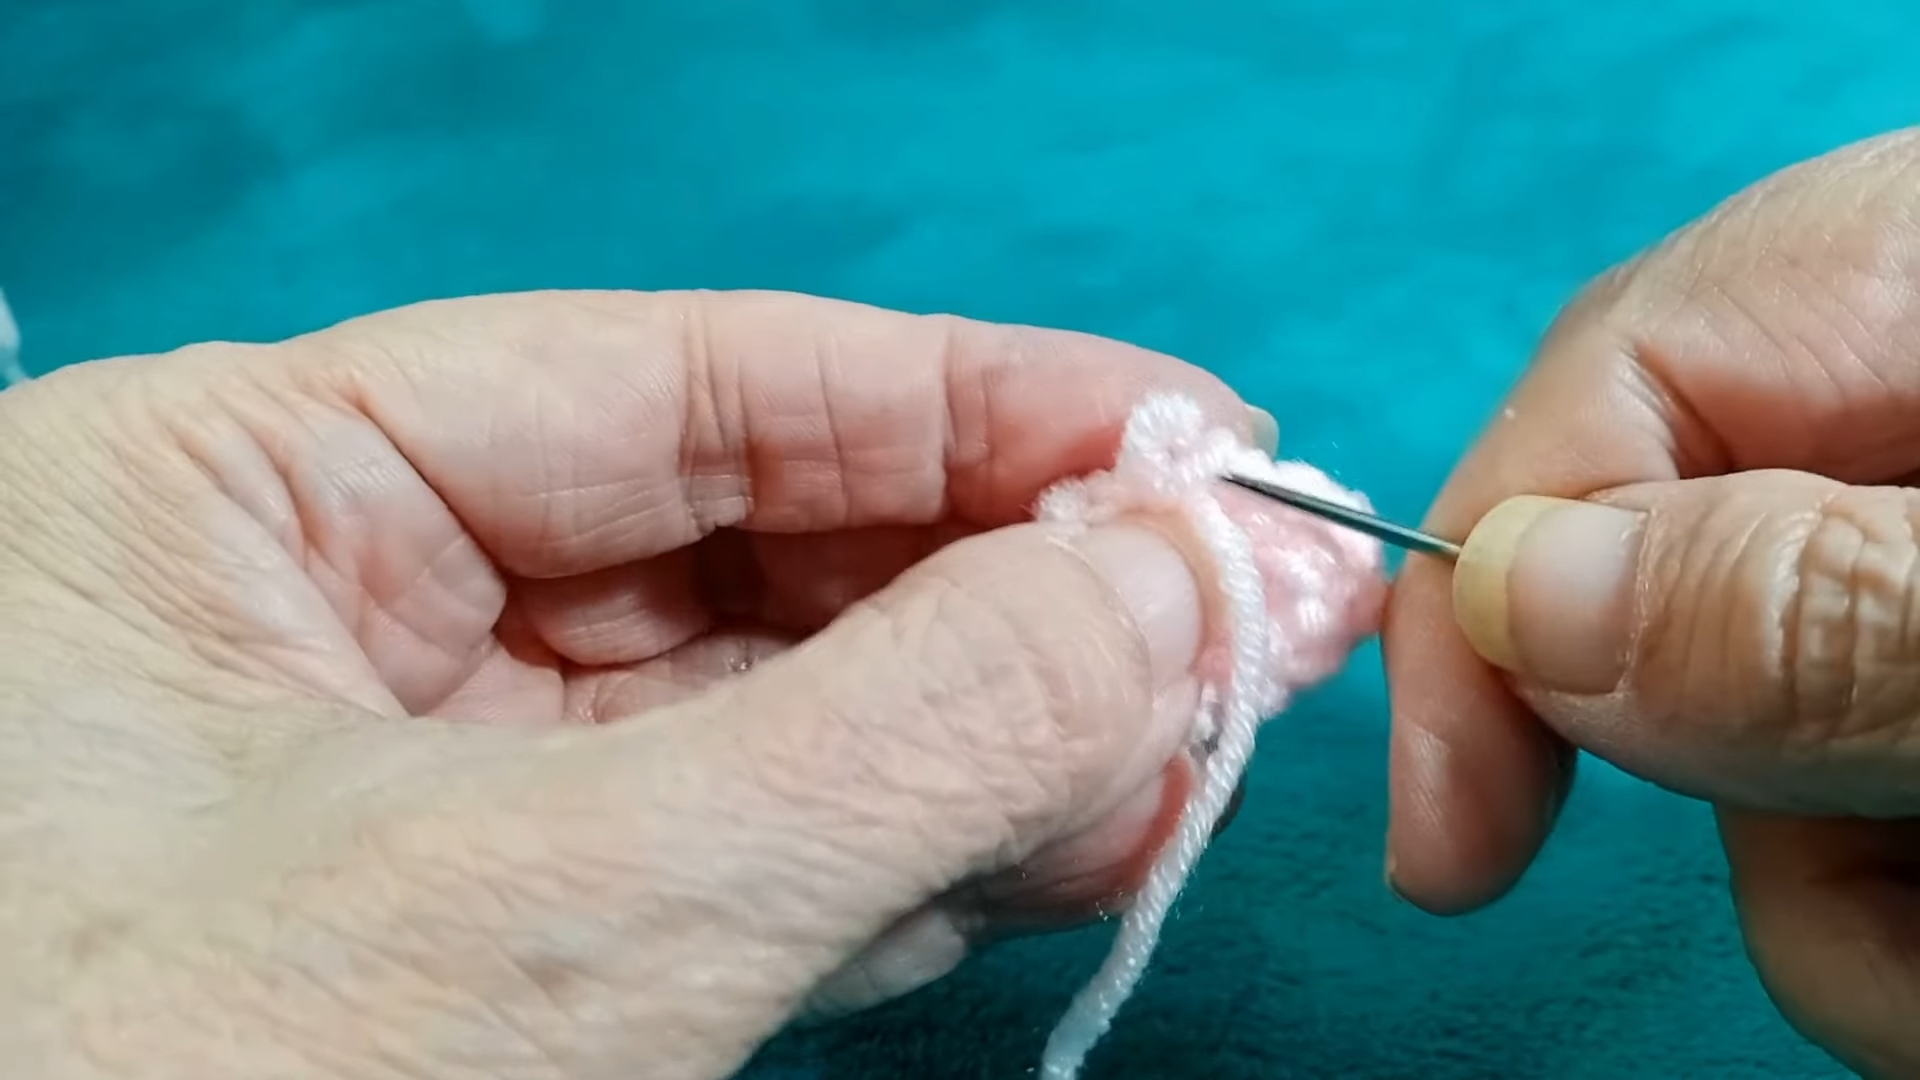
To start your Crochet Christmas Tree Amigurumi, we begin with the mittens. Create a magic circle and work 7 single crochets into it. Do not close the circle with a slip stitch; instead, continue weaving. In the next round, do two single crochets followed by an increase. Repeat this until you have 8 stitches. Work two full rounds of 8 stitches. For the thumb, you will use a sewing technique described in the video to create a small loop that mimics a thumb shape. This adds a realistic touch to your Crochet Christmas Tree Amigurumi.
Step 2: The Festive Star
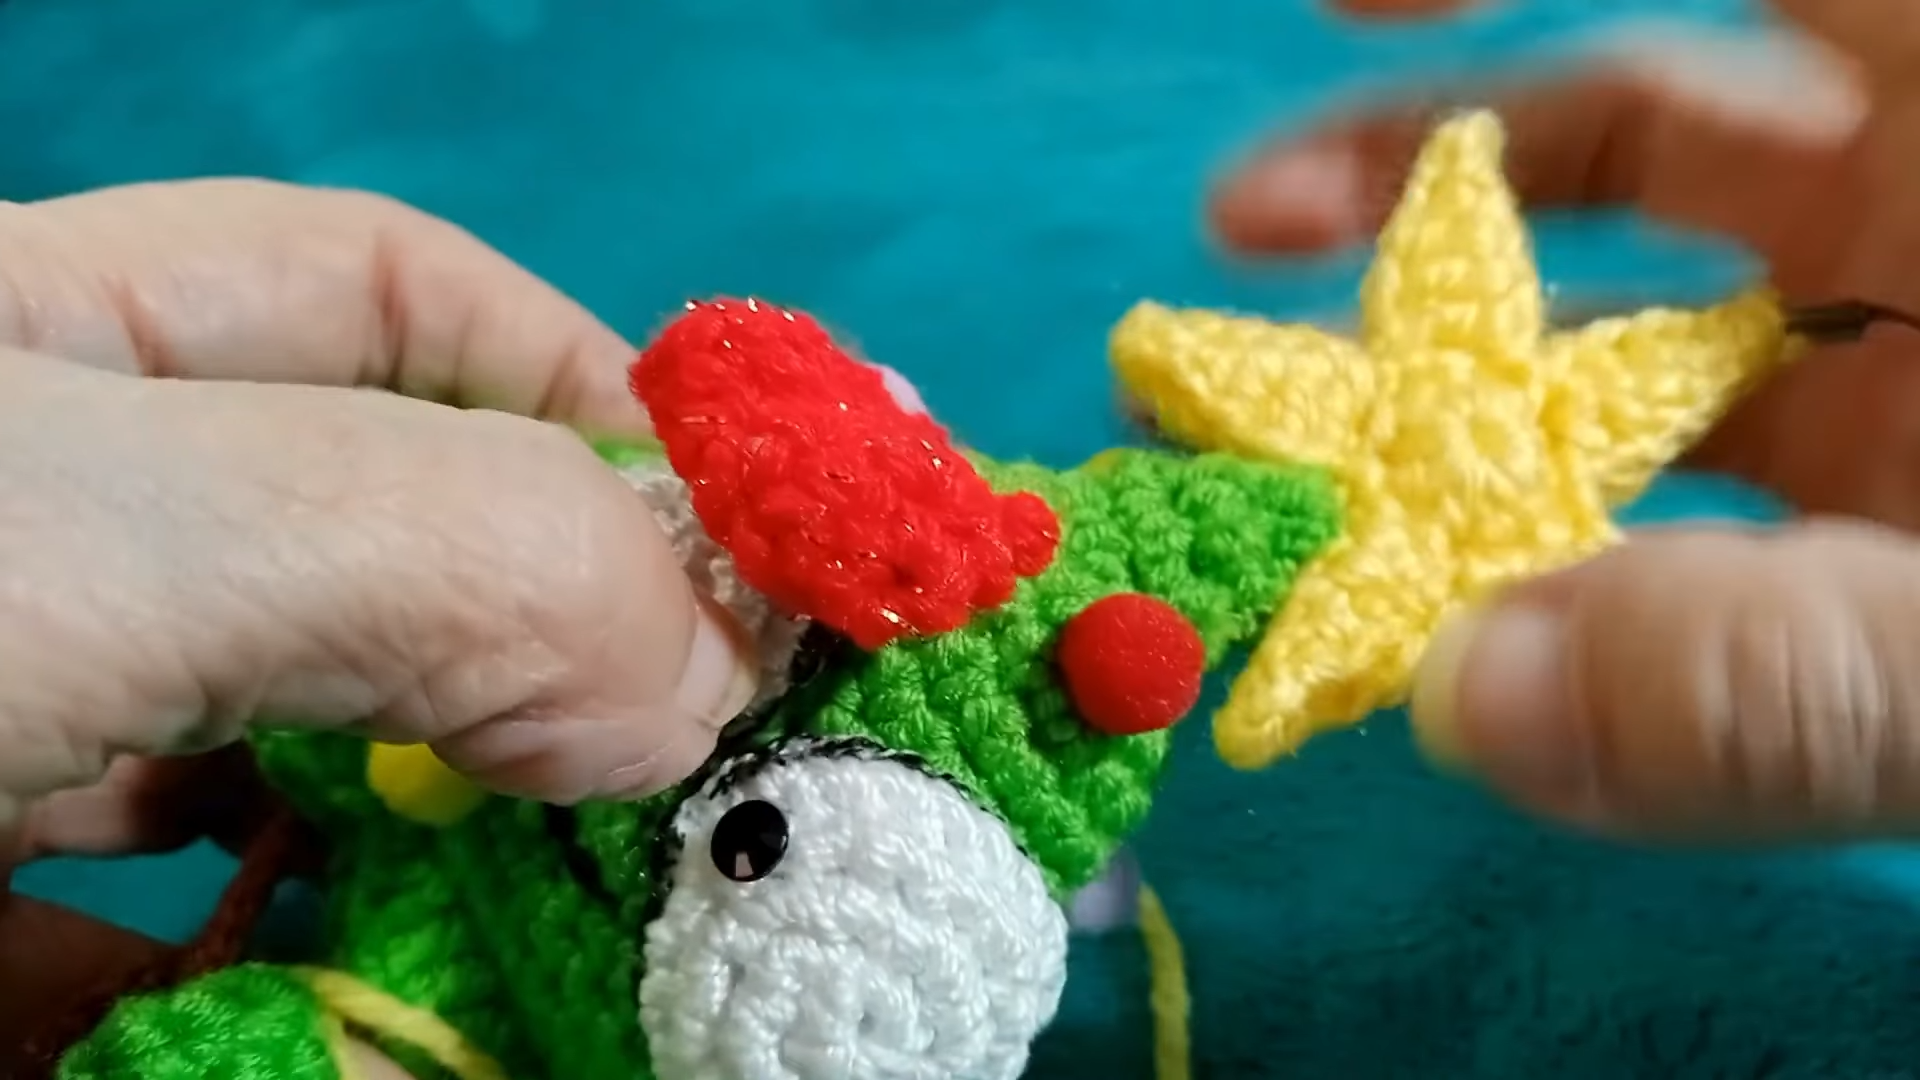
Every Crochet Christmas Tree Amigurumi needs a star. You need to make two identical pieces and sew them together. Start with a magic circle and 9 half double crochets. For each of the five points, chain 6. Work back down the chain with a slip stitch, a single crochet, a half double crochet, and two double crochets. Fasten it to the base with a slip stitch. Once you have two stars, sew them together around the edges to give them volume and sturdiness before attaching them to the top of the tree.
Step 3: The Expressive Eyes
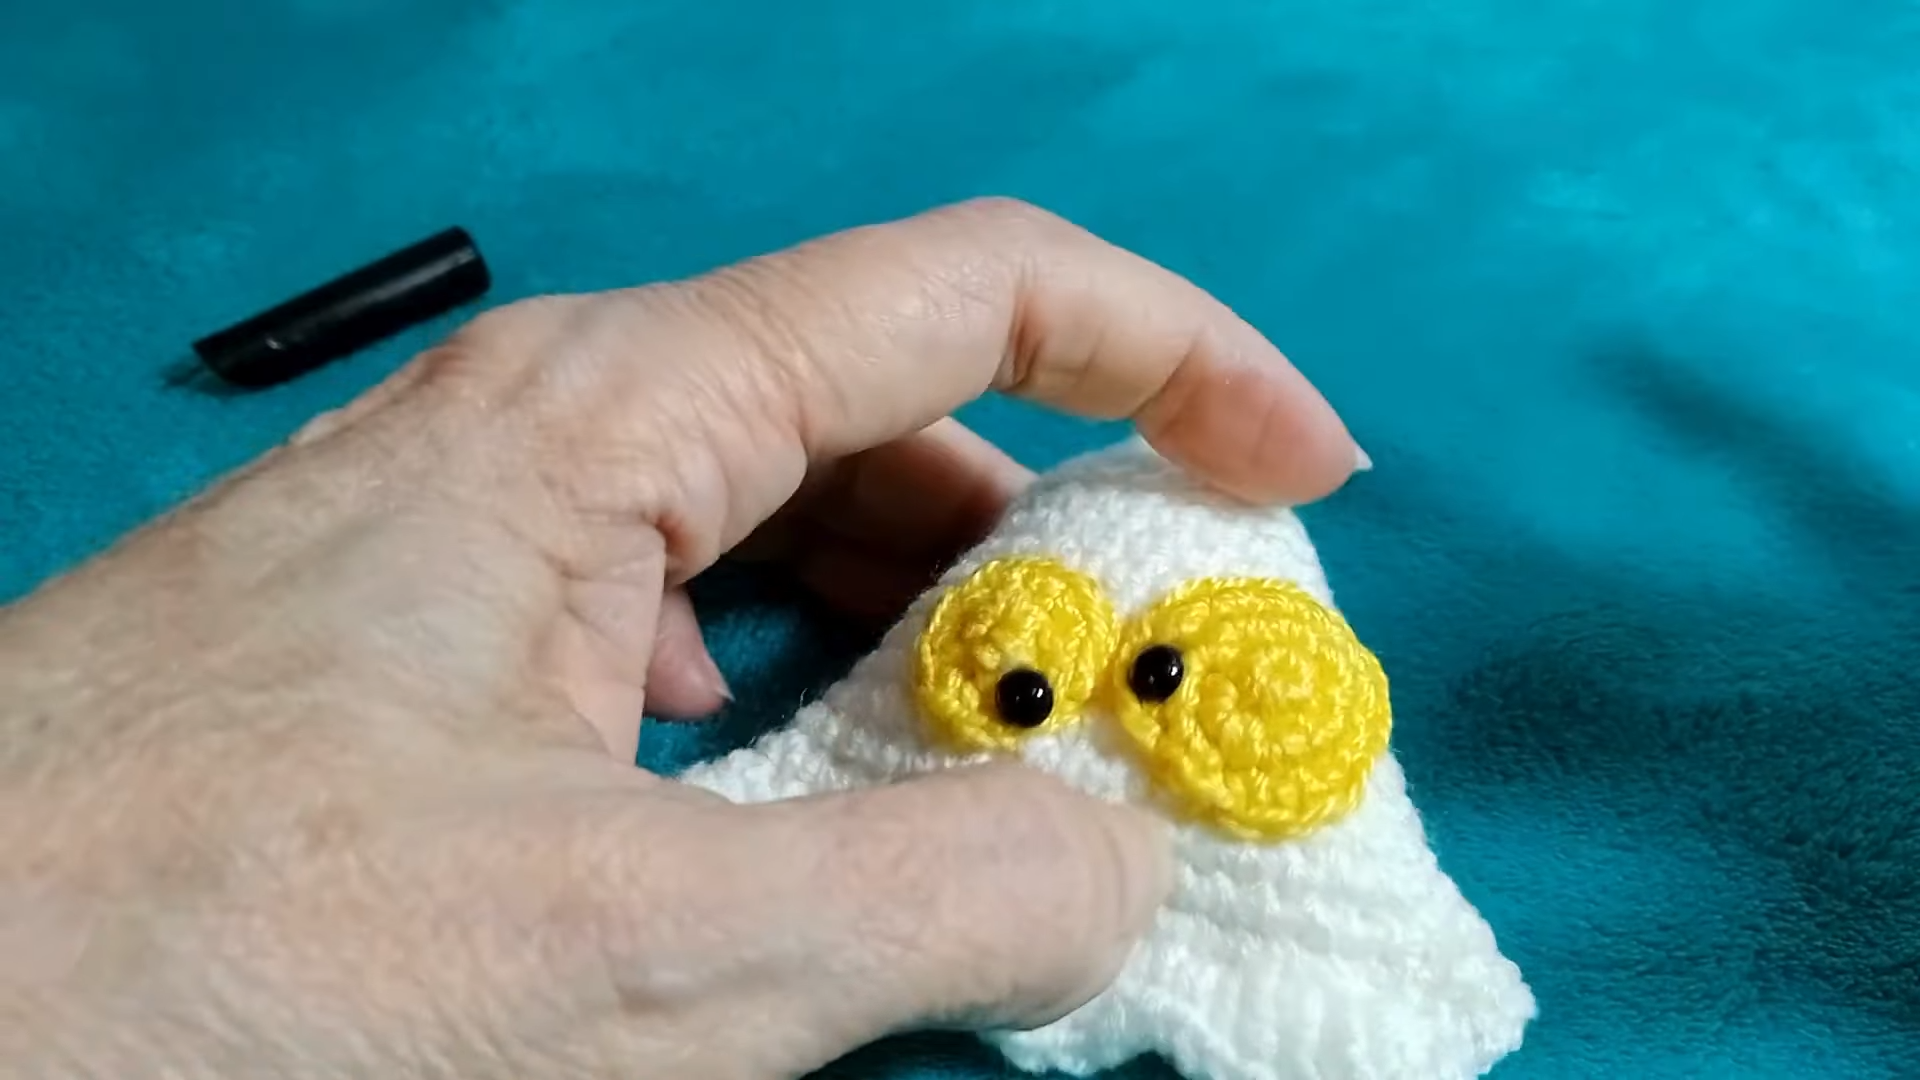
The eyes give your Crochet Christmas Tree Amigurumi its personality. For the smaller eye, start with a magic circle and 7 single crochets, then increase every second stitch until you have 10. For the larger eye, start with 7 single crochets and increase in every stitch until you have 13. Work one more round of 13. Use a black marker to outline the edges of the yellow circles. This creates a “cartoon” effect that makes the tree look “crazy” and fun. Sew them onto the fourth row from the bottom of your tree.
Step 4: Arms, Legs, and Smile
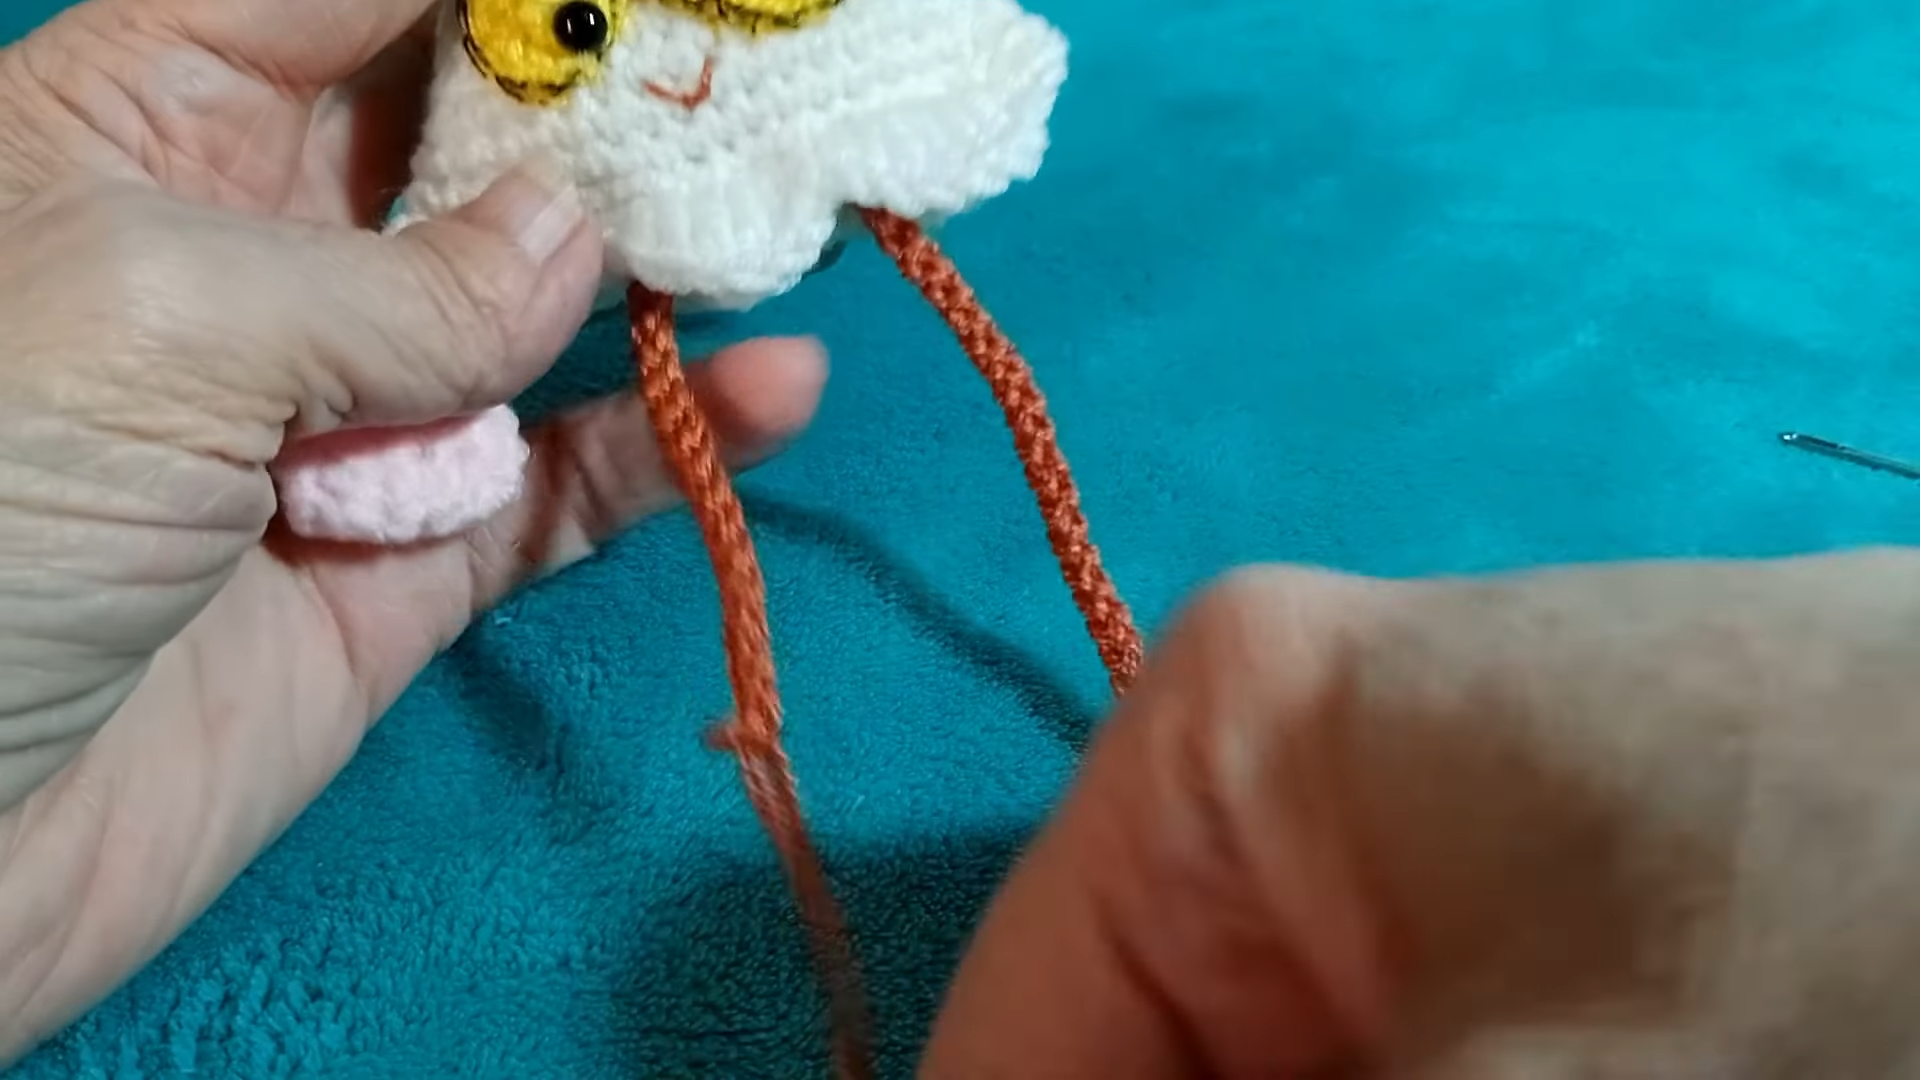
For the arms, use brown yarn to chain 15 and attach them to the mittens. For the legs, chain 50 and work slip stitches all the way back to create a sturdy cord. Thread these through the bottom of the tree body. Finally, use brown yarn to embroider a small “V” shaped smile between the eyes. This completes the face of your Crochet Christmas Tree Amigurumi.
Step 5: Final Decorations
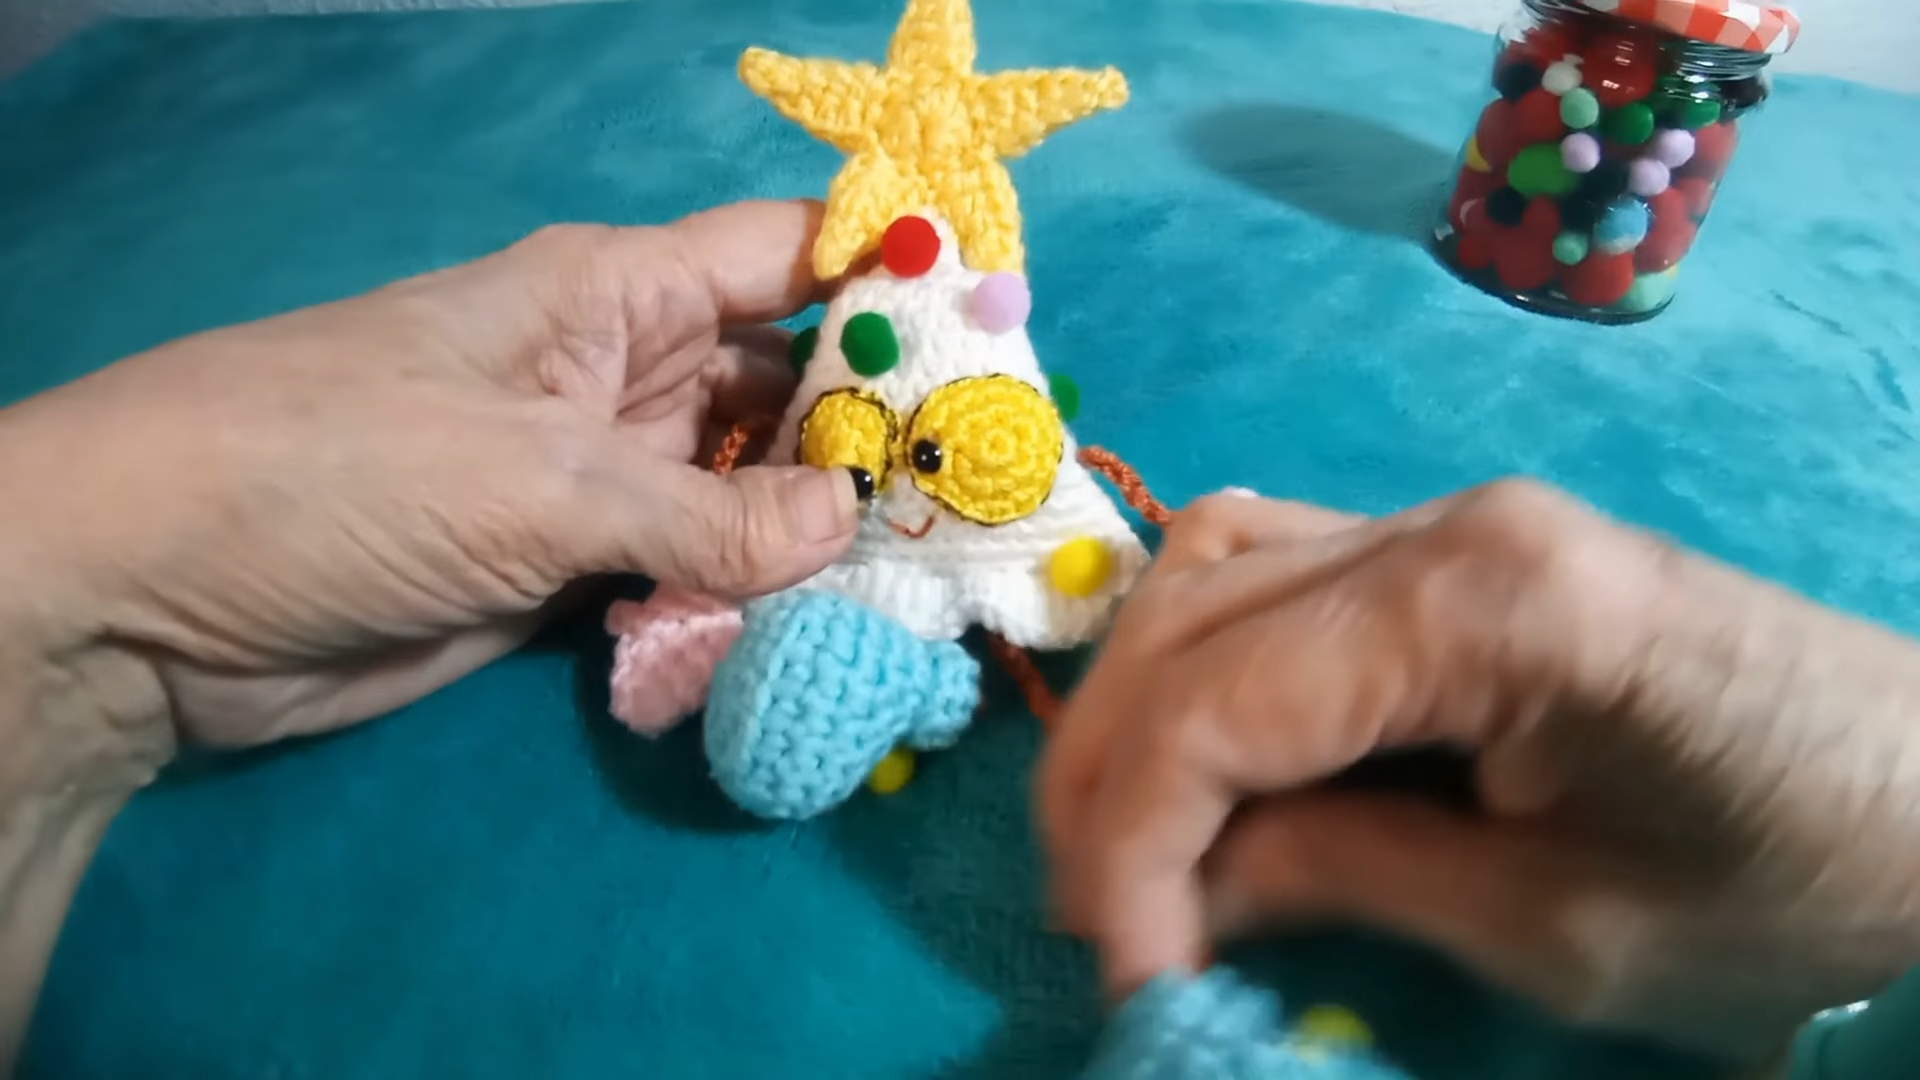
The last step is to add the “ornaments.” Take your small colorful balls and use silicone glue to place them randomly around the green body. Ensure the glue is dry before handling the tree. Now, your Crochet Christmas Tree Amigurumi is ready to be displayed!
Where Can We Use It?
You might be wondering where the best place is to display your new Crochet Christmas Tree Amigurumi. Because it is so lightweight and charming, it makes an excellent ornament for your actual large Christmas tree. Simply add a small loop of gold thread to the star. Additionally, you can use it as a desk companion at work to spread holiday cheer. It also works perfectly as a rearview mirror hanging for your car. Since the legs and arms dangle, it moves playfully whenever there is a breeze or movement. Moreover, many people love using these as “shelf sitters” where the legs can hang over the edge of a bookshelf or mantelpiece.
Tips and Tricks
To ensure your Crochet Christmas Tree Amigurumi looks its best, pay close attention to your tension. If your stitches are too loose, the stuffing will peek through. Conversely, if they are too tight, the tree might look stiff and uneven. Another great trick is to use a “clean join” when finishing the star points to avoid bulky knots. If you want a more “rustic” look, you can use wool yarn and then lightly brush it with a wire brush to give the tree a fuzzy texture. Furthermore, when gluing the decorations, use a toothpick to apply the glue. This prevents messy globs and keeps your Crochet Christmas Tree Amigurumi looking professional and clean.
Common Mistakes
One of the most common mistakes when making a Crochet Christmas Tree Amigurumi is losing track of the stitch count in the magic circle. If you start with 6 stitches instead of 7, the entire symmetry of the mittens or eyes will be off. Another error is sewing the eyes too high or too low. To avoid this, use pins to mark the placement of the eyes and mouth before you start sewing. This allows you to check the “expression” of the face first. Additionally, many crafters forget to leave enough yarn for sewing. As a result, they have to add new yarn mid-seam, which can create weak spots or visible knots.
FAQs
Q1: Can I use a different size hook for this project?
Yes, you can use a different hook, but keep in mind that it will change the size of your Crochet Christmas Tree Amigurumi. A larger hook will make a bigger, floppier tree, while a smaller hook will result in a tiny, tight ornament.
Q2: What is the best type of yarn for amigurumi?
Cotton or cotton blend yarns are usually the best choice. They provide great stitch definition and don’t stretch as much as acrylic, which helps your Crochet Christmas Tree Amigurumi keep its shape over time.
Q3: How do I wash my crochet tree?
If you used glue for the decorations, I recommend spot cleaning only with a damp cloth. However, if everything is sewn on, you can hand wash it in cold water and let it air dry completely.
Q4: Can I make the legs shorter?
Absolutely! The chain 50 for the legs is just a suggestion. You can adjust the length to suit your preference. Shorter legs might make the tree look cuter as a small keychain.
Q5: My star looks lopsided, how can I fix it?
This usually happens if the tension varies between the two pieces. When sewing them together, make sure you align the points perfectly. Blocking the star pieces with a little steam before sewing can also help flatten and shape them.
Conclusion
In conclusion, I hope this guide has inspired you to pick up your hook and start stitching. The Crochet Christmas Tree Amigurumi is a delightful project that combines basic techniques with clever assembly to produce a professional looking result. Whether you are an experienced crafter or someone looking for a new holiday hobby, this tree is a fantastic choice. Thank you for following along, and I look forward to seeing all the wonderful variations you create. Happy crocheting and may your holidays be filled with handmade happiness!