
The Magic of Handmade Crochet
There’s something deeply magical about taking a simple strand of yarn and turning it into something full of life and character. Crochet allows you to transform imagination into touchable art each stitch weaving a little piece of your creativity and patience. The joy of crafting something from scratch, feeling the texture of yarn glide through your fingers, and watching your work take shape is indescribably satisfying. Whether it’s a toy, a gift, or a keepsake, handmade crochet pieces carry warmth and meaning unlike anything store-bought.
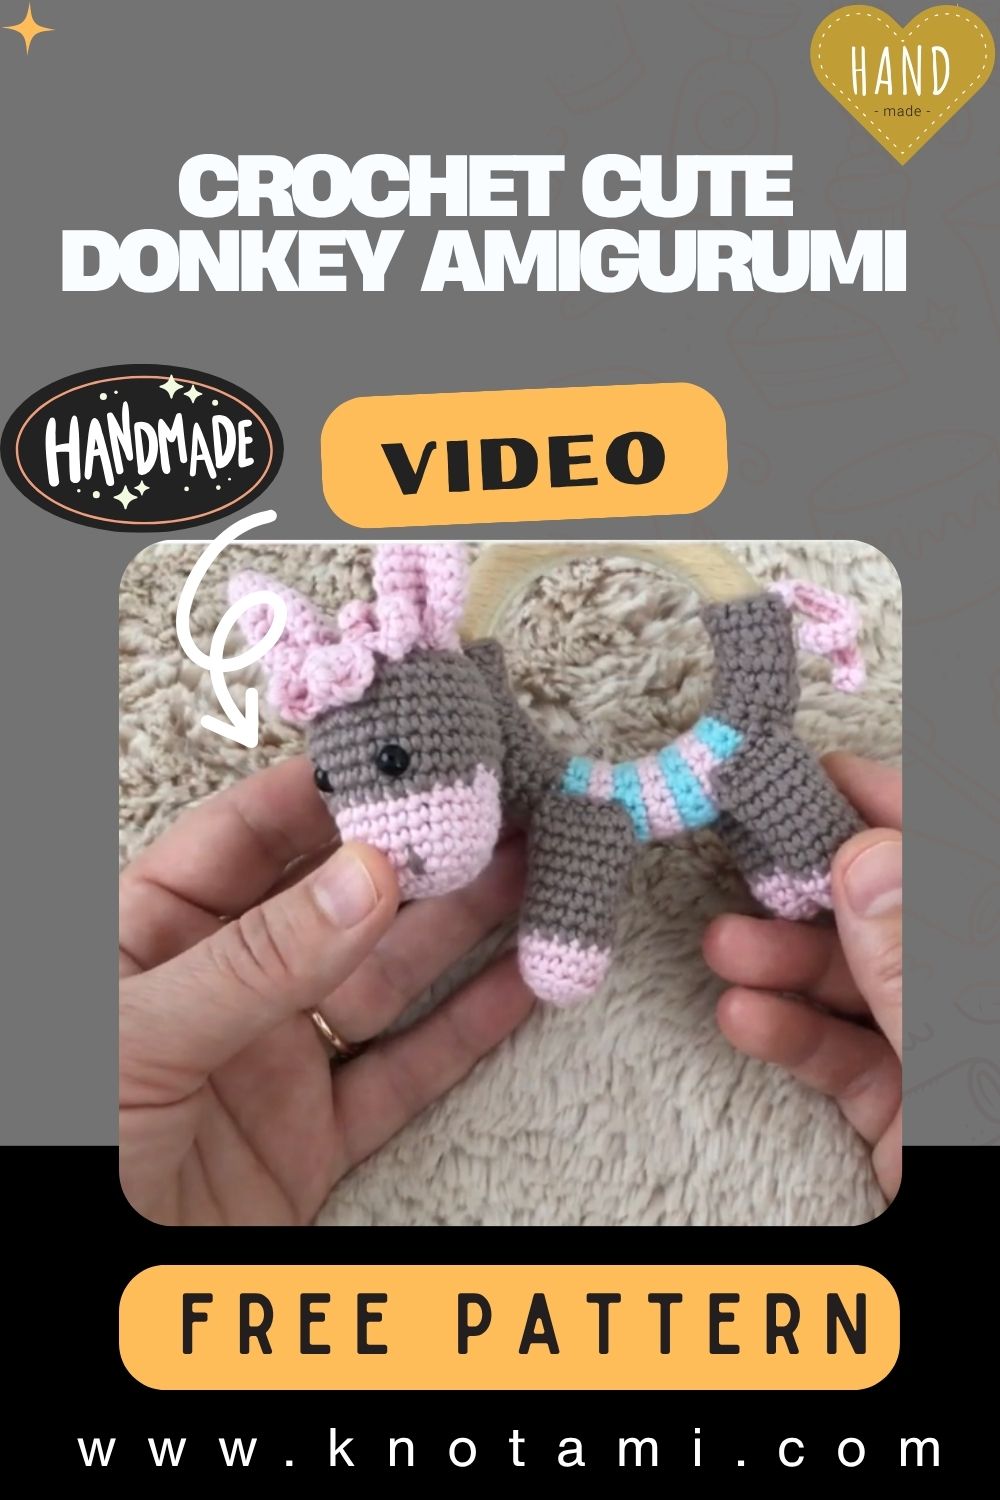
Meet the Crochet Cute Donkey Amigurumi
Today’s project the Crochet Cute Donkey Amigurumi is one of those irresistible creations that make you smile the moment you see it. With its floppy ears, gentle face, and little tail, this donkey is the definition of adorable. Its design blends simplicity and charm, making it not only cute but also beginner-friendly. It’s the perfect little companion for a child’s room, a desk ornament, or even a thoughtful handmade gift.
Great for All Skill Levels
What makes this amigurumi pattern so special is how accessible it is. Whether you’re a new crocheter just starting your journey or an experienced yarn artist looking for a fun, quick project, this pattern fits beautifully into your skill set. It teaches essential amigurumi techniques like shaping, attaching limbs, and adding character all while offering creative freedom to make your donkey truly unique.
The Calm Rhythm of Crocheting
Crocheting the donkey is not just about the finished toy it’s about the process. The rhythmic repetition of stitches becomes almost meditative, melting away stress and helping you focus. It’s a wonderful project for slow crafting weekends, cozy evenings, or mindful moments where you simply want to create something heartfelt. Plus, when you gift your finished donkey, you’re sharing that sense of calm and care through every handmade detail.

Materials & Tools
To bring your Cute Donkey Amigurumi to life, you’ll need the following materials:
-
Yarn:
-
Main color: Gray or light brown (for the donkey’s body)
-
Accent color: White (for muzzle and inner ears)
-
Details: Black (for mane, eyes, and hooves)
-
-
Yarn Type: Soft DK or worsted weight acrylic or cotton yarn (4-ply preferred)
-
Crochet Hook: 2.5 mm to 3.0 mm
-
Stuffing: Polyester fiberfill or cotton stuffing
-
Safety Eyes: 6mm or 8mm (or embroider eyes with black thread for baby-safe versions)
-
Tapestry Needle: For stitching and assembling pieces
-
Scissors: For cutting yarn neatly
-
Stitch Markers: To mark the beginning of each round
-
Pins: Optional, for positioning limbs before sewing
Choosing Yarn & Color
Choose soft yarn with a smooth texture to highlight your stitches clearly. Cotton gives structure and durability, while acrylic provides flexibility and a plush finish. For a playful look, use pastel shades; for a realistic donkey, stick with natural grays, browns, and beige. Adding a pop of color like a blue scarf or pink blush gives your donkey even more personality.
Step-by-Step Crochet Instructions
This section breaks down each part of the Crochet Donkey Amigurumi with beginner-friendly yet detailed steps.
1. Making the Head
-
Start with a magic ring using gray yarn.
-
Round 1: Work 6 single crochets (sc) into the ring.
-
Round 2: Increase in each stitch around (12 sts).
-
Round 3: 1 sc, inc repeat around (18 sts).
-
Round 4: 2 sc, inc repeat (24 sts).
-
Round 5–9: Work even (24 sts).
Now, switch to white yarn for the muzzle:
7. Round 10: 3 sc, inc repeat around (30 sts).
8. Round 11–13: Work even.
9. Round 14: 3 sc, dec repeat around (24 sts).
10. Add safety eyes between rounds 9 and 10, about 8 stitches apart.
11. Round 15: 2 sc, dec repeat (18 sts). Begin stuffing the head.
12. Round 16: 1 sc, dec repeat (12 sts).
13. Round 17: Decrease around and fasten off.
Expert Tip: Stuff the head gradually as you crochet to maintain smooth shaping. Avoid overfilling to prevent bulging.
2. Forming the Neck and Upper Body
-
Attach gray yarn to the bottom of the head.
-
Round 1: Work 12 sc evenly around the neck base.
-
Round 2: 1 sc, inc repeat (18 sts).
-
Round 3: 2 sc, inc repeat (24 sts).
-
Rounds 4–7: Work evenly to form the upper body.
Tip: Keep stitch tension consistent so the neck transitions smoothly into the body without visible gaps.
3. Building the Main Body
-
Continue working in rounds: 3 sc, inc (30 sts).
-
Rounds 8–13: Work even to create a round, soft belly.
-
Round 14: 3 sc, dec repeat (24 sts).
-
Round 15: 2 sc, dec repeat (18 sts).
-
Round 16: 1 sc, dec repeat (12 sts).
-
Round 17: Decrease around to close the body and fasten off.
Stuff the body firmly but evenly, shaping it into a gentle oval.
4. Making the Legs
Front Legs (Make 2):
-
Start with black yarn for hooves.
-
Round 1: Magic ring, 6 sc.
-
Round 2: Inc in each (12 sts).
-
Round 3–4: Work even.
-
Switch to gray yarn.
-
Rounds 5–10: 12 sc around.
-
Stuff lightly and fasten off, leaving a long tail for sewing.
Back Legs (Make 2):
Repeat the same steps, but make them slightly longer (add 2–3 extra rounds).
Tip: The color transition should be neat. Carry the yarn inside the leg for a clean look.
5. Crocheting the Ears
-
With gray yarn, chain 7.
-
Row 1: sc in 2nd ch from hook, hdc in next, dc in next 3, hdc in last, ch 1, turn.
-
Row 2: Work back down the chain with sc, hdc, dc, hdc, sc.
-
Fasten off and leave a long tail for sewing.
-
Fold the base slightly before attaching to the head to give a natural, curved ear shape.
6. Creating the Tail & Mane
Tail:
-
Chain 8 with gray yarn.
-
Add a small tuft of black yarn at the end and secure tightly.
-
Sew onto the back of the body.
Mane:
Cut several short pieces of black yarn.
Insert them along the top of the head and down the neck, tying knots to create a short, spiky mane. Trim to desired length.
7. Assembly & Final Touches
-
Position the head and body together, ensuring balance before sewing.
-
Attach legs using pins to align them evenly. Sew securely.
-
Attach ears slightly angled backward for a cute expression.
-
Add tail and mane, then weave in all ends.
-
Embroider nostrils and smile on the muzzle using black yarn.
-
Optionally, add blush using soft pink fabric paint or yarn for extra cuteness.
Expert Tip: When assembling, always sew with small, tight stitches. Use pins for precise placement before stitching permanently.
Customization Ideas
Let your creativity shine! Here are some fun ways to make your donkey unique:
-
Color Variations:
-
Classic gray donkey
-
Cream with brown accents
-
Pastel pink, mint, or blue for a whimsical look
-
-
Yarn Textures: Use fuzzy yarn for a plush look or smooth cotton for a sleek finish.
-
Accessories: Add a tiny scarf, hat, or flower crown for character.
-
Holiday Themes:
-
Red scarf for Christmas
-
Bunny ears for Easter
-
Rainbow stripes for Pride Month
-
-
Personalization: Embroider initials or add a tiny heart patch on the body.
Advanced Tips & Troubleshooting
-
Invisible Decreases: Use front-loop-only decreases for a clean, smooth surface.
-
Even Stitch Tension: Relax your hands; tight stitches can distort shaping.
-
Round Tracking: Use stitch markers to avoid losing count.
-
Seamless Joins: Overlap stitches when sewing parts for a natural transition.
-
Proper Stuffing: Fill evenly; lumps cause uneven shapes.
-
Loose Stitches Fix: Insert smaller hook size or adjust tension.
-
Pattern Reading: Familiarize with abbreviations sc, inc, dec, sl st, ch, etc.
-
Eye Placement: Use safety eyes before stuffing; reposition if needed.
-
Twist Prevention: Keep rounds aligned by marking your first stitch.
-
Finishing: Hide ends deep inside the toy with a tapestry needle.
Care Instructions
To keep your donkey plush looking adorable for years:
-
Hand Wash Only: Use mild detergent in cool water.
-
Avoid Soaking: Gentle squeeze instead of wringing.
-
Air Dry Flat: Prevent stretching or deformation.
-
Keep Away from Sunlight: Preserve yarn color.
-
Storage Tip: Store in a clean, dry space, preferably wrapped in fabric or displayed safely.
If gifting, add a small tag with care instructions to help the recipient cherish it longer.
Display & Gift Ideas
Your Crochet Donkey Amigurumi is as versatile as it is cute! Here are some creative ways to display or gift it:
-
Home Décor: Place it on shelves or in nurseries as a heartwarming handmade accent.
-
Children’s Toy: Soft and safe for play (use embroidered eyes for safety).
-
Desk Companion: Perfect for adding personality to your workspace.
-
Holiday Ornament: Attach a ribbon loop to hang it on a Christmas tree.
-
Gift Idea: Pair with a handmade card or crochet blanket for a memorable present.
Benefits of Making a Crochet Donkey Amigurumi
Crocheting this donkey isn’t just fun it’s also incredibly rewarding:
-
Mindfulness & Relaxation: The rhythm of stitches soothes your mind.
-
Stress Relief: Creative focus reduces anxiety and promotes calm.
-
Sense of Accomplishment: Watching your toy come to life is deeply satisfying.
-
Eco-Friendly Crafting: Handmade gifts reduce waste and promote sustainability.
-
Emotional Connection: A handmade donkey holds more sentiment than any store-bought plush.
Each stitch carries intention a reflection of love, patience, and the beauty of slow living.
Photography & Social Media Tips
Make your donkey shine online! Here’s how to capture it beautifully:
-
Natural Lighting: Soft morning or evening light brings out texture.
-
Props: Add yarn balls, crochet hooks, or wooden baskets.
-
Background: Neutral tones make the donkey stand out.
-
Angles: Capture front, side, and top views.
-
Close-Ups: Highlight facial details and stitching texture.
-
Lifestyle Shots: Place your donkey next to a cup of tea, books, or plants.
Conclusion
Crafting a Cute Donkey Amigurumi Toy is a heartwarming journey from yarn to joy. With just a hook, some yarn, and a bit of creativity, you can bring this lovable creature to life full of personality, charm, and softness.
Every stitch tells a story: of patience, creativity, and love poured into something truly handmade. Whether it becomes a keepsake, a thoughtful gift, or part of your crochet collection, your donkey will carry warmth and happiness wherever it goes.
So grab your yarn, settle into your favorite crafting spot, and let your imagination gallop freely because this Crochet Cute Donkey Amigurumi is waiting to be brought to life by your hands.