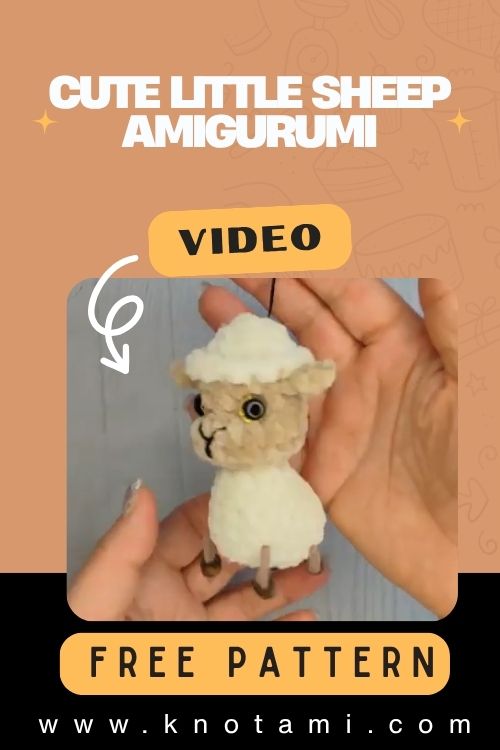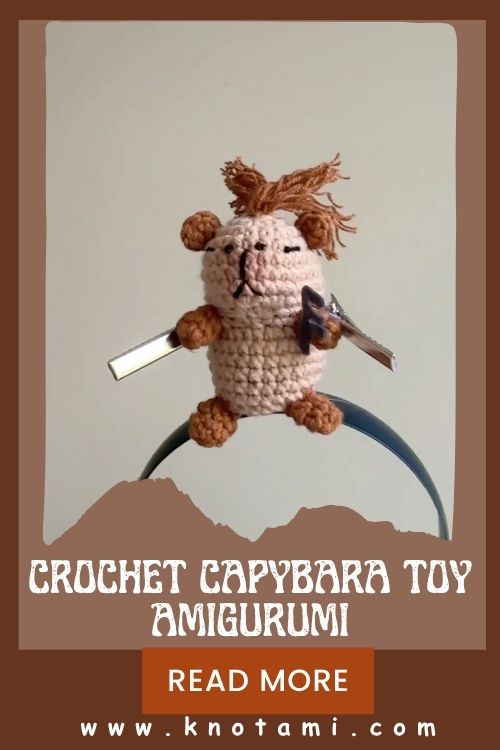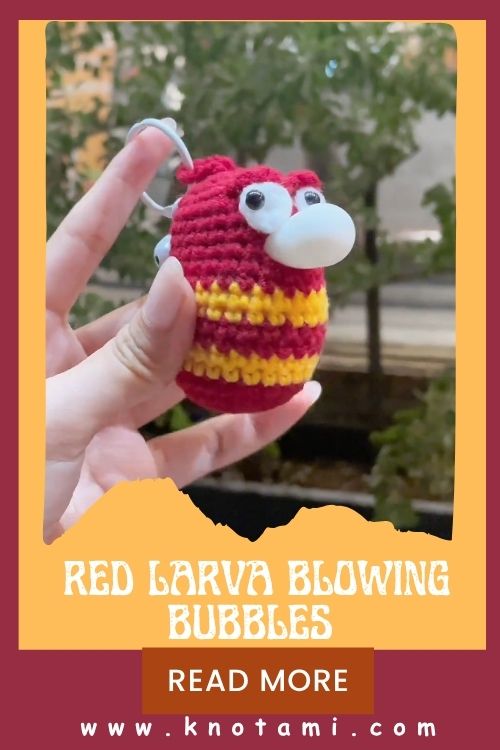
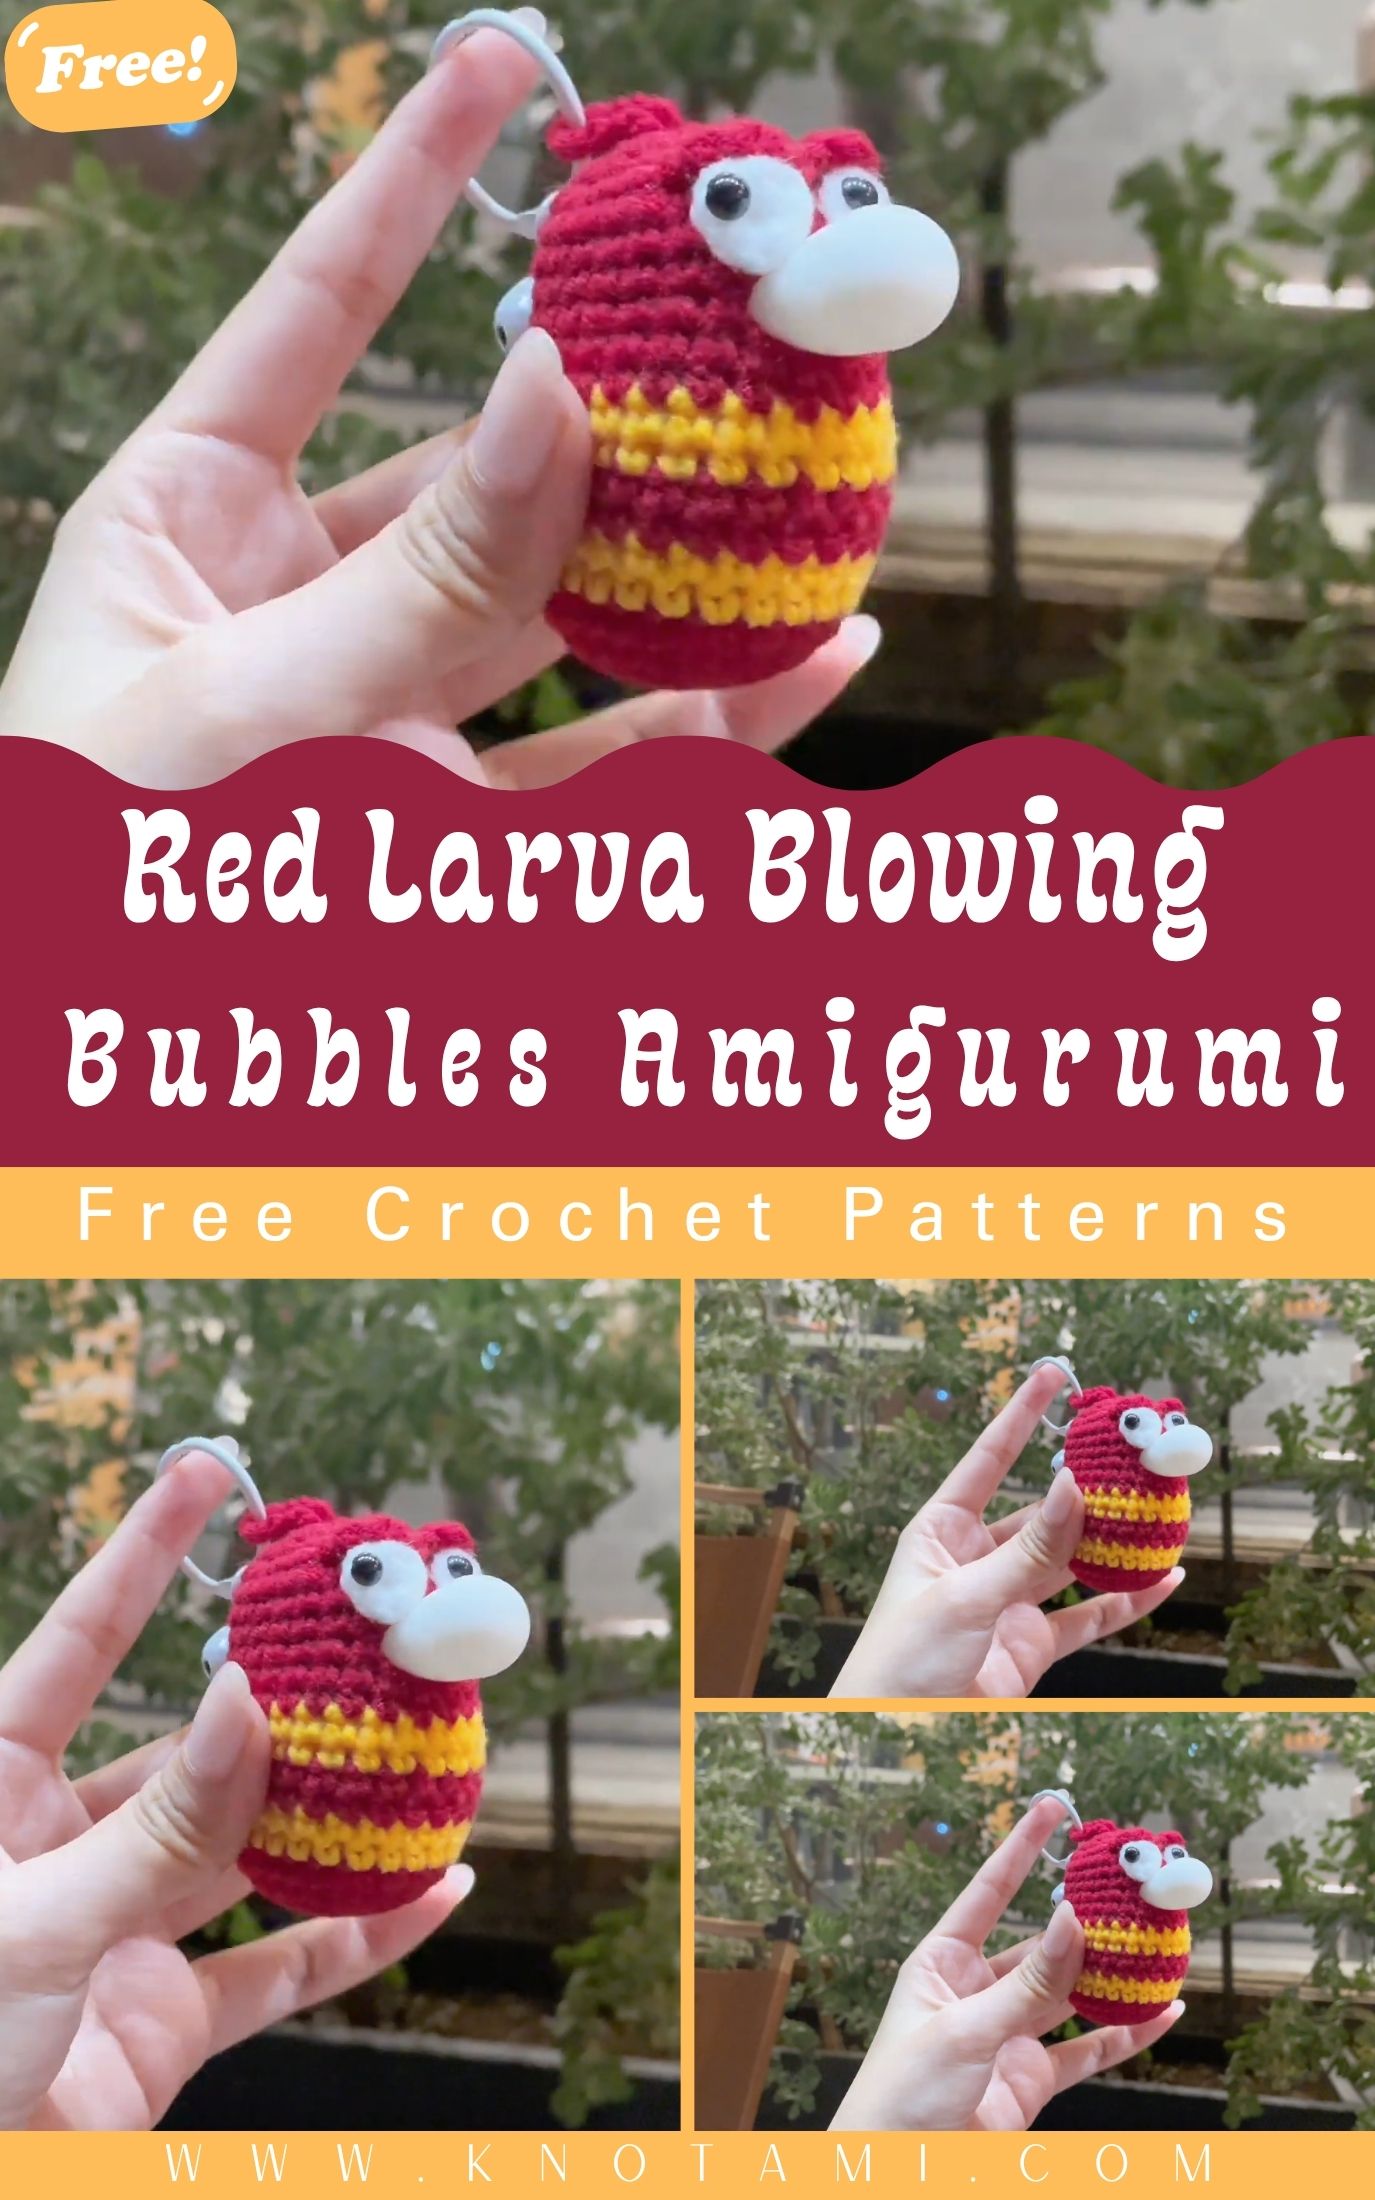
DIY Crochet Red Larva Blowing Bubbles | Cute & Creative Amigurumi Idea
If you’re a fan of fun quirky and totally adorable amigurumi designs you’re going to love this DIY Crochet Red Larva Blowing Bubbles project! Inspired by the famous Red character from the Larva animation series, this cute crochet plush perfectly captures his silly personality and the playful detail of him blowing bubbles makes it even more charming. It’s one of those projects that will make you smile every time you see it!
Crochet Red Larva Blowing Bubbles patterns have quickly become favorites among crafters because they combine creativity, humor, and vibrant color. Whether you’re a beginner exploring amigurumi for the first time or an experienced crocheter looking for something joyful to make this project is just the right mix of simple and fun. The red yarn pops beautifully and those little bubble details bring the whole design to life.
Crochet enthusiasts and handmade gift lovers adore these red larva amigurumi crochet red larva blowing bubbles creations because they’re unique conversation starters. They’re small enough to fit in your hand yet full of personality and color. You can even turn your finished larva into a keychain, a backpack charm, or a cute gift for a friend who loves quirky collectibles.
More than just a crochet toy, this DIY amigurumi red larva keychain project represents the joy of creating something with your own hands. Each stitch adds character, and by the end, you’ll have a miniature plush that’s as fun to make as it is to display. So, grab your yarn and hook it’s time to crochet laugh and let your creativity bubble up!
Materials & Tools
Before starting your Crochet Red Larva Blowing Bubbles gather these simple materials:
-
Yarn: Medium-weight (worsted) acrylic yarn in bright red yellow white, and black. Acrylic is beginner-friendly and holds shape well.
-
Crochet Hook: A 3.0 mm to 3.5 mm hook works best for tight stitches that keep stuffing inside.
-
Fiberfill Stuffing: To give your larva a soft and squeezable body. Use small amounts to keep it firm but flexible.
-
Stitch Markers: Essential for keeping track of rounds in amigurumi, especially if you’re a beginner.
-
Yarn Needle & Scissors: For sewing parts together and weaving in ends neatly.
-
Optional Accessories: Add safety eyes a keychain ring, or even a tiny bubble charm to complete the look!
Tip: Always choose a yarn color that matches your vision. Red and yellow are classic for the Larva character but you can experiment with pink, orange, or even sparkly yarn for a creative twist.
Step-by-Step Instructions
Let’s bring your little Red Larva Blowing Bubbles to life! These easy steps are perfect for all skill levels.
-
Start with a Magic Ring:
Begin by making a magic ring with six single crochets (sc). This forms the base of your larva’s body. -
Increase for the Head:
Work in continuous rounds, increasing gradually until you have a round head shape. You can use 2 sc in each stitch to expand evenly. -
Shape the Body:
Once the head is formed, continue crocheting without increasing for a few rounds to form the upper body. Then slightly decrease to create that cute tapered tail. -
Add the Mouth & Bubbles:
Use white yarn to crochet a small puff for the bubble. Attach it near the mouth area. You can also use a small pearl bead or clear plastic ball for a realistic “bubble” effect. -
Make the Eyes & Stripes:
Crochet or embroider two large round eyes using white yarn and small black pupils. Use yellow yarn to add stripes to the body for contrast. -
Stuff & Close:
Gently stuff your larva with fiberfill and use invisible stitches to close the opening securely. -
Finishing Touches:
Sew on the eyes add a tiny smile and attach a keychain ring if you want to make it portable.
Remember: Don’t worry about perfection the charm of handmade amigurumi lies in the personality each one has!
Special Features & Pro Tips
What makes this Crochet Red Larva Blowing Bubbles pattern stand out? It’s all in the details!
-
Beginner-Friendly: The pattern uses simple stitches like single crochet increase and decrease perfect for new crocheters.
-
Fast Project: You can finish it in just one or two evenings, making it a satisfying weekend craft.
-
Bubble Detail: The blowing bubble feature adds a unique and playful touch rarely seen in other amigurumi.
-
No-Sew Simplicity: Many versions of this pattern use seamless construction meaning fewer pieces to join later.
-
Customization Ideas: Try making both Red and Yellow from the Larva series for a fun duo! You can also add facial expressions or little accessories like a hat or mini bubbles.
Pro Tip: Use stitch markers for each round, and stuff your plush lightly to avoid distorting the shape. If your yarn splits, hold your hook slightly differently to maintain consistent tension.
Uses & Creative Ideas
Your finished Crochet Red Larva Blowing Bubbles is more than just a cute plush it’s a bundle of creative possibilities!
-
Adorable Gift Idea: Perfect for birthdays, handmade swaps or as a thoughtful just because present for crochet fans or kids.
-
Decor Piece: Place it on your craft shelf, workspace or near your plants for a cheerful pop of color.
-
Keychain or Bag Charm: Add a ring and carry it wherever you go!
-
Plushie Collection: Pair it with other mini amigurumi for a fun display.
-
Seasonal Variations: Use pinks for Valentine’s Day, green for springtime, or glitter yarn for festive holiday versions.
Each variation reflects your personality that’s the beauty of crochet art!
Conclusion
Crocheting your own Red Larva Blowing Bubbles Amigurumi is a joyful, rewarding experience that brings laughter and creativity into your day. Whether you’re crafting it for yourself or gifting it to someone special, this project captures the spirit of handmade happiness.
So, grab your yarn and hook settle into your favorite spot, and let your imagination take flight one bubble at a time. With every stitch you’re not just making a plush toy; you’re creating a little piece of joy that’s all your own.
Happy crocheting and keep those creative bubbles flowing!