
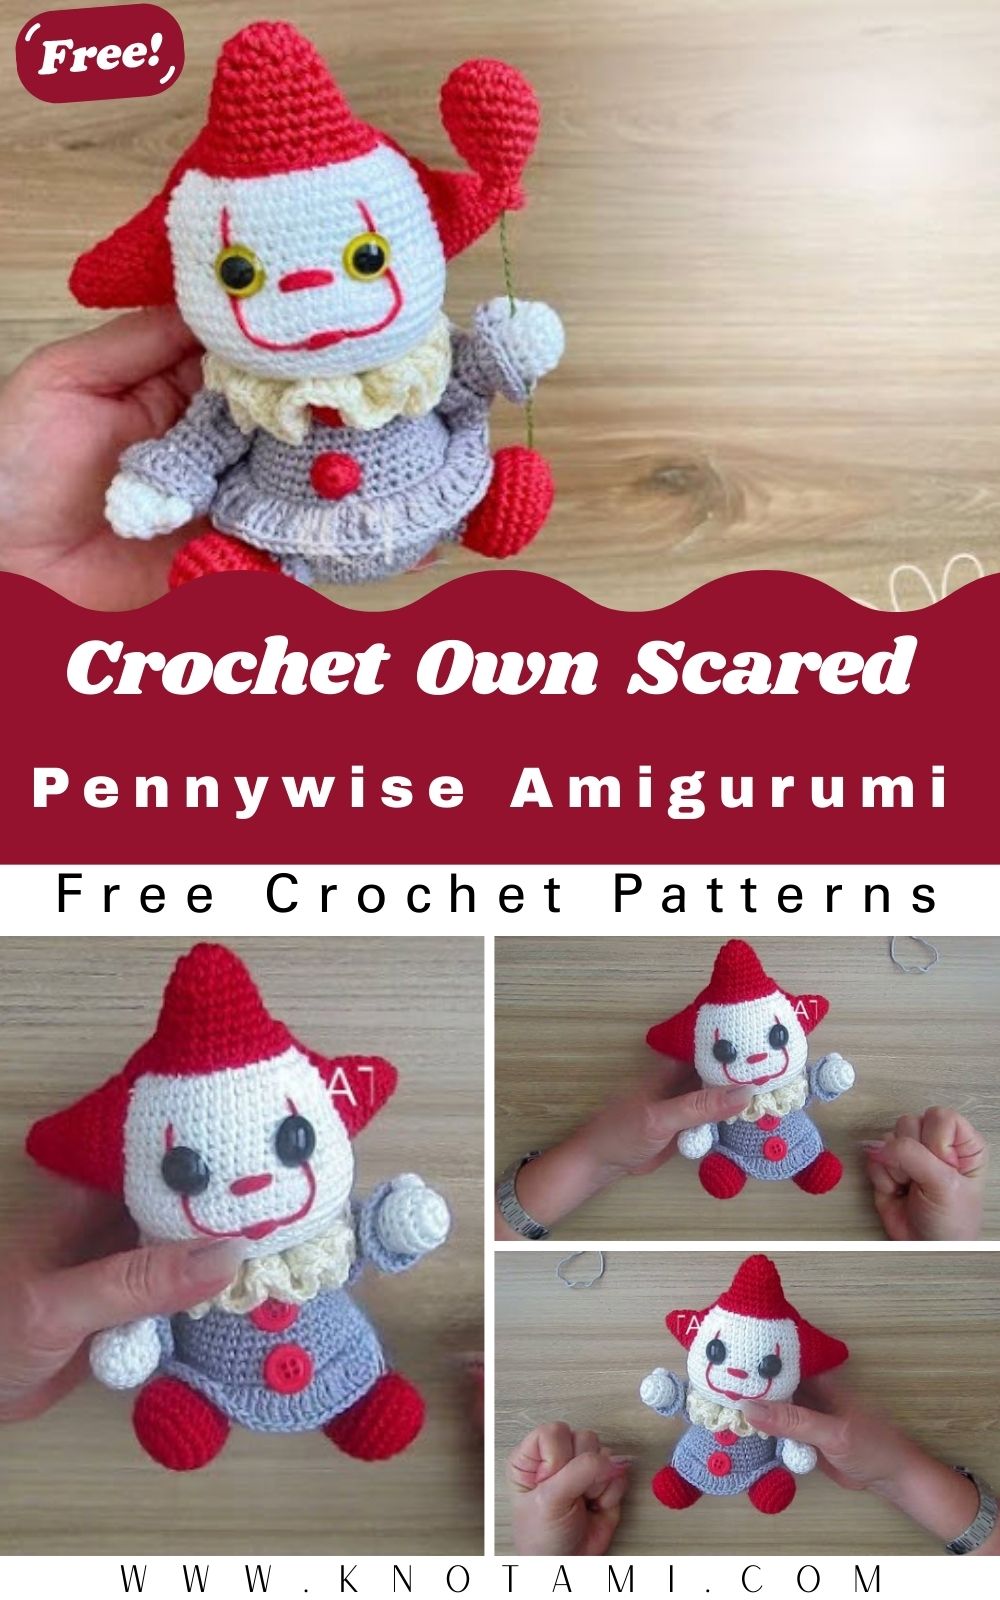
Welcome to your next creative challenge! If you love the thrill of horror movies and the cozy art of crochet, you are in the right place. Today, you will learn how to make a Scary Pennywise Inspired Amigurumi that is both terrifying and adorable. This project is perfect for those who want to add a spooky touch to their home or create a unique gift for a horror fan. Although this character is known for haunting dreams, this little yarn version is surely a masterpiece of “cute-monstrous” design that you will love to display on your shelf.
Creating this Scary Pennywise Inspired Amigurumi allows you to practice several techniques, from shaping a classic head to adding detailed facial embroidery. Because we are using specific colour choices, such as light grey and deep red, you can achieve that “dirty vintage clown” look perfectly. Furthermore, this pattern is designed to be accessible, so even if you are still gaining confidence in your skills, you can follow along easily. Consequently, by the end of this guide, you will have a finished piece that looks professionally made and ready for any Halloween celebration.
If you prefer seeing the movements in real-time, please check out the video embedded above. This video is a fantastic resource to help you visualize the stitches and the assembly process. While the written pattern gives you all the technical details, the video provides a clear look at how the ruffles and hair are shaped. Therefore, I highly recommend keeping the video open as you work through the steps below to ensure your Scary Pennywise Inspired Amigurumi turns out exactly as you imagine.
Skill Level: Intermediate
This project is rated as intermediate. While the basic shapes are simple, the detailed facial work and the specific ruffles on the neck and sleeves require a bit more focus. However, if you are a determined beginner, you can definitely succeed by taking your time.
Tutor’s Suggestions for Success
Before you start your Scary Pennywise Inspired Amigurumi, I have a few tips for you. First, pay close attention to your tension. In amigurumi, you want your stitches to be tight so the stuffing does not show through. Second, do not be afraid to customize the colors. While the movie character has a white suit, I suggest using a very light gray. This is because the character’s face is already white, and using gray for the clothes provides a better contrast. Additionally, it gives the doll that “sewer-stained” look without needing extra paint. Lastly, make sure you have a good quality stuffing to keep the head firm and well-shaped.
Materials Needed for Your Amigurumi Clown
To begin your Scary Pennywise Inspired Amigurumi, you will need to gather the following supplies:
-
Yarn: Light gray (for the body), White (for the head and hands), Red (for the hair and details), and a bit of Cream or Off-white (for the collar).
-
Crochet Hook: A 2.5mm or 3.0mm hook, depending on your yarn weight.
-
Safety Eyes: Size 13mm or 15mm. You can use yellow “cat eyes” or classic black.
-
Stuffing: High-quality polyester fiberfill.
-
Tapestry Needle: For sewing parts together and embroidering the face.
-
Fabric Glue: Useful for securing the red “makeup” lines.
-
Stitch Markers: To keep track of your rounds.
Step-by-Step Guide to the Scary Pennywise Inspired Amigurumi
Phase 1: The Body and Ruffles
You will start your Scary Pennywise Inspired Amigurumi from the bottom of the body. Using the light gray yarn, create a magic ring with 6 stitches. Follow a standard increase pattern until you reach 48 stitches. Work five rounds even. In the next round, you will decrease to 42 stitches, but specifically work in the back loops only for one row. This creates a ridge where you will later attach the shirt ruffle.
To make the neck ruffle, attach your cream yarn to those front loops you left earlier. Work two double treble crochet stitches in every stitch around. This creates a very wavy, dramatic collar that is iconic for this character. Because the ruffle is so full, it hides the neck seam perfectly.
Phase 2: The Legs and Arms
For the legs, start with red yarn for the shoes. Create a magic ring and increase to 24 stitches. After three rounds, perform several decreases at the front to shape the foot. Switch to the light gray yarn to continue the leg. Repeat this for the second leg.
The arms of your Scary Pennywise Inspired Amigurumi are very detailed. Start with white for the hands. When you switch to gray, work a round of triple increases in the front loops only to create “puffy” sleeves. This gives the clown a vintage look. Afterward, decrease back down to finish the arm. This technique ensures the sleeves look voluminous without being heavy.
Phase 3: The Head and Sinister Face
The head follows a standard sphere pattern using white yarn. However, the placement of the eyes is crucial. Insert your safety eyes between rounds 13 and 14. If you want a more “sunken” look, use a strand of yarn to pull the eye sockets inward before you finish stuffing.
For the makeup, take your red yarn and a needle. Create the “bloody” lines that run from the corners of the mouth, through the eyes, and up to the forehead. Use a tiny bit of fabric glue to keep these lines in place so they stay curved. This is the most important part of making your doll a truly Scary Pennywise Inspired Amigurumi.
Phase 4: The Hair
Finally, the hair is made in three separate pieces. One large piece covers the back, and two smaller, pointed pieces sit on the sides and top. Use a vibrant red or orange yarn. When you sew the hair on, position the side pieces so they look slightly messy and wild. This adds to the “unhinged” personality of the clown.
Where Can You Use This Amigurumi?
Your finished Scary Pennywise Inspired Amigurumi is incredibly versatile. It makes for an amazing center-piece on a Halloween-themed table. You can also place it on a bookshelf next to your favorite horror novels. Since it is handmade, it serves as a wonderful conversation starter. Furthermore, if you have friends who love spooky culture, this doll is a perfect birthday or holiday gift. It is small enough to be portable but detailed enough to be a work of art.
Tips and Tricks for a Professional Finish
To make your Scary Pennywise Inspired Amigurumi look even better, try these tricks. When you are changing colors, always use the “invisible color change” method to avoid jagged lines. For the stuffing, use small clumps at a time to avoid lumps. If you want the clown to look extra creepy, you can use a little bit of black eyeshadow or a pastel pencil to add “shadows” around the eyes and in the folds of the clothes. This adds a 3D effect that makes the doll pop.
Common Mistakes to Avoid
One common mistake is stuffing the “puffy” parts of the sleeves. You should leave the sleeve ruffles empty so they stay flat and drape naturally. Another mistake is placing the eyes too far apart. If the eyes are too wide, the clown looks less scary and more confused. Always count your stitches between the eyes twice before securing the backings. Lastly, do not pull your embroidery threads too tight, or you might pucker the face of your Scary Pennywise Inspired Amigurumi.
Frequently Asked Questions
1. Can I use a different yarn weight for this pattern?
Yes, you can use any yarn you like. However, remember that using a thicker yarn will make the doll much larger, and you will need to increase your hook size accordingly.
2. How do I make the eyes look more glowing?
If you cannot find yellow safety eyes, you can use clear ones and paint the back with yellow nail polish. This gives them a deep, glowing effect perfect for a Scary Pennywise Inspired Amigurumi.
3. Is the hair difficult to attach?
Not at all. Since the hair is made of three separate pieces, you can pin them in place first to see how they look before you start sewing. This allows you to get the perfect “crazy hair” look.
4. How long does it take to finish this project?
For an intermediate crocheter, this doll usually takes about 6 to 8 hours to complete, including the assembly and embroidery.
5. Can I wash this amigurumi?
Because of the glued facial details, I recommend surface washing only with a damp cloth. Putting it in a washing machine might ruin the delicate red lines on the face.
Final Thoughts on Your Spooky Creation
In conclusion, making a Scary Pennywise Inspired Amigurumi is a rewarding project that combines technical skill with artistic flair. By following this guide, you have created something truly unique. Whether you keep him to guard your room or give him away to a fellow horror lover, you should be proud of the work you have done. Remember, the beauty of amigurumi is in the details, so take your time and enjoy the process of bringing this legendary character to life with just a hook and some yarn!