
There’s an unspoken magic in turning yarn into something that feels alive soft, cheerful, and full of personality. Each loop of your hook brings a spark of imagination into reality, transforming a simple ball of yarn into something tangible and deeply comforting. Crochet is more than a craft; it’s a slow, beautiful rhythm that connects your hands to your heart, reminding you that small creations can hold immense joy.
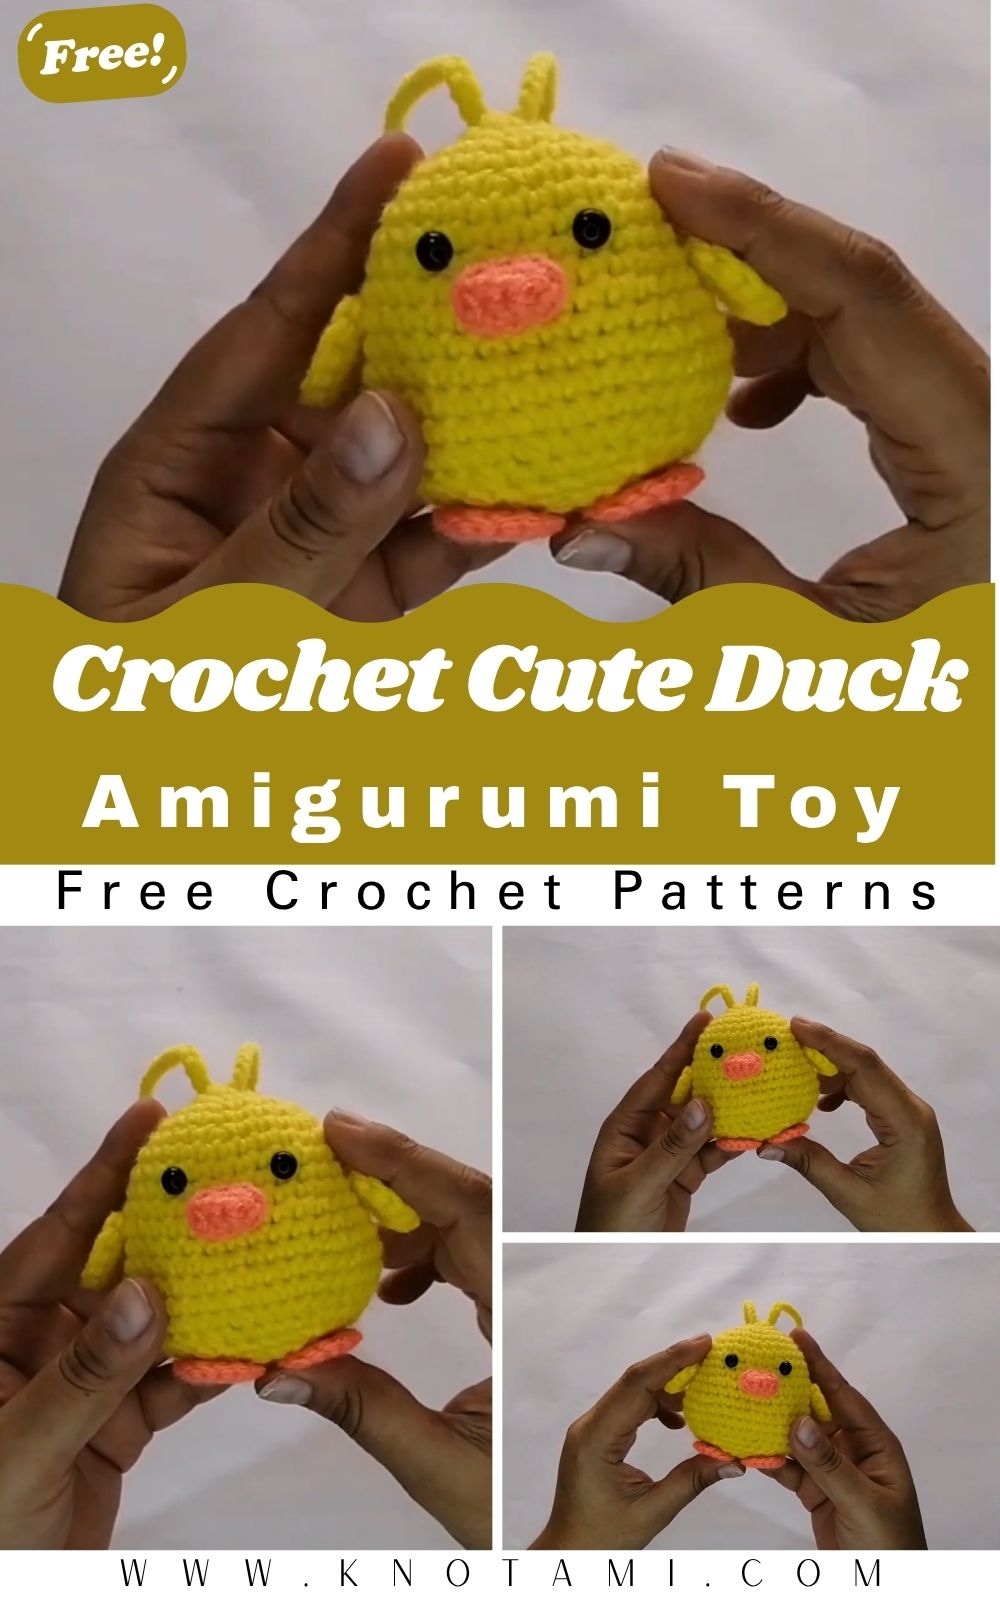
Today’s project the Mini Crochet Cute Duck Amigurumi captures that feeling perfectly. With its round body, tiny beak, and sweet little wings, this duck embodies handmade charm in its purest form. It’s the kind of crochet project that instantly brightens a room or a friend’s day. Whether you place it on a shelf, hang it from a bag, or gift it to someone special, this tiny duck carries warmth and character in every stitch.
This project is a dream for both beginners and experienced crocheters alike. The pattern is simple enough to learn shaping and assembly techniques, yet versatile enough for creative exploration. You’ll enjoy working in small rounds, adding details like the beak and wings, and watching your duck’s personality emerge with each step.
Beyond the technical side, there’s a meditative joy in making something by hand the repetitive motion, the texture of yarn sliding through your fingers, and that serene sense of progress. The Mini Crochet Cute Duck is not just a plush toy; it’s a reminder of patience, mindfulness, and the delight of creating something that makes people smile. Perfect for slow crafting sessions, heartfelt gifts, or tiny treasures that spread handmade happiness.
Materials & Tools
Before diving into your adorable duck, let’s gather everything you’ll need. Having the right materials ensures a smooth, enjoyable crochet experience and helps your finished toy look professional.
Essential Supplies
-
Yarn: DK or light worsted weight yarn in yellow (for the body), orange (for the beak and feet), and black or brown (for embroidered eyes or details). Cotton yarn works best for shape retention.
-
Hook: 2.5 mm–3.0 mm crochet hook (use a smaller hook to achieve tight stitches that prevent stuffing from showing).
-
Stuffing: Soft polyester fiberfill for shaping the head and body.
-
Safety eyes: 6 mm plastic safety eyes (optional; embroider eyes for children under 3).
-
Tapestry needle: For sewing parts together and weaving in yarn tails neatly.
-
Scissors: A sharp pair for trimming ends.
-
Stitch markers: To mark the beginning of each round and maintain even rounds.
-
Optional: Keychain ring or string for hanging the duck as a charm.
Yarn Tips & Color Advice
The traditional duck is soft yellow with an orange beak and feet, but you can let your imagination soar:
-
Use pastels for baby gifts (mint, pink, baby blue).
-
Try bold or gradient yarns for a playful, rainbow duck.
-
For a rustic look, go with cream, mustard, or off-white tones.
Cotton yarn gives your duck a crisp, structured look. Acrylic yarns make it fluffier and more huggable. Avoid thick or fuzzy yarns for this mini size, as they obscure the stitches and details.
Step-by-Step Crochet Instructions
Now comes the fun part bringing your tiny duck to life! Follow these steps carefully and enjoy the rhythm of your stitches.
Making the Head
-
Start with a magic ring and work 6 single crochets (sc) into it.
-
Round 2: Work 2 sc in each stitch (12 sts).
-
Round 3: (1 sc, inc) repeat around (18 sts).
-
Round 4: (2 sc, inc) repeat around (24 sts).
-
Work 2–3 rounds evenly with 1 sc in each stitch to form a round head.
-
Place safety eyes between rounds 3–4, spaced evenly apart.
-
Lightly stuff the head as you go firm enough to hold shape but still squeezable.
Tip: To keep the head perfectly round, rotate your work occasionally and adjust stuffing gently with your fingers.
Forming the Neck and Upper Body
-
Continue crocheting 1 sc in each stitch for the next 3 rounds.
-
Slightly decrease a few stitches at the bottom to shape the neck.
-
Add stuffing gradually as you go to maintain even firmness.
Tip: To avoid a floppy neck, make sure the stuffing reaches slightly into the head and upper body.
Building the Main Body
-
Round 1: (3 sc, inc) repeat around to expand the shape (30 sts).
-
Crochet 4–5 rounds evenly to give volume to the body.
-
Round 6: Begin decreasing gradually (3 sc, dec) repeat around.
-
Continue decreasing every few rounds until the base can be closed.
-
Finish with a slip stitch and fasten off, leaving a long tail for sewing.
Tip: Massage the shape gently to distribute stuffing evenly and achieve a plump, rounded duck body.
Shaping and Attaching the Base
-
You can leave the bottom slightly flat so the duck sits upright.
-
To flatten, pinch gently and add a few sewing stitches across the bottom.
-
Use a tapestry needle to weave in any visible yarn ends neatly.
Tip: If your duck leans forward, adjust stuffing or sew a few anchor stitches between head and body for better balance.
Creating the Beak
-
With orange yarn, chain 4 stitches.
-
Starting in the second chain from hook, work 1 sc in each stitch (3 sts).
-
Turn and work another row.
-
Fasten off, leaving a long tail.
-
Sew it centered between the eyes using small, neat stitches.
Optional: For a smiling duck, curve the beak slightly upward while attaching.
Adding the Wings
-
With yellow yarn, make a magic ring and crochet 6 sc into it.
-
Pull tight, slip stitch to close, and leave a tail.
-
Flatten the small circle slightly and sew one on each side of the body.
Tip: Sew wings slightly lower on the body to give your duck a cozy, cuddly look.
Making the Feet
-
With orange yarn, chain 3.
-
Work 1 sc, 1 hdc, and 1 dc in the same stitch.
-
Turn, slip stitch back to starting chain, and fasten off.
-
Repeat for the second foot and sew them evenly at the bottom.
💡 Tip: For a walking pose, attach one foot slightly forward for a lively effect.
Assembly & Final Touches
-
Attach all parts firmly using a tapestry needle.
-
Double-check symmetry both wings and eyes should align evenly.
-
Use a touch of blush or pink yarn for cheeks.
-
Add a tiny ribbon or bowtie for charm.
-
Optionally, attach a keychain ring to the top for portability.
Expert Trick: Hide knots inside the body by inserting the needle through the center and pulling out at another point before trimming.
Customization Ideas
Here’s where creativity takes flight! Personalize your duck with these adorable variations:
-
Color Variations: Try pastel gradients, baby blue ducks, or even rainbow-colored wings.
-
Baby Duck Theme: Use soft, fluffy yarn for a newborn version.
-
Holiday Versions: Red scarf and hat for Christmas, bunny ears for Easter, or a pumpkin-orange beak for Halloween.
-
Add Accessories: Crochet a mini hat, scarf, or flower crown.
-
Use Embroidery: Add tiny lashes or freckles for personality.
-
Textured Yarns: Try velvet yarn for a luxurious plush look or gradient yarns for ombré effects.
Idea: Make a whole duck family set small, medium, and large and display them together.
Advanced Tips & Troubleshooting
These pro techniques ensure a polished, professional finish:
-
Invisible Decreases: Insert hook in front loops of next two stitches, yarn over, pull through both, then complete stitch hides gaps.
-
Even Tension: Maintain consistent yarn flow; relax your grip for smoother stitches.
-
Prevent Round Twisting: Always mark your first stitch in each round to stay on track.
-
Perfect Stuffing: Add small tufts gradually; never overfill. Shape gently with your fingers.
-
Fix Uneven Shapes: Steam lightly with a warm towel to reshape.
-
Joining Parts Seamlessly: Use the ladder or mattress stitch for nearly invisible joins.
-
Read Patterns Carefully: Know abbreviations sc = single crochet, inc = increase, dec = decrease.
-
Avoid Gaps: Use a smaller hook size if stuffing peeks through.
-
Color Change Trick: Switch colors during the last yarn-over of a stitch for smooth transitions.
-
Finishing Touch: Roll the duck gently between your palms to smooth out lumps and perfect the shape.
Care Instructions
Keep your mini crochet duck soft, clean, and bright for years with these care tips:
-
Hand wash gently in lukewarm water with mild detergent.
-
Do not twist or wring; press lightly to remove excess water.
-
Air dry flat on a towel, reshaping as it dries.
-
Avoid direct sunlight to prevent color fading.
-
Store safely in a clean, dry place or small display box.
-
For gifts: wrap in tissue paper and place in a small kraft box for an elegant, handmade touch.
Display & Gift Ideas
Your Mini Crochet Cute Duck Amigurumi can brighten any space or occasion! Here’s how to make the most of it:
-
Home Décor: Display it on a bookshelf, windowsill, or craft table.
-
Nursery Accent: Perfect addition to a baby’s room or gift for a baby shower.
-
Keychain or Bag Charm: Attach to backpacks, purses, or zipper pulls.
-
Desk Companion: A tiny cheerful mascot to keep you company at work.
-
Handmade Gift: Create a custom-colored duck for birthdays, anniversaries, or holidays.
-
Holiday Ornament: Add a hanging loop and turn it into festive décor.
-
Set of Friends: Pair with other mini animals (like bunnies, bears, or chicks) for a delightful collection.
Benefits of Creating the Crochet Cute Duck
Crocheting this little duck is rewarding in more ways than one:
-
Mindful Relaxation: The rhythmic stitches calm your thoughts and reduce stress.
-
Creative Expression: Choose colors, shapes, and accessories that reflect your personality.
-
Eco-Friendly Craft: Handmade toys promote sustainable, waste-free gifting.
-
Sense of Accomplishment: Seeing a finished toy come alive brings immense joy and confidence.
-
Emotional Connection: Every handmade duck carries the warmth and love of its maker.
-
Skill Building: Strengthens your crochet techniques, patience, and attention to detail.
-
Portable Art Form: Small enough to make anywhere perfect for travel or cozy evenings.
Each tiny duck becomes more than just a toy it’s a piece of heartwarming art that tells your story through yarn.
Photography & Social Media Tips
Show off your handmade duck in style! Here’s how to capture its charm:
-
Natural Light: Use soft morning or evening light for the best colors.
-
Simple Backgrounds: Try a white, wooden, or pastel backdrop to make the duck stand out.
-
Use Props: Add yarn balls, crochet hooks, or a cozy mug for storytelling appeal.
-
Angles: Capture close-ups of the face, side profile, and flat lay compositions.
-
Editing: Slightly brighten photos to enhance the cheerful vibe.
-
Video Idea: Record a 360° spin of your duck or a short before and after clip perfect for Instagram Reels or TikTok.
Bonus Tip: Group multiple ducks together for a family photo audiences love seeing collections!
Conclusion
Crochet connects creativity, patience, and love and the Mini Crochet Cute Duck Amigurumi is a perfect example of that union. From the first loop to the final stitch, every moment spent crafting this little duck is filled with peace and purpose. Watching it come to life with its plump body, cheerful face, and tiny feet feels like magic unfolding in your hands.
Whether you’re gifting it to someone dear, adding it to your handmade collection, or sharing your work online, this little duck will always carry a piece of your heart. It’s proof that joy can come from the simplest things a ball of yarn, a crochet hook, and your creative spirit.
So grab your yarn, find your favorite cozy spot, and start crafting happiness one stitch at a time because your Mini Crochet Cute Duck is waiting to waddle its way into the world with love, warmth, and handmade charm.