
Welcome to our cozy crafting corner! If you are looking for a project that combines cuteness with simplicity, you have come to the right place. Today, we are diving deep into a wonderful crochet giraffe amigurumi pattern that is perfect for any skill level. Crocheting toys is a magical way to bring characters to life, and this little giraffe is certainly no exception. Whether you want to make a gift for a loved one or simply add to your own collection, this pattern provides all the details you need to succeed.
You might be wondering why giraffes are such popular subjects for amigurumi. Well, their long necks and charming spots make them incredibly fun to work on. Furthermore, this specific design focuses on practicality and ease of assembly. By following this crochet giraffe amigurumi pattern, you will learn how to integrate the legs directly into the body. This technique is a game changer because it reduces the amount of sewing you have to do later. So, grab your hooks and let us get started on this joyful journey together!
After watching the video above, you will have a much clearer vision of how the stitches come together. While the video provides a great visual aid, this written guide will serve as your detailed roadmap. It is always helpful to have the instructions laid out so you can check your progress at your own pace. Therefore, make sure to use both the video and this text to ensure your giraffe turns out perfectly. We have designed this crochet giraffe amigurumi pattern to be as user friendly as possible, so do not hesitate to pause the video whenever you need a moment to catch up.
Skill Level: Level of Difficulty
This project is rated as Easy to Intermediate. If you are a beginner who knows the basic stitches like the single crochet and the magic ring, you can definitely handle this. The most challenging part is the assembly and sewing of the smaller parts like the horns and ears. However, since the legs and body are mostly one piece, it simplifies the process significantly.
Tutor’s Suggestions for Success
Before you start pulling your yarn, I have a few professional suggestions for you. First and foremost, always use a stitch marker. When you are working in continuous rounds, it is very easy to lose your place. Secondly, I highly recommend using a smaller hook than what is suggested on the yarn label. This creates tighter stitches, which prevents the stuffing from peeking through your work.
Additionally, pay close attention to your tension. If your stitches are too loose, the giraffe might lose its shape over time. On the other hand, if they are too tight, your hands might get tired quickly. Also, try to enjoy the process of sewing. Many people find sewing the parts together tedious, but it is actually the moment your giraffe develops its unique personality. Take your time with the facial features, as they are the soul of your amigurumi.
Essential Materials Needed
To complete this crochet giraffe amigurumi pattern, you will need to gather the following supplies:
-
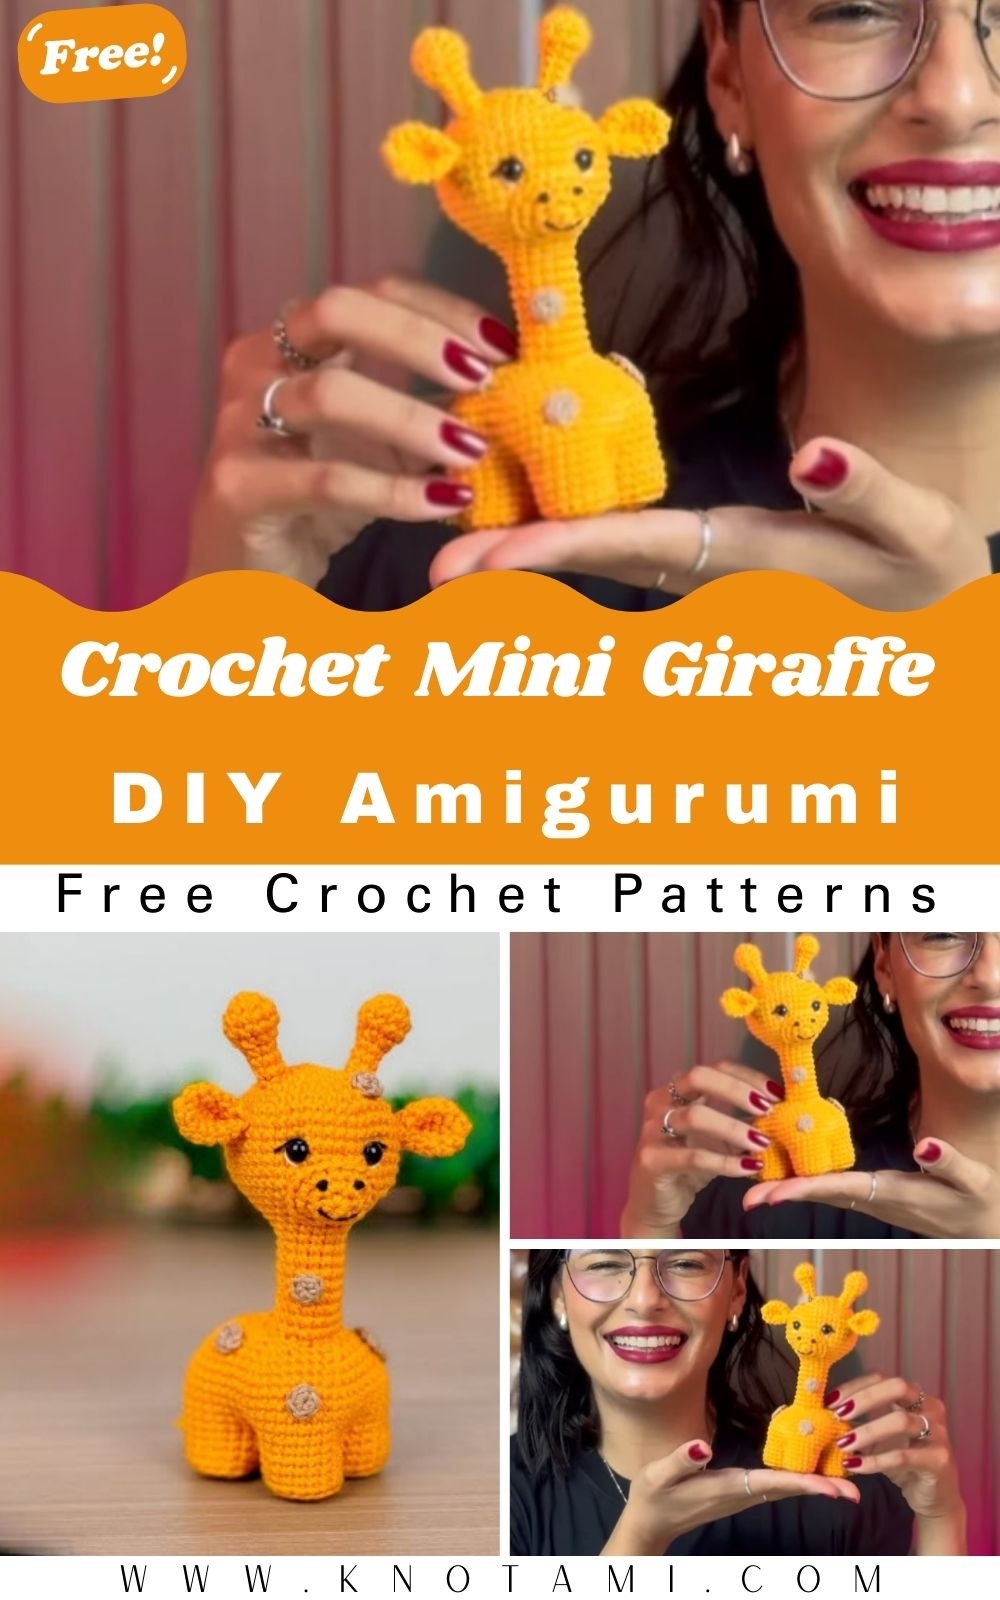
Yarn: 100% Cotton yarn (Amigurumi weight). Colors: Yellow (or Ginger), Cream (for the muzzle), and a light brown (for the spots and horns).
-
Crochet Hook: 2.20 mm (or 1.25 mm if you want a smaller version).
-
Safety Eyes: 7 mm or 8 mm size.
-
Stuffing: High quality polyester fiberfill.
-
Tools: Tapestry needle, scissors, and stitch markers.
Step-by-Step Guide to Creating Your Giraffe
Phase 1: The Legs (Make 4)
We begin this crochet giraffe amigurumi pattern by making four identical legs. Start with a magic ring and place 6 single crochets inside. In the second round, do 6 increases to reach 12 stitches. For the third round, follow a pattern of 1 single crochet and 1 increase to get 18 stitches. Next, you will work one round in the back loops only to create a flat base for the foot. Finish by working three rounds of 18 stitches normally. For the first three legs, cut the yarn and leave a tail. For the fourth leg, do not cut the yarn as we will use it to join everything together.
Phase 2: Joining the Body
This is where the magic happens! You will join the legs by crocheting across 13 stitches of each leg. This leaves a small gap in the center that you will sew closed later. Once joined, you will have a total of 52 stitches. Work four rounds of even stitches to build the base of the body. Afterwards, use your tapestry needle to sew the inner gaps between the legs. This ensures the stuffing stays inside and the toy remains sturdy.
Phase 3: Shaping the Torso and Neck
As you move up the body, you will begin a series of decreases. Start with a round of 7 single crochets and 1 decrease. Continue decreasing in subsequent rounds (6 and 1, 5 and 1, etc.) until the body begins to close. Remember to add stuffing firmly as you go. Once the body is shaped, you will transition into the neck. The neck is a simple tube of 15 stitches worked over 9 rounds. Consistency is key here to keep the neck straight and tall.
Phase 4: The Head and Muzzle
The head starts like a standard ball, increasing up to 42 stitches. You will work six rounds of even stitches before placing the safety eyes between rounds 9 and 10. For the muzzle, you will create an oval shape by using a chain and working around both sides of it. This gives the giraffe that classic cute look. Once the head is stuffed and closed, sew the muzzle onto the lower half of the face.
Phase 5: Horns, Ears, and Spots
The horns are tiny and require patience. You start with 6 stitches, increase to 12, then decrease back to 6 to create a “knob” on top. The ears are flat triangles that you fold at the base before sewing. Finally, crochet small circles in brown yarn to serve as spots. You can place these randomly on the body to give your giraffe a realistic yet whimsical appearance.
Where Can You Use This Giraffe?
Once you finish this crochet giraffe amigurumi pattern, you have a versatile handmade treasure! These giraffes make incredible nursery decorations. They look adorable sitting on a shelf or tucked into a crib corner. Moreover, they are the perfect size for little hands to hold, making them excellent toys for toddlers.
If you enjoy selling your crafts, these giraffes are very popular at craft fairs because they are visually striking. You can also use them as baby shower gifts. Because you can customize the colors, you can match them to any room theme. Some people even add a keychain ring to the head to turn it into a bag charm for backpacks!
Tips and Tricks for Amigurumi
-
Invisible Decrease: Always use the invisible decrease method. Instead of pulling through two full stitches, use only the front loops. This makes the decrease almost impossible to see.
-
Stuffing the Neck: Since giraffes have long necks, make sure to stuff them very firmly. If the neck is soft, the head will flop over. You can even use a plastic straw or a thick wire (padded with stuffing) inside the neck for extra support.
-
Yarn Choice: If you want a “fuzzy” giraffe, try using chenille yarn. However, be aware that it is harder to see your stitches with that material.
-
Symmetry: When pinning the ears and horns, use a mirror. Sometimes our eyes trick us, and a mirror helps you see if things are truly centered.
Common Mistakes to Avoid
One common mistake is overstuffing the very bottom of the feet. If the feet are too rounded, the giraffe will not stand up straight and will wobble. Another error is not leaving long enough yarn tails for sewing. It is much better to waste a few inches of yarn than to struggle with a needle that has no thread left. Furthermore, do not skip the “back loop only” round on the feet. This round is what creates the “rim” that allows the giraffe to sit flat on a surface. Lastly, make sure your safety eyes are truly secure before you close the head, as you cannot fix them once the head is sealed.
Frequently Asked Questions (FAQs)
1. Can I use acrylic yarn for this pattern?
Yes, you certainly can. However, cotton yarn is preferred for amigurumi because it has better stitch definition and does not stretch as much as acrylic.
2. How do I make the giraffe bigger?
To make a larger version, simply use a thicker yarn weight (like bulky or chenille) and a correspondingly larger hook. The proportions of the pattern will stay the same.
3. Is this pattern safe for babies?
If you are giving this to a baby, I recommend embroidering the eyes with black yarn instead of using plastic safety eyes. Even though they are called “safety” eyes, they can still be a choking hazard if they break.
4. How long does it take to finish?
For an average crocheter, this project takes about 3 to 5 hours. The assembly is what takes the most time, so do not rush that part.
5. What if my giraffe head is too heavy?
If the head is leaning, it usually means the neck needs more stuffing. You can also sew the head to the neck using a wider base of stitches to create more stability.
Conclusion
In conclusion, this crochet giraffe amigurumi pattern is a delightful project that yields a high quality result. By following the steps carefully and using the transition words provided to guide your understanding, you will create a beautiful toy. Remember that practice makes perfect. Your first giraffe might have a slightly wonky ear, but that just adds to its handmade charm! Happy crocheting, and I hope you enjoy every single stitch of this process. Be sure to share your finished giraffes with the community, as we love to see your unique color choices and modifications. Enjoy your crafting time!