
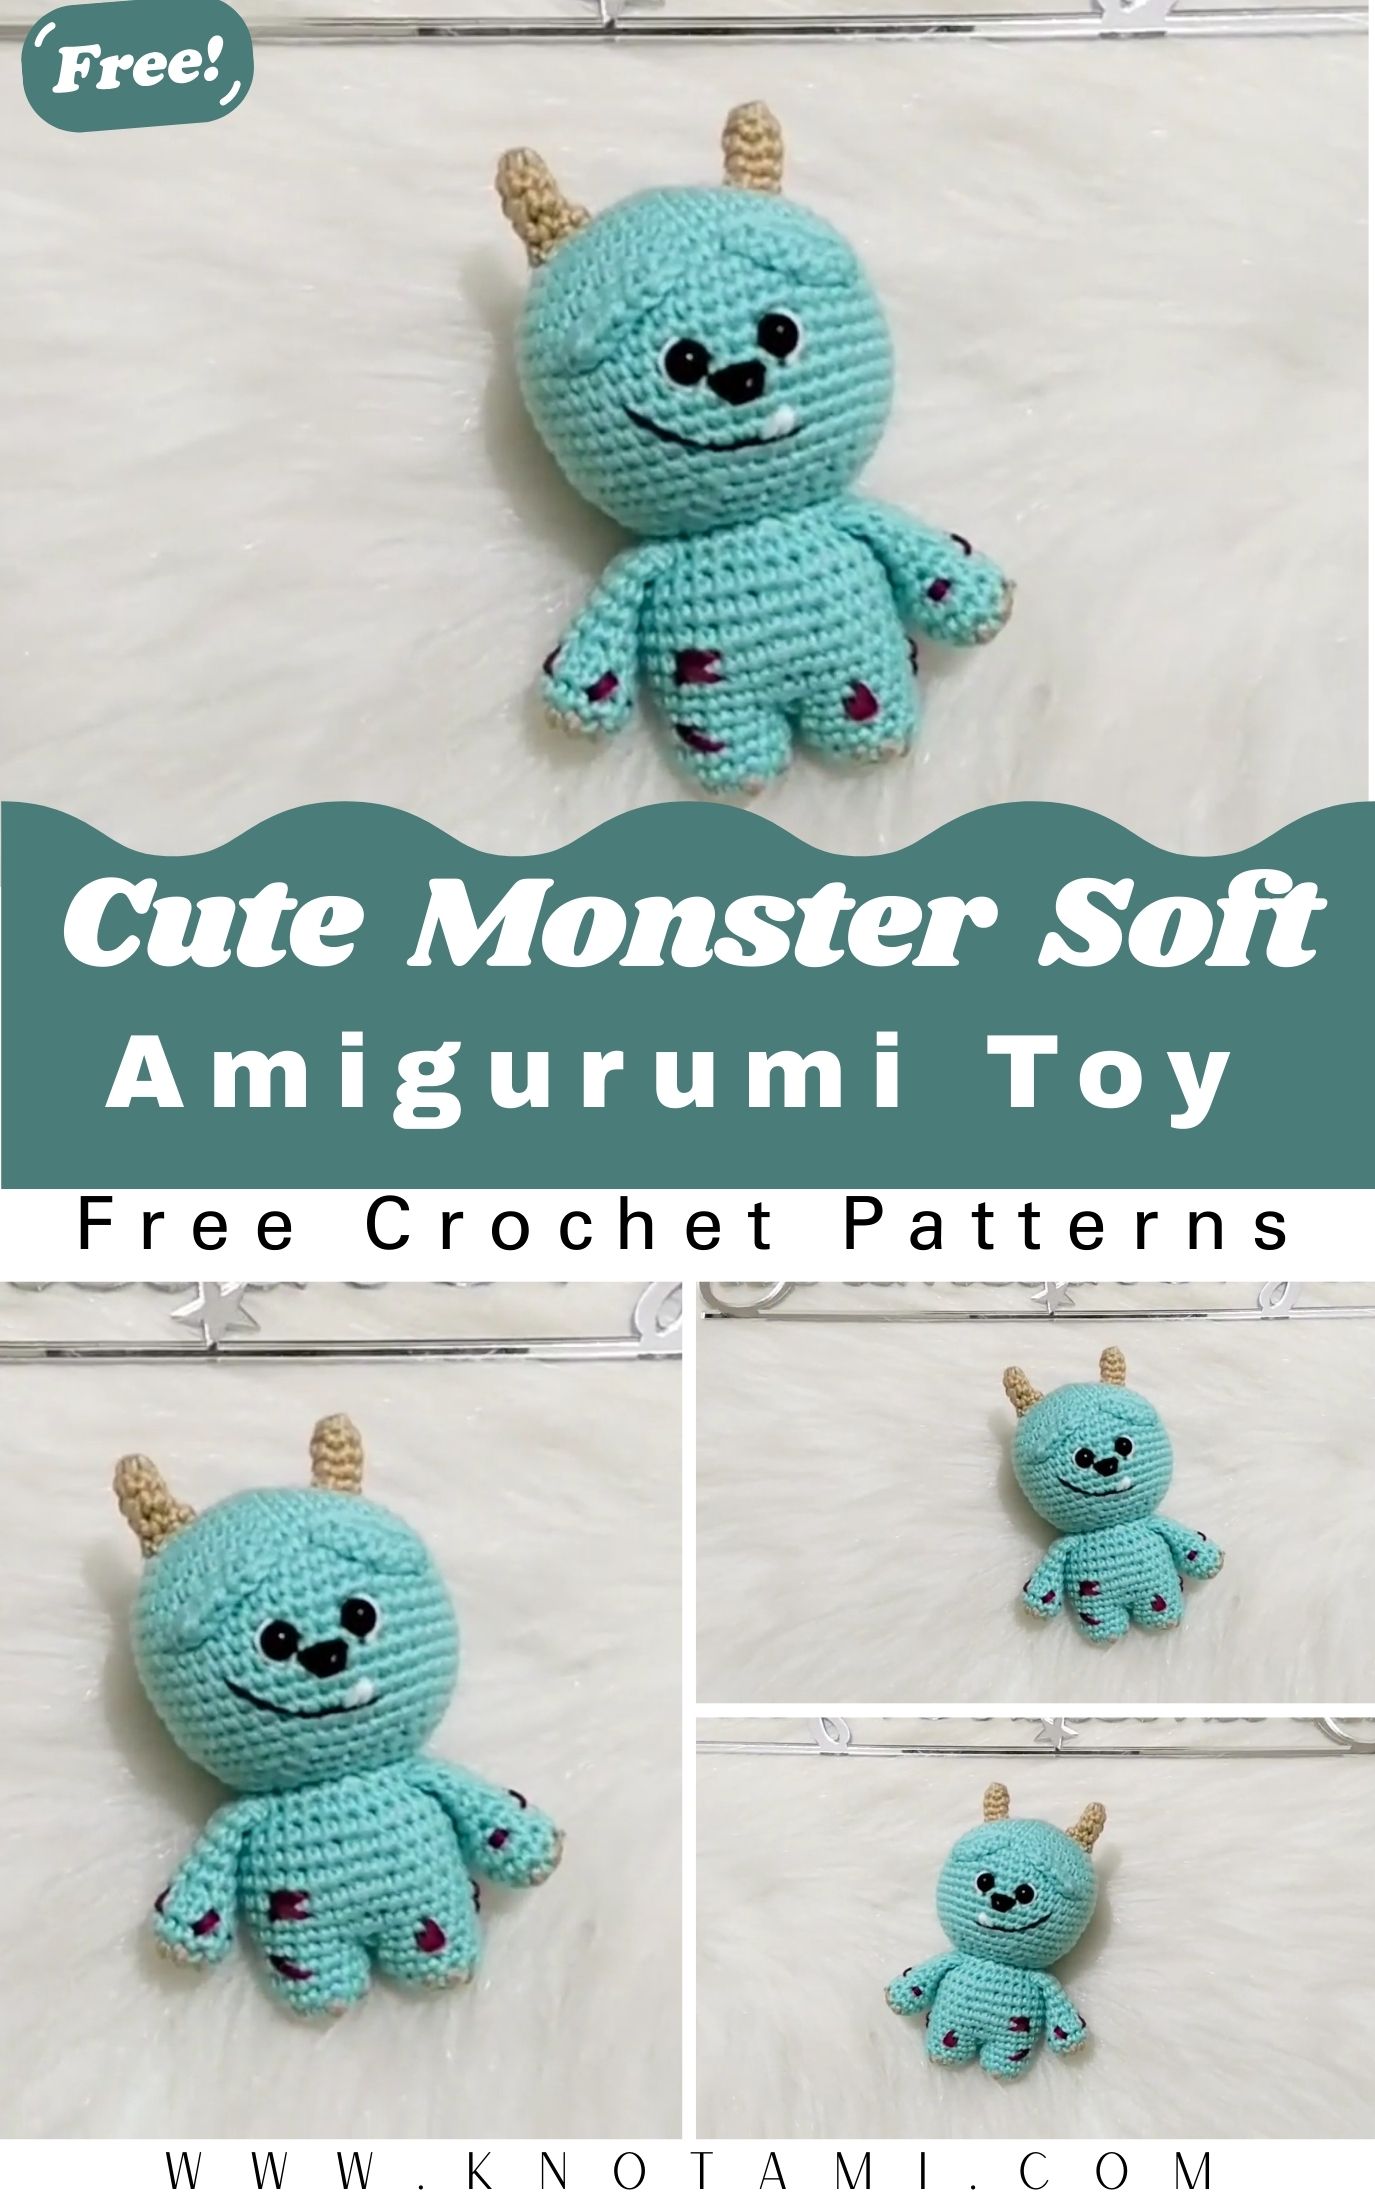
There’s something about this Crochet Monster Soft Amigurumi that sparks joy the moment you see it. Think squishy, round-bodied cuteness with wide eyes, a cheerful little grin, and your choice of tiny arms or playful horns. It’s not spooky at all, more like a cartoon buddy brought to life with yarn, a hook, and a bit of imagination.
What I love most is how customizable it is. Keep it simple and sweet, or have fun with bold colors, stripes, and quirky details to give your monster its own personality. The soft, rounded shape makes it super cuddly, and those whimsical features mean it also doubles as a charming shelf accent or a cute prop for photos.
Materials Needed
Here’s what you’ll need to bring your Crochet Monster Soft Amigurumi to life:
-
Yarn: Use plush velvet or chenille yarn for a soft and squishy finish (approximately 100g for the body, plus small amounts for details).
-
Crochet Hook: 4.0 mm–5.0 mm, depending on yarn type.
-
Stuffing: Polyester fiberfill to give the monster its plump shape.
-
Safety Eyes or Felt Circles: For the eyes (or you can embroider them).
-
Tapestry Needle: For sewing pieces together.
-
Scissors: To cut yarn.
-
Stitch Markers: To keep track of rounds.
-
Optional Accessories: Buttons, ribbons, embroidery thread, or small felt pieces for mouth, teeth, or horns.
Yarn Tips:
For a true soft monster feel, velvet or chenille yarn works best it gives that plush, huggable texture. If you prefer a firmer, classic amigurumi style, go with cotton or acrylic yarn. The choice of yarn dramatically changes the final result: velvet monsters feel like pillows, while cotton monsters look crisp and sculpted.
Color Suggestions:
This project thrives on creativity. You can make your monster in bright neons, pastel tones, or gradient yarns. Try aqua blue for a friendly ocean creature, lavender for a dreamy bedtime monster, or even multicolor stripes for something fun and funky.
Level of Difficulty
This Crochet Monster Soft Amigurumi is beginner-friendly, with simple, repetitive stitches that make it an ideal first project. You’ll use:
-
Single crochet (sc)
-
Increase (inc) and decrease (dec)
-
Slip stitch (sl st)
-
Working in rounds
There’s a small amount of sewing for the arms, horns, or facial features, but it’s nothing too complicated. If you’re new to crochet, this project will help you master shaping and stuffing evenly, both key skills in amigurumi.
Even if you’ve never made a plush toy before, this pattern is very forgiving. The soft yarn hides minor inconsistencies, and your monster will still turn out adorable, a true, perfectly imperfect handmade friend.
Step-by-Step Overview
1. Starting the Body
Begin with a magic ring and a few single crochet stitches. Work in continuous rounds, increasing each row to form a large, round base. This will become the monster’s main body.
As you go, keep your stitches firm but not too tight. Plush yarn can be slippery, and consistent tension helps keep the shape neat. Use a stitch marker to note the start of each round.
When your base reaches the desired width, continue working evenly to build the body’s height. This is where the monster’s plumpness starts to appear!
2. Shaping the Main Body
After several rounds, begin decreasing gradually to close the top. Before you seal it completely, stuff the monster with fiberfill. Add small amounts at a time, pressing gently with your fingers to distribute them evenly.
If the body looks slightly uneven, that’s perfectly fine. Monsters are supposed to be quirky! You can adjust the stuffing to balance the shape.
3. Making the Arms and Legs
Create two small arms and two legs, or as many as your imagination allows. These are simple cylindrical or oval pieces crocheted in rounds. You can make them in the same color as the body or contrasting shades for extra fun.
Lightly stuff each limb and sew them onto the sides and bottom of the body. Try placing them at playful angles to give your monster personality. One raised arm can make it look like it’s waving hello!
4. Adding Horns, Ears, or Hair
This step is where creativity shines. You can make tiny horns, floppy ears, or even a patch of spiky hair by crocheting small pieces or using fuzzy yarn. Sew them securely on top of the head.
If you’re working with chenille yarn, pin the parts first to ensure even placement before stitching them down.
5. Adding the Face and Finishing Touches
Add safety eyes or felt eyes to bring your monster to life. Place them close together for a cute look or far apart for a goofy expression. You can also embroider or sew a felt mouth with a simple curve for a smile or zigzag stitches for a toothy grin.
Once all the details are attached, roll the stuffed body between your hands to smooth out lumps and give it a rounded finish.
If you’d like, tie a ribbon or scarf around the monster’s neck for extra personality.
Special Features of This Pattern
The Crochet Monster Soft Amigurumi stands out for its versatility and playful charm.
-
Simple Construction: Most parts are crocheted in rounds with minimal sewing.
-
Beginner-Friendly Video Tutorial: The source tutorial features clear close-ups and step-by-step guidance, perfect for visual learners.
-
Soft, Plush Texture: When made with velvet yarn, the finished monster feels extra cuddly.
-
Endless Customization: You can create hundreds of unique monsters just by changing colors and details.
-
Quick Project: It works up fast, ideal for weekend crafting or gift-making.
This pattern is a wonderful mix of creativity and simplicity,y you get a cute, professional-looking result without complicated steps.
Tips for Best Results
Here are some tried-and-true tips for making your crochet monster look its best:
-
Keep tension even; too tight makes plush yarn hard to work with.
-
Use a smaller hook if you see stuffing showing through.
-
Count your stitches regularly to avoid lopsided shaping.
-
Stuff gradually and evenly for smooth, round results.
-
Place the eyes and mouth before the final closing to adjust easily.
-
Pin limbs and horns first to check positioning before sewing.
-
Secure ends tightly since the velvet yarn can loosen over time.
-
Avoid overstuffing; plush toys look best with a soft squeeze.
-
Use pastel or high-contrast colors for standout features.
-
Brush the surface lightly with a soft toothbrush to fluff the yarn.
These small tips can make a big difference in how polished and cuddly your monster turns out.
How to Use or Gift Your Crochet Monster Soft Amigurumi
Your finished Crochet Monster Soft Amigurumi is ready to spread smiles wherever it goes!
It’s perfect as:
-
A toy for kids, soft, safe, and fun to hug.
-
A decor piece for nurseries, playrooms, or desks.
-
A handmade gift for birthdays, holidays, or “just because.”
-
A comfort plushie for stress relief or bedtime.
-
A craft fair item, cute, quick, and sure to catch attention!
If gifting, place your monster in a small gift box or drawstring bag, and add a tag that says something like, “Adopt a Monster handmade with love!” It’s an adorable touch that makes your handmade toy feel extra special.
Customization Ideas
This is where the fun really begins, every monster can have its own personality!
Try experimenting with colors:
-
Use bright rainbow hues for a playful vibe.
-
Choose pastel tones for baby-friendly gifts.
-
Combine stripes or variegated yarn for a magical, multicolored creature.
For yarn types, you can go with:
-
Velvet/Chenille: Soft, cuddly texture perfect for hugging.
-
Cotton: Firm structure and defined stitches.
-
Acrylic: Easy to work with and budget-friendly.
-
Fuzzy yarns or faux fur: Adds a fun, wild look.
You can also change the size by adjusting your hook and yarn thickness. Use chunky yarn for a giant plush monster or fine thread for a pocket-sized one.
Add-on ideas:
-
A tiny bowtie or hair bow.
-
Embroidered eyebrows or blushed cheeks.
-
Mini accessories like a felt heart, cape, or glasses.
-
A keychain attachment to turn it into a bag charm.
Each little tweak gives your monster a new personality; no two will ever look the same!
Conclusion
Making a Crochet Monster Soft Amigurumi is pure joy from start to finish. It’s one of those projects that lets your creativity run free, no rules, just imagination. Every color, stitch, and expression makes your monster uniquely yours.
Whether you’re crocheting it for a child, a loved one, or just to brighten your own day, the process is as fun as the final result.
Once you finish your own Crochet Monster Soft Amigurumi, you’ll see how much personality a few stitches and some yarn can create and how handmade monsters can be the sweetest little companions in your creative world.