
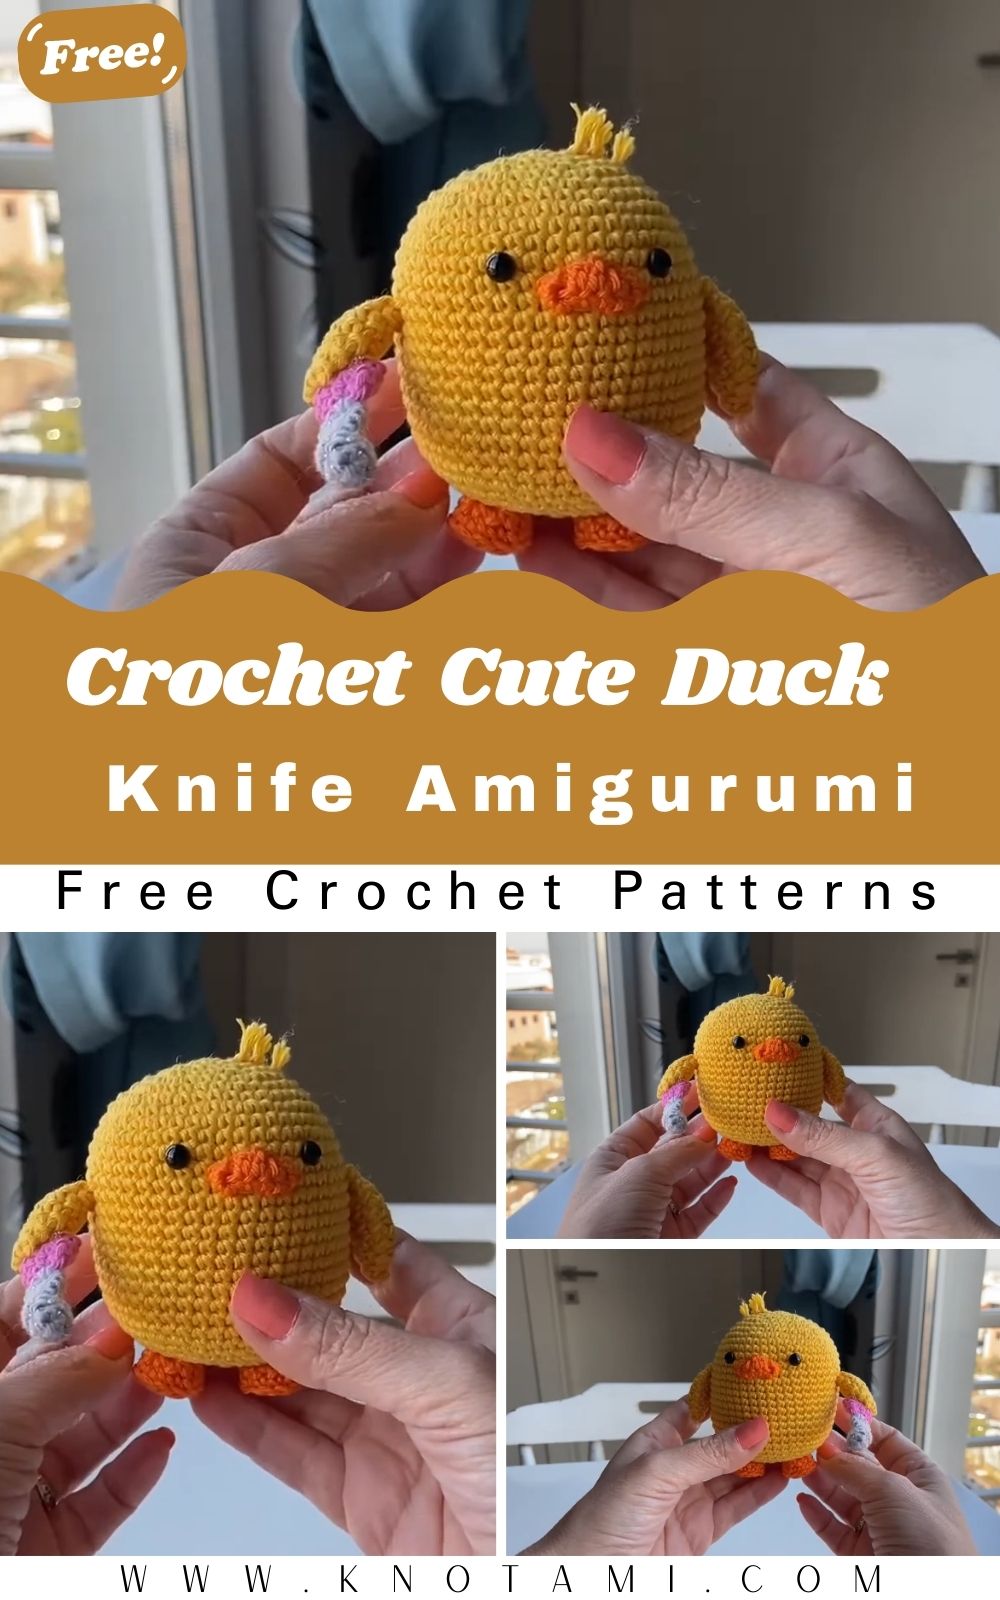
Welcome to your next favorite crafting adventure where you will learn how to create a Crochet Duck Knife Amigurumi. This project is a hilarious and adorable take on the popular internet meme featuring a tiny, soft chick holding a miniature knife. Because you are likely looking for a quick yet satisfying project, this pattern is designed to be efficient while yielding a high-quality result. You will find that using velvet yarn makes the final product incredibly soft and huggable, which is perfect for gifts or personal collections.
If you are a beginner or an experienced crafter, this Crochet Duck Knife Amigurumi guide provides all the steps you need to succeed. We have optimized this tutorial to ensure that you can follow along easily while mastering new amigurumi techniques. By the end of this session, you will have a unique accessory that stands out. Whether you want to make a statement piece for your backpack or a funny desk companion, this killer chick is the ideal choice for your next crochet session.
After watching the embed video above, you might notice how simple the process is when you break it down into sections. The video serves as a visual companion to this written guide, ensuring you never miss a stitch or a decrease. Many crafters find that seeing the hand movements in the video helps clarify the placement of the “locked eyes” and the assembly of the tiny knife. Furthermore, the video highlights how the texture of the velvet yarn adds a professional finish to the Crochet Duck Knife Amigurumi.
Skill Level: Level of Difficulty
This Crochet Duck Knife Amigurumi project is classified as Easy to Intermediate. While the stitches used are basic, such as the single crochet and the magic ring, working with velvet yarn requires a bit of patience because the stitches can sometimes be harder to see. However, because we use a stitch marker, you will find it much easier to keep track of your rows. If you are a 12th-class student or a hobbyist, you will find this level of difficulty quite manageable and rewarding.
Tutor’s Suggestions for Success
Before you start your Crochet Duck Knife Amigurumi, I suggest that you choose a high-quality velvet yarn to get that “extra fluffy” look. Furthermore, always use a stitch marker at the beginning of every round because working in a spiral can become confusing very quickly. If you want your chick to look extra “killer,” make sure to sew the knife at a slight angle to give it more personality. Lastly, do not overstuff the feet, as they need to lay relatively flat so your duck can sit properly on a surface.
Materials Needed for Your Project
To complete your Crochet Duck Knife Amigurumi, you will need to gather the following supplies:
-
Velvet Yarn: Yellow for the body, orange for the beak and feet, and grey for the knife.
-
Crochet Hook: A size compatible with your yarn (usually 3.0mm to 4.0mm).
-
Safety Eyes: 1 pair of locked eyes.
-
Fiberfill: High-quality stuffing to keep your chick plush.
-
Stitch Marker: Essential for spiral rounds.
-
Yarn Needle: For sewing the pieces together.
-
Keychain Ring: Optional, if you want to use it as an accessory.
Step-by-Step Guide to Your Crochet Duck Knife Amigurumi
Phase 1: The Body Construction
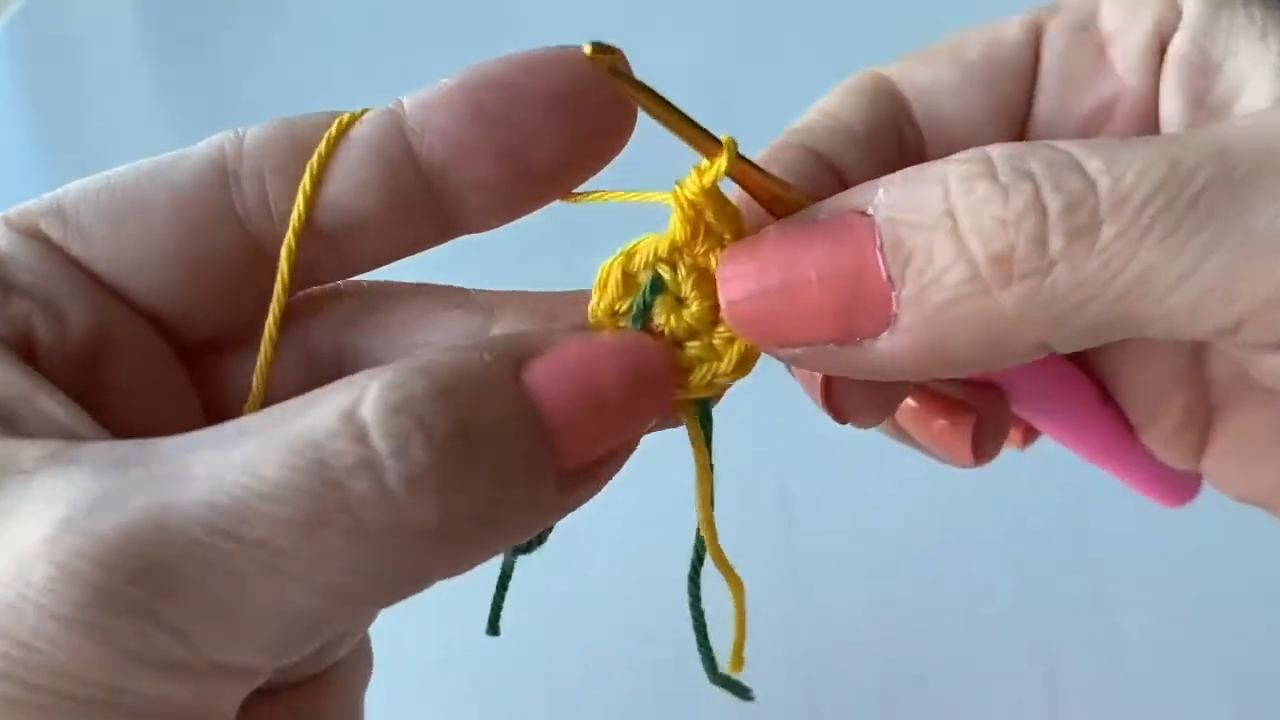
You will start your Crochet Duck Knife Amigurumi by creating a magic ring. This is the foundation of most amigurumi. Inside the ring, you will work 6 single crochets (6X). For the second round, you should increase in every stitch, which gives you a total of 12 stitches. As you move to the third round, you will follow a pattern of one single crochet followed by an increase (X, V), resulting in 18 stitches.
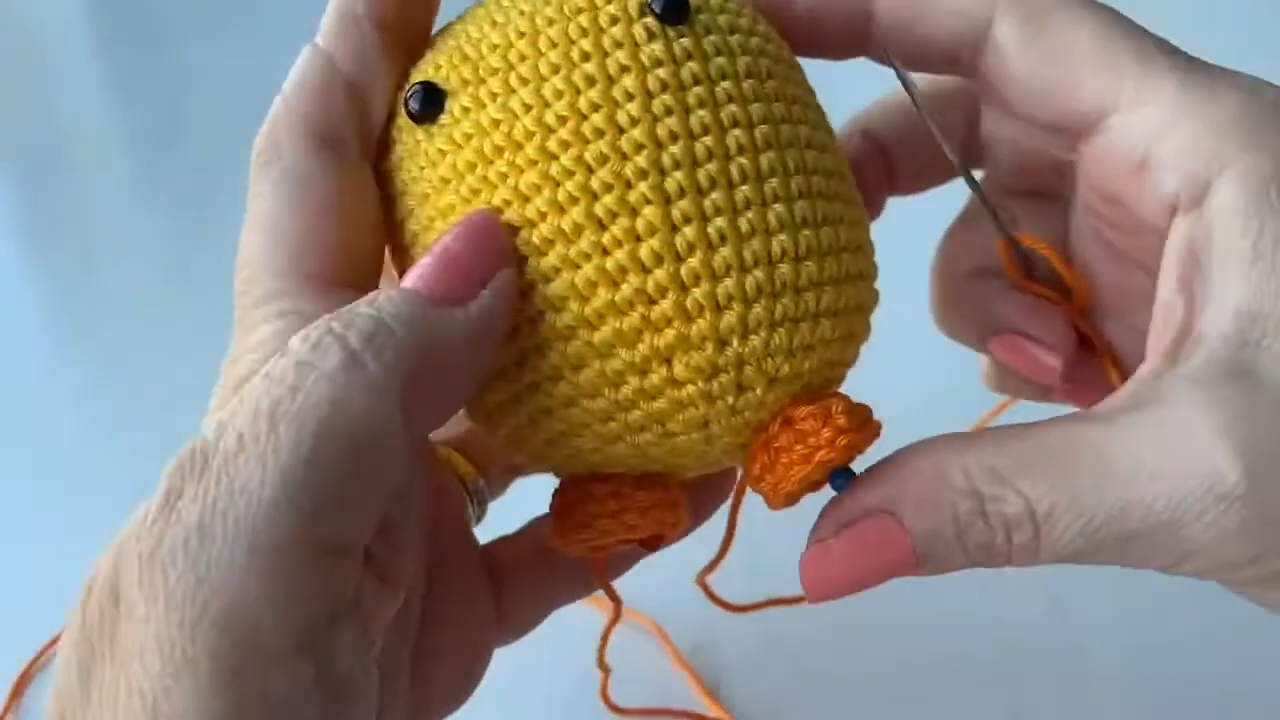
Continue increasing your stitch count until you reach round 8, where you should have 48 stitches. At this point, you will simply work even rows from round 9 to round 23. This creates the height of your chick. You must maintain a consistent tension so the body looks smooth. After completing these rounds, you will start the decreasing process to close the body. Remember to insert your safety eyes between rows 11 and 12, leaving 8 holes between them. Finally, stuff the body firmly before closing the last 6 stitches.
Phase 2: Crafting the Feet and Beak
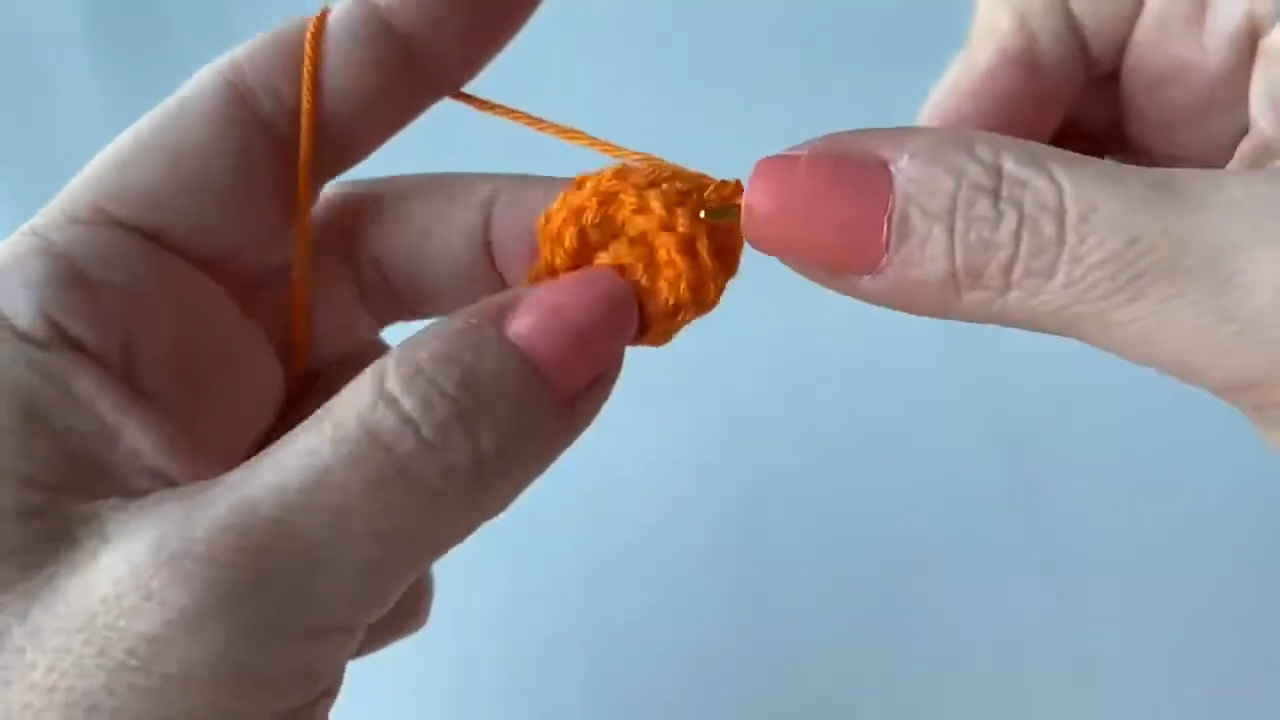
For the feet, you will again start with a magic ring of 6 stitches. In the second round, increase to 12. A unique technique used here is working in the Back Loops Only (BLO) for round 3 to give the foot some structure. After a few more rounds of shaping and decreasing, you will have a cute little foot. Repeat this process to make the second one.
The beak is worked starting with a chain of 6. You will work around both sides of the chain to create an oval shape. Use half double crochets (Hdc) to give the beak its characteristic curve. Once finished, leave a long tail of yarn. You will need this for sewing the beak onto the face later. Position it right between the eyes for the best look.
Phase 3: The Wings and the Knife
The wings of your Crochet Duck Knife Amigurumi are simple circles that are folded or worked in small rounds to create a flipper shape. You will make two of these. Make sure they are symmetrical so your duck looks balanced.
Now for the most important part: the knife! Using grey yarn, you will knit a small spiral to represent the blade. It is a very tiny piece, so take your time. You will then create a small handle using a different color or the same grey. Once the blade and handle are joined, you have the “killer” element that makes this pattern so famous.
Phase 4: Final Assembly and Sewing
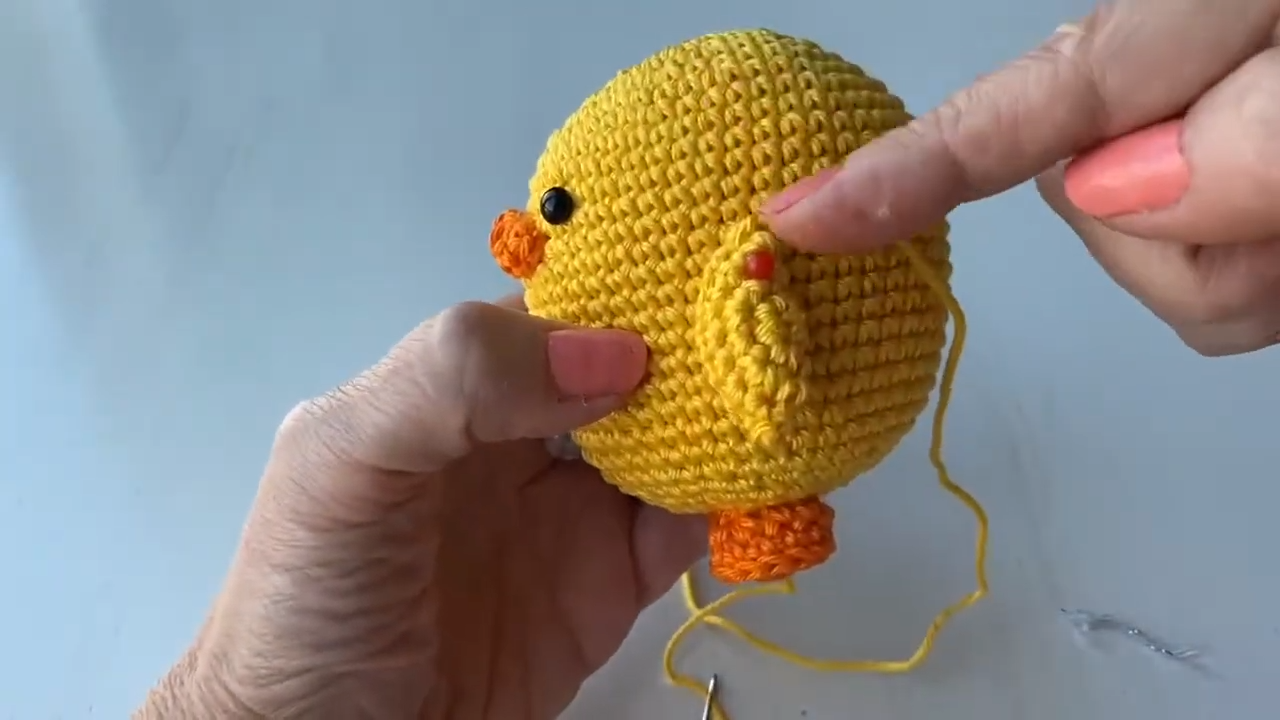
Sewing is where your Crochet Duck Knife Amigurumi truly comes to life. First, attach the feet to the bottom of the body. Next, sew the beak centered between the eyes. The wings should be placed on the sides, roughly in line with the beak. Finally, sew the knife into one of the wings. You can even add a few strands of yarn at the top of the head to look like little feathers.
Where Can You Use This Cute Accessory?
This Crochet Duck Knife Amigurumi is incredibly versatile. Because it is small and lightweight, it makes for an excellent keychain that will surely start conversations. You can also hang it from your car’s rearview mirror or use it as a zipper pull on your favorite hoodie. If you are a student, it looks great hanging from a backpack. Additionally, these make hilarious “white elephant” gifts or party favors for friends who appreciate internet humor and handmade crafts.
Tips and Tricks for a Perfect Finish
To make your Crochet Duck Knife Amigurumi look professional, try using the “invisible decrease” method. This technique prevents gaps in your fabric where stuffing might peek through. Moreover, when working with velvet yarn, if you find it shedding, you can lightly singe the end of the yarn with a lighter to seal it. Another tip is to use a slightly smaller hook than recommended on the yarn label; this creates a tighter fabric which is ideal for amigurumi.
Common Mistakes to Avoid
One common mistake is forgetting to place the safety eyes before closing the head. It is nearly impossible to secure the backs once the head is stuffed. Additionally, ensure you do not overstuff the area around the eyes, as it can make them bulge out awkwardly. Another error is losing track of the spiral rounds. If you don’t use a stitch marker, your increases will be misaligned, and your duck might end up looking lopsided. Always count your stitches at the end of every round to stay on track.
Frequently Asked Questions (FAQs)
1. Can I use regular acrylic yarn instead of velvet yarn?
Yes, you can certainly use acrylic yarn. However, the size of your Crochet Duck Knife Amigurumi will be smaller, and the texture will be less plush. Adjust your hook size accordingly.
2. How long does it take to finish this project?
For an average crafter, this project takes about 2 to 3 hours. It is a great one day project for those who want quick results.
3. Is this pattern safe for small children?
If you are giving this to a small child, please replace the plastic safety eyes with embroidered eyes using black yarn to prevent any choking hazards.
4. How do I clean my velvet amigurumi?
It is best to spot clean your chick with a damp cloth and mild soap. Avoid putting it in the washing machine as it may lose its shape or the velvet may wear down.
5. Can I sell the finished products I make from this pattern?
Most designers allow you to sell finished items as long as you give credit to the pattern creator. It is a wonderful item for craft fairs!
Final Thoughts on Your Crafting Journey
Creating a Crochet Duck Knife Amigurumi is more than just a hobby; it is a way to express your creativity and sense of humor. Throughout this process, you have practiced essential skills like working in the round, shaping, and assembly. Furthermore, you have learned how to handle specialized yarns like velvet, which opens up a whole new world of texture for your future projects.
As you look at your finished chick, take pride in the stitches you have mastered. Each round you completed brought you closer to finishing this quirky character. Whether you keep it for yourself or give it to a friend, this handmade treasure carries the effort and care you put into every loop. Please continue to explore new patterns and techniques to keep your passion for crochet alive and thriving.
In conclusion, thank you for following this comprehensive guide. We hope your new killer chick brings a smile to your face and a bit of whimsy to your daily life. Don’t forget to share your photos of the Crochet Duck Knife Amigurumi with the crafting community. Happy knitting and see you in the next tutorial!