
If you’ve been looking for a Crochet Valentine’s Day Doll Amigurumi Pattern, you’re in the right spot. There’s a quiet joy in watching a little doll come to life one loop at a time, the gentle rhythm of your hook, the softness of the yarn, and that moment when a tiny personality starts to peek through. Handmade pieces like this carry so much heart and turn the simplest gesture into something truly memorable.
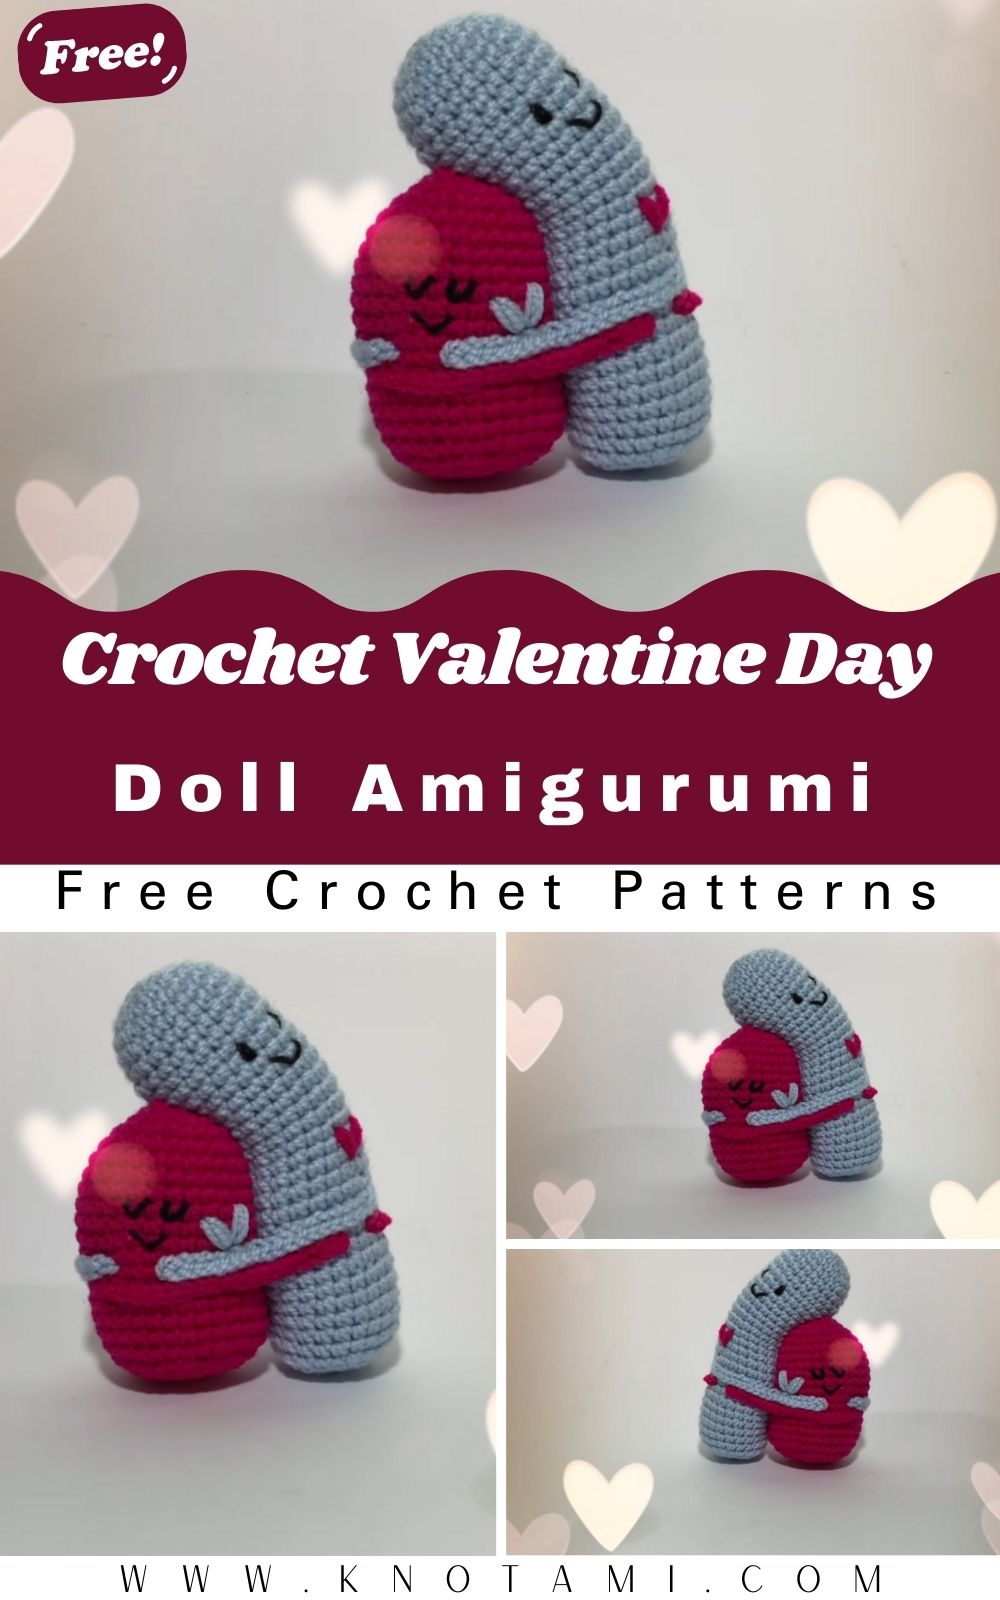
This cheerful project is packed withlove, from the rosy color palette to the cute, festive details. Picture a petite doll in pinks and reds, maybe holding a tiny heart, ready to tuck into a gift bag or brighten a shelf for Valentine’s Day. It’s the kind of make that sparks smiles before you’ve even woven in the last tail.
Beginner-friendly yet fun for seasoned makers, this pattern keeps things simple with basic stitches, easy color changes, and straightforward assembly. There’s plenty of room to personalize, too swap hair colors, add a little bow, change the outfit, or stitch on a tiny heart pocket. Whether it’s your first magic ring or your hundredth, you’ll finish with a sweet keepsake you’ll be proud to gift or display.
Materials & Tools
Before you start, gather these essentials to make your lovely Valentine’s Day doll:
Supplies List
-
Yarn:
-
Skin tone color (for face, hands, and legs)
-
Red or pink (for dress and heart accessories)
-
White (for accents like collars or details)
-
Brown or black (for hair)
-
-
Yarn Weight: Medium (Category 3 or 4) acrylic or cotton yarn works best.
-
Hook Size: 2.5 mm – 3.0 mm crochet hook.
-
Stuffing: Soft polyester fiberfill.
-
Safety Eyes: 6 mm or 8 mm (or you can embroider eyes with black yarn).
-
Tapestry Needle: For sewing pieces and weaving in ends.
-
Scissors: Sharp tip for clean trimming.
-
Stitch Markers: To keep track of rounds.
-
Blush or Pink Yarn: Optional for adding color to cheeks.
Yarn Selection Tips
-
Cotton yarn gives your doll a firm, clean finish perfect for structure.
-
Acrylic yarn is softer and gives a slightly plush look.
-
Go for pastel or classic Valentine hues like red, rose, ivory, cream, or lavender for a romantic feel.
-
Use a touch of sparkle yarn or metallic thread if you want an extra festive shimmer.
Pro Tip: Choose yarn that’s comfortable to work with. You’ll be holding it for hours, so texture matters!
Step-by-Step Crochet Instructions
This section walks you through the entire process from shaping the head to assembling your adorable Valentine’s doll.
Step 1: Making the Head
-
Magic Ring: 6 sc in the ring (6).
-
Round 2: 2 sc in each stitch (12).
-
Round 3: (1 sc, inc) repeat around (18).
-
Round 4: (2 sc, inc) repeat around (24).
-
Rounds 5–8: sc around (24).
-
Round 9: (2 sc, dec) repeat (18).
-
Round 10: (1 sc, dec) repeat (12).
-
Add stuffing gradually as you go.
-
Round 11: dec around (6), fasten off and close.
Tip: Stuff the head firmly, but not too tight it should holdits shape without bulging.
Step 2: Forming the Neck and Body
-
Start with the neck: Attach skin-tone yarn to the head’s base.
-
Round 1: sc around (6).
-
Switch to red or pink yarn for the dress/body.
-
Round 2: (1 sc, inc) repeat (9).
-
Round 3: (2 sc, inc) repeat (12).
-
Rounds 4–10: sc around evenly (12).
Optional: If you’d like a flared skirt, increase stitches gradually after Round 5.
-
Final Round: dec around (6), fasten off and close.
-
Stuff the body before sealing completely.
Step 3: Creating the Dress
For a cute Valentine-style dress:
-
Reattach the yarn around the waist area of the doll.
-
Chain 1, then (1 sc, 1 hdc, 1 dc) in each stitch to create ruffles.
-
Work 2–3 rounds in your chosen color for volume.
-
Add a white or pink trim for contrast.
Pro Tip: Add a tiny bow or ribbon on the dress front for an extra touch of sweetness.
Step 4: Making the Legs
-
With skin-tone yarn, chain 6.
-
sc in each chain for 2 rows to create a small flat piece.
-
Roll the piece into a tube shape and stitch along the side.
-
Make two legs and sew them to the bottom of the body.
Tip: You can slightly bend one leg before sewing for a playful sitting pose.
Step 5: Crafting the Arms
-
Chain 7 with skin-tone yarn.
-
Sc in each stitch for 3 rows.
-
Fold lightly and sew closed.
-
Make two arms.
-
Attach them slightly below the neck, angled outward or forward (as if the doll is holding something).
Step 6: Making the Heart Accessory
-
Magic Ring: Start with 6 sc.
-
Round 2: 2 sc in each (12).
-
Round 3: (1 sc, inc) around (18).
-
Flatten, then crochet two halves separately and join them together to form a heart.
-
Lightly stuff before closing.
-
Sew or glue the heart to the doll’s hands, perfect for a Valentine’s Day theme!
-
With brown yarn, create a wig cap by crocheting a circle slightly smaller than the head.
-
Attach strands of yarn to the cap using a latch-hook method (pulling each strand through a loop).
-
Style as desired: igtails, braids, or short curls.
-
Sew the wig securely to the head.
Pro Tip: Add a small crochet bow or flower on the hair for extra cuteness.
Step 8: Assembly & Finishing Touches
-
Position all parts correctly, head, arms, and legs aligned.
-
Sew each piece securely using a tapestry needle.
-
Embroider small details like a smile, eyelashes, or rosy cheeks.
-
Use pink blush (powder or cream) to add warmth to the face.
Final Tip: Always weave in ends neatly and trim excess yarn. Clean finishing makes your amigurumi look professional.
Customization Ideas
Here’s where your creativity can shine!
Color Variations
-
Classic Valentine: Red and white with pink accents.
-
Pastel Sweetheart: Soft pinks, lavender, and cream tones.
-
Golden Love: Cream dress with gold trim.
-
Fantasy Doll: Experiment with rainbow yarn or ombré tones.
Accessory Add-ons
-
Tiny crochet heart bouquet.
-
Mini hat, scarf, or wings for an angelic vibe.
-
Embroidered name or initials for a personalized touch.
-
Crochet a small base (circle or heart-shaped stand) for display.
Yarn Choices
-
Velvet yarn: Plush and luxurious.
-
Cotton yarn: Crisp and structured.
-
Chenille: Soft, cozy texture for a snuggly look.
Idea: Make a pair of ne male and female dolls for a matching Valentine’s couple display!
Advanced Tips & Troubleshooting
Perfect your amigurumi with these expert tricks:
-
Invisible Decrease: Work into front loops only to avoid visible bumps.
-
Consistent Tension: Keep your yarn tension even for smooth stitches.
-
Avoid Twisting Rounds: Use a stitch marker to track where each round begins.
-
Balanced Stuffing: Add stuffing gradually to maintain shape and prevent lumps.
-
-
Reading Patterns: Familiarize yourself with abbreviations sc (single crochet), inc (increase), and dec (decrease).
-
Fixing Loose Stitches: Reinforce with one extra round or stitch when needed.
-
Eye Placement: Place eyes before final stuffing, once closed, adjustment is harder.
-
Joining Colors Cleanly: For color changes, use invisible joins for a neat finish.
-
Final Polish: Steam block (for cotton yarn) to smooth and shape perfectly.
Conclusion
, and let love guide your stitches. Each loop you create carries a bit of joy, patience, and affection, all woven into something tangible and timeless.