

Welcome to the magical world of amigurumi! If you have ever wanted to bring your favorite fairy tale characters to life, you are in the perfect place. Creating a Crochet Disney Princess Doll is a rewarding project that combines your love for crafting with the timeless charm of Disney. Whether you are looking to make a special gift for a child or you want to add a unique piece to your own collection, this guide will walk you through every single step. You do not need to be an expert to start this journey because we have broken down every complex stitch into simple actions.
In this detailed tutorial, you will discover how easy it is to transform simple yarn into a stunning Crochet Disney Princess Doll. We focus on clear instructions and helpful tips to ensure your finished project looks professional and adorable. Many people find the idea of making dolls intimidating, but with the right guidance, you can master the techniques quickly. Moreover, this hobby is a fantastic way to relax and express your creativity. Let’s gather your materials and prepare to create something truly enchanting today.
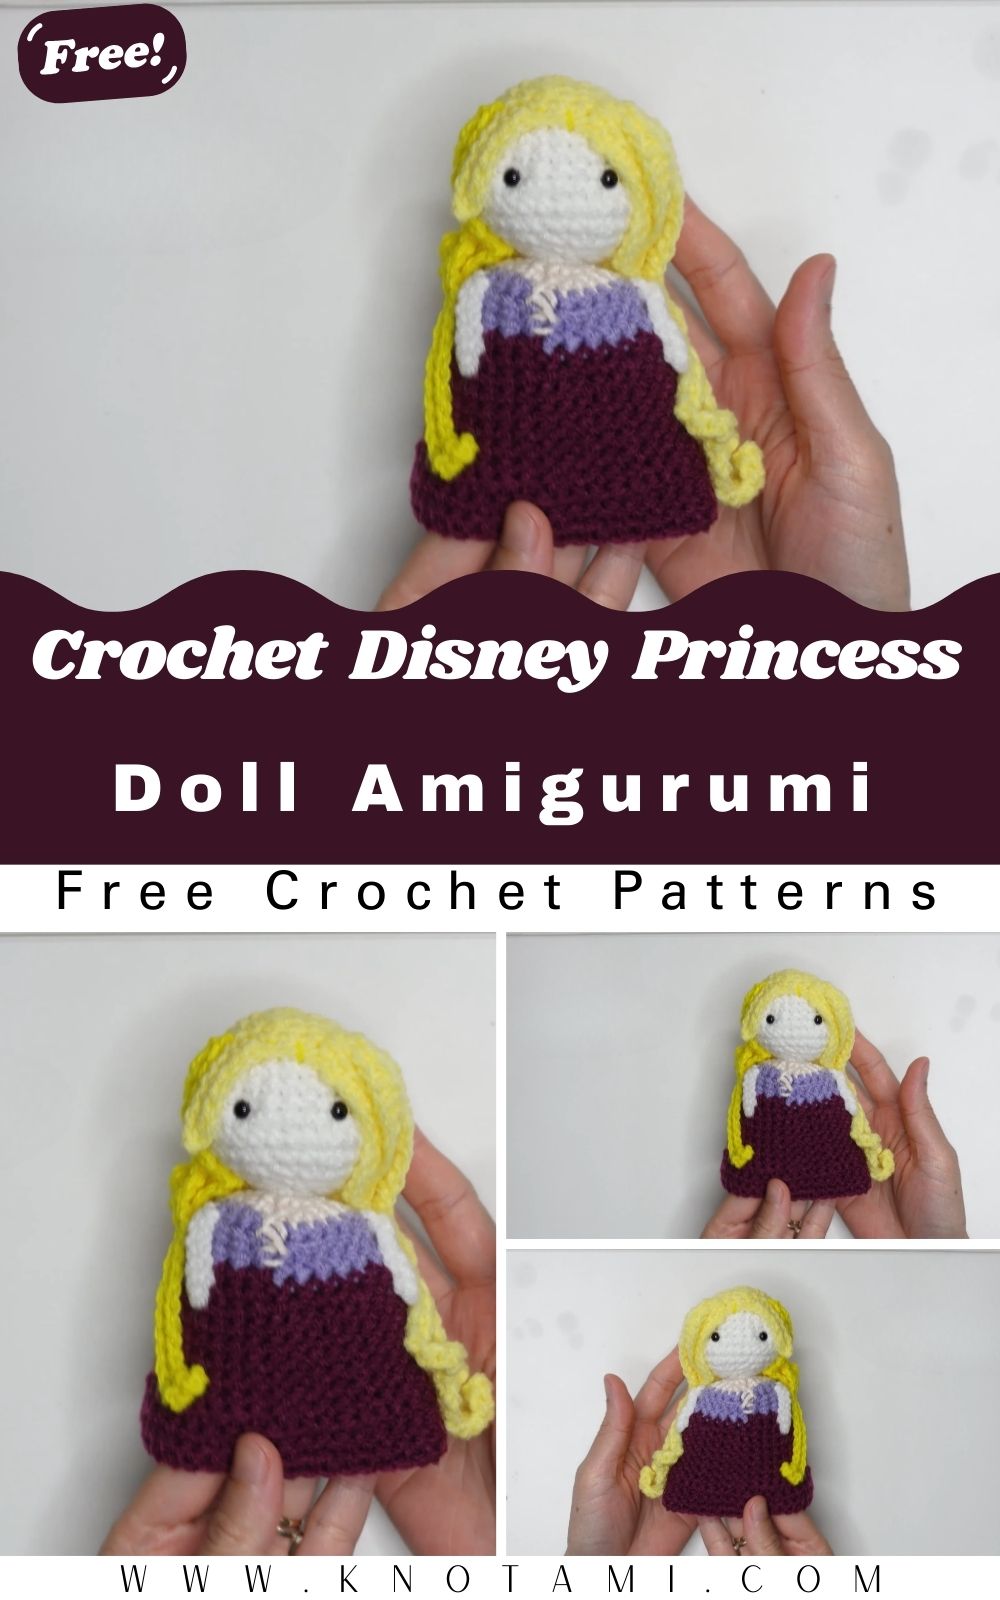
After watching the video above, you will have a clear visual understanding of the hand movements and stitch placements required for this project. The video serves as a perfect companion to this written guide, as it shows the texture and the flow of the yarn in real-time. By following both the video and the text, you ensure that your Crochet Disney Princess Doll takes shape exactly as intended. If you feel stuck at any point, simply pause the video or refer back to the specific steps listed below to clarify the process.
Skill Level: Intermediate Beginner
The level of difficulty for this Crochet Disney Princess Doll is classified as “Intermediate Beginner.” This means that while you should already know how to perform basic stitches like the single crochet and the magic ring, the project is still very accessible. You will learn how to shape the head, body, and limbs, which are fundamental skills in the world of amigurumi. Consequently, if you are familiar with the basics, you will find this challenge perfectly suited to help you grow your skills.
Tutor’s Suggestions
To get the best results for your Crochet Disney Princess Doll, I highly recommend using a smaller hook than what is suggested on the yarn label. This technique creates tighter stitches, which prevents the stuffing from showing through the gaps. Additionally, always use a stitch marker at the beginning of each round. Since we are working in continuous spirals, it is very easy to lose your place. Furthermore, take your time with the facial features; the placement of the eyes and the smile is what truly gives your princess her unique personality.
Materials and Step-by-Step Guide
Required Materials
-
Cotton or Acrylic Yarn in skin tone, dress color, and hair color.
-
2.5mm or 3.0mm Crochet Hook.
-
Safety eyes (8mm or 10mm).
-
Fiberfill stuffing.
-
Yarn needle and scissors.
-
Stitch markers.
Step 1: The Magic Ring and the Head
To begin your Crochet Disney Princess Doll, you must start with a magic ring. This ensures there is no hole at the top of the head. Work 6 single crochets into the ring. In the second round, you should increase in every stitch to reach 12. Continue increasing gradually until the head reaches the desired width. Once the width is achieved, crochet several rounds without increases to create the height of the head. Afterward, you can insert the safety eyes between the rounds where the face will be positioned.
Step 2: Shaping the Body
After finishing the head, you will transition into the neck and body. It is vital to stuff the head firmly before the opening becomes too small. For the body of your Crochet Disney Princess Doll, you will switch to the yarn color of the dress. Use increases to flare out the hips and then work even rounds to build the torso. Because you want the doll to stand or sit nicely, ensure the stuffing is distributed evenly throughout the body.
Step 3: Crafting the Arms and Legs
The limbs of your Crochet Disney Princess Doll are made separately and then attached later. Start with the skin-colored yarn for the hands and feet. For the legs, you might want to start with the “shoe” color and then switch to skin tone. These are usually worked in small circles of 6 to 8 stitches. Since these pieces are narrow, they can be a bit tricky to handle. However, with patience, you will see them take shape perfectly.
Step 4: The Hair and Final Details
The hair is the crowning glory of your Crochet Disney Princess Doll. You can create a wig cap or attach individual strands of yarn. For a classic Disney look, consider long flowing hair or a styled bun. Once the hair is secure, use your yarn needle to sew the arms and legs onto the body. Finally, you can add small embellishments like a crochet crown or a tiny flower to the dress to make her look truly royal.
Where Can We Use It?
There are so many wonderful ways to use your finished Crochet Disney Princess Doll. Firstly, they make incredible birthday or holiday gifts for children who love fairy tales. Because they are handmade, they carry a sentimental value that store-bought toys simply cannot match. Secondly, these dolls are perfect for nursery decor or as a themed addition to a bookshelf. Furthermore, if you are a collector, you can create an entire set of different princesses to display in your home or craft room.
Tips and Tricks
One of the best tricks for a perfect Crochet Disney Princess Doll is to use “invisible decreases.” This prevents the lumps that sometimes appear with standard decreases. Another tip is to use a wooden spoon or a dowel to help push the stuffing into the narrow limbs. If you want the arms to be poseable, you can even insert a pipe cleaner inside them before closing. Additionally, if the yarn feels too slippery, try using an ergonomic hook to reduce hand fatigue during long crafting sessions.
Common Mistakes
A frequent mistake beginners make is stuffing the doll too lightly. Over time, the fiberfill can settle, leaving your Crochet Disney Princess Doll looking slightly deflated. Conversely, overstuffing can stretch the stitches and show the white filler. Another error is forgetting to count stitches at the end of every round. If you miss an increase or decrease, the entire shape of the doll will be off. Finally, make sure you don’t pull your yarn too tight when sewing the parts together, as this can cause the fabric to pucker.
FAQs
Q1: What is the best yarn for a Crochet Disney Princess Doll?
A1: Cotton yarn is usually the best choice because it has great stitch definition and does not pill easily, making the doll look neat and clean.
Q2: Can I wash my crochet doll?
A2: Yes, if you use acrylic or cotton yarn, you can gently hand wash the doll. However, make sure it is completely dry to prevent the stuffing from molding.
Q3: How long does it take to finish one doll?
A3: Depending on your speed, it usually takes between 5 to 10 hours to complete a full Crochet Disney Princess Doll from start to finish.
Q4: Do I need to use safety eyes?
A4: Safety eyes are great for older children, but if the doll is for a baby, it is much safer to embroider the eyes using black yarn or thread.
Q5: How do I change yarn colors smoothly?
A5: To change colors, start the last stitch of the old color and pull through the final two loops with the new color. This creates a seamless transition for the dress or hair.
Conclusion
In conclusion, making a Crochet Disney Princess Doll is a journey of creativity. From the very first magic ring to the final stitch of the hair, you are building something special. We hope this guide has provided you with all the tools and confidence you need to start your project. Remember to take breaks, enjoy the process, and don’t be afraid to make mistakes. Every error is just a stepping stone to becoming a better crafter. Happy crocheting, and may your home be filled with the magic of handmade dolls!