
There’s a special kind of magic in turning a strand of yarn into something you can hold. With every loop and pull, your hands transform soft fibers into a cuddly character alive with expression and charm. Crochet is more than technique; it’s a gentle ritual that slows time, soothes the mind, and lets creativity take a tangible, heartwarming shape. Few feelings compare to finishing a handmade piece and thinking, I made this.
Meet the Crochet Own Cute Easter Bunny
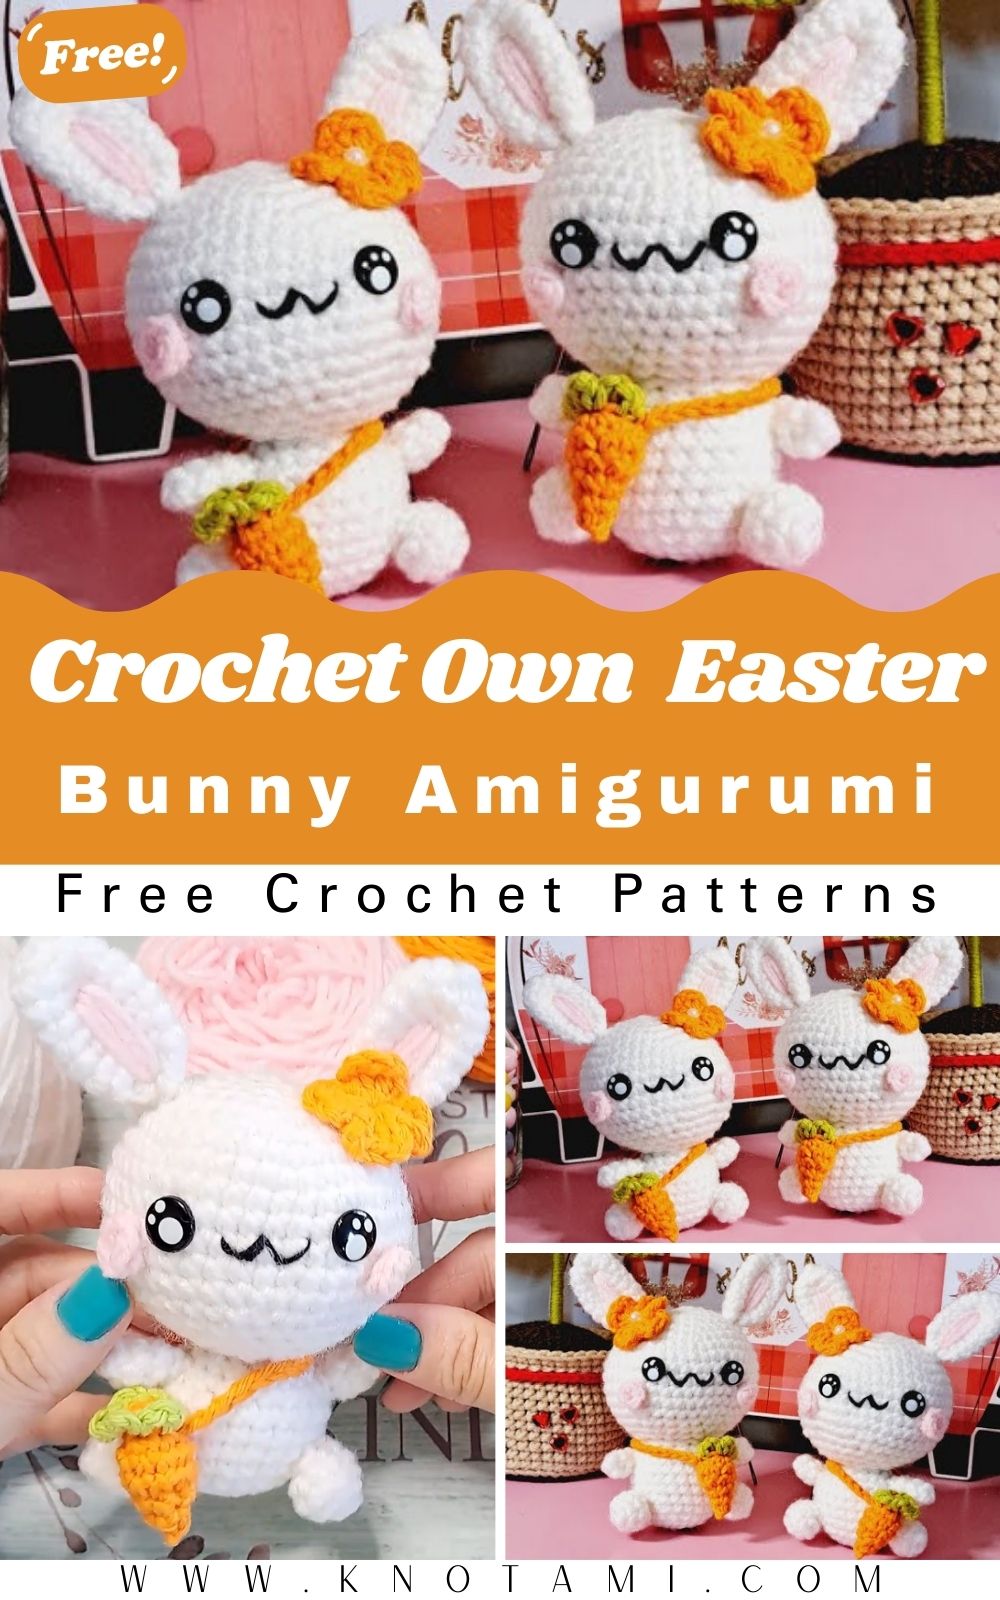
Enter the Crochet Own Cute Easter Bunny Amigurumi a palm-sized plush that captures the sweetness of spring. Big floppy ears, a tiny snout, tidy little paws, and a fluffy tail make this bunny instantly adorable and incredibly giftable. It’s eye-catching on a nursery shelf, whimsical on an Easter table, and charming as a keepsake that can be held, hugged, and loved for years.
Beginner-friendly with room to play
This project is approachable for newcomers (you’ll practice magic rings, increases, and shaping) yet satisfying for seasoned crocheters who want to finesse proportions, try textured stitches, or add clever accessories. Its compact size keeps it quick and fun, while thoughtful details make it feel polished and professional.
The calm joy of slow crafting
Crocheting a bunny is delightfully rhythmic. Round by round, the form appears like a soft secret unfolding in your hands. That steady pace invites mindfulness and a deep sense of accomplishment especially when your finished bunny smiles back with an embroidered face. It’s the perfect slow-crafting project for gifting, decorating, or simply treating yourself to a cozy creative moment.
Materials & Tools
-
Yarn: DK or light worsted (Category 3) cotton or cotton-blend for crisp stitches.
-
Suggested colors: body in pastel (cream, blush, mint, or dove gray), inner ears in a coordinating shade, and a contrast for accessories.
-
-
Hook: 2.5–3.25 mm (choose the smallest that still feels comfortable; tighter fabric prevents stuffing from peeking).
-
Stuffing: High-quality polyester fiberfill.
-
Safety eyes: 6–8 mm (embroider eyes for child-safe gifts).
-
Tapestry (yarn) needle: For sewing parts and weaving ends.
-
Scissors: Sharp for clean cuts.
-
Stitch marker: To track round starts in continuous rounds.
-
Optional: Small glass or plastic pellets in a mesh pouch to weight the base, blush (fabric pastel), and a tiny pom-pom maker for the tail (or crochet tail).
Choosing yarn & colors
-
Texture: Cotton gives definition and a tidy finish; cotton-acrylic blends add softness and drape. Chenille/velvet produce an ultra-plush look use a slightly larger hook and embroider features.
-
Weight: DK/light worsted is a sweet spot for handheld bunnies: fast to work, sturdy, and detailed.
-
Colors: Pastels feel classic for Easter; try monochrome bunnies with contrast inner ears, or muted neutrals for Scandinavian-style décor.
Step-by-Step Crochet Instructions
Notes: Work in continuous rounds unless stated. Use a stitch marker. Standard abbreviations: MR magic ring; sc single crochet; inc increase (2 sc in one stitch); dec invisible decrease; sl st slip stitch; ch chain; FO fasten off.
1) Making the head (round, friendly, and expressive)
-
Round 1: MR, 6 sc (6)
-
Round 2: inc around (12)
-
Round 3: (sc, inc) x6 (18)
-
Round 4: (2 sc, inc) x6 (24)
-
Round 5: (3 sc, inc) x6 (30)
-
Round 6: (4 sc, inc) x6 (36)
-
Rounds 7–10: sc around (36 each)
-
Eye placement: Insert 6–8 mm safety eyes between Rounds 8–9, ~7–8 stitches apart. Pin first to test expression.
-
Round 11: (4 sc, dec) x6 (30)
-
Round 12: (3 sc, dec) x6 (24) Start stuffing: firm at the sides, slightly softer front to keep a cute, rounded face.
-
Round 13: (2 sc, dec) x6 (18)
-
Round 14: (sc, dec) x6 (12)
-
Round 15: dec around (6), FO with long tail. Weave closed if needed.
Expert shaping tip: Add a pinch more stuffing under each eye to lift the cheeks subtly. If using embroideries instead of safety eyes, stitch them after the head is closed.
2) Forming the neck and upper body (smooth transition, steady posture)
-
Reattach yarn at the bottom of the head. Pick up 12 sc evenly around the base.
-
Round 1–2: sc around to define the neck (12)
-
Round 3: (sc, inc) x6 (18)
-
Round 4: (2 sc, inc) x6 (24)
Tip: Keep tension slightly tight across the neck so the head doesn’t wobble. Add a pinch of stuffing in the neck channel before widening to the body.
3) Building the main body (soft belly, balanced base)
-
Rounds 5–8: sc around (24)
-
Round 9: (3 sc, inc) x6 (30)
-
Rounds 10–12: sc around (30)
-
Round 13: (3 sc, dec) x6 (24)
-
Round 14: (2 sc, dec) x6 (18)
-
Add stuffing: Firm through the core; keep a little softer toward the base for a squish-able belly.
-
Round 15: (sc, dec) x6 (12)
-
Round 16: sc around (12) pause here and decide how you want the base: rounded close or flat sit.
4) Shaping or attaching the base (sitting or standing)
Option A: Rounded base
-
Continue decreases: Round 17: dec around (6), FO. Push a last bit of stuffing before closing for a neat dome.
Option B: Flat sitting base
-
Work a separate oval:
-
Rnd 1 (oval): ch 6; starting in 2nd ch from hook: 4 sc, 3 sc in last ch; rotate to other side of chain: 3 sc, inc in final chain (12).
-
Rnd 2: inc, 3 sc, inc x3, 3 sc, inc x2 (20)
-
Rnd 3: sc around (20)
-
-
Pin to body opening, adjust stuffing, whipstitch closed. Add a small pellet pouch inside for stability if desired.
5) Creating the tail and limbs (and those iconic ears!)
Tiny pom tail (crochet version)
-
Round 1: MR, 6 sc (6)
-
Round 2: (sc, inc) x3 (9)
-
Round 3: sc around (9)
-
Round 4: (sc, dec) x3 (6), FO. Stuff lightly and sew to lower back.
(Or use a small yarn pom-pom and stitch securely.)
Legs (make 2)
-
Round 1: MR, 6 sc (6)
-
Round 2: (sc, inc) x3 (9)
-
Round 3: sc around (9)
-
Round 4: (2 sc, inc) x3 (12)
-
Rounds 5–6: sc around (12)
-
Round 7: (2 sc, dec) x3 (9)
-
Round 8: sc around (9), lightly stuff.
-
Flatten opening, 3 sc across to close. FO leaving tail for sewing.
Arms (make 2)
-
Round 1: MR, 6 sc (6)
-
Rounds 2–5: sc around (6)
-
Lightly stuff just at the hand tip. Flatten and 2–3 sc across to close. FO for sewing.
Ears (floppy bunny ears, make 2)
-
Option A: Shaped ovals in rounds
-
Round 1: MR, 6 sc (6)
-
Round 2: (sc, inc) x3 (9)
-
Round 3: sc around (9)
-
Round 4: (2 sc, inc) x3 (12)
-
Rounds 5–8: sc around (12)
-
Round 9: (2 sc, dec) x3 (9)
-
Round 10: sc around (9), FO. Pinch base slightly and stitch to head.
-
-
Option B: Flat ear panels
-
ch 9; Row 1: sc in 2nd ch from hook and across (8); ch 1, turn.
-
Rows 2–7: sc across (8)
-
Row 8 (taper): dec, 4 sc, dec (6)
-
Row 9: dec, 2 sc, dec (4)
-
Row 10: dec twice (2), FO. Edge with a round of sc if you want a smooth outline; sew to head.
-
Ear styling: For inner ears, stitch a contrasting oval of felt or surface-crochet in a blush or pastel shade.
6) Assembly and positioning (the neat, professional finish)
-
Pin first: Arrange legs so the bunny sits upright; arms slightly forward for a hug-me look; ears evenly spaced on top.
-
Sew securely: Use a ladder/mattress stitch and match yarn color to the piece you’re attaching.
-
Balance check: Place the bunny on a flat surface before final tightening. Adjust stuffing or shift limb angles as needed.
-
Face details:
-
Embroider a small V nose with pink; add a short vertical stitch below for the mouth.
-
For child-safe versions, embroider eyes with black thread (French knots or small horizontal stitches).
-
7) Final touches and accessories (make it uniquely yours)
-
Neck bow or ribbon: ch 60, sl st back loosely for a tiny cord; tie in a bow.
-
Mini scarf: ch long enough to wrap; 2–3 rows of sc; fringe if desired.
-
Easter accents: Crochet a mini egg (MR 6; gradually increase to 18–24; work even; decrease to close), a tiny basket (small oval base + short sides), or a flower crown (tiny picot or daisy stitches).
-
Blush: Dab fabric pastel on cheeks or embroider two tiny pink circles.
Polish tip: After assembly, roll the bunny gently between your palms to smooth the fiberfill and relax stitches. It creates that “shop-ready” silhouette.
Customization Ideas
-
Color stories:
-
Pastel Parade: butter yellow, lavender, mint, baby blue.
-
Natural Neutrals: oat, flax, mushroom, fog.
-
Candy Brights: bubblegum pink, tangerine, lime, sky.
-
-
Yarn types:
-
Cotton for crisp, modern lines;
-
Cotton-acrylic for softness;
-
Chenille/velvet for extra plush (embroider features).
-
-
Themes:
-
Classic Easter: striped egg and gingham bow.
-
Rainbow Bunny: each ear a different hue; speckled body.
-
Woodland: earth tones, tiny mushroom prop.
-
Storybook: lace collar, soft blush cheeks, embroidered lashes.
-
-
Add-ons: tiny backpack, carrot, daisy crown, removable hoodie with ear holes, or a pocket apron that holds a crochet egg.
Advanced Tips & Troubleshooting
-
Invisible decrease mastery: Insert hook through the front loops of the next two stitches; yarn over, pull through both loops, yarn over, pull through one decreases melt into the fabric.
-
Even tension = even shape: Practice with a yarn tail; aim for consistent loops. If gaps appear, use a smaller hook.
-
Prevent twisted rounds: Always mark Round 1 and keep the marker moving; check orientation before committing to several rounds.
-
Stuffing strategy: Add little pinches at a time. For heads, push more fill to the cheek area; for bodies, keep the core firm and the base slightly weighted.
-
Symmetry checks: Count rows on both ears/arms/legs; pin both sides before sewing; look at the bunny from the front and top.
-
Seamless joins: Ladder stitch hides seams beautifully catch a bar of fabric from each piece, pull gently, repeat.
-
Reading abbreviations accurately: Keep a quick legend nearby (MR, sc, inc, dec, sl st). Tally rows on paper or a notes app to avoid drifting stitch counts.
-
Rescue wobbly heads: Tighten neck stitches, add a touch more stuffing, or stitch a small “collar” round to lock the head into the torso.
-
Clean color changes: On the last yarn-over of the stitch before the change, pull through the new color; snug tails inside as you work.
-
Smoothing lumps: Warm your palms slightly and roll the piece; a light steam (no direct contact) can relax fibers test first.
Care Instructions
-
Hand wash gently in cool to lukewarm water with a small amount of mild detergent.
-
Do not wring. Press between towels to remove excess water.
-
Air dry flat away from direct heat or sunlight to prevent fading and misshaping.
-
Fluff the fiberfill by rolling the bunny in your hands once dry.
-
Store safely in a breathable pouch or on a shelf away from dust and pets. For long-term gifting, include a little care card.
Display & Gift Ideas
-
Home décor: Perch a trio of bunnies on a mantle or windowsill; nestle one in a spring wreath.
-
Kid’s room accessory: Use embroidered eyes and securely sewn parts; place on a bookshelf or rocking chair.
-
Desk companion: A tiny bunny beside your laptop is a daily smile.
-
Holiday ornament: Add a thread loop for hanging on an Easter tree, garland, or gift bag.
-
Personalized gift: Tuck a note under the bow Handmade just for you. Present in a kraft box with tissue and a paper nest.
Benefits of Making Crochet Own Cute Easter Bunny Amigurumi
-
Relaxation & mindfulness: Repetitive stitches calm the nervous system and bring focus to the present moment.
-
Stress relief through crafting: Soft textures + steady progress = cozy dopamine.
-
Accomplishment & joy: A finished bunny embodies your patience, skill, and care instant mood boost.
-
Eco-friendly gifting: Use stash yarns and long-lasting materials to create meaningful, low-waste presents.
-
Emotional connection: Handmade equals heartfelt. Your time and intention are stitched into every detail.
-
Skill-building: Practice shaping, assembly, embroidery, and finishing skills you’ll use in every amigurumi project.
-
Community & sharing: Perfect for crochet-alongs, charity drives, spring markets, and gift exchanges.
Photography & Social Media Tips
-
Chase daylight: Shoot by a bright window; avoid harsh midday sun.
-
Soft backgrounds: Neutral boards, linen cloths, or pastel papers keep focus on your stitches.
-
Tell a story: Add props mini eggs, baskets, tulips, a cup of tea, your favorite hook.
-
Use angles wisely: Capture front, ¾ view, profile, and a close-up of the face and stitches.
-
Mind the palette: Choose props in colors that complement your bunny’s yarn.
-
Keep it tidy: Snip stray fibers and lint-roll before shooting.
Conclusion
From the very first magic ring to the last gentle stitch, the Crochet Own Cute Easter Bunny Amigurumi is a celebration of patience, playfulness, and handmade love. It’s small enough to finish in cozy sessions, yet full of charming details that make it feel special. Whether you display it with spring décor, tuck it into a child’s room, hang it as a sweet ornament, or gift it to someone who needs a smile, this bunny carries a little sunshine wherever it goes.
So choose your favorite pastel, warm up your hands, and let the rhythm of the stitches guide you. In no time, you’ll hold a soft, expressive bunny that’s uniquely yours proof that creativity can hop from the heart straight into your hands.