
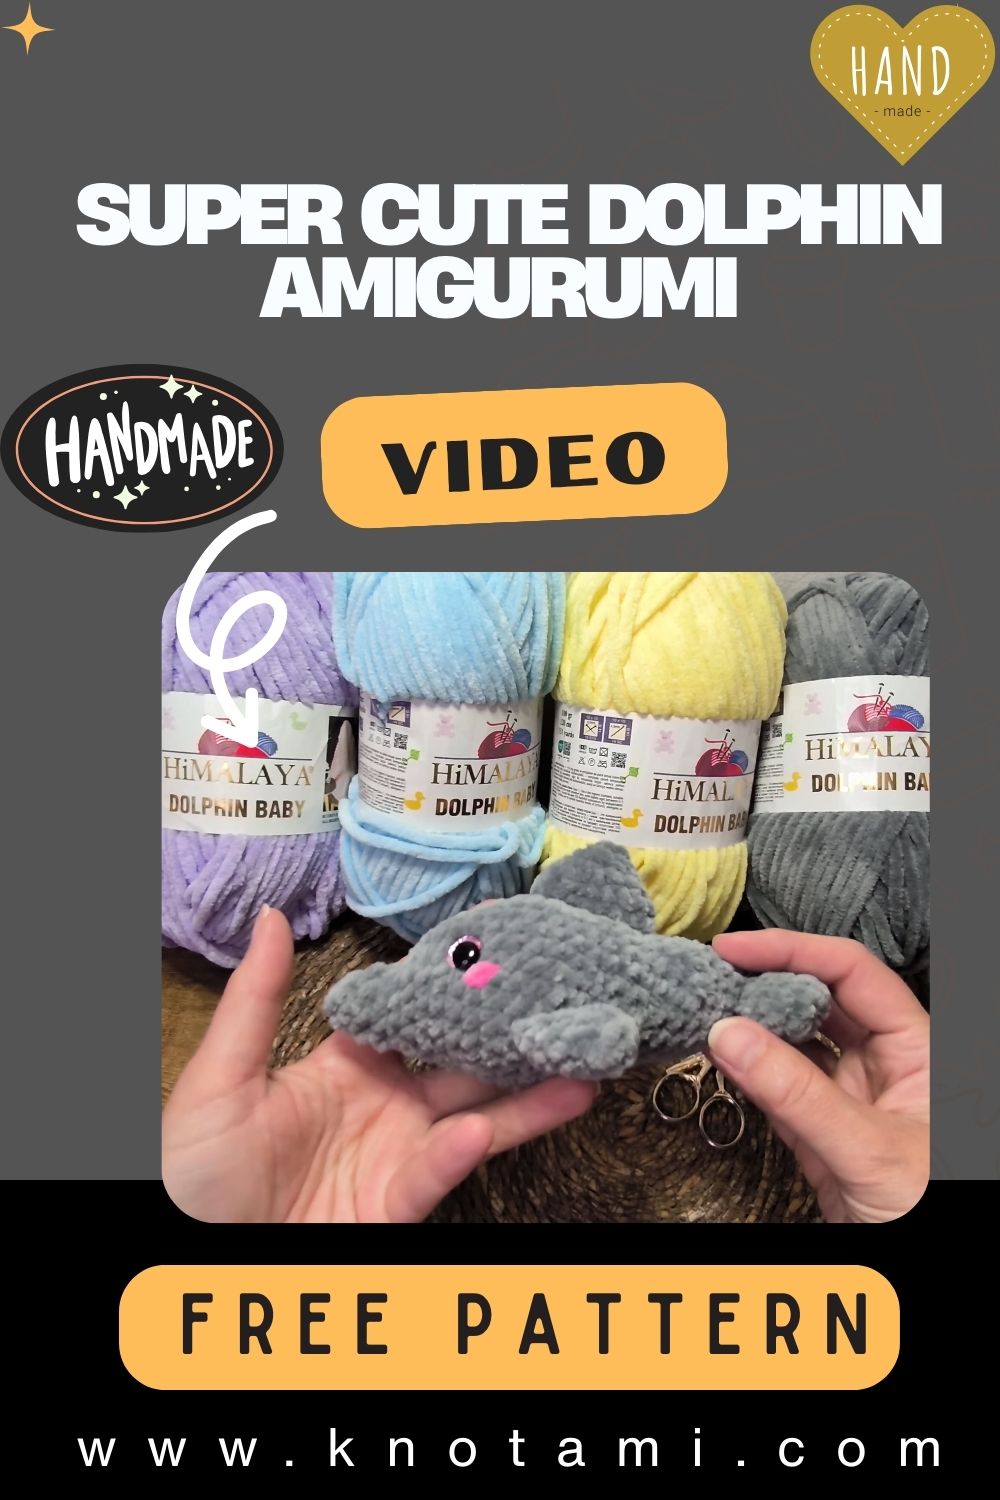
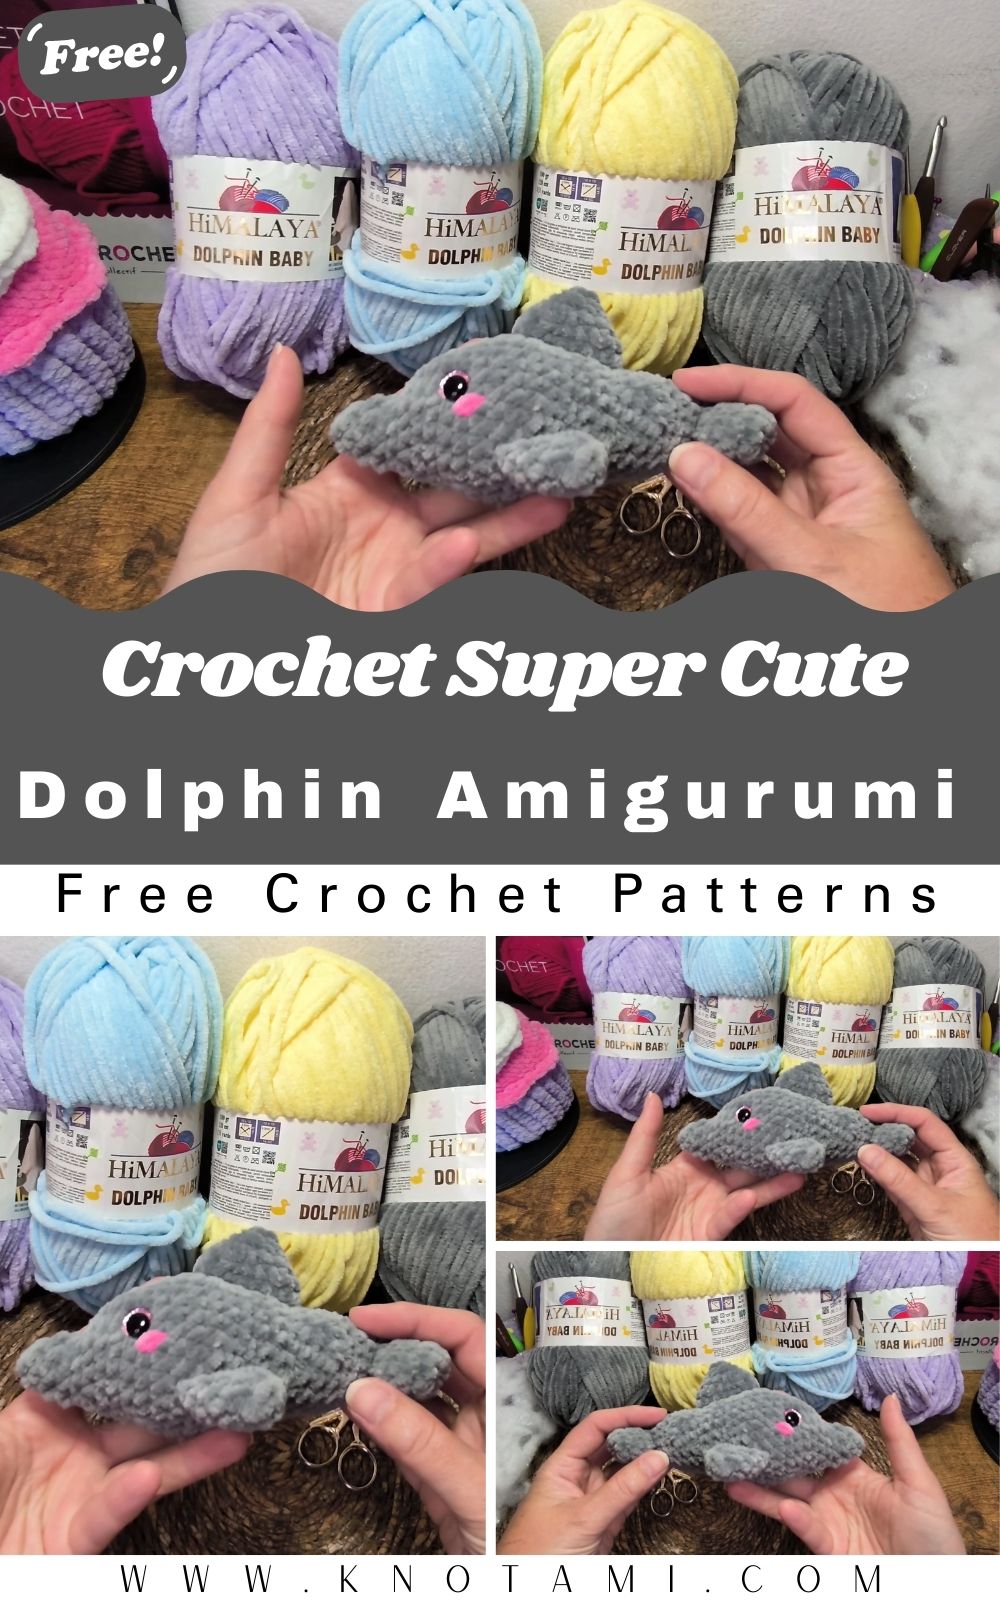
This crochet dolphin amigurumi is a sweet little ocean friend with a rounded body, tiny fins, and an adorable smile. If you’ve been looking for a beginner crochet animal pattern that works up quickly, this dolphin is perfect for handmade toys, gifts, or ocean-themed decorations.
Amigurumi crochet is the art of creating small stuffed toys using simple stitches, most often single crochet, worked in continuous rounds to build smooth 3D shapes. It’s a favourite hobby for crochet lovers because it’s relaxing, portable, and incredibly customizable, even for beginners.
Crochet sea animal toys are especially popular because their shapes are naturally “amigurumi-friendly”: rounded bodies, cute fins, and simple features look great in yarn. Plus, ocean themes are timeless for nursery decor, baby shower gifts, and playful handmade collections.
Crocheters love Dolphin amigurumi designs because dolphins are instantly recognizable, cheerful, and look adorable in both classic blue-grey yarns and fun pastel colours. This DIY crochet dolphin tutorial focuses on a simple construction, one main body piece with easy add-on fins. Hence, it’s approachable if you’re trying a mini crochet dolphin pattern for the first time. Whether you want a crochet ocean animal toy for a child or a small desk buddy, this crochet dolphin amigurumi is a beginner-friendly project with a smooth finish and a cute, friendly face.
Materials Needed
- Blue yarn (main dolphin body)
- White yarn (optional belly)
- Black yarn or safety eyes
- Crochet hook (2mm – 3mm)
- Fiberfill stuffing
- Yarn needle
- Stitch marker
- Scissors
Optional:
- Pink yarn for blush
- Keychain ring
- Small embroidery thread for mouth (black, dark grey, or pink)
Crochet Abbreviations
- MR – Magic Ring: adjustable loop used to start crocheting in the round
- sc – single crochet: the main amigurumi stitch
- inc – increase: 2 sc in the same stitch
- dec – decrease: combine 2 stitches into 1 (sc2tog or invisible decrease)
- ch – chain: foundation stitch used for starting or shaping
- sl st – slip stitch: joining/finishing stitch
- st – stitch: one stitch
- FO – fasten off: cut yarn and secure the end
Finished Size
Your finished crochet dolphin will be approximately 10–14 cm, depending on yarn weight, hook size, and how tightly you crochet and stuff.
Design Overview
This dolphin amigurumi design features:
- A rounded dolphin body with a smooth, cuddly shape
- Small side fins for a cute silhouette
- A tail fin at the back for that classic dolphin look
- A cute, friendly face (safety eyes + a tiny smile)
- Smooth amigurumi texture made with tight single crochet stitches
- A simple beginner design with easy shaping and minimal sewing
Step-by-Step Crochet Pattern
Pattern Notes (important for beginners)
- Work in continuous rounds unless otherwise stated.
- Use a stitch marker to mark the first stitch of each round.
- For a neat amigurumi look, use tight tension and a hook slightly smaller than your yarn label suggests.
- Numbers in parentheses are stitch counts at the end of each round.
Head and Body (one piece)
Start with a magic ring and crochet rounds to shape the dolphin body.
R1: MR, 6 sc (6)
R2: inc x6 (12)
R3: (sc, inc) x6 (18)
R4: (2 sc, inc) x6 (24)
R5: (3 sc, inc) x6 (30)
R6: (4 sc, inc) x6 (36)
R7–R10: sc around (36)
Now begin shaping from the head into the Body:
R11: (4 sc, dec) x6 (30)
R12: sc around (30)
R13: (3 sc, dec) x6 (24)
R14–R15: sc around (24)
R16: (2 sc, dec) x6 (18)
Start stuffing firmly, shaping the head and Body as you go.
R17–R18: sc around (18)
Continue tapering toward the tail base:
R19: (sc, dec) x6 (12)
Stuff more (especially the front “snout/head” area).
R20: sc around (12)
FO leaving a tail for attaching the tail fin, or continue directly if you prefer to crochet the tail fin separately and sew.
Belly Section (optional two-colour detail)
If you’d like a lighter belly (white yarn), you have two easy options:
Option A: Simple colour-change stripe (easiest):
- Switch to white yarn for R12 (or any single round in the middle), then switch back to blue.
Option B: Oval belly patch (clean look):
- Crochet a small oval/round patch in white and sew it onto the underside of the dolphin.
Quick belly patch (white):
- MR, 6 sc
- (inc x6) = 12
- (sc, inc) x6 = 18
FO leaving a long tail, centred on the belly.
Tail Fin
Create the tail using increases and shaping stitches.
Tail fin (make 2 “lobes”):
With blue yarn, make 2 identical pieces:
R1: MR, 6 sc (6)
R2: (sc, inc) x3 (9)
R3: sc around (9)
FO leaving a sewing tail.
Assembly:
- Place the two tail lobes side by side.
- Sew them together along one edge to form a butterfly-like tie.
- Sew the joined tail fin to the back of the Body (the tapered end).
Side Fins (Make 2)
Crochet small fins and attach to the sides.
With blue yarn:
R1: MR, 6 sc (6)
R2: (sc, inc) x3 (9)
R3: sc around (9)
R4: (sc, dec) x3 (6)
Flatten the fin and sc through both layers across the top edge (about 3 sc) to close.
FO leaving a long tail for sewing.
Top Fin (dorsal fin)
Crochet a small dorsal fin.
With blue yarn:
R1: MR, 6 sc (6)
R2: sc around (6)
R3: (sc, inc) x3 (9)
R4: sc around (9)
Flatten and close the top edge with 4–5 sc through both layers.
FO leaving a tail for sewing.
Face Details
Attach safety eyes and embroider a small smile.
- Place safety eyes between R7 and R9, about 6–7 stitches apart (adjust for your preferred expression).
- Embroider a tiny curved smile using black embroidery thread or thin yarn. Stitch just below and between the eyes for a friendly look.
- Optional blush: add two small pink stitches on the cheeks.
Tip: If this is for a baby or toddler, embroidered eyes are usually safer than safety eyes.
Assembly Instructions
- Stuff the Body evenly
- Add small pieces of fiberfill at a time.
- Push stuffing into the head first, then the Body, keeping the shape smooth and rounded.
- Attach the side fins.
- Pin fins on each side of the Body around the widest midsection (roughly near R13–R15).
- Sew securely with tight stitches so they don’t wobble.
- Attach the tail fin
- Centre the tail at the back of the dolphin on the tapered end.
- Sew around the base of the tail fin, reinforcing the join since it’s a grab point.
- Sew the top fin
- Place the dorsal fin on top of the Body, slightly behind the eyes (around R10–R12 area).
- Sew the base down neatly so it stands up a little.
- Position the eyes correctly.y
- Make sure both eyes are symmetrical before locking safety backs (if using).
- For embroidery eyes, mark placement with pins first.
- Shape the dolphin neatly
- Gently squeeze and roll the Body to distribute stuffing.
- If there are lumps, add/remove small amounts of stuffing and re-shape.
Beginner Crochet Tips
- Keep stitches tight for amigurumi: This prevents gaps and keeps stuffing hidden.
- Stuff gradually for smooth shapes: Small amounts of fiberfill at a time make a huge difference.
- Use stitch markers for counting rounds: Continuous rounds are easy to lose track of—marking helps a lot.
- Cotton yarn works well for amigurumi toys: It gives crisp stitch definition and holds shape nicely (while acrylic can feel softer and squishier)—customization of Ideas.
- Make pastel baby dolphins: Try mint, lavender, blush pink, or pale yellow for a nursery-ready look.
- Turn it into a keychain or bag charm: Add a small loop at the top fin area and attach a keychain ring.
- Create an ocean animal set: Pair with a mini whale, turtle, or octopus for a full crochet sea family.
- Add glitter yarn for a magical look: Use a strand of sparkle thread held together with your main yarn for a “sea sparkle” effect.
Conclusion
This cute crochet dolphin amigurumi is an easy, joyful project that’s perfect for beginners who want to make a handmade ocean friend. Crochet your own dolphin as a soft toy, thoughtful gift, or charming ocean-themed decoration, and don’t be afraid to personalize it with colours, blush, or a sparkly yarn twist!