
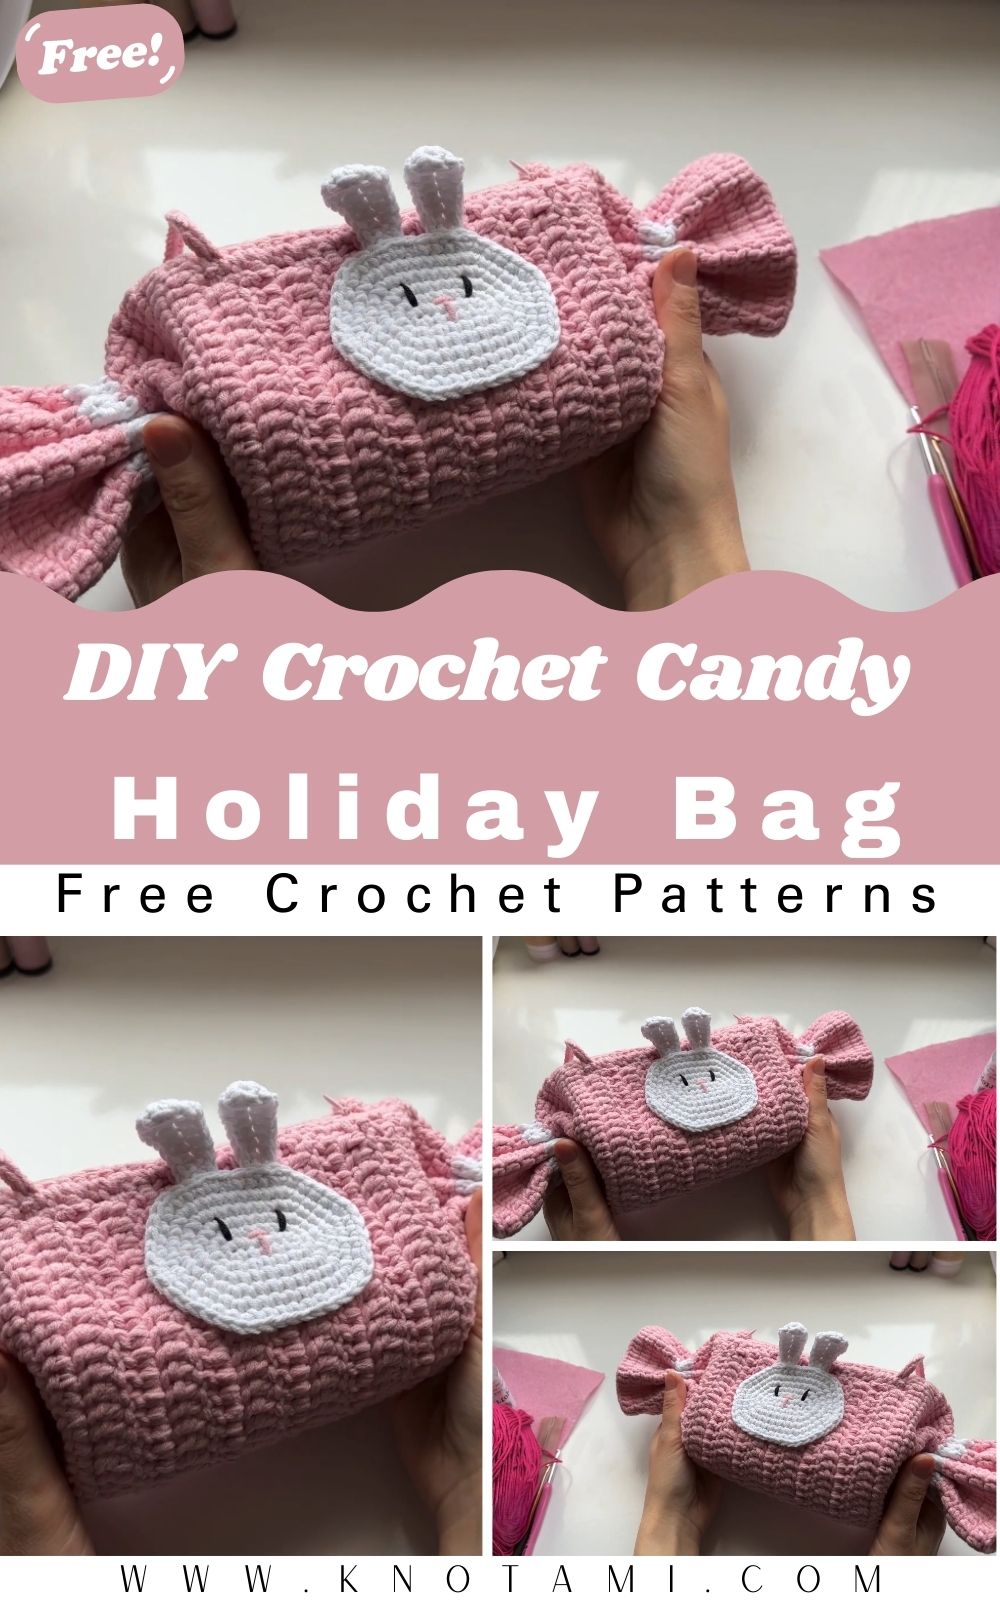
Are you looking for a project that is both adorable and functional? If so, you have come to the right place because today we are diving into the world of the Crochet Candy Bag. This charming accessory is designed to look exactly like a sweet holiday treat, making it the perfect gift for children or a playful addition to your own collection. Whether you are prepping for a festive season or simply want a creative way to use up your yarn stash, this crochet candy bag is a fantastic choice that brings a smile to everyone who sees it.
The beauty of this specific design lies in its simplicity and speed. Even if you are relatively new to the craft, you can easily master the stitches required to bring this crochet candy bag to life. Moreover, because the construction is straightforward, you can customize the size and colors to match any occasion. In this guide, we will walk you through every single step, ensuring that you feel confident from the first chain to the final assembly of your very own crochet candy bag.
Before we get into the written instructions, make sure to watch the embedded video above. While this blog post provides a comprehensive guide, seeing the hand movements in real-time can be incredibly helpful for visual learners. After you have watched the video, you will notice how the crochet candy bag takes shape through simple rectangular panels and clever gathering techniques. Consequently, combining the visual cues from the video with the detailed steps below will make your crafting experience much smoother and more enjoyable.
Skill Level / Level of Difficulty
This project is rated as Easy. It is perfectly suited for beginners who have a basic understanding of stitches like the chain and double crochet. Since the crochet candy bag is made primarily from a flat rectangle that is later shaped, you do not have to worry about complex increasing or decreasing. Therefore, it serves as an excellent “confidence booster” project for those who want to create something impressive without the stress of intricate patterns.
Tutor’s Suggestions
To get the best results for your crochet candy bag, I suggest paying close attention to your yarn choice. If you want a sturdy bag that holds its shape, try using a slightly thicker cotton or acrylic blend. Additionally, I recommend using two different hook sizes as mentioned in the guide. Using a larger hook for the main body ensures the bag is soft and flexible, while a smaller hook for the “wrapper” ends gives them a more defined, ruffled look. Lastly, do not be afraid to play with colors! A bright, variegated yarn can make your crochet candy bag look like a gourmet sweet from a high-end candy shop.
Materials Needed
To start your crochet candy bag, please gather the following supplies:
-
Yarn: Two colors of your choice. A thick “Mega” style yarn works best for the main body, while a shimmering or contrasting color is great for the accents.
-
Crochet Hooks: A 3.5 mm hook for the main body and a 3.0 mm hook for the edges.
-
Zipper: A 15 cm to 20 cm zipper (hidden zippers look best).
-
Lining Material: A small piece of felt or cotton fabric to give the bag structure.
-
Tools: A yarn needle, sharp scissors, measuring tape, and fabric glue or a hot glue gun.
Step-by-Step Guide to Creating Your Crochet Candy Bag
Step 1: The Foundation Chain
First, you need to start by making a slip knot and placing it on your 3.5 mm hook. To begin the body of your crochet candy bag, chain 50 stitches. This will create a bag approximately 25 cm wide. However, if you want a larger version, you can increase your chain count until it measures about 33 cm. Keep your chains loose so that the first row of stitches is easy to work into.
Step 2: Working the Main Body
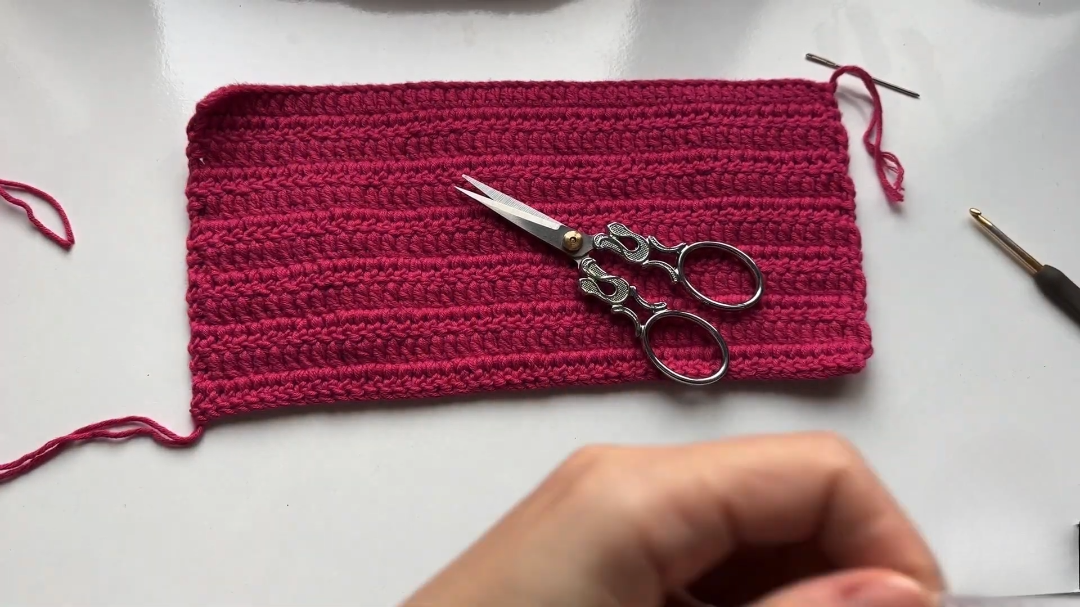
Once your chain is ready, skip the first two chains and work one double crochet into the third chain from the hook. Continue placing one double crochet into every chain across the row. You should have 48 stitches in total. For the next rows, chain two, turn your work, and continue with double crochets. Repeat this process until you have completed 12 rows. This rectangle forms the central “wrapper” of your crochet candy bag.
Step 3: Adding the Lining and Support
Now that the crochet piece is finished, it is time to add stability. Cut a piece of felt slightly smaller than your crochet rectangle. Use your glue gun or a needle and thread to attach the felt to the “wrong” side of the fabric. This step is crucial because it prevents the crochet candy bag from sagging when you put items inside it. If you want a professional finish, you can also sew a piece of patterned cotton fabric over the felt.
Step 4: Installing the Zipper

Place your zipper along the long top edge of the rectangle. You should carefully pin it in place before sewing. Using a matching thread, sew the zipper to the crochet fabric. Make sure the zipper opens and closes smoothly before you finalize the stitches. Once one side is attached, fold the rectangle in half and sew the other side of the zipper to the opposite edge. Your crochet candy bag now has a functional opening!
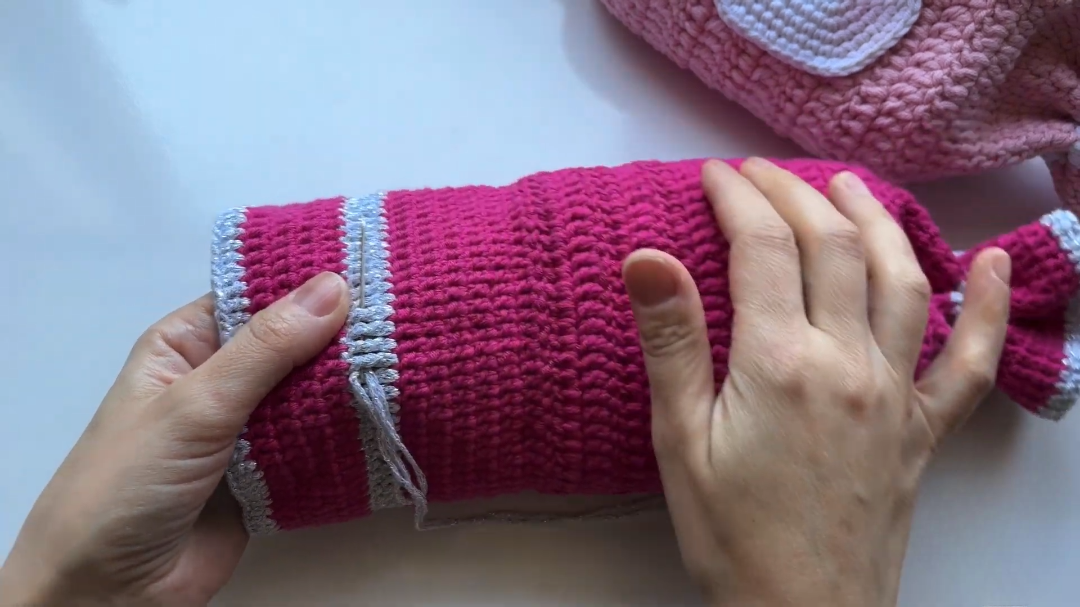
Step 5: Creating the Candy Ends
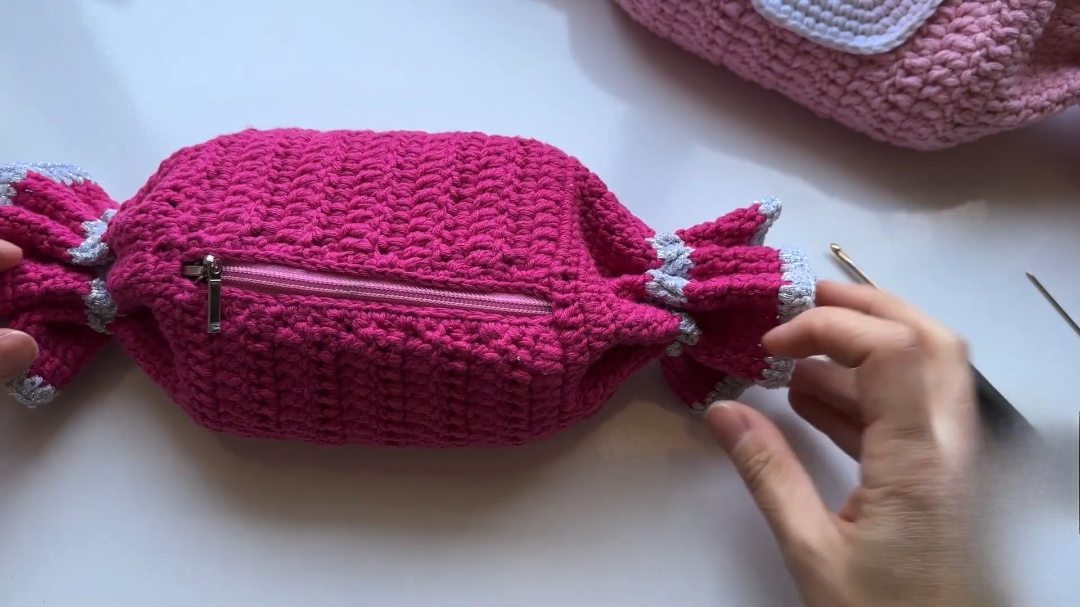
Switch to your 3.0 mm hook and join your accent yarn to the open side of the tube. To create the ruffled “candy wrapper” look, work a row of double crochets around the circular opening. In the first row, follow a pattern of four single stitches followed by one increase (two stitches in one hole). This will flare the fabric out. Continue for about 6 to 12 rows, depending on how long you want the “twists” of your crochet candy bag to be.
Step 6: Gathering and Shaping
To give the bag its signature “wrapped candy” shape, you need to cinch the area where the body meets the ruffles. Take a long piece of yarn and a needle, then weave it through the stitches at the base of the ruffles. Pull the yarn tight to gather the fabric and tie it securely with a double knot. Hide the ends inside the bag. Repeat this on the other side. Now, your crochet candy bag truly looks like a giant piece of taffy!
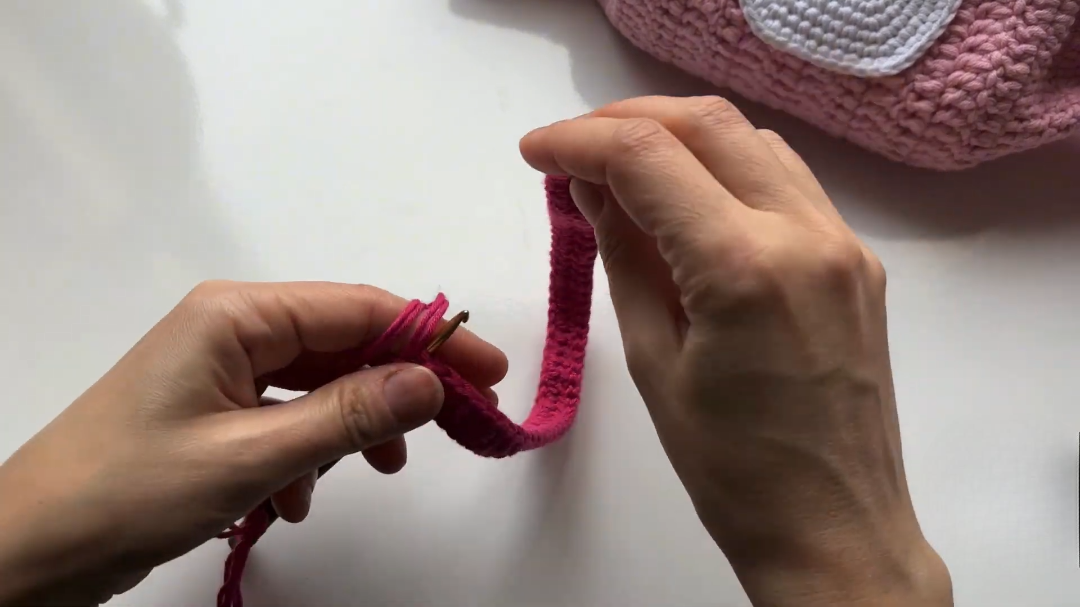
Step 7: Making the Strap
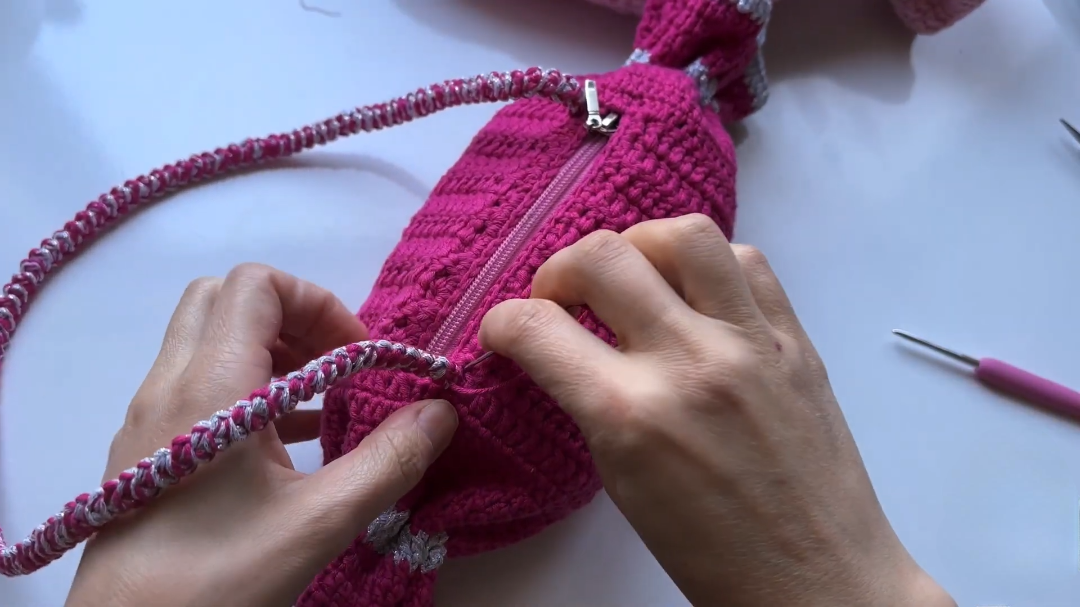
Finally, you need a way to carry your creation. You can make a simple strap by chaining two and working a “thermal” or “cord” stitch for durability. Alternatively, you can braid three strands of yarn together for a chunky look. Attach the ends of the strap to the gathered sections of the crochet candy bag. Ensure the length is appropriate for the person who will be wearing it.
<
Where Can We Use It?
The crochet candy bag is incredibly versatile. It is an amazing accessory for children to wear during birthday parties or school events. Because it is so eye-catching, it also works perfectly as a “prop” for festive photoshoots during Halloween or Christmas. Furthermore, you can use it as a unique gift wrap! Instead of a paper bag, place a small gift inside this crochet candy bag to make the presentation extra special. It is also small enough to serve as a makeup pouch or a coin purse for your own handbag.
Tips and Tricks
-
Tension Matters: Try to keep your tension consistent throughout the project. If you crochet too tightly, the crochet candy bag might feel stiff.
-
Yarn Selection: Use cotton yarn if you want the bag to be washable, as children often get accessories dirty.
-
Zipper Tip: If you find sewing a zipper difficult, you can use “basting tape” to hold it in place while you sew.
-
Customization: Add small crochet flowers or beads to the ruffles to give your crochet candy bag a more “extra” and luxurious feel.
Common Mistakes
One common mistake is forgetting to count your stitches. If you lose a stitch in the main body, the rectangle will become uneven, and the crochet candy bag won’t fold correctly. Another error is cinching the ends too loosely. If the gather is not tight, the “candy” shape won’t be defined. Additionally, many beginners forget to leave a long enough “tail” of yarn for sewing, which makes finishing the project much harder than it needs to be.
FAQs
1. How long does it take to make a crochet candy bag?
Most crafters can finish this project in just one day. Because the stitches are basic and the size is small, it is a very fast project.
2. Can I use a different hook size?
Yes, but remember that a larger hook will make a larger, looser bag, while a smaller hook will make the crochet candy bag smaller and more compact.
3. Do I have to use a lining?
While it is not strictly required, a lining is highly recommended. It prevents small items like coins or keys from slipping through the crochet stitches.
4. Is this project suitable for kids to learn?
Absolutely! This is a wonderful project for a teenager or an older child to practice their double crochet stitches.
5. How do I clean my crochet candy bag?
If you used cotton or acrylic yarn, you can hand wash it in cool water with a mild detergent and let it air dry flat.
Summary of Final Touches
In conclusion, creating a crochet candy bag is a rewarding experience that combines basic techniques with a very high “cute factor.” By following these steps, you have transformed a simple piece of yarn into a functional work of art. Remember to always double-check your measurements and enjoy the process of choosing vibrant colors. Now that you have finished your first crochet candy bag, you might find yourself wanting to make a whole “box” of them in different shades! Happy crocheting!