
There’s a little bit of wonder in every skein of yarn, isn’t there? I love how a quiet moment with a hook can spin into something full of personality and charm. The gentle glide of yarn, the rhythm of each stitch, and that sweet point when your project starts to take shape, it’s pure comfort crafting. Crochet isn’t just a pastime; it’s a hug you make with your hands, one stitch at a time.
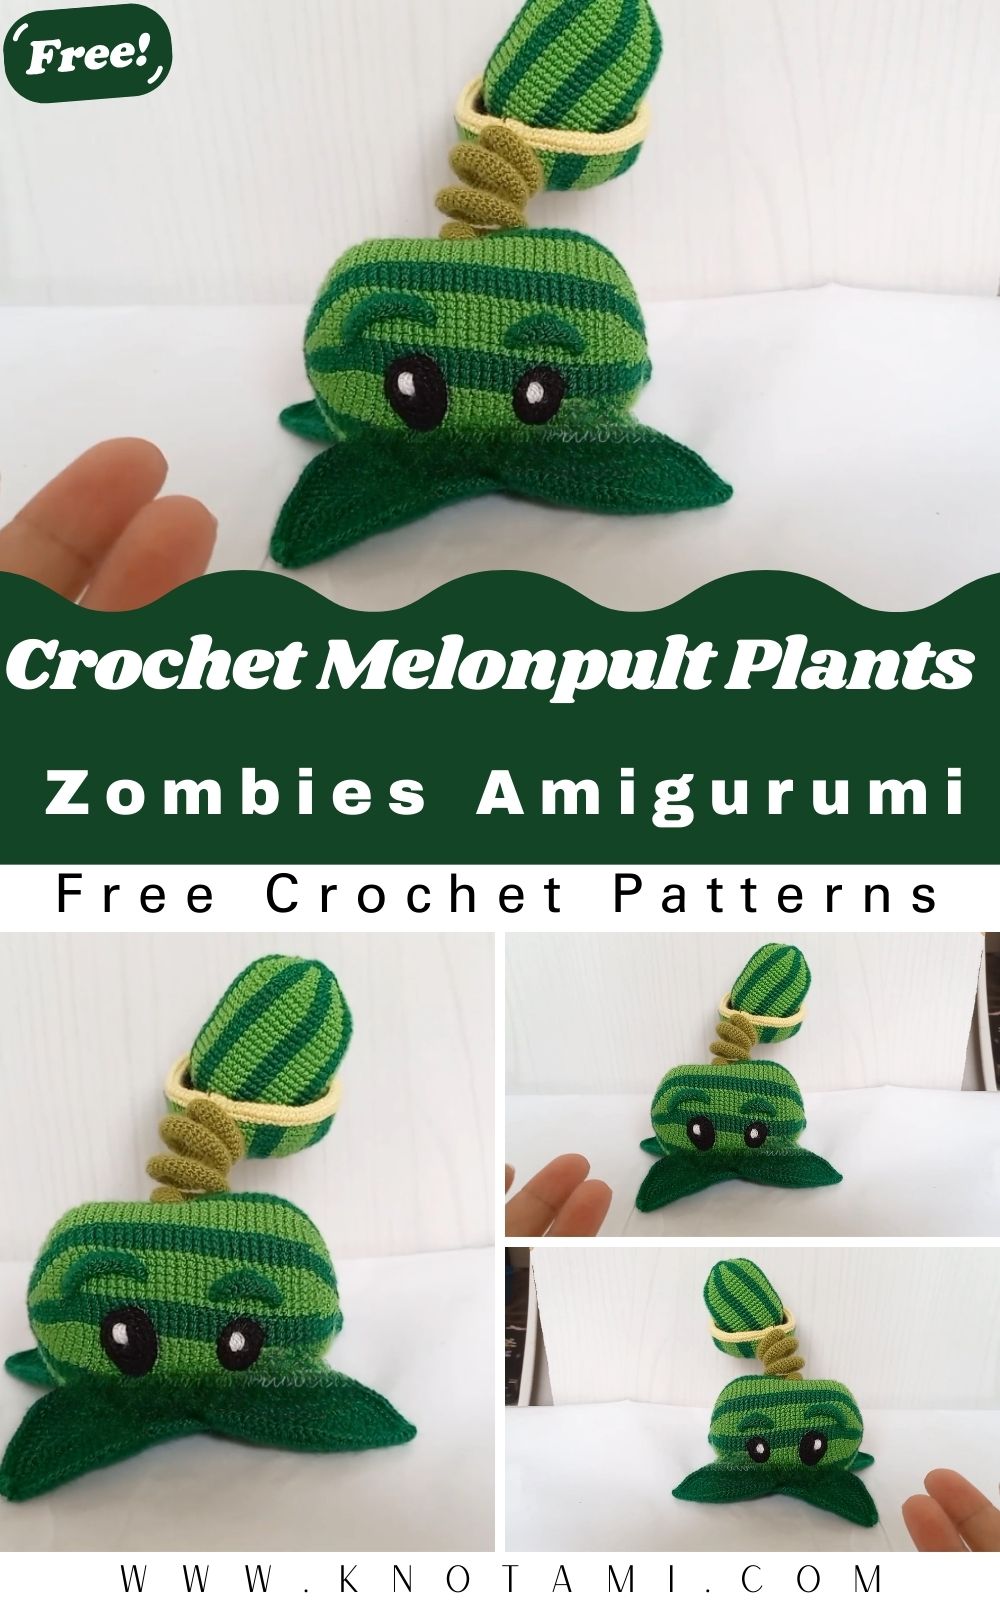
Say hello to the Melonpul,t your favorite seed-flinging sidekick from Plants vs. Zombies, now reimagined in soft, squishy amigurumi form. This playful little melon with leafy arms and a determined face is a total crowd-pleaser for gamers and makers alike. It’s cute, recognizable, and such a fun way to bring a bit of game nostalgia into your handmade world.
This project is friendly for beginners yet satisfying for seasoned crocheters. You’ll practice amigurumi basics like working in the round, shaping, and simple color changes, then add personality with leaves and easy facial details. It’s low-stress, high-reward, and a great stash-buster perfect for using up small bits of green, brown, and black yarn you already have on hand.
Materials & Tools
Here’s everything you’ll need to make your Crochet Melonpult Plants vs Zombies Amigurumi:
Materials List
-
Yarn Colors:
-
Green (main body)
-
Light green (melon shell or leaf accents)
-
Brown (stem and base)
-
Black (mouth and details)
-
White (eye embroidery or details)
-
-
Yarn Weight: DK or light worsted (Category 3) works best for amigurumi.
-
Hook Size: 2.5 mm – 3.0 mm crochet hook.
-
Stuffing: Polyester fiberfill for shaping.
-
Safety Eyes: 8 mm or 10 mm black plastic eyes (or embroidered).
-
Tapestry Needle: For sewing pieces together and weaving in ends.
-
Scissors: Sharpened tip.
-
Stitch Markers: To keep track of rounds.
-
Optional: Craft wire for poseable leaves.
Choosing the Right Yarn and Color Combo
-
Go for cotton yarn for crisp stitch definition, ideal for structured amigurumi shapes.
-
Acrylic yarn gives a soft, slightly fuzzy finish, great for toy-like textures.
-
Mix shades of green, ark for the melon body, light for leaf accents to mimic the plant’s vibrant, cartoon-like style.
-
Avoid overly thick yarns that make the piece bulky; lightweight options give it the perfect size for display or keychain use.
Step-by-Step Crochet Instructions
This Melonpult amigurumi is worked in multiple parts he melon head, base, stem, leaves, and optional facial features, all sewn together for a cute and sturdy finish.
Making the Melon Head
-
Start with green yarn and a magic ring.
-
Round 1: 6 sc in magic ring. (6)
-
Round 2: 2 sc in each stitch around. (12)
-
Round 3: (1 sc, inc) repeat around. (18)
-
Round 4: (2 sc, inc) repeat around. (24)
-
Round 5-10: Sc evenly in each stitch. (24 per round)
-
-
Shape the top and bottom:
-
Round 11: (2 sc, dec) repeat around. (18)
-
Round 12: (1 sc, dec) repeat around. (12)
-
Stuff with fiberfill firmly but evenly.
-
Round 13: Dec around until closed. (6)
-
-
Fasten off and close.
-
Embroider black watermelon stripes vertically around the head using thin black yarn.
Expert Tip: For a realistic touch, lightly brush the surface with a soft toothbrush to fluff the yarn and soften the color transitions.
Forming the Neck and Upper Stem
-
Attach brown yarn to the top of the base where the melon connects.
-
Round 1: Magic ring, 6 sc.
-
Round 2: (1 sc, inc) repeat (9).
-
Round 3–4: Work evenly in sc (9).
-
Fasten off and stuff lightly.
Pro Tip: The neck should be firm but flexible enough to tilt the melon slightly forward, giving the illusion that it’s ready to launch a melon projectile!
Building the Base (Launcher Bowl)
-
With brown yarn, chain 6 and form a ring.
-
Round 1: 6 sc in ring.
-
Round 2: Inc around (12).
-
Round 3: (1 sc, inc) around (18).
-
Round 4: Work in back loops only (18) to create the bottom edge.
-
Round 5–7: Sc around (18) for the bowl depth.
-
Round 8: Sl st to finish and fasten off.
Shaping Tip: Stuff the base gently; it should sit flat but not bulge.
Making the Body and Leaf Platform
-
With light green yarn, chain 8.
-
Row 1: Sc in each chain. Turn.
-
Row 2: (Sc, hdc, dc, hdc, sc) to form one rounded leaf edge.
-
Make 3–4 leaf pieces for the base.
-
Sew them together in a circular shape, slightly overlapping each one.
Attach this leafy platform to the top of the brown base (launcher bowl). This creates the leafy foundation where the melon head sits.
Creating the Melon Stems and Side Leaves
-
With green yarn, chain 10.
-
Sc across to make a thin stem.
-
Repeat twice more for a total of 3 small stems.
-
Create small leaves:
-
Chain 5, sc in 2nd chain, hdc, dc, hdc, sc back down.
-
Fasten off, leaving a tail for sewing.
-
-
Attach these leaves to the stem tips to give that iconic “Melonpult” leafy sprout effect.
Expert Tip: Use floral wire inside each stem before sewing to make them poseable, perfect for adjusting angles in photos.
Assembly & Positioning
Now comes the fun part, putting everything together!
-
Attach the melon head to the brown neck using your tapestry needle and matching yarn.
-
Position the neck firmly in the middle of the leafy base and sew securely.
-
Add small stitches between the head and leaves for extra stability.
-
Place the completed melon assembly into the brown base (bowl) and stitch around the edges.
-
Adjust leaf direction to make it look dynamic and balanced.
Finishing Tip: Test the balance by setting your Melonpult on a flat surface. Itshould sit upright without leaning forward.
Adding Facial Details
-
Attach safety eyes symmetrically between rounds 5 and 6 on the melon’s front.
-
Embroider a small smile using black yarn, curve it slightly upward for a friendly expression.
-
Optionally, add two white stitches above the eyes for a glossy, cartoon-style effect.
-
If you want a more game-accurate expression, stitch an oval mouth and angled eyebrows for a determined look.
Styling Tip: Use a fine-point embroidery needle for precision and keep the facial details proportional to the head size.
Optional Accessory: Melon Projectile
For extra fun, crochet a small melon ball!
-
Round 1: Magic ring, 6 sc.
-
Round 2: 2 sc in each (12).
-
Round 3: (1 sc, inc) around (18).
-
Round 4–5: Sc evenly.
-
Round 6: (1 sc, dec) (12).
-
Round 7: Dec around (6).
-
Stuff and close.
Add black embroidery lines for watermelon detail.
Place it beside your Melonpult as if it’s ready to fire!
Customization Ideas
Crochet is all about creativity, so let’s make your Melonpult uniquely yours!
Color Schemes
-
Classic Game Colors: Green melon with brown base, authentic and recognizable.
-
Fantasy Theme: Purple melon with gold leaves for a magical look.
-
Pastel Version: Soft mint green and beige for a kawaii aesthetic.
-
Holiday Edition: Red and white stripes for Christmas, or orange and black for Halloween.
Yarn Options
-
Cotton Yarn: Clean stitches, ideal for shelf display.
-
Acrylic Yarn: Softer, plush finish perfect for kids’ toys.
-
Chenille or Velvet: Gives a luxurious, squishy texture perfect for cuddly versions.
Extra Props
-
Crochet a tiny zombie to pair with your Melonpult!
-
Make a mini “garden base” using felt or green yarn.
-
Add embroidered initials or a tag for personalization.
Advanced Tips & Troubleshooting
To make your amigurumi look clean, sturdy, and professional:
-
Invisible Decreases: Insert hook through front loops of two stitches; yarn over and pull through hides gaps perfectly.
-
Consistent Tension: Maintain even yarn flow; loose tension can distort your melon’s round shape.
-
Color Transition: Always switch yarn on the final yarn-over of the previous stitch.
-
Stuffing Balance: Use small tufts of fiberfill void overstuffing toandrevent lumpiness.
-
Joining Parts: Sew with whip stitches through back loops only for invisible seams.
-
Counting Accuracy: Keep track with stitch markers. Amigurumisymmetry relies on exact counting!
-
Prevent Twists: When joining rounds, ensure the base chain isn’t twisted.
-
Blocking: Lightly steam the leaves to smooth curling edges (do not touch the yarn directly).
-
Finishing Touch: Hide yarn tails inside the body using a tapestry needle.
-
Detailing Tip: Use thinner embroidery thread for the mout,h and lines. Bulky yarn can overpower the design.
Care Instructions
Keep your handmade Melonpult looking fresh and ready for “battle”!
-
Cleaning: Hand wash gently in cool water with mild detergent.
-
Avoid: Hot water or machine wash can stretch or felt the yarn.
-
Drying: Roll in a towel to absorb moisture, then air dry flat.
-
Sunlight: Keep away from direct sunlight to preserve vibrant colors.
-
Storage: Store upright in a dry place, ready for display on a shelf or desk.
Pro Tip: If using as a toy, re-stuff occasionally to maintain firmness.
Display & Gift Ideas
The Crochet Melonpult Amigurumi is an amazing collectible and gift idea!
-
Gift It: Perfect for Plants vs Zombies fans, gamers, or handmade toy collectors.
-
Desk Buddy: A fun decoration that brings a smile to your work setup.
-
Gaming Room Decor: Display alongside other amigurumi plants or zombie characters.
-
Home Decoration: Place it on a bookshelf, plant pot, or windowsill.
-
Holiday Ornament: Attach a hanging loop and turn it into a quirky Christmas ornament
-
Personalized Touch: Add a small card saying, “Handmade with love and a touch of melon power!”
Benefits of Making the Melonpult
Crochet isn’t just a craft, tit’sa peaceful escape and a source of happiness.
Relaxation & Mindfulness
The repetitive motion of crochet reduces stress and encourages mindfulness. Everystitch helps quiet your thoughts.
Stress Relief
Creating something from yarn is meditative; it replaces anxious energy with calm focus.
Accomplishment
Completing a detailed project like the Melonpult gives immense pride and boosts confidence in your crafting skills.
Eco-Friendly
Using yarn scraps and handmade materials makes this a sustainable, waste-free hobby.
Emotional Connection
Every handmade piece carries your time, care, and creativity, making it more special than any store-bought toy.
Photography & Social Media Tips
Ready to show off your Melonpult online? Here’s how to make it pop:
-
Lighting: Use natural daylight, morning or late afternoon light, which gives soft, even tones.
-
Background: Use a neutral surface (like beige fabric or a wooden table) to make greens stand out.
-
Props: Include Plants vs Zombies items or other crocheted characters for storytelling.
-
Angles: Take close-ups of the face, base, and leaves to highlight stitch detail.
-
Editing: Adjust brightness slightly, no heavy filters needed!
Conclusion
Crocheting the DIY Crochet Melonpult Plants vs Zombies Amigurumi Pattern is more than just a craft; it’s a celebration of creativity, fandom, and handmade charm. From shaping the round melon head to attaching the leafy base, every step feels joyful and rewarding. You’re not only recreating a beloved gaming character but also adding your own unique artistic flair.
When you finish, you’ll hold in your hands a piece of handmade happiness, something that sparks nostalgia, admiration, and pride. Whether it decorates your shelf, brightens your workspace, or becomes a thoughtful gift for a friend, this Melonpult will always remind you of the fun and peace that crochet brings.