
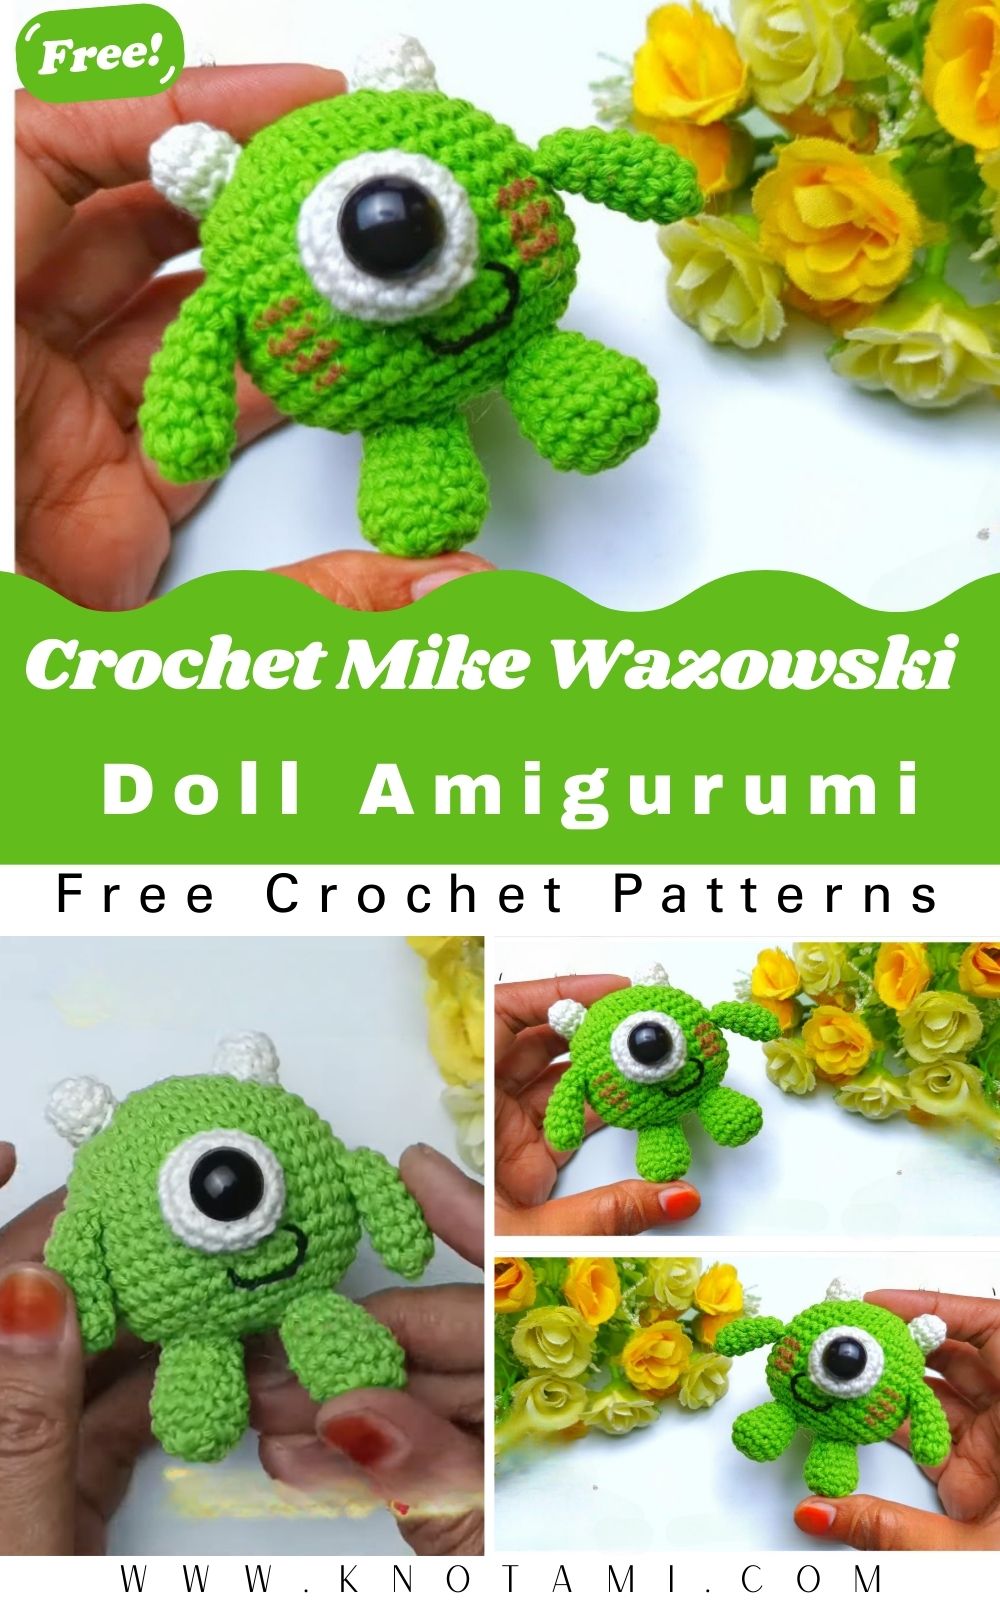
Welcome to the wonderful world of crochet where you can bring your favorite characters to life with just a hook and some yarn! Today, we are diving into a project that is both nostalgic and incredibly fun. We will be making a Mike Wazowski amigurumi keychain. Mike is the iconic one eyed monster we all know and love, and turning him into a tiny, squishy keychain is the perfect way to carry a bit of movie magic with you wherever you go. Whether you are a seasoned pro or just starting your journey, this guide is designed to help you succeed.
Crocheting characters is a fantastic way to practice your skills because it combines basic shapes with creative assembly. Because Mike is essentially a green sphere with limbs, he is the ideal subject for anyone looking to master the art of the Mike Wazowski amigurumi. In this blog post, you will find everything you need to know, from the specific yarn colors to the tiny details that make his personality shine. Furthermore, we have included a helpful video tutorial to ensure you can follow along visually. Let’s get our materials ready and start stitching this little green guy!
Before you dive into the written instructions, you might find it helpful to watch the embed video above. Seeing the hand movements and the way the stitches form can make the process much smoother for you. In the video, you will see exactly how to handle the color changes and how to position the limbs perfectly. Once you have watched the demonstration, use the detailed written pattern below to keep track of your stitch counts and rounds.
Skill Level: Level of Difficulty
This Mike Wazowski amigurumi project is classified as Easy. It is perfect for beginners who have already learned the basics of the magic ring and single crochet stitches. Since the body is a simple sphere, you won’t have to worry about complex shaping. However, the small size of the keychain requires a bit of patience when it comes to sewing the arms and legs. If you can count your stitches and handle a tapestry needle, you will find this project very enjoyable and satisfying.
Tutor’s Suggestions
To get the best results for your Mike Wazowski amigurumi, I highly recommend using a smaller hook than what the yarn label suggests. For example, if you use a 2.5 mm hook with standard cotton yarn, your stitches will be tight enough to prevent the stuffing from showing through. Additionally, make sure you don’t overstuff the limbs. If the arms and legs are too firm, they won’t hang naturally on the keychain. Lastly, always use a stitch marker at the beginning of each round so you never lose your place in the pattern.
Materials Needed
To begin your Mike Wazowski amigurumi, gather the following supplies:
-
Green Yarn: Specifically a bright lime or “apple” green (Amigurumi Circulo is a great choice).
-
White Yarn: For the eye (or you can use white felt).
-
Chantilly/Beige Yarn: For the tiny horns.
-
Black Thread: For embroidery of the mouth.
-
Crochet Hook: 2.5 mm is recommended for a tight finish.
-
Safety Eye: 10 mm with a blue rim to match Mike’s eye color.
-
Fiberfill: High quality polyester stuffing.
-
Tapestry Needle: For sewing the parts together.
-
Scissors: To trim your ends.
-
Keychain Ring: To turn your creation into a portable accessory.
Step by Step Guide to Creating Your Amigurumi
The Arms (Make 2)
To start the arms of your Mike Wazowski amigurumi, you will create a magic ring.
-
Round 1: Work 6 single crochet (sc) into the magic ring. Pull the tail to close.
-
Rounds 2 to 3: Work 6 sc around. This creates a small tube.
-
Finishing: Fold the opening flat and work 2 sc through both sides to close the arm. Leave a long tail for sewing.
The Legs (Make 2)
The legs give Mike his classic pose.
-
Round 1: Work 7 sc into a magic ring.
-
Rounds 2 to 3: Work 7 sc around.
-
Round 4: Start with 1 decrease, then work 5 sc (6 stitches total).
-
Rounds 5 to 6: Work 6 sc around.
-
The Bend: Use your needle to pull the yarn through the third round to create a slight “knee” bend. This adds character to your Mike Wazowski amigurumi.
The Horns (Make 2)
Use your beige or chantilly yarn for these tiny details.
-
Round 1: Work 5 sc into a magic ring.
-
Round 2: Work 5 sc around. Fasten off and leave a tail.
The Giant Eye
You can crochet this or use felt. To crochet it:
-
Round 1: 6 sc in a magic ring.
-
Round 2: 6 increases (12 stitches).
-
Assembly: Place the 10 mm blue safety eye in the center of this white circle before attaching it to the body.
The Body
This is the main part of your Mike Wazowski amigurumi.
-
Round 1: 8 sc in a magic ring.
-
Round 2: 8 increases (16 stitches).
-
Round 3: (1 sc, 1 inc) repeat 8 times (24 stitches).
-
Rounds 4 to 10: Work 24 sc around. This builds the height of the body.
-
Round 11: (1 sc, 1 dec) repeat 8 times (16 stitches).
-
Safety Eye Placement: Insert the eye between rounds 8 and 9.
-
Round 12: 8 decreases. Stuff firmly before closing with an inverted magic ring.
Assembly and Embroidery
Now, sew the arms to the sides around round 6. Attach the legs to the bottom on rounds 2 and 3. Finally, sew the horns to the top and embroider a big, happy smile using black thread just below the eye. Your Mike Wazowski amigurumi is now complete!
Where Can We Use This?
This Mike Wazowski amigurumi is incredibly versatile. Because it is small and lightweight, it makes the perfect keychain for your car keys or house keys. Moreover, you can attach it to a backpack or a purse as a “bag charm” to show off your love for Pixar movies. These also make wonderful gifts for friends, teachers, or coworkers. If you make a set of them, they can even serve as adorable party favors for a themed birthday celebration.
Tips and Tricks
-
Invisible Decreases: When working on the body, use the invisible decrease method. This involves picking up only the front loops of the next two stitches. This technique makes your Mike Wazowski amigurumi look much smoother.
-
Color Matching: If you cannot find a blue rimmed safety eye, you can use a plain black one and embroider a small blue circle around it with thread.
-
Felt Alternative: If you find crocheting the white part of the eye too fiddly, cutting a small circle of white felt is a great shortcut that looks very professional.
-
Tight Tension: Keep your tension consistent. If you find your stitches are too loose, try holding the yarn a bit tighter or switching to a smaller hook.
Common Mistakes
One of the most common mistakes when making a Mike Wazowski amigurumi is placing the eye too high or too low. Mike’s eye is his most prominent feature, so centering it is key. Another mistake is forgetting to count the stitches in the arms and legs. Because they are so small, missing just one stitch can make the limbs look uneven. Additionally, avoid using too much stuffing in the very top of the head, as it can make the horns sit at an awkward angle. Lastly, ensure you secure your thread ends inside the body so the smile doesn’t unravel over time.
Frequently Asked Questions (FAQs)
1. What type of yarn is best for this project?
Cotton yarn is usually the best choice for amigurumi because it has great stitch definition and doesn’t pill as much as acrylic.
2. Can I make this larger?
Yes, you can! To make a bigger Mike Wazowski amigurumi, simply use a thicker yarn (like velvet or bulky yarn) and a larger hook. The pattern remains exactly the same.
3. Do I have to use safety eyes?
If you are giving this to a small child, it is safer to embroider the eye with black and blue yarn instead of using plastic safety eyes, which can be a choking hazard.
4. How do I clean my keychain?
You can gently hand wash your amigurumi with mild soap and cold water. Let it air dry completely to keep the stuffing fluffy.
5. How long does it take to finish?
Since it is a small project, most people can finish a Mike Wazowski amigurumi keychain in about one to two hours.
Final Thoughts
Creating a Mike Wazowski amigurumi is a rewarding experience that results in a super cute accessory. By following these steps and using the tips provided, you will have a high quality handmade item that you can be proud of. Remember that every artist has their own style, so don’t be afraid to give your Mike a unique expression. Happy crocheting, and enjoy your new monster friend!