
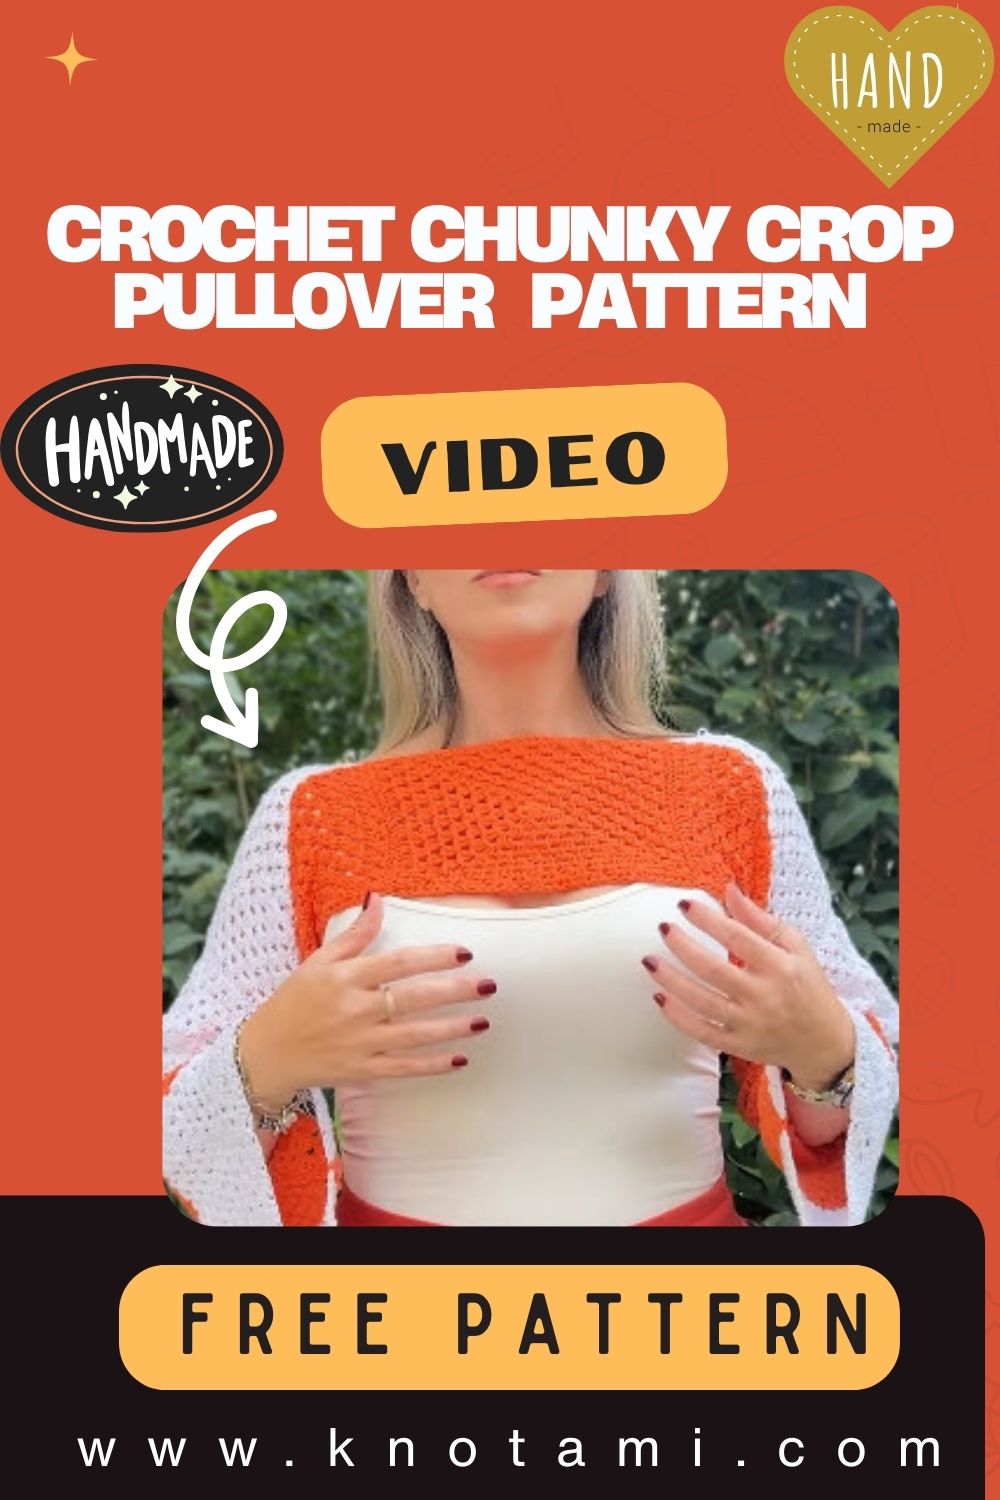
Glow up your wardrobe with this Sparkling Crochet Chunky Crop Pullover Pattern, with snuggly thickness, clean lines, and playful crop length. Minimal seaming, rhythmic stitches, dazzling results in record time.
Fast, flattering, and fabulously sparkly, the Sparkling Crochet Chunky Crop Pullover Weekend Pattern delivers instant style with plush texture and clean lines. The rhythmic stitches make a relaxing weekend project, and the cropped cut pairs perfectly with high-waisted skirts, trousers, or joggers. Add ribbing for structure, lengthen for extra coverage, or opt for subtle sparkle for daytime polish.

This is the kind of piece that turns simple outfits into “wow” moments, while staying cozy enough for couch lounging and coffee dates.
- Statement sweater for special events
- Elevated loungewear essential
- Giftable handmade showpiece
Sparkling Crochet Chunky Crop Pullover Weekend Pattern
Because weekends are for relaxing, let’s keep this simple, sparkling, and fun. The Sparkling Crochet Chunky Crop Pullover Weekend Pattern uses easy, modular motifs that join quickly, drape beautifully, and shine with subtle glam so you get a satisfying, stylish sweater without stress. Moreover, this beginner-friendly approach lets you build the body and sleeves from flat squares, which means fewer calculations, almost no shaping, and plenty of room to personalize color placement. Ultimately, you’ll finish with a soft, comfortable, crop-length pullover that layers effortlessly and looks impressive despite the simple stitches.
What You’ll Make (At a Glance)
First, you’ll crochet 14 motifs (squares) measuring about 17 cm each, then you’ll join six motifs for the body (three for the front and three for the back) and four motifs per sleeve (two by two). Next, you’ll leave a clean, flattering neckline opening during shoulder joins, and you’ll close side seams for a tidy silhouette. Finally, you’ll add an easy edging and, if needed, a quick underarm bridge so everything sits smoothly. Consequently, even beginners can create a polished, wearable sweater in a single weekend.
Materials and Exact Measurements (Beginner-Friendly)
Because specific details make success easier, gather the following:
- Yarn: 100% cotton with a subtle shimmer (the original sample used organic cotton), or hold two strands of DK for a chunkier feel.
- Yardage/weight:
- XS–M (EU 30–40, as shown): about 190 g total (approx. 380–420 m / 415–460 yds)
- L–XL: about 240–320 g (approx. 500–680 m / 550–740 yds)
- 2XL–3XL: about 360–450 g (approx. 770–950 m / 840–1040 yds)
- Color notes (optional for a statement look):
- 12 motifs in a two-color combo
- 2 motifs in a single bold color (e.g., orange) for playful accents
- 1–2 joining colors (e.g., white and the accent color) to highlight seams
- Yardage/weight:
- Hooks:
- 3.0 mm for motifs (produces approx. 17 cm squares)
- 2.5 mm for joining seams (for neat, gap-free joins)
- Notions:
- Tapestry needle
- Stitch markers or clips
- Measuring tape and blocking pins or mats
- Scissors
- Finished motif size: about 17 cm x 17 cm (6.75 in x 6.75 in) after light blocking
- Body width (as assembled in the sample):
- Three motifs across the front ≈ 51–52 cm (20–20.5 in)
- Three motifs across the back ≈ 51–52 cm (20–20.5 in)
- This creates a relaxed fit for EU 34–38 and will still fit up to EU 40 due to ease.
- Neckline opening (as shown): approx. 34.5 cm (13.5 in), adjustable as desired
Because motif size drives the sweater size, measure one finished, lightly blocked motif before making all of them; then adjust hook, yarn, or motif count accordingly.
Gauge and Sizing Tips
- Target motif: 17 cm square with a 3.0 mm hook in cotton; if your motif is smaller, either increase your hook size to 3.25–3.5 mm or add an extra round. Conversely, if your motif is larger than 17 cm, use a 2.75–3.0 mm hook or work one round fewer.
- Ease: This pullover wears best with 10–20 cm (4–8 in) of positive ease at the bust. Therefore:
- For XS–M: 3 motifs across the front + 3 across the back usually suffice.
- For L–XL: either work with motifs slightly larger (18–19 cm each) or use 4 motifs across for front and back (total 8 for the torso), adjusting sleeve layout accordingly.
- For 2XL–3XL: plan 4 motifs across and consider adding an extra row of motifs at the hem for length.
- Crop length: As shown, the hem hits near the natural waist. However, you can extend to a tunic or dress length by adding motif rows downward (the look scales beautifully).
Because modular garments are forgiving, start with a quick paper layout (or place your squares on a table) and measure against a favorite sweater for confidence.
Motif Overview (What to Prepare Before Assembly)
- Make 14 motifs total:
- 6 motifs for the body (3 front + 3 back)
- 4 motifs for the left sleeve (arranged 2 x 2)
- 4 motifs for the right sleeve (arranged 2 x 2)
- Color play: Use 12 motifs in a two-color design and 2 motifs in a bold single color for visual pop. Additionally, consider using two joining yarns (e.g., white and the accent) to create chic seam lines.
Note: The video linked above demonstrates the style and joining logic. If you prefer any 17 cm granny square motif you already love, use it; the assembly method below will still work perfectly.
Layout Plan (Simple and Clear)
- Body: 3 motifs in a row for the front, 3 motifs in a row for the back. Then join front to back at the shoulder edges while leaving the center open for the neckline.
- Sleeves: Each sleeve is a block of four motifs (2 x 2). After joining the four, you’ll attach the block around the armhole area and then close the sleeve and side seams.
- Neckline: The opening is left during shoulder joins; aim for about 34.5 cm as a comfortable, flattering width (adjust to taste).
Because orientation affects the final look, keep all motifs facing the same direction; mark their “top row” so seams align neatly.
Step-by-Step: Body Assembly (With Making Times)
Step 1: Prepare and Block Motifs Making time: 90–150 minutes active (plus drying)
- Make 14 motifs to approximately 17 cm each using a 3.0 mm hook.
- Lightly block motifs so they are square and identical in size. Consequently, joining lines will be straight, and the garment will hang evenly.
Step 2: Arrange Body Rows Making time: 10–15 minutes
- Lay out three motifs in a row for the front and three in a row for the back. Because color balance matters, place your two bold accent motifs strategically (for example, one per sleeve panel or one on the front and one on the back).
- Additionally, mark the “top” edge of each body motif to keep orientation consistent.
Join Front Row of Three Making time: 20–30 minutes
- Switch to a 2.5 mm hook and your chosen joining color.
- Place two motifs with right sides together; align stitch groups along the edge.
- Then, single crochet (sc) seam through both loops across the entire edge, keeping tension even and hands steady. Because a smaller hook tightens joins, the seam will be neat and gap-free.
- Next, add the third motif to complete the front row.
- Repeat the process for the back row.
Shoulder Joins and Neckline Opening Making time: 15–25 minutes.s
- Stack front and back rows with right sides together and align the top edges.
- Starting from each outer shoulder edge, sc seam inward toward the center, then stop to leave the neckline opening.
- As shown in the video-based sample, a neckline opening of about 34.5 cm feels ideal; nevertheless, try it on and adjust it wider or narrower to taste.
- Consequently, you now have an upper body “band” with a clean neck gap.
Check Body Width and Length Making time: 5–10 minutes
- Lay the piece flat and measure across the front: three 17 cm motifs ≈ 51–52 cm (half bust). Therefore, the full bust circumference is roughly 102–104 cm, offering relaxed ease for EU 34–38 (and still wearable up to EU 40).
- If you need more length, plan to add a lower row of motifs after the sleeves, or add a hem border later.
Step-by-Step: Sleeves and Side Seams (With Making Times)
Build Each Sleeve Block (2 x 2), Making time: 25–40 minutes per sleeve block
- Arrange four motifs as a square (two across by two down).
- With right sides together, sew the upper pair side-to-side, then the lower pair side-to-side.
- Next, sew the top pair to the bottom pair to create one unified sleeve panel.
- Because color rhythm adds style, rotate the accent motif to different corners on each sleeve for a balanced, modern look.
Attach the Sleeve Block to the Body. Making time: 20–35 minutes per sleeve
- Place the sleeve panel right sides together with the body, aligning one long edge of the sleeve block with the side of the body “band” to form the armhole curve.
- Beginning at the front-side corner, sc seam along the edge; when you reach a corner-to-corner junction, sc into the first corner, chain 1, then sc into the opposite corner to bridge any gap cleanly. Consequently, underarm tension will be even and comfortable.
- Continue to seam until the sleeve block sits smoothly; then repeat for the second sleeve.
Close Side and Sleeve Seams Making time: 25–40 minutes per side
- Fold the sweater with the right sides together. Starting at the cuff edge of the sleeve, sc seam down the sleeve length, pivot under the arm (use the same corner–chain–corner bridge if needed), and continue down the body side seam to the hem.
- Repeat for the other side. Furthermore, check symmetry by laying the sweater flat and aligning motif corners before fastening off.
Step-by-Step: Edging, Shaping, and Finishing (With Making Times)
Neckline Edging Making time: 15–25 minutes
- With the right side facing, join the yarn at one shoulder. Work 1 round of sc evenly around the neckline, easing slightly over the corners.
- Optionally, add 1 round of crab stitch (reverse sc) for a tidy corded edge or 1–2 rounds of gentle ribbing (sc in back loop only).
- Because the neckline defines the look, pause to try on; if it feels wide, add one more round to snug it up.
Hem and Crop Adjustment Making time: 15–25 minutes
- Try on your sweater. If the hem feels too open (common with airy motifs), reduce the opening slightly by adding a stabilizing round of sc around the entire hem, then work 1–2 additional rounds with occasional gentle decreases (for example, sc2tog every 10–12 sts) to taste.
- Alternatively, if you prefer a straight, crisp edge, work 2–3 rounds of sc or hdc in the round with a 2.5–3.0 mm hook. Consequently, your crop will sit neatly at the waist.
Sleeve Cuffs (Optional) Making time: 10–20 minutes per cuff
- For a light cuff, work 1–2 rounds of sc or hdc around each sleeve opening. Additionally, you can switch to a smaller hook for a subtle taper.
- For a rib-look finish (still beginner-friendly), work 5–7 rows of back-loop-only sc flat, then slip stitch the short rib to the sleeve edge.
Weave Ends and Final Block Making time: 10–20 minutes.
- Weave all ends into seam channels using a tapestry needle; trim gently.
- Because blocking evens out joins, steam lightly or mist with water and lay flat to dry, smoothing edges and corners.
Total weekend estimate: 3.5–6 hours active time for XS–M; 5–8 hours for larger sizes, depending on motif speed and edging choices.
Basic Tips for a Polished Finish
- Use a smaller hook for joins (2.5 mm, so seams stay neat and don’t stretch; consequently, the motif edges will meet cleanly.
- Keep your hands steady during joining; consistent tension prevents puckering or wavy seams.
- Align stitch groups when seaming; match corner-to-corner and “cluster to cluster” so patterns flow across joins.
- Mark the top row of each motif before joining; therefore, orientation stays cconsistent andthe design looks intentional.
- Pin or clip seams first, especially around the neckline and underarm; testing the fit as you go saves time.
- Try on after the shoulder join and again after attaching one sleeve panel; adjust the neckline width and sleeve placement before closing all seams.
Common Mistakes (And Easy Fixes)
- Wavy Seams: If the seam joins the ruffle, your seam tension is too loose. Therefore, switch to a smaller hook or tighten your sc seam, and block lightly to relax any waves.
- Gaps at Corners: If you see holes at motif corners, use the corner–chain–corner bridge: sc into one corner, ch 1, sc into the opposite corner, then continue; consequently, corners will lie flat.
- Uneven Neckline: If the opening feels too large, add 1–2 rounds of sc edging; if too snug, remove the last edging round or work a looser hook size.
- Width Too Generous: If the hem feels too wide for your frame, seam 1–3 cm (0.5–1.25 in) into each side seam, or add a gentle decrease round at the hem edge.
- Motif Size Drift: If some motifs are bigger than others, block before joining and place larger motifs at the back or sleeves, where slight differences are less noticeable.
Variations You’ll Love
- Longer Tunic or Dress: Add one or two more rows of motifs beneath the body band (front and back) for extra length; furthermore, mirror the color rhythm for balance.
- Chunkier Weekend Version: Hold two strands of DK together (or use a soft worsted) with a 4.0–4.5 mm hook for motifs and a 3.5–4.0 mm hook for joins; adjust motif count to maintain your target width.
- Two-Color Drama: Use 12 two-tone motifs and 2 solid-color motifs as accents on sleeves or the front center; additionally, seam with a contrast color to outline the geometry.
- Cropped-to-Hips Convertible: Add detachable ribbing at the hem (buttoned or snapped inside) so you can wear it cropped or slightly longer,r depending on the day.
- Cozy Collar: Work 4–6 rounds of back-loop-only hdc at the neckline for a soft, sweatshirt-style collar; as a result, you get a snug but comfy finish for cooler days.
Sizing Roadmap (Motif Math Made Easy)
- Motif size “M” = your blocked square measurement.
- Body width per side ≈ 3 × M (front) and 3 × M (back).
- Half bust = 3 × M; full bust = 6 × M (minus a bit for seam take-up).
- Example: M = 17 cm → half bust ≈ 51 cm, full bust ≈ 102 cm.
- For more room, either:
- Increase motif size to 18–19 cm (use a larger hook/yarn); or
- Work 4 motifsacross thes front and 4 across the back (and adjust sleeves accordingly).
- Neckline: Leave 34–36 cm for a relaxed crew; leave less for a higher neck; add edging to refine.
Because this approach is modular, you can tailor coverage and ease with almost no math just count motifs and measure.
Color and Join Suggestions (For Clean Lines)
- Seam Colors: Join some seams with white for a crisp lattice, and others with your accent color (e.g., orange) for a playful designer touch.
- Symmetry Trick: Mirror motif colors on left and right sleeves for balance, but rotate a single bold motif to create intentional asymmetry on the front.
- Texture Play: If your motif has “tr” or cluster groups, always join “group to group” so lines look continuous around the body.
Beginner Confidence Boosters
- Start with a swatch motif to confirm size and drape; therefore, you won’t be surprised after assembling everything.
- Keep your seam hook size smaller; it’s the simplest way to get professional-looking joins on your first try.
- Pause to try on after the shoulder join; that one check-in helps you lock in the perfect neckline and prevents rework later.
- Remember that blocking is your friend; a light steam relaxes seams and smooths edges instantly.
Care Notes
- Hand wash or gentle cold wash in a garment bag; lay flat to dry. Because cotton can grow when wet, avoid hanging it. Additionally, re-steam lightly after each wash to restore crisp edges.
Short, Warm Wrap-Up
In the end, this Sparkling Crochet Chunky Crop Pullover Weekend Pattern is about ease, sparkle, and satisfaction. Because the sweater grows from simple squares, you’ll enjoy rhythmic stitching, confident joins, and a glamorous finish in just a weekend. Moreover, the modular method gives you full control over fit, length, and color, so your pullover looks uniquely yours. Finally, grab your cotton yarn, pick two cheerful joining colors, and start seaming consequently, a shimmery, cozy crop will be ready to wear, gift, or post proudly by Monday.