
Whether you are heading to a coffee date or a casual day out, this Crochet Preppy Pleated Skirt offers a flattering silhouette for every figure. The secret to its professional finish lies in the back loop only technique, which creates those distinct ridges that we love in a “preppy” look. Additionally, we have added a hidden drawstring at the waist. This feature ensures that even as the yarn stretches over time, your skirt remains snug and comfortable. By the end of this guide, you will have the confidence to craft a custom-fit skirt that looks like it came straight from a boutique.

Skill Level/Level of Difficulty
This Crochet Preppy Pleated Skirt project is perfect for Advanced Beginners. While it only uses basic stitches like the slip stitch and single crochet, it requires a bit of patience and consistent tension. Furthermore, working in the back loops is a fundamental skill that you will master during this project. If you can count your stitches and maintain a steady hand, you will find this tutorial very manageable and rewarding.
Necessary Supplies
To start your Crochet Preppy Pleated Skirt, gather the following supplies:
-
Yarn: Approximately 4 to 5 skeins (50g each) of Medium Weight (Category 4) or Light Worsted yarn.
-
Crochet Hook: 4.0 mm hook (or the size recommended for your specific yarn).
-
Measuring Tape: Crucial for getting your hip and length measurements right.
-
Stitch Markers: To keep track of your waistband transitions.
-
Scissors: For trimming ends.
-
Yarn Needle: To weave in ends and insert the drawstring.
System
Step 1: Taking Your Measurements
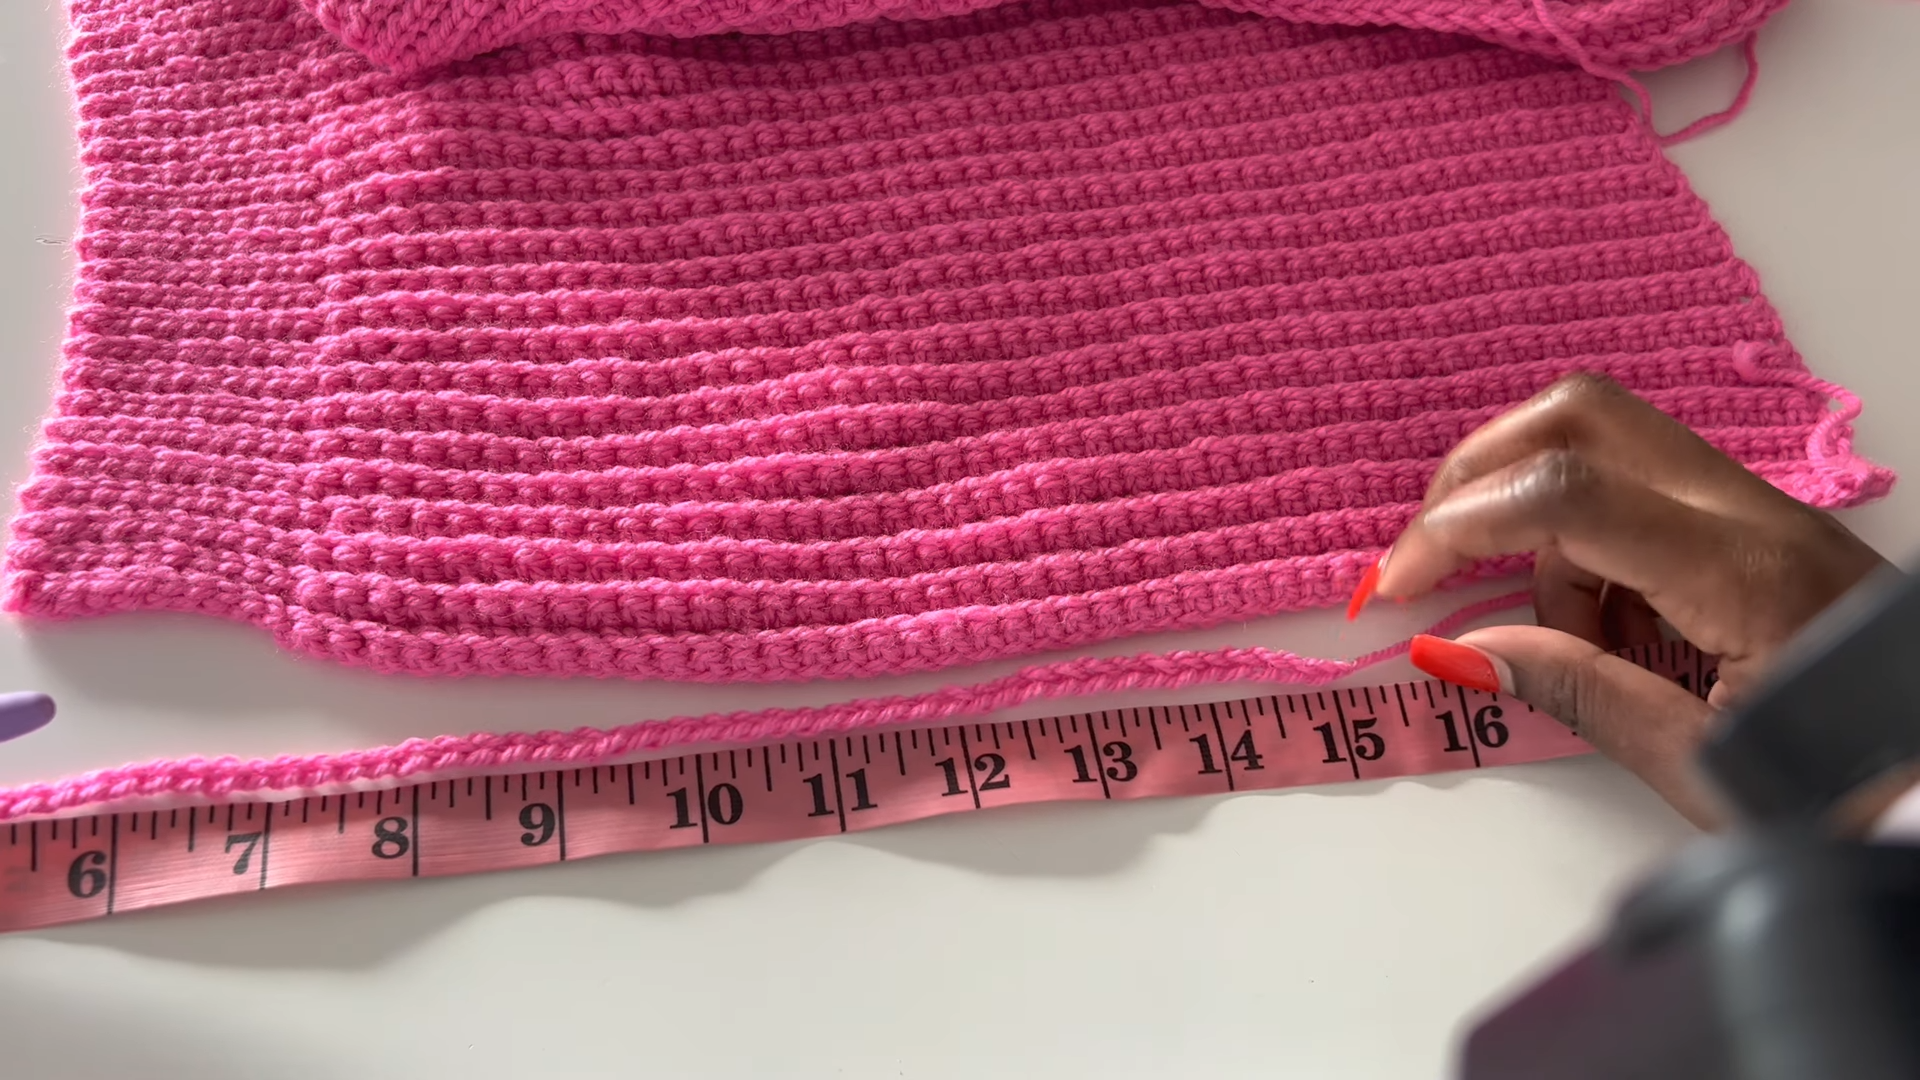
Before you pick up your hook, you must decide on the length. Measure from your waist down to where you want the skirt to end. For a Crochet Preppy Pleated Skirt, a mid-thigh length (usually 14 to 16 inches) looks best. Write this number down. Next, measure your hip circumference at the widest point.
Step 2: The Foundation Chain
Create a slip knot and chain until your length matches your desired measurement. For example, if you want a 15-inch skirt, chain until you reach 15 inches. Make sure the chain is not stretched when you measure it.
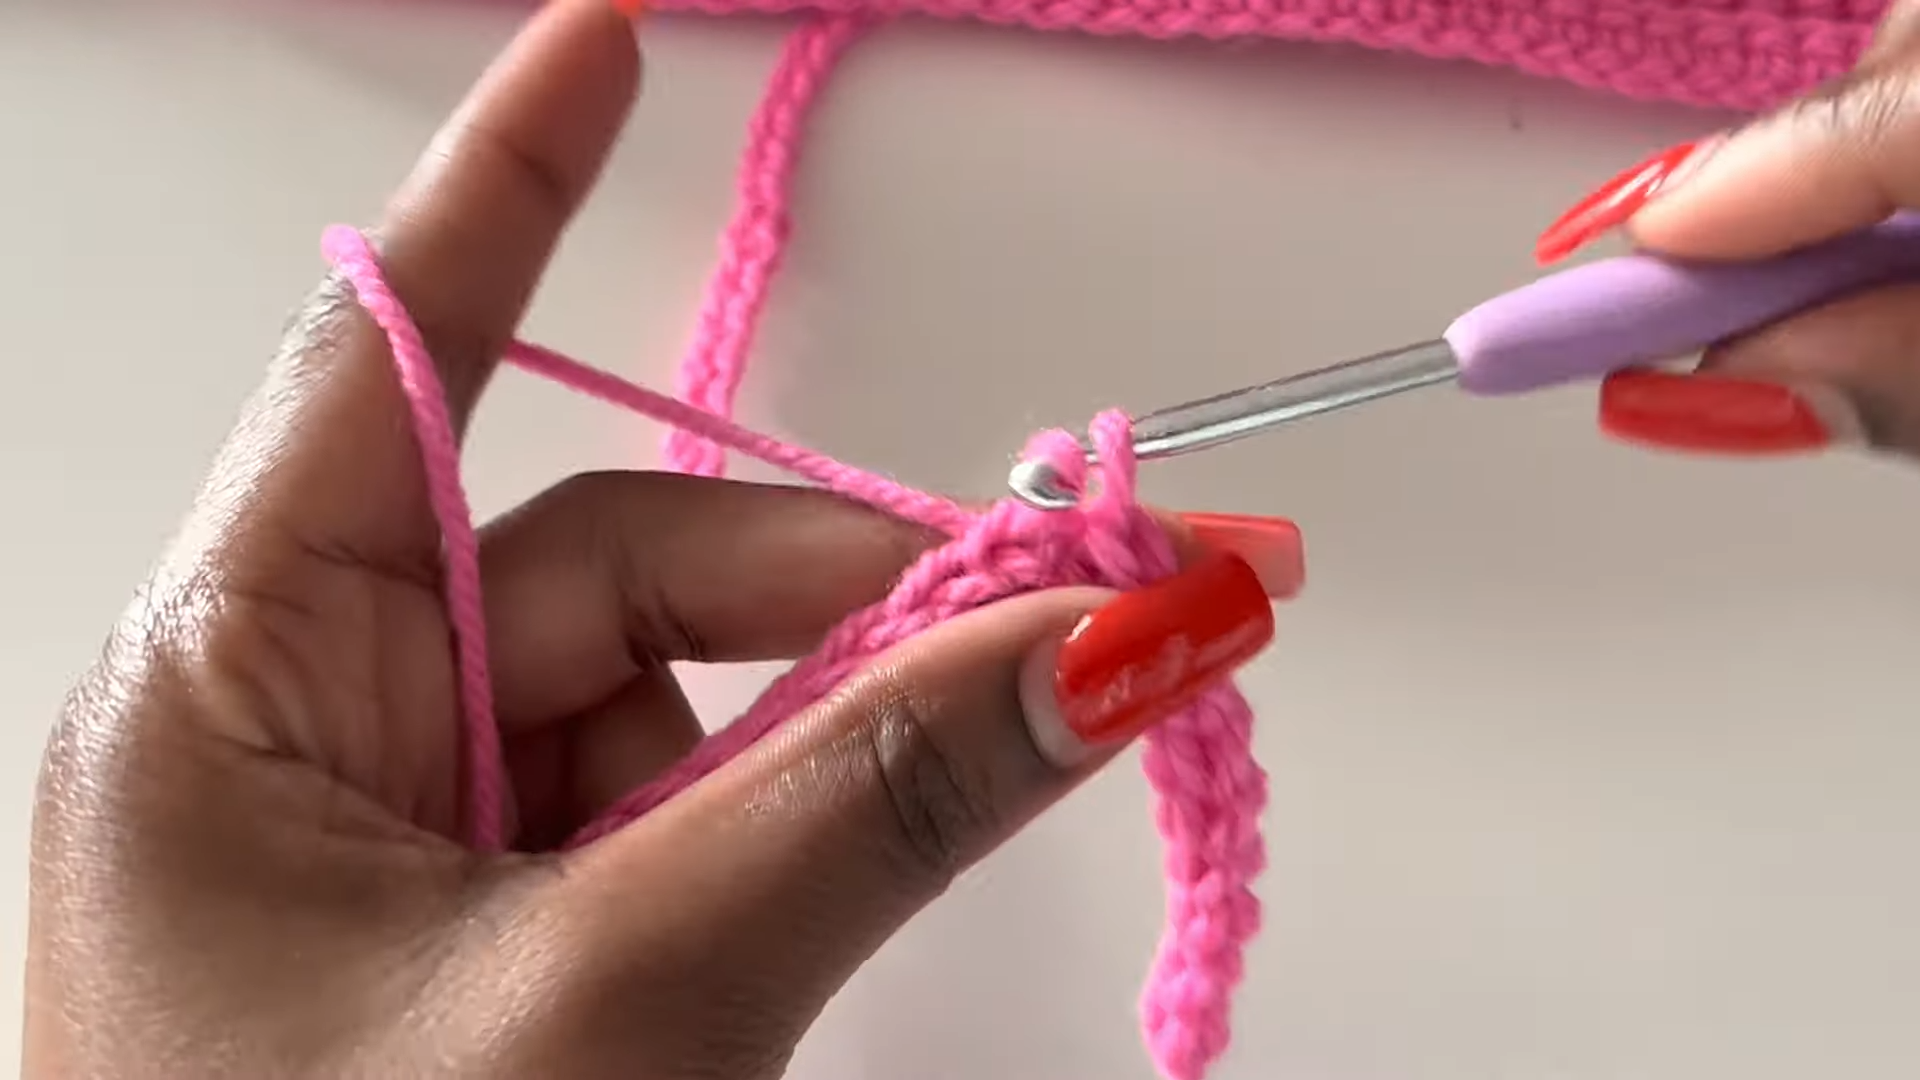
Step 3: Creating the Waistband (Row 1)
Skip the first chain from the hook. In the next 10 chains (or more if you want a thicker waist), work slip stitches. Remember to keep these very loose. These slip stitches will create the ribbed, stretchy waistband of your Crochet Preppy Pleated Skirt.
Step 4: The Skirt Body (Row 1 continued)
For the remainder of the foundation chain, work single crochets in every stitch until you reach the bottom. Chain 1 and turn your work.
Step 5: The Back Loop Repeat (Row 2)
This is the “magic” row for the Crochet Preppy Pleated Skirt. Starting from the bottom, work single crochets into the back loops only of the previous row. When you reach the waistband section, switch to slip stitches in the back loops only. Chain 1 and turn.
Step 6: Growing the Width
Continue repeating Row 2. You will work back and forth vertically. Every row will add width to your skirt. Continue this process until the bottom edge of the fabric (the widest part) matches your hip measurement. Because the waistband is made of slip stitches, it will naturally pull in tighter than the bottom, creating that beautiful flared “preppy” shape.
Step 7: Joining the Sides
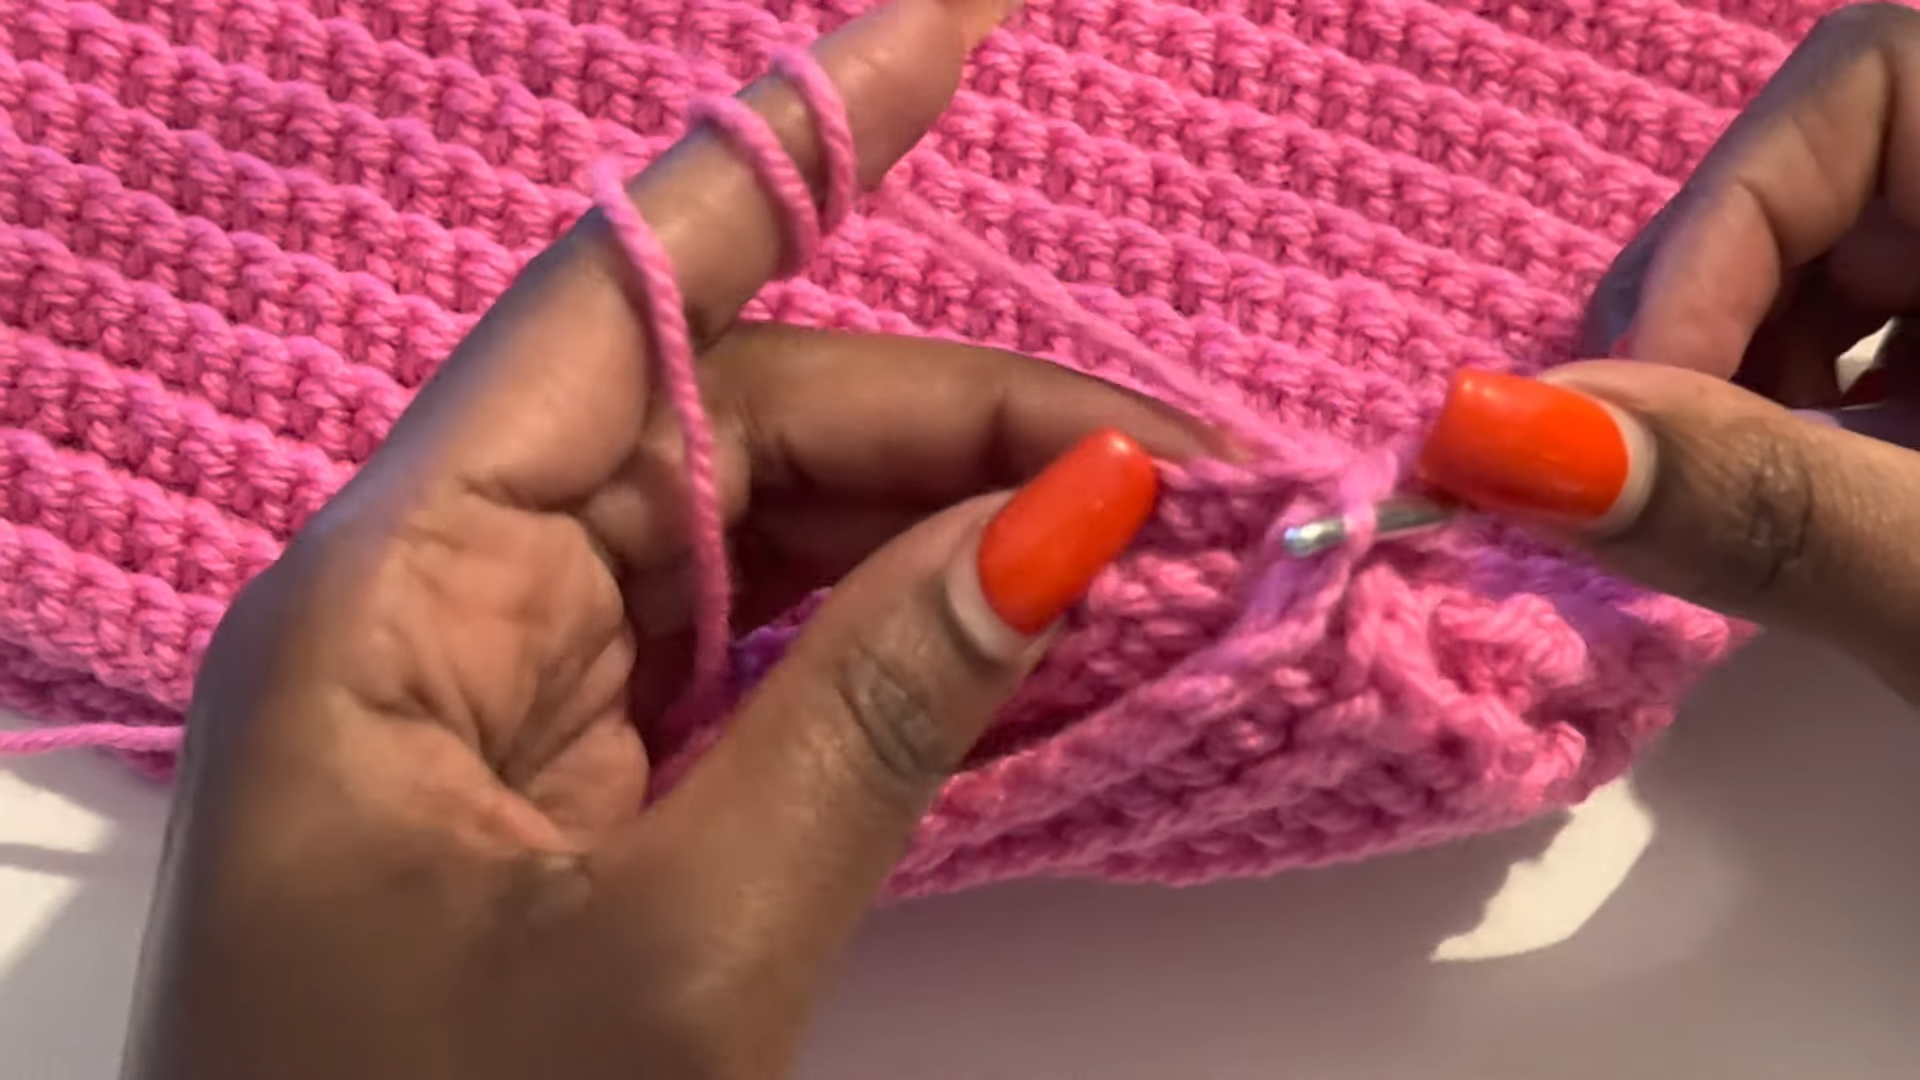
Once your piece is wide enough to wrap around your hips, it is time to close the circle. Fold the skirt so the right sides are facing. Using your hook, join the two ends together with slip stitches. This creates a nearly invisible seam that blends in with the “pleats.”
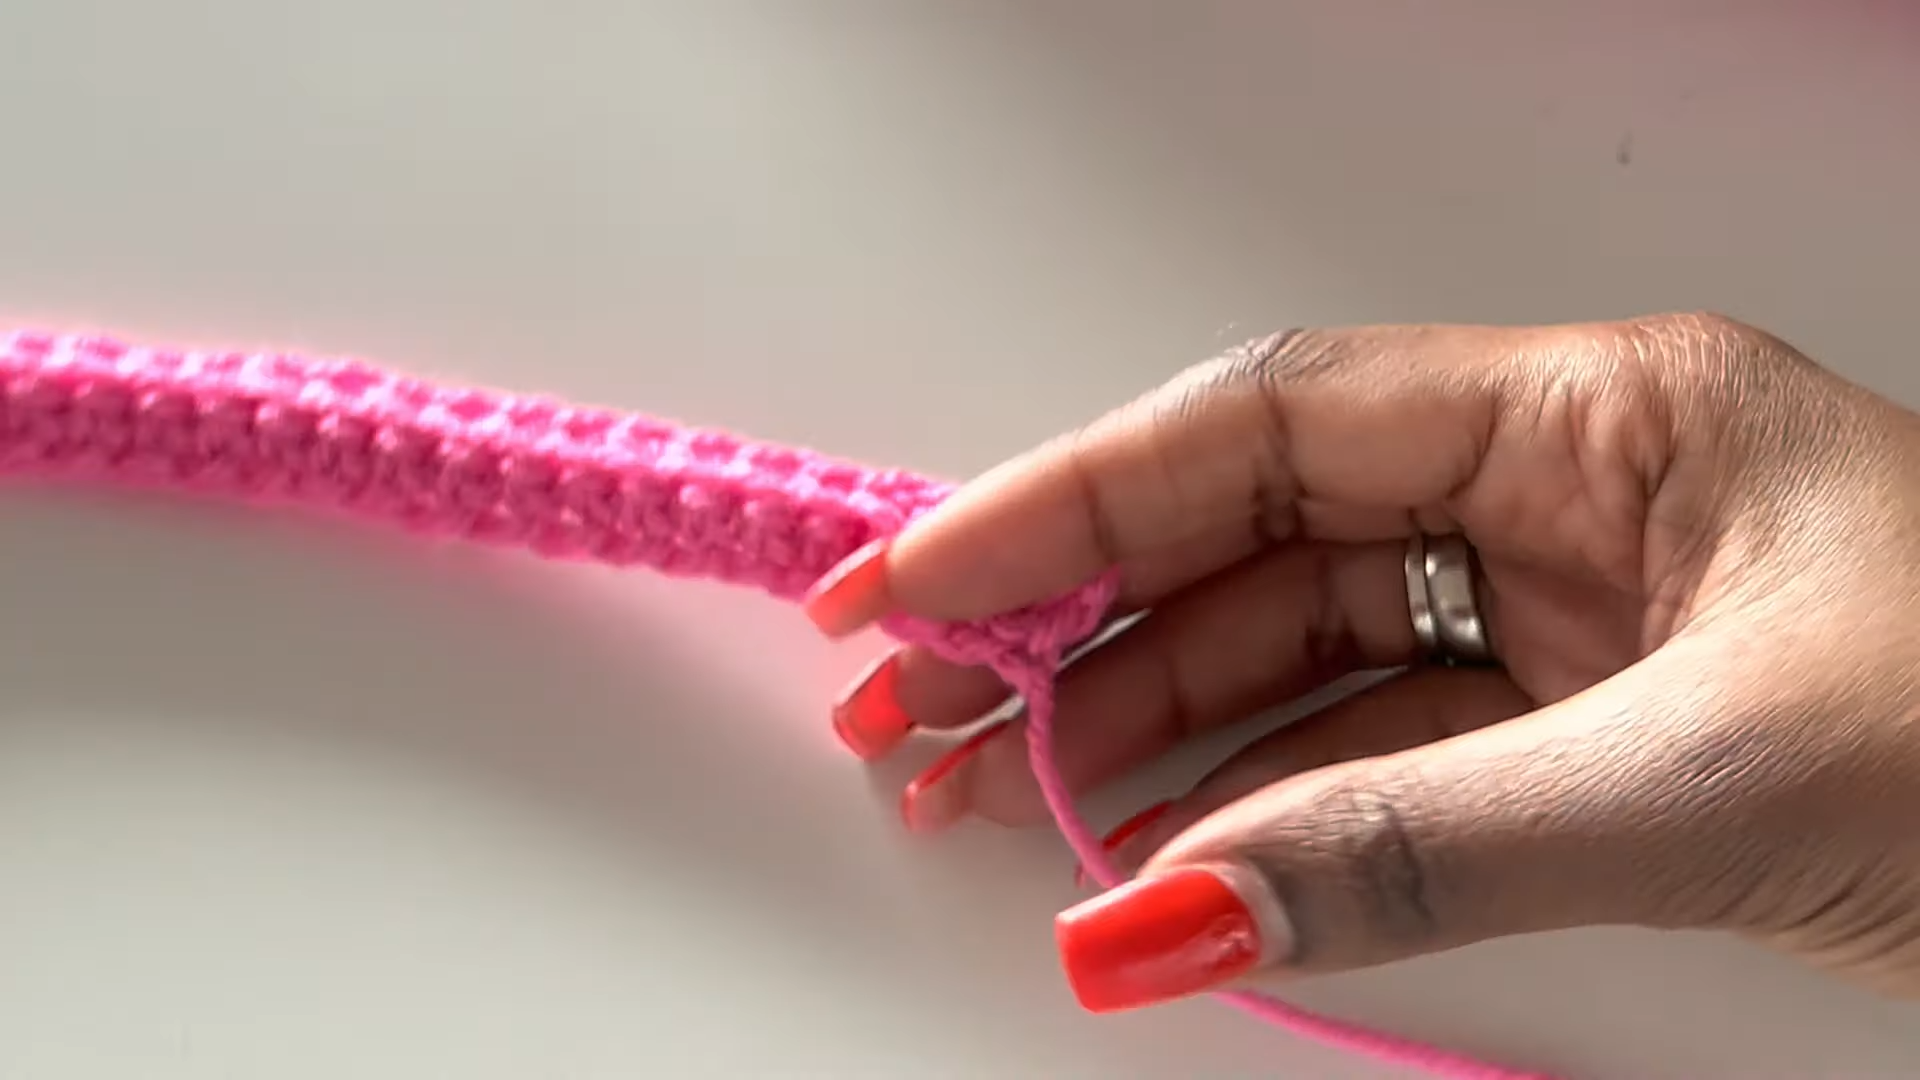
Step 8: The Finishing Touches
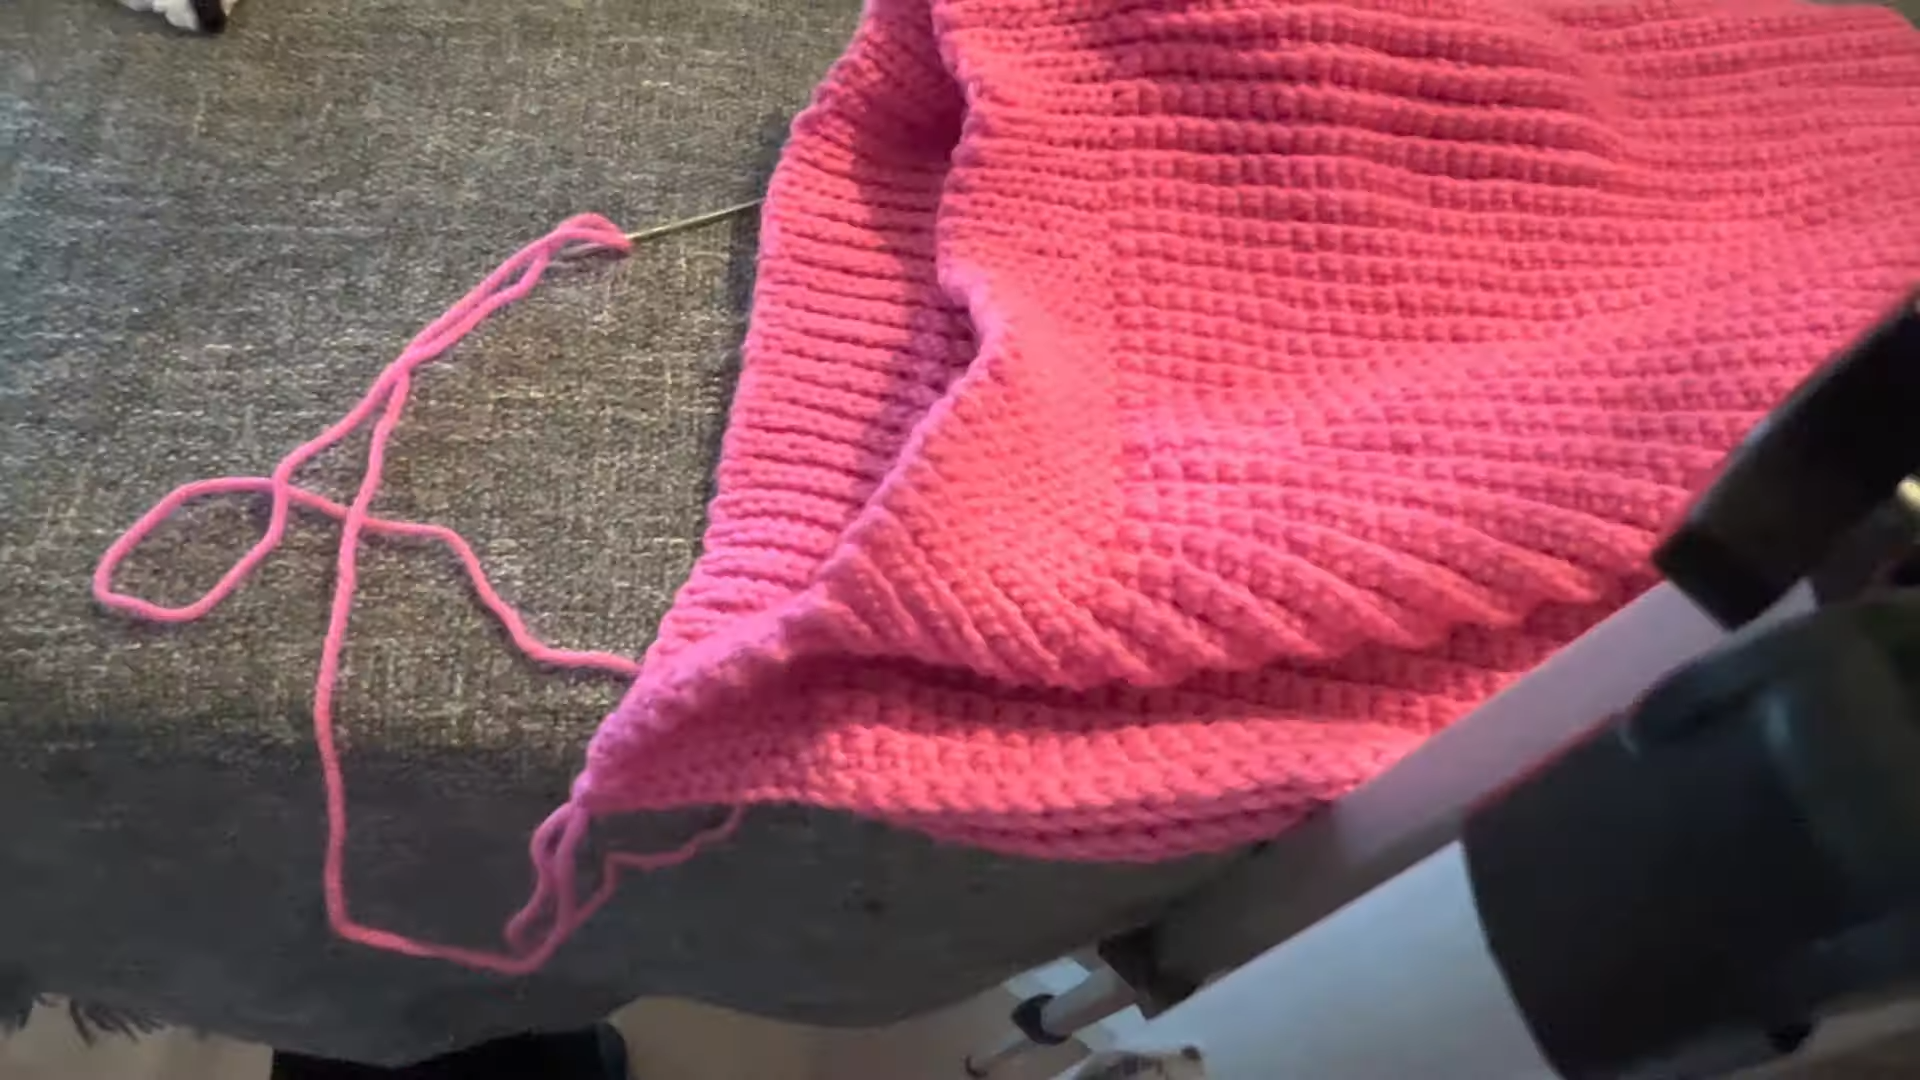
To complete your Crochet Preppy Pleated Skirt, create a long chain (the drawstring) or use a piece of yarn. Thread it through the waistband using a yarn needle. This allows you to tighten the skirt to your exact waist size, ensuring it stays in place perfectly.
Tutor’s Suggestions
To get the best results for your Crochet Preppy Pleated Skirt, I highly suggest choosing a yarn with a bit of “drape.” While 100% acrylic works great for structure, a cotton blend can also offer a lovely weight for summer wear. Most importantly, do not pull your slip stitches too tight. This is the most common hurdle for many crocheters. If your waistband feels like a struggle to work into, your tension is likely too high. Additionally, I recommend using stitch markers religiously to mark the first and last stitch of every row. This simple habit prevents your skirt from becoming lopsided and ensures a professional, straight finish.
Where We Can Use It
The beauty of the Crochet Preppy Pleated Skirt is its incredible versatility. You can style it with a crisp white button-down shirt and loafers for a classic “Dark Academia” look. Alternatively, pair it with a simple tank top and sneakers for a casual summer picnic. It is also an excellent choice for themed events, school outfits, or even as a cozy layer over leggings during the cooler autumn months. Because it is handmade, it serves as a unique conversation starter at any social gathering.
Tips and Tricks
-
Tension Control: Always maintain a loose tension on your slip stitches so your hook glides through easily.
-
Counting Rows: Use a row counter or a notebook to keep track of your progress, especially if you need to take a break.
-
Yarn Choice: If you want a more structured “pleat,” choose a stiffer cotton. For a flowy look, go with a bamboo or acrylic blend.
-
The Fold Test: Periodically fold your work in half to see how it hangs. This helps you visualize the final shape of the Crochet Preppy Pleated Skirt.
-
Blocking: Once finished, steam block your skirt gently to help the pleats lay flat and look professional.
Common Mistakes to Avoid
One frequent error when making a Crochet Preppy Pleated Skirt is losing stitches at the ends of the rows. It is very easy to miss the last slip stitch at the top of the waistband, which causes the skirt to get shorter over time. Furthermore, avoid yarning over during your slip stitches; it should be a simple pull-through motion. Another mistake is measuring the waistband for the fit rather than the bottom edge. Since the waistband is much stretchier, always base your total width on the hip measurement taken at the bottom of the skirt.
Frequently Asked Questions (FAQs)
1. How long does it take to finish this skirt?
Depending on your speed, a Crochet Preppy Pleated Skirt usually takes about 10 to 15 hours of active crocheting. Since it is a one-row repeat, it is the perfect project to work on while watching your favorite show.
2. Can I make this skirt for a child?
Absolutely. You simply need to adjust the initial chain length for the child’s height and stop adding rows once it reaches their hip measurement.
3. What happens if the waistband is too loose?
Do not worry. The drawstring we add at the end is designed specifically to fix this issue. It allows you to cinch the waist as tightly as needed.
4. Will the skirt be see-through?
The single crochet in the back loop creates a fairly solid fabric. However, if you have a very loose tension, you may want to wear a slip or matching bike shorts underneath.
5. How do I wash my crochet skirt?
Hand washing in cool water with a mild detergent is best. Lay it flat on a towel to dry so it maintains its shape and the pleats stay crisp.
Conclusion
Creating your own Crochet Preppy Pleated Skirt is a journey in both fashion and skill. By following this vertical construction method, you have crafted a garment that is not only stylish but also custom-tailored to your unique body shape. Consequently, you now have a piece that fits better than anything you could buy in a store. Remember that the key to a beautiful finish is patience with those slip stitches and a consistent rhythm.
Moreover, this project teaches you the valuable lesson of how simple stitch repeats can create complex-looking textures. I hope you feel proud every time you wear your new skirt. Handmade fashion is a wonderful way to express your personality and creativity. Thank you for following along with this tutorial, and I cannot wait to see the beautiful versions of this Crochet Preppy Pleated Skirt that you create. Happy crocheting, and enjoy your new wardrobe staple!