Stylish Crochet Layered Ruffles Skirt Pattern Summer Project
Layer after layer of soft ruffles gives this stylish crochet layered ruffles skirt pattern its playful movement. It’s a breezy summer project that pairs easily with a crop top or a simple blouse.
You start with a comfortable waistband, work the main body, and then add wider tiers that flare out toward the hem. Lightweight cotton-blend yarn keeps the skirt breathable on hot days at the beach or a garden party, and the stitches stay simple enough for newer garment makers.

Pattern Overview
- Style: A fitted waistband sits above three stacked tiers, each wider than the one before, so the skirt flares gently from hip to hem.
- Skill level: Beginner to intermediate. The stitches are simple single and double crochet worked in the round. The part that takes practice is keeping the tier increases even.
- Sizing: Made to your own waist, hip, and length measurements, so it can be adjusted for any size.
Materials
- Yarn: Worsted-weight cotton or a cotton-acrylic blend. The amount depends on your size and skirt length.
- Crochet hook: 4 mm to 5 mm, matched to your yarn and gauge.
- Elastic or drawstring cord: For the waistband.
- Tools: Stitch markers, a tapestry needle, a safety pin or bodkin, a measuring tape, and scissors.
- Optional: Lightweight lining fabric.
Abbreviations (US Terms)
- ch – chain
- sc – single crochet
- hdc – half double crochet
- dc – double crochet
- sl st – slip stitch
- inc – increase
- BLO – back loop only
- st(s) – stitch(es)
Special Stitches
- Ruffle increase: Work 2 or 3 dc into each stitch of the round below, so each new tier has noticeably more stitches than the one above it.
- Shell stitch (optional): Work 5 dc into one stitch, then skip 2 stitches. Use it on a tier edge for a scalloped look instead of a plain ruffle.
Before You Start
Make and block a gauge swatch first. Cotton relaxes and grows as you wear it, so a blocked swatch shows you more accurately how the skirt will hang.
Measure your waist and hips, decide how long you want the skirt, and keep your elastic handy so you can test the fit as you add each tier.
How the Skirt Is Made
The skirt is worked from the top down. You make the waistband first and join it into a round, then work each tier directly onto the round above it, increasing so the skirt widens from a snug waist to a full hem. The last tier gets a finishing edge, and the elastic goes in at the end.
How to Crochet the Layered Ruffles Skirt
Step 1: Crochet the Waistband
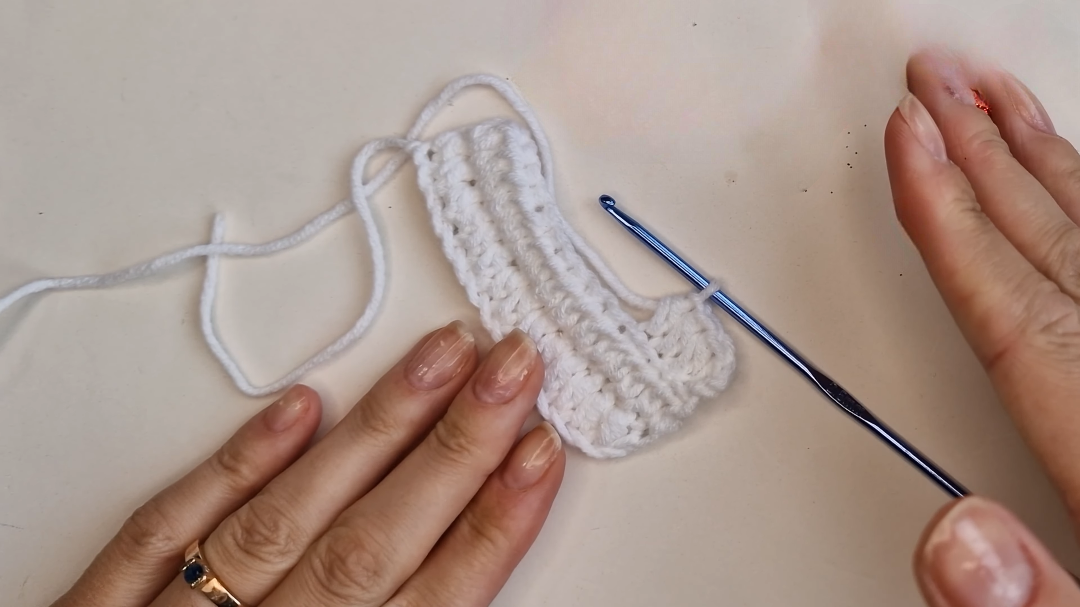
Chain enough to go around your waist, plus a little ease, and join into a round without twisting. Work several rounds of sc in the back loops only for a stretchy, ribbed texture.
Near the top of the waistband, work a round of chain spaces to make a casing for the elastic: *ch 2 or 3, skip 1 or 2 sts* around.
Checkpoint: Count your stitches before joining the first round. An uneven foundation is the most common cause of a twisted waistband.
Step 2: Work the Main Body
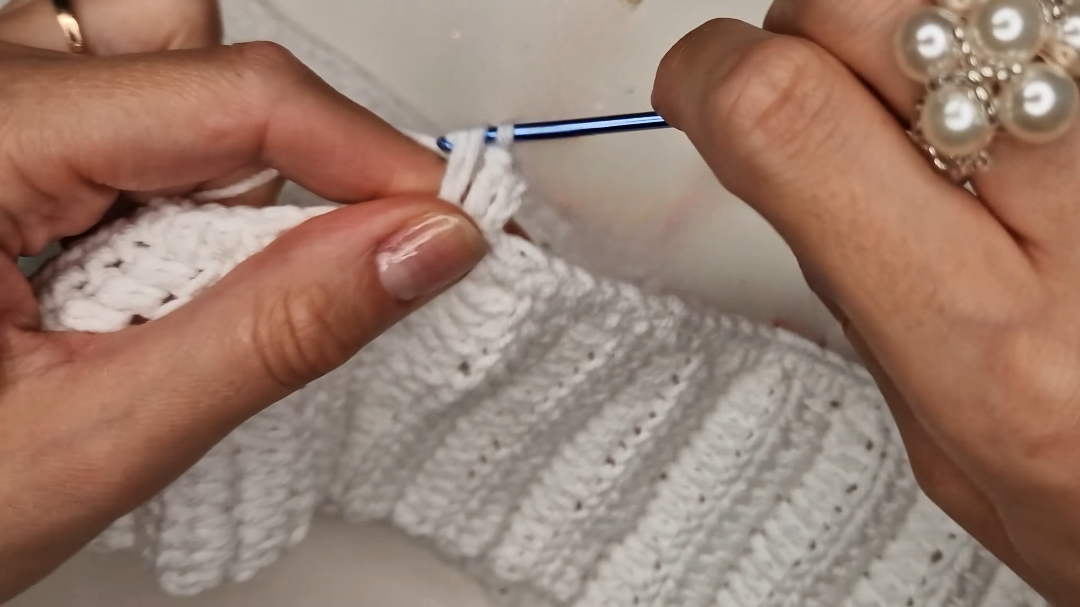
Switch to dc and increase evenly around. Working 2 dc into every stitch, or into every other stitch, roughly doubles the count, depending on how full you want the skirt. Then work a few plain rounds with no increases.
Checkpoint: Measure this first tier before you start the next one.
Step 3: Add the Remaining Tiers
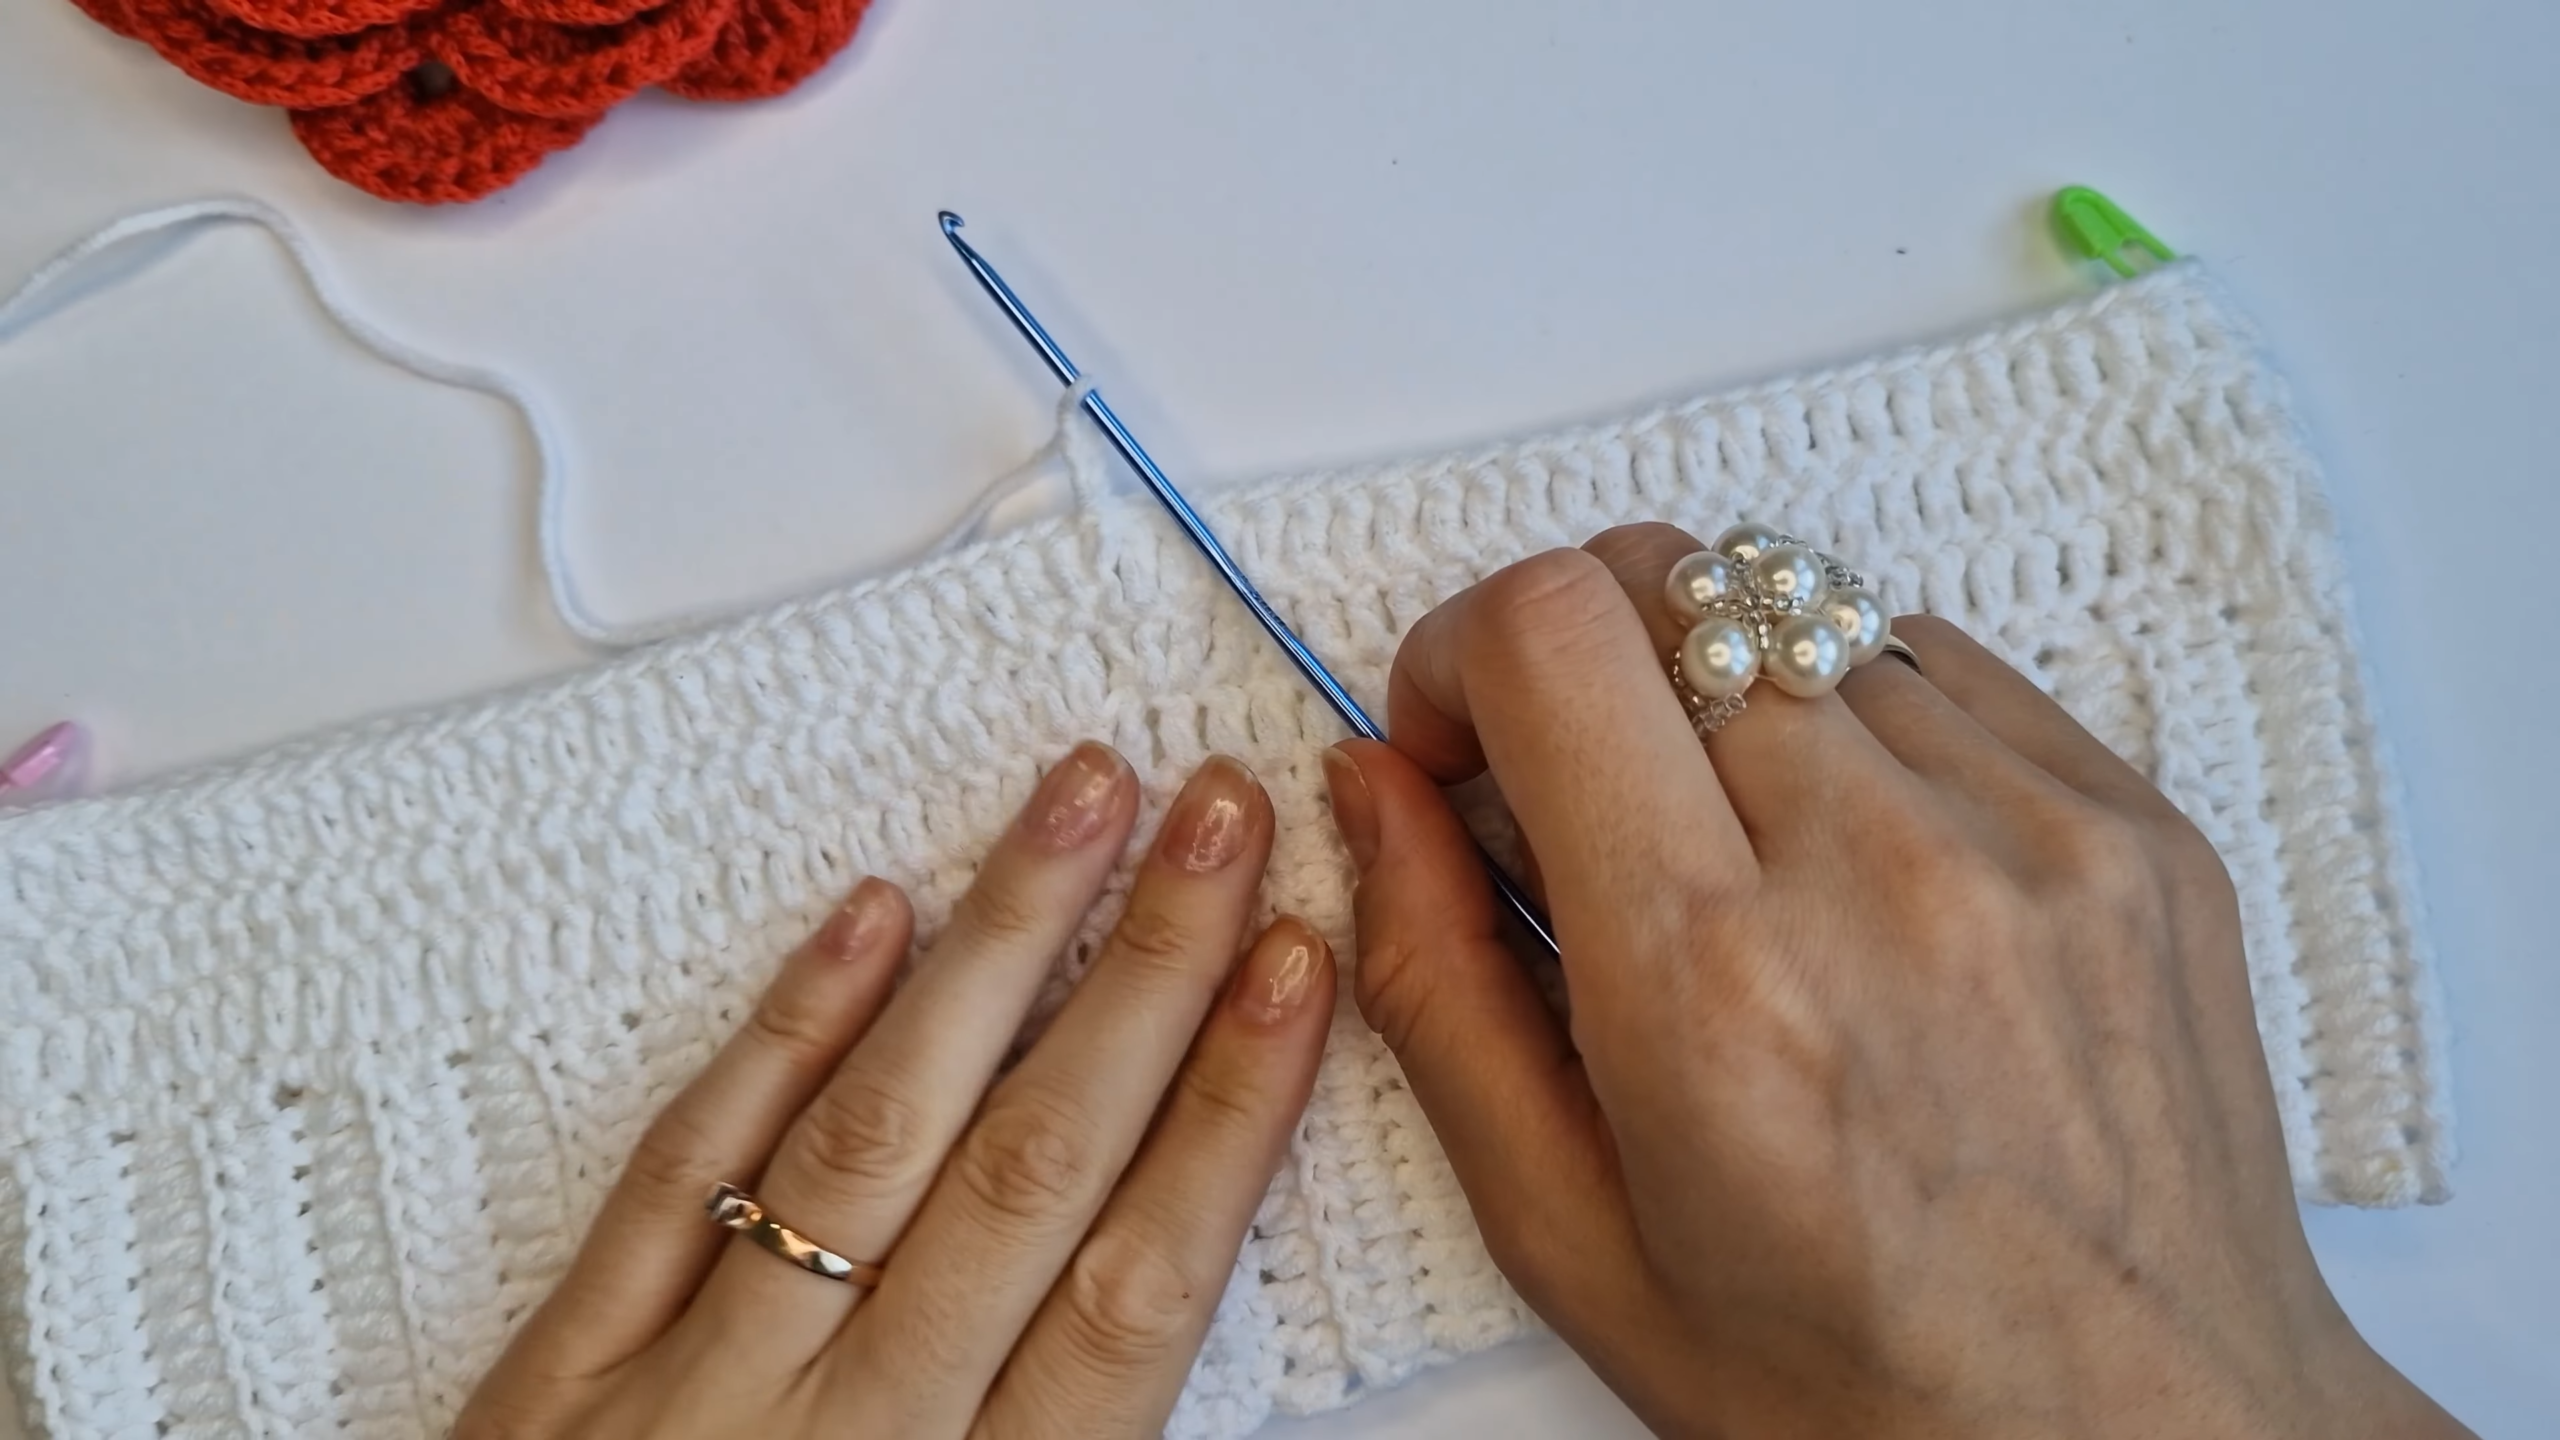
Work each new tier directly into the last round of the tier above it. Use the same increase ratio each time so the skirt widens evenly instead of flaring suddenly at the hem.
Tip: Stagger your increases so they don’t land in the same spots every round. Stacked increases create visible ridges down the skirt.
Checkpoint: Compare each tier’s depth and stitch count with the one before it.
Step 4: Finish the Hem
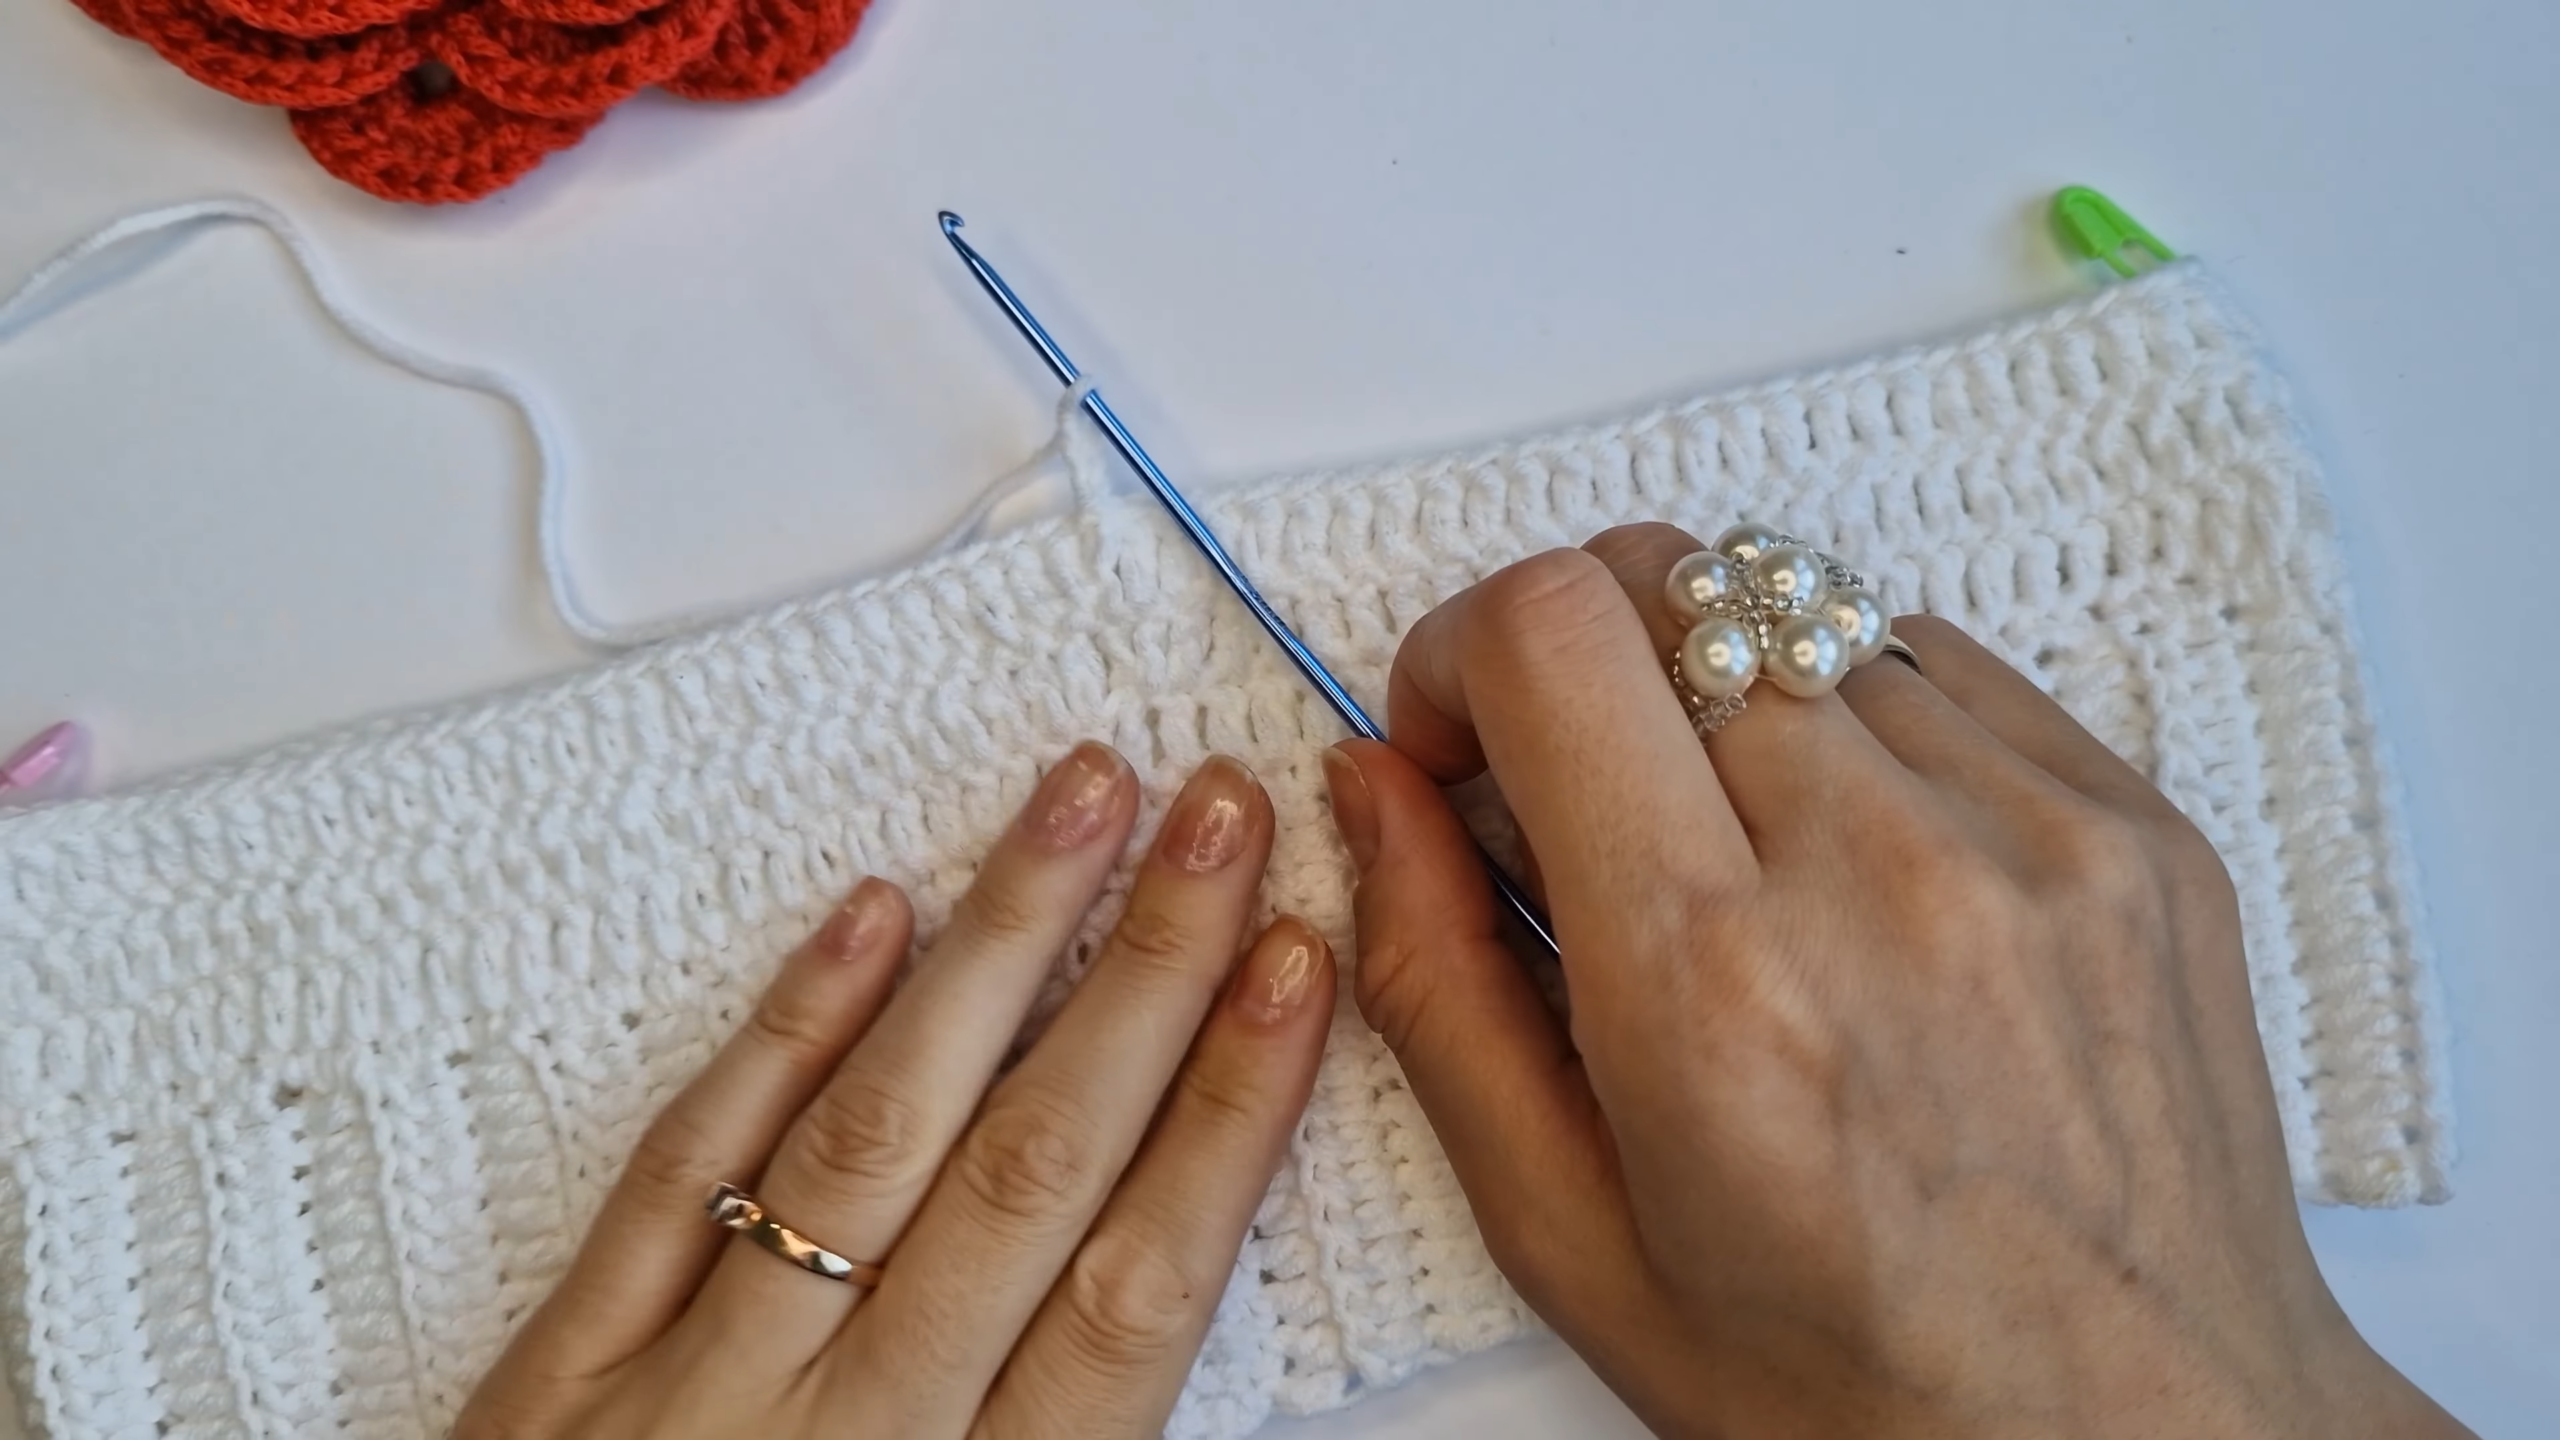
Work a final round of sc or shell stitches along the edge of the last tier. This keeps the hem from curling.
Checkpoint: Lay the skirt flat and make sure the hem isn’t cupping or flaring too much before you weave in the ends.
Step 5: Block and Add the Elastic
- Wet or steam block the skirt before adding the elastic. Blocking afterward can distort the casing.
- Pin one end of the elastic, then thread it through the casing with a safety pin or bodkin.
- Try the skirt on and adjust the elastic before closing it.
- Overlap the ends by about an inch and stitch them securely rather than relying on a knot.
Video Tutorial
Sizing and Fit Tips
- Measure as you go: Compare your waist and hip measurements with your body or a skirt you like, not just a chart.
- Adjust the waistband: For a different waist size, change the starting stitch count in amounts that still work with your increase pattern.
- Longer skirt: Add more plain rounds of dc to the main body or any tier, and try the skirt on as you go to find the right length.
- Hook size: A larger hook adds drape but can make the fabric sheer. A smaller hook firms up the tiers but reduces their swing.
Ruffle Fullness Tips
For fuller tiers, increase more: 2 dc in every stitch looks fuller than 2 dc in every other stitch. For calmer, lighter tiers, use the lower increase. Test both on your swatch, since the same count drapes differently in different yarns.
Preventing See-Through Fabric
Hold your swatch up to a bright window before starting. If light passes easily between the stitches, the skirt will be see-through too. Denser stitches and a slightly smaller hook help close the gaps, and a lightweight jersey or cotton lining sewn to the inside of the waistband solves the problem if needed.
Working Tiers in the Round vs. Flat Strips
You can make the tiers two ways: work them directly onto the round above, or crochet them as separate flat strips and sew them on later. Working in the round keeps the skirt seamless. Flat strips are easier to pull out and redo if one tier’s tension doesn’t match. For your first skirt, working in the round usually gives the cleanest result.
Common Mistakes to Avoid
- Skipping the gauge swatch: A small tension change affects all three tiers.
- A loose waistband: The skirt won’t stay up. Keep the ribbing snug.
- Stacked increases: They create ridges and can make the skirt twist when worn.
- Uneven tiers: Count the plain rounds in each tier instead of measuring by eye.
Troubleshooting
- Skirt is too tight or too loose: Your gauge probably changed. Re-swatch, try a different hook, and measure after each tier.
- Waistband rolls or flips: Add a few ribbing rounds and test the elastic length before closing it.
- Tiers look flat: Increase more in each tier and loosen your tension on the increase rounds.
- Skirt twists when worn: Stagger your increase points from round to round.
- Hem curls: Add a round of sc or reverse sc to anchor the edge.
- Elastic bunches: Pin the starting end before threading, and keep the casing spaces even.
Styling Ideas
Pair the skirt with a fitted tank or crop top, wear it over a swimsuit as a beach cover-up, or match it with a crochet top for a coordinated summer set. For a matching outfit, try these crochet high waisted ruffle shorts, or make a lighter crochet beach skirt for the pool.
Washing and Care
Hand wash in cool water, reshape while damp, and lay flat to dry. Machine washing and drying can stretch cotton blends and wear out the elastic.
Frequently Asked Questions
Will the skirt be see-through?
It depends on your yarn and stitch density. Test your swatch against a bright window, and add a lining if it still looks sheer after blocking.
Can I adjust the pattern for my size?
Yes. Change the waistband stitch count to fit your waist, keeping it compatible with your increase pattern, and compare the fit to your own measurements.
What yarn gives the best drape?
A cotton-acrylic or cotton-bamboo blend usually drapes and moves better than stiffer 100% cotton, though pure cotton feels coolest in hot weather.
Can I add more tiers?
Yes. Add another tier with the same increase ratio as the others, or add plain rounds within a tier to make it longer without changing the flare.
Final Notes
This crochet layered ruffles skirt turns simple stitches into a flowing, custom-fit summer piece. Work the ribbed waistband, build the tiers evenly, and finish the hem, and you’ll have a handmade skirt that’s ready to twirl. Happy crocheting!