

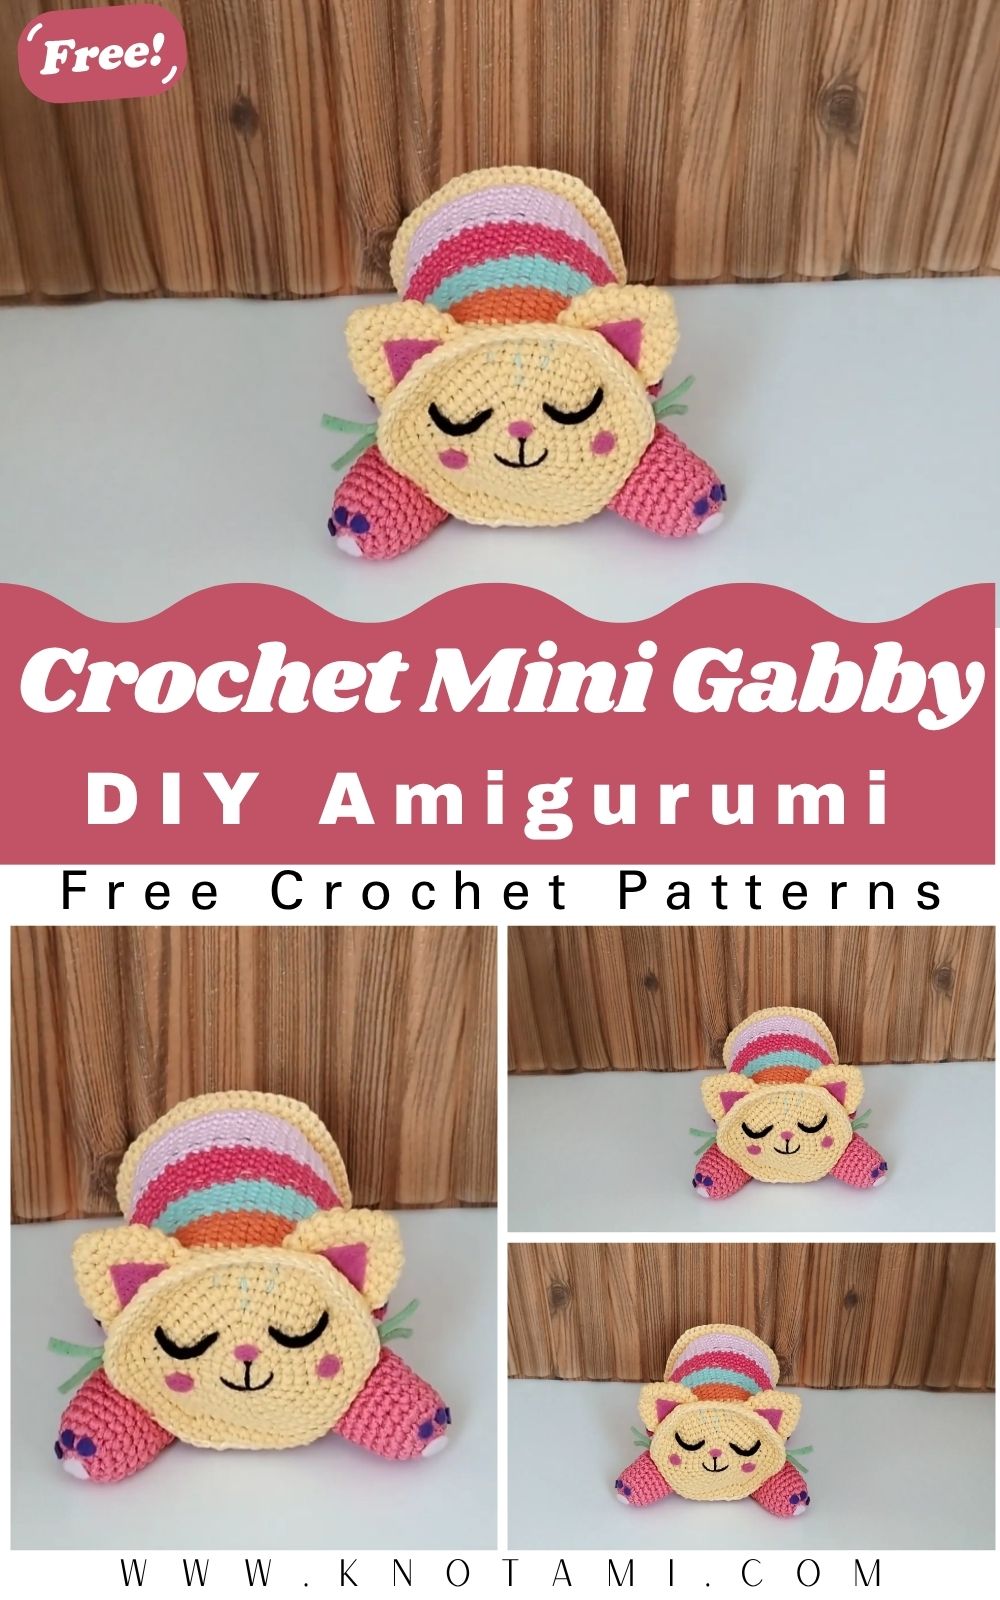
There’s something extra sweet about stitching up a tiny friend by hand. This mini Gabby features soft curves, a rounded little body, and expressive facial details that give it instant personality. It’s small enough to perch on a shelf or sit snugly in your palm, and the clean, simple shaping keeps the finished look tidy and polished.
If you’re new to character amigurumi, this pattern is a gentle place to start, with basic stitches and low-fuss construction. Seasoned crocheters will appreciate it as a relaxing, quick project for a cozy evening. Kids love it as a toy, while teens and adults enjoy it as desk decor or a thoughtful, handmade gift. It also looks adorable as part of a themed set if you’re building a collection.
Materials Needed
Before you start, gather a few basic supplies. This project uses small amounts of yarn, making it ideal for using leftovers.
-
Yarn: DK or worsted-weight yarn in the main body color and small amounts for details
-
Crochet hook: Usually 2.5–3.5 mm, depending on yarn and tension
-
Stuffing: Polyester fiberfill
-
Safety eyes: Small size, or embroidery thread for stitched facial features
-
Tapestry or yarn needle: For sewing and weaving in ends
-
Scissors
-
Stitch markers: Helpful for working in rounds
-
Optional: Buttons, ribbons, embroidery floss, small bows, or decorative accents
For character-style amigurumi, yarn choice plays a big role in the final look. Cotton yarn gives a neat, structured finish and helps details stand out clearly. Acrylic yarn feels softer and lighter, which is nice if the amigurumi will be hugged or handled often.
Color selection is where you can really personalize your Gabby. Soft pastels create a gentle, cozy feel, while brighter shades make the character playful and eye-catching. Neutral tones also work well if you prefer a minimalist style.
Level of Difficulty
The Crochet Gabby Amigurumi Pattern is beginner-friendly, especially for those who are comfortable with basic crochet stitches. The construction is straightforward, and the steps are easy to follow without advanced techniques.
The skills used include single crochet, increases, decreases, working in continuous rounds, and sewing parts together. While there are a few pieces to assemble, none of them are complicated, and everything comes together at a comfortable pace.
If you’re new to amigurumi, take your time and focus on stitch counting and even tension. This pattern is forgiving, and each step helps build confidence as you go. More experienced crocheters will likely enjoy how relaxing and smooth the process feels.
Step-by-Step Overview
Starting the Base or Body
The project usually begins with a magic ring worked in the round. This creates a tight center and prevents gaps at the start. From there, stitches are increased gradually to form a smooth, rounded base.
At this stage, it helps to pause and check that your work is even and symmetrical. If the piece curls too much, your tension might be tight; a gentle adjustment usually fixes this.
Shaping the Main Piece
Once the base is established, the body grows upward with several rounds worked evenly. This builds the main structure and gives the amigurumi its soft, rounded shape. Later, decreases help shape the top neatly.
Stuff the body gradually as you go. Adding small amounts of stuffing and shaping it with your fingers keeps everything smooth. If your piece curves slightly, that is normal; you can adjust the shaping with gentle stretching and careful stuffing.
Making Additional Parts
Additional parts like arms, ears, or other small details are typically worked separately. These pieces are small and quick to make, often using just a few stitches.
Before sewing them on, place each piece on the body to check alignment. At this stage, it helps to pause and check that both sides look even before attaching them permanently.
Assembling and Joining
Assembly is where the character really comes together. Use a yarn needle to sew pieces slowly and securely. Taking your time here ensures everything stays balanced and neat.
Pins or stitch markers can help hold pieces in place while you sew, especially if you’re aiming for perfect symmetry.
Adding Details and Finishing Touches
Facial features and decorative details give Gabby its personality. Whether you use safety eyes or embroidery, placement matters more than speed.
Once all parts are attached, weave in ends securely and gently shape the amigurumi with your hands for a finished look.
Special Features of This Pattern
This pattern stands out for its friendly design and flexibility.
-
Clear, easy-to-follow construction
-
Simple shaping with minimal complicated steps
-
Small size, perfect for quick projects
-
Character-style design with lots of personality
-
Easy to customize with colors and details
It’s an excellent pattern for anyone who enjoys cute, character-based amigurumi without complex techniques.
Tips for Best Results
A few practical tips can help your finished Gabby look polished and professional:
-
Use a slightly smaller hook for tighter stitches
-
Keep tension consistent throughout the project
-
Count stitches carefully in every round
-
Use stitch markers to track your progress
-
Stuff gradually to avoid lumps
-
Shape the piece gently as you stuff
-
Check the placement of parts before sewing firmly
-
Secure all ends tightly
-
Take breaks to avoid hand fatigue
These small habits make a big difference, especially with detailed amigurumi.
How to Use or Gift Your Crochet Gabby Amigurumi Pattern
Once finished, this mini Gabby amigurumi is incredibly versatile. It works as a small toy, a decorative shelf piece, or a cheerful desk buddy. Its compact size also makes it easy to display in a dollhouse-style setup or themed crochet collection.
For gifts, it’s perfect for birthdays, holidays, baby showers, or anyone who loves cute handmade items. Present it in a small gift box or bag with a handwritten tag to make it extra special.
You can also create matching pieces in different colors to build a full set or collection.
Customization Ideas
This pattern is very easy to personalize. Changing colors alone can give each Gabby a completely different personality. Soft pastels feel cozy and calm, while bright colors feel playful and bold.
Yarn type also affects the final look. Cotton creates a crisp, structured finish, while acrylic or velvet yarn adds softness. Using thicker yarn and a larger hook will create a bigger amigurumi, while thinner yarn makes it extra miniature.
You can add small bows, embroidered details, buttons, or appliqués to make each piece unique. Even subtle changes can give your amigurumi a brand-new character.
Conclusion
The Crochet Gabby Amigurumi Pattern is a joyful, relaxing project that’s easy to enjoy from start to finish. It’s beginner-friendly, creative, and full of charm, making it a wonderful choice for crocheters of all skill levels.