

The small magic in every stitch
There’s a special kind of happiness that happens when yarn glides over a hook and turns into something you can hold. Crochet slows time down just enough for creativity to catch up with your hands. It’s quiet, cozy, and deeply satisfying especially when your stitches become a tiny, huggable toy with a personality all its own.
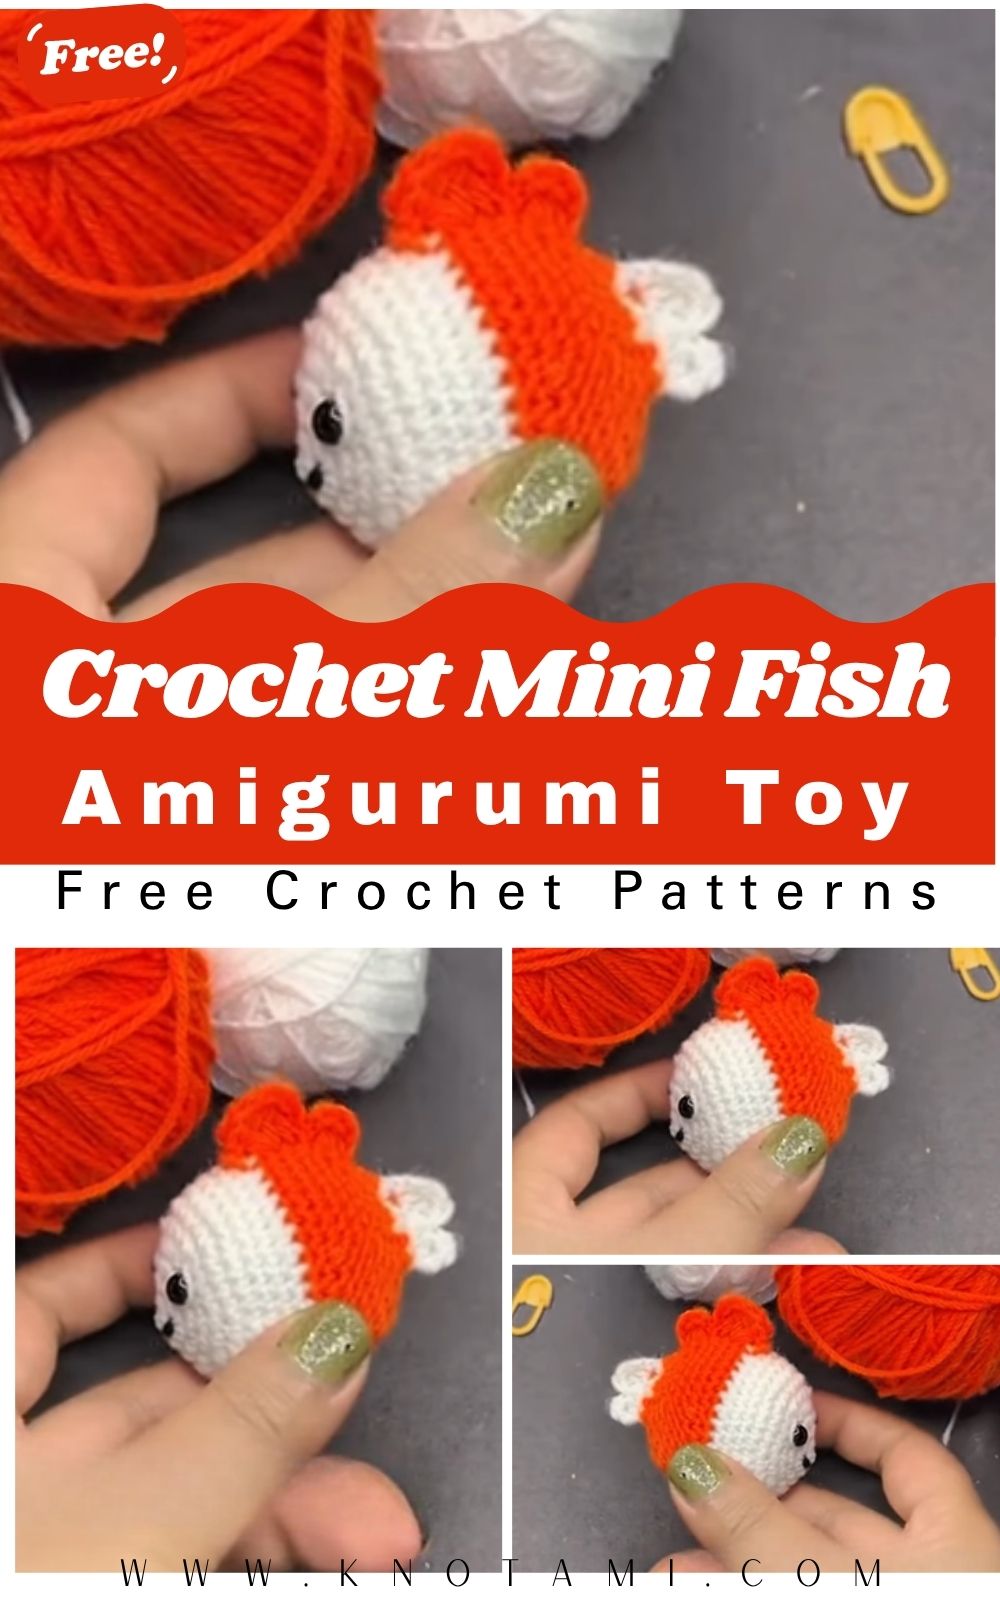
Meet the Crochet Mini Fish Amigurumi
Today’s project Crochet Mini Fish Amigurumi is everything we love about amigurumi in a bite-sized package: fast to make, adorably plump, and full of color-play possibilities. The rounded body, puckered mouth, and fluttery fins make this little fish a showstopper on a shelf, a backpack charm, or a nursery mobile. It’s the kind of make that sparks smiles immediately.
Friendly for beginners, fun for pros
This pattern balances simplicity and polish. If you’re new, you’ll practice the amigurumi essentials working in a spiral, increasing and decreasing, stuffing cleanly, and attaching parts securely. If you’re experienced, you’ll enjoy the crisp shaping, invisible decreases, mirrored fins, and easy customization (ombre stripes! metallic scales! tiny crown!).
Slow crafting, joyful gifting
The rhythm of round-by-round crochet is calming; shaping a soft little fish is the meditative kind of project that pairs perfectly with tea and a favorite playlist. And when you finish, you’ll have a handmade friend that’s delightful to gift thoughtful, sustainable, and made with love.
Materials & Tools
Yarn (choose one):
-
Worsted/Aran (#4) acrylic or cotton for a palm-sized fish (2–3 colors: main body, contrast fins, and accent stripe).
-
DK (#3) for a smaller keychain version.
-
Velvet/chenille for ultra-squishy texture (tighten gauge).
Hook:
-
3.0–3.5 mm for worsted; 2.25–3.0 mm for DK. Use the smallest size that keeps stuffing from peeking through.
Notions:
-
Safety eyes 6–8 mm (or embroider French-knot eyes for baby-safe version)
-
Polyester fiberfill (high-loft)
-
Tapestry needle (blunt tip)
-
Stitch markers (locking)
-
Scissors
-
Optional: keychain hardware, a pinch of plastic pellets in a sewn pouch to weight the belly, fabric glue for felt cheeks
Choosing yarn & colors
-
Texture: Acrylic = soft and springy; cotton = crisp definition; velvet = charmingly plump but harder to see stitches (count carefully).
-
Weight: Stay consistent across parts for matching proportions.
-
Color combos that pop:
-
Coral body + cream fins + gold stripe
-
Teal body + lemon fins + white stripe
-
Lavender body + mint fins + pearl stripe
-
Classic koi: white body with orange/black patches (surface-stitched)
-
Step-by-Step Crochet Instructions
Abbreviations: MR (magic ring), sc (single crochet), inc (increase, 2 sc in one st), dec (invisible decrease), sl st (slip stitch), ch (chain), BLO/FLO (back/front loop only).
Work in a spiral unless noted. Move your marker each round. Stitch counts are in ( ) at end of rounds. Adjust hook or yarn to scale your fish.
1) Making the Head (rounded snout + eye line)
With body color:
-
MR, 6 sc (6)
-
inc around (12)
-
(sc, inc) ×6 (18)
-
(2 sc, inc) ×6 (24)
-
(3 sc, inc) ×6 (30)
6–8. sc around (30) build a smooth dome. -
(4 sc, inc) ×6 (36)
Eye placement: Insert safety eyes between Rounds 7–8 about 7–8 stitches apart (or embroider later).
Shaping tip: Keep stuffing out of the way while you set eyes; add a gentle cheek pinch with your fingers to preview expression.
2) Forming the “Neck” and Upper Body (fish don’t have necks but this is your transition)
-
sc around (36)
-
(5 sc, inc) ×6 (42) this slight flare sets up the fish’s chubby midsection.
12–13. sc around (42)
Stuffing note: Begin light stuffing a little in the snout, more in the cheeks. Keep the very top soft so the head doesn’t look overpacked.
3) Building the Main Body (oval, slightly tapered)
-
(6 sc, inc) ×6 (48)
15–17. sc around (48) this is your widest girth; keep your tension even. -
(6 sc, dec) ×6 (42)
-
sc around (42)
-
(5 sc, dec) ×6 (36)
-
sc around (36)
-
(4 sc, dec) ×6 (30)
-
sc around (30) Begin firm stuffing through the mid-belly so the fish stays plump but bouncy.
-
(3 sc, dec) ×6 (24)
-
sc around (24)
Pro tip springy firm: Add fiberfill in small clouds, not clumps. Aim for a resilient squeeze that bounces back.
4) Shaping the Base (caudal end)
We’ll reduce to a neat tail base opening.
-
(2 sc, dec) ×6 (18)
-
sc around (18)
-
(sc, dec) ×6 (12) stuff a touch more to fill gaps.
-
dec ×6 (6) do not close if you’re joining a tail directly; otherwise, fasten off and leave a long tail for sewing the tail piece.
Two options:
-
A. Tail-on opening: Leave the 6-st opening to crochet the tail directly on the body.
-
B. Closed base + sewn tail: Close the opening; make a separate tail and sew it on.
5) Tail & Fins (make your fish flutter!)
A) Tail Fin (two styles)
Style 1: Classic fan (worked separately, sew on)
With fin color:
-
MR, 6 sc (6)
-
inc around (12)
-
(sc, inc) ×6 (18)
-
(2 sc, inc) ×6 (24)
-
BLO: sc around (24) creates a ridge line.
-
(3 sc, inc) ×6 (30)
-
sc around (30)
-
(4 sc, dec) ×5 (25) light shaping
-
sc around (25), sl st, leave a long tail.
Pinch the circle into a soft teardrop and stitch through layers at the narrow end to form a fan. Sew to the back center.
Style 2: Forked tail (joined directly, for A-option base)
Attach yarn to one of the 6 base stitches:
-
(sc, inc) around (9)
-
sc around (9)
-
ch 1, turn, increase each st (18)
-
Split into two lobes: work 9 sc; new yarn for second lobe 9 sc.
-
Each lobe: (sc, inc) ×4 + sc (13), then a row of sc, fasten off.
Sculpt lobes by sewing inner edges slightly together for a forked look.
B) Pectoral Fins (make 2, tiny ovals)
With fin color:
-
MR, 6 sc (6)
-
(sc, inc) ×3 (9)
-
sc around (9), sl st, leave tail.
Flatten to an oval; sew one on each side around Round 15–17 of the body.
C) Dorsal Fin (top)
-
MR, 5 sc (5)
-
(inc, sc) repeat to 7 (7)
3–4. sc around (7), sl st, leave tail.
Sew centered on top between Rounds 12–14.
D) Pelvic/Anal Fin (bottom, optional)
-
Mini triangle: ch 5, sc in 2nd ch, sc, hdc, dc; fasten off.
-
Stitch just behind the belly midpoint for balance.
6) Mouth & Details
-
Puckered mouth: Surface stitch a tiny sideways C with body or contrast yarn at Round 5–6 center.
-
Gills: Two short, parallel surface slip stitches with a darker tone behind the eye line.
-
Cheeks: Small felt circles or embroidered blush.
7) Assembly & Positioning
-
Pin parts first: dorsal fin centered, pectorals mirrored, tail straight in line with the belly seam.
-
Sew with tiny whip stitches, catching just the outer loops to avoid bulky seams.
-
Balance check: Set the fish on your palm; if it tips, adjust stuffing by massaging or add a pinch behind the lower belly.
Customization Ideas
-
Color schemes:
-
Tropical clownfish: tangerine body, white stripes, black edges (surface stitch the stripes).
-
Betta fantasy: gradient body, oversized flowing tail in matching ombré.
-
Pastel candy: cotton candy blue + pink fins + white cheeks.
-
Galaxy koi: navy body with silver speckles and pale fins.
-
-
Yarn adventures:
-
Cotton: crisp details, great for stripes.
-
Acrylic: soft and squishy, kid-friendly.
-
Velvet: plush “marshmallow” fish; go up one hook size if stitches feel tight.
-
Metallic thread held with main yarn: subtle shimmer for scales.
-
-
Themes & add-ons:
-
Holiday: red-green fins, tiny Santa hat.
-
Fairy fish: pastel body, transparent organza tail (sewn edge).
-
Keychain edition: DK yarn, 2.25–2.75 mm hook; add a jump ring through the dorsal fin base.
-
Micro props: mini starfish, seashell, or life ring (simple rings in white/red).
-
Advanced Tips & Troubleshooting
-
Invisible decreases (for a flawless body): Work through front loops only of the next two stitches, yarn over, pull through both front loops, yarn over, pull through 2. Decrease melts into the fabric.
-
Even tension: Guide yarn with your non-hook hand; keep the distance from yarn to hook consistent. If you see laddering between rounds, relax your grip slightly.
-
Untwisted spirals: After Round 2, flatten your work to ensure a true disc if it bowls, your tension is tight; if it ruffles, it’s loose or you’ve over-increased.
-
Stuffing strategy: Add in layers as the body grows. Over-stuffing all at once creates bumps and distorts the eye line.
-
Color changes without jogs: Change color on the last yarn-over of the stitch before the new color. For stripes, use a standing stitch at the change point on the back.
-
Seamless joins on fins: Use a ladder/mattress stitch, catching only the back bars of the fin edge so the seam disappears.
-
Symmetry check: Count stitches between fin placements and mark before sewing. Photograph from front and top it’s easier to spot unevenness.
-
Fixing uneven shapes: Pinch and massage. You can remove a tiny bit of stuffing with tweezers or add a pinch through the base before fully closing.
-
Reading abbreviations: Make a mini legend card nearby MR, sc, inc, dec, sl st, BLO/FLO and tick off rounds as you go.
-
Baby-safe option: Swap safety eyes for embroidered French knots (wrap the needle 3–4 times for a round dot); weave tails deeply.
Care Instructions
-
Gentle hand wash in lukewarm water with a mild detergent.
-
Rinse well and press in a towel never wring or twist.
-
Air dry flat; reshape fins and tail while damp.
-
Keep out of direct sunlight to prevent fading, especially for neon or dark shades.
-
Store safely in a breathable cotton bag or on an open shelf. Avoid sealed plastic in humid climates to prevent mustiness.
-
Quick repairs: If a fin edge loosens, thread matching yarn and backstitch a few times; fluff stuffing by rolling the toy between your palms.
Display & Gift Ideas
-
Coastal shelf décor: Cluster a few fish in complementary colors in a glass cloche or on a rattan tray.
-
Kid’s room accessory: Hang three mini fish from driftwood to make a mobile.
-
Desk companion: A single pastel fish perched on a pen cup brings a cheerful, oceany vibe.
-
Holiday ornament: Scale down with DK yarn, add a hanging loop at the dorsal fin, and sprinkle a touch of shimmer.
-
Personalized gift: Stitch initials on the belly stripe or add a tiny crown for a birthday fish.
-
Party favors: Make a school of mini fish in theme colors; tie to favor bags with baker’s twine.
Benefits of Making a Crochet Mini Fish Amigurumi
-
Relaxation & mindfulness: Repetitive, gentle motions settle the mind and ease stress.
-
Creative expression: Colors, stripes, and fin shapes are a canvas for your style.
-
Feel-good accomplishment: A quick win project finish in an evening and enjoy the happy boost.
-
Eco-friendly gifting: Handmade beats mass-produced trinkets less waste, more meaning.
-
Emotional connection: A soft toy crafted by you becomes a keepsake full of warmth and memory.
Photography & Social Media Tips
-
Natural daylight: Shoot near a bright window; avoid harsh midday sun. Morning or late afternoon gives soft shadows.
-
Soft backgrounds: Use neutral poster board, a linen tea towel, or a knit throw. Ocean-themed props (seashells, glass pebbles) tell a story without stealing focus.
-
Angles & close-ups: Capture front, side, and 45° angles; zoom in on fins, eyes, and the tail fork to show texture.
-
Consistent styling: Keep your color palette cohesive across posts (pastels, coastal blues, or bold brights).
-
Light editing: Slightly raise exposure and sharpness; keep yarn colors true.
-
Behind-the-scenes: Share short clips of stuffing, fin attachment, or surface stripes process posts get great engagement.
Conclusion
Turning yarn into a tiny swimming friend is the kind of joy that never gets old. The DIY Crochet Mini Fish Amigurumi is quick to make, soothing to stitch, and endlessly customizable from bold tropical stripes to dreamy pastels and glittery tails. Round by round, you’ll feel that lovely mix of focus and calm; stitch by stitch, a personality arrives in your hands.
Whether you gift it, display it, or clip it to your bag, this little fish carries the warmth of handmade care. So pick your palette, cue your favorite playlist, and dive in. In just a few peaceful hours, you’ll have a plump, happy fish that makes any space (or someone’s day) a little brighter. Happy hooking!