
The Magic of Creating with Yarn
There’s something truly enchanting about taking a ball of yarn and turning it into a tiny creature with character and life. Crochet isn’t just a craft it’s a quiet conversation between your hands and your imagination. Every stitch brings a soft form to life, loop by loop, until you hold something entirely your own. That’s the beauty of handmade art it’s tactile, heartwarming, and endlessly expressive.
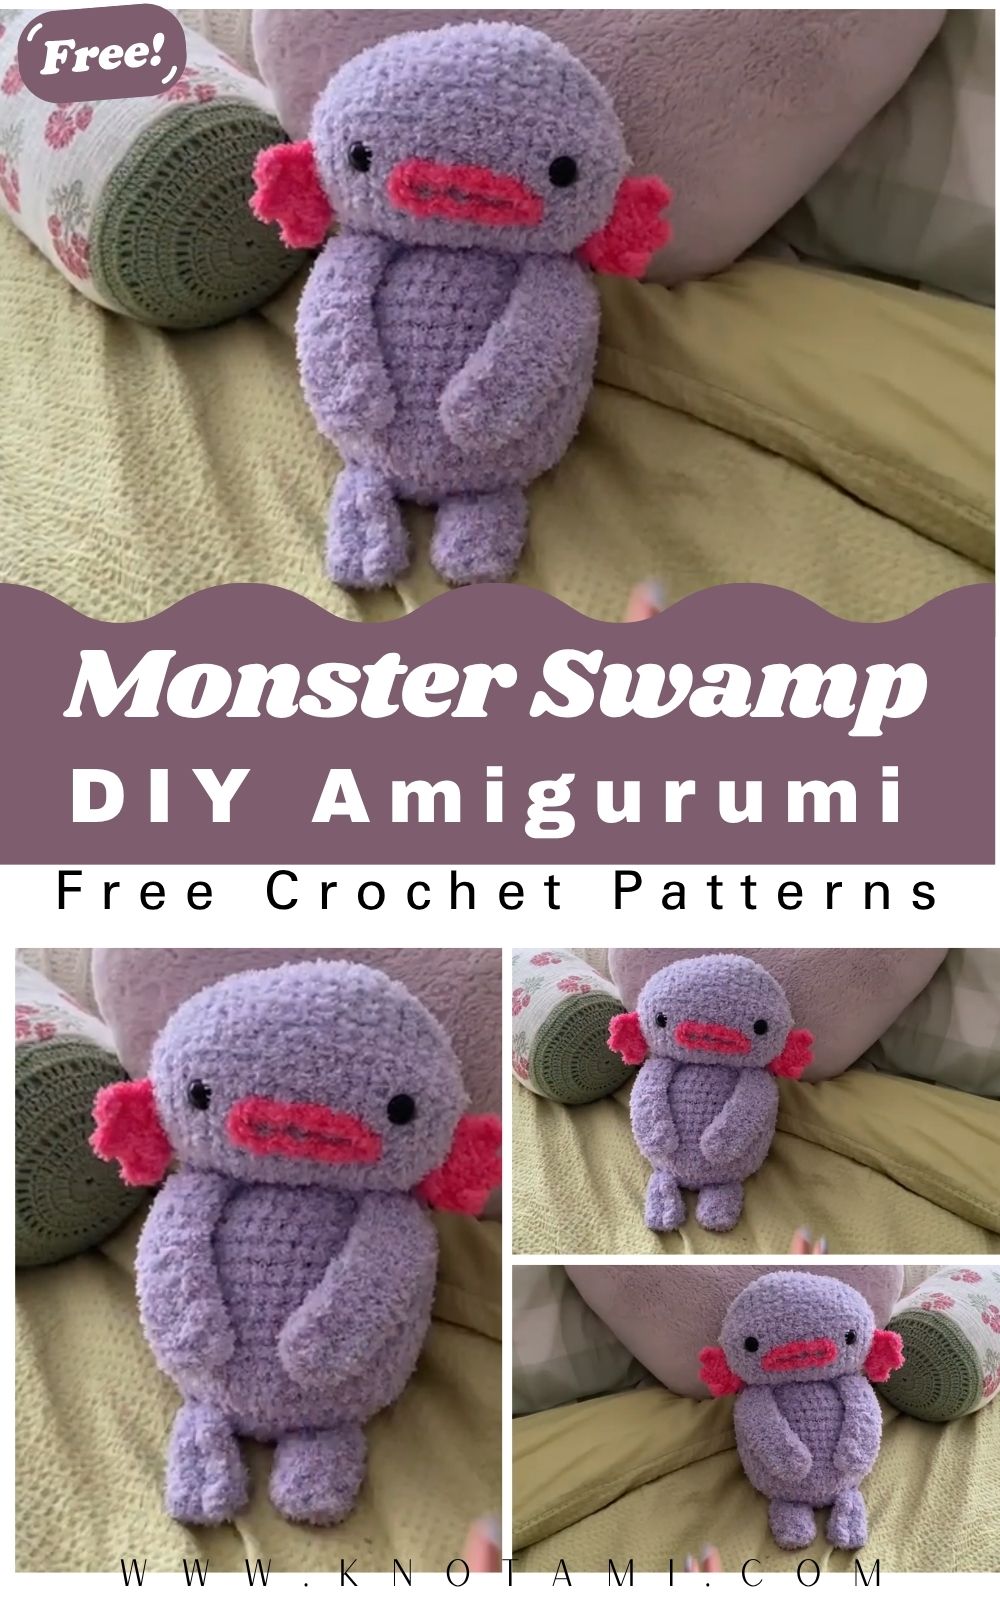
Meet the Crochet Mini Monster Swamp
If you’ve been craving a fun, slightly spooky, and totally adorable crochet project, the DIY Crochet Mini Monster Swamp Amigurumi is exactly what you need. Imagine a chubby little creature rising from a mystical swamp with googly eyes, stubby arms, and a mischievous grin that’s impossible not to love. It’s a playful mix of cute and creepy, perfect for fans of Halloween, fantasy creatures, or whimsical desk décor.
Perfect for All Skill Levels
Whether you’re new to amigurumi or a seasoned crocheter, this mini monster offers the best of both worlds simplicity in structure and freedom in design. Beginners will find the steps easy to follow, while advanced crafters can experiment with creative colorwork, textured yarn, or accessories like moss, bugs, or tiny fangs!
The Calm of Crafting Monsters
Crocheting this little swamp dweller is surprisingly relaxing. The rhythmic repetition of stitches, the gentle squish of yarn between your fingers, and the anticipation of watching your monster take shape make this a mindful crafting experience. And when you’re done, you’ll have a handmade creature that’s equal parts adorable and haunting a perfect handmade gift, desk mascot, or collectible amigurumi friend.
Materials & Tools
Gather your supplies before diving into the swamp!
Materials List
-
Yarn: Medium-weight acrylic or cotton yarn (#4 worsted)
-
Main Color: Swamp green, olive, or mossy gray
-
Accent Colors: Black (mouth/eyes), beige or tan (belly/teeth), optional slime green or blue for accessories
-
-
Crochet Hook: 3.0 mm – 3.5 mm (E/4) for tight amigurumi stitches
-
Stuffing: Polyester fiberfill or cotton stuffing for a plump body
-
Safety Eyes: 10–12 mm for bold expression (or embroider for a safer option)
-
Tapestry Needle: For sewing parts together
-
Scissors: Small, sharp pair for neat trimming
-
Stitch Markers: To keep track of rounds
-
Optional: Felt, embroidery thread, or glue for extra facial details
Choosing Yarn & Color Combinations
For a true “swamp monster” vibe, choose earthy or muted tones: sage green, murky teal, brown, or gray. For a fun twist, use neon yarn for glowing effects or variegated yarn for a textured, mossy appearance. Cotton yarn gives a clean, structured look, while acrylic adds a bit more stretch and squish. Want extra spook? Use fuzzy or eyelash yarn to give your monster a wild, swampy hair texture!
Step-by-Step Crochet Instructions
Let’s bring your Mini Monster Swamp to life one round at a time.
Stitch Key:
MR (magic ring), sc (single crochet), inc (increase – 2 sc in same stitch), dec (decrease), sl st (slip stitch), ch (chain), BLO/FLO (back/front loop only).
Work continuously in the round unless stated.
1. Making the Head
-
Start with Main Color (Green or Gray):
-
Round 1: MR, 6 sc (6)
-
Round 2: inc in each st (12)
-
Round 3: (sc, inc) ×6 (18)
-
Round 4: (2 sc, inc) ×6 (24)
-
Round 5: (3 sc, inc) ×6 (30)
-
Round 6–10: sc around (30)
-
-
Insert safety eyes between Rounds 6–7, spaced about 6 stitches apart.
-
Add light stuffing to form a round shape.
Pro Tip: For a more bug-eyed monster, use oversized safety eyes or attach them slightly higher on the head.
-
Round 11: (3 sc, dec) ×6 (24)
-
Round 12: (2 sc, dec) ×6 (18)
-
Stuff firmly; shape the head slightly oval.
-
Round 13: (sc, dec) ×6 (12)
-
Round 14: dec ×6 (6), close and fasten off.
2. Forming the Neck & Upper Body
The Mini Monster’s head blends into its body with just a slight curve.
-
Attach yarn to the bottom of the head.
-
Round 1: Work 12 sc evenly around the base. (12)
-
Round 2: (sc, inc) ×6 (18)
-
Round 3: (2 sc, inc) ×6 (24)
-
Rounds 4–5: sc around (24)
Lightly stuff the neck not too firm, as the monster’s head should remain squishy and bouncy!
3. Building the Main Body
-
Round 6: (3 sc, inc) ×6 (30)
-
Rounds 7–10: sc around (30)
-
Round 11: (3 sc, dec) ×6 (24)
-
Round 12: sc around (24)
-
Round 13: (2 sc, dec) ×6 (18)
-
Round 14: sc around (18)
-
Round 15: (sc, dec) ×6 (12)
-
Stuff firmly before closing the base.
-
Round 16: dec ×6 (6), sl st, and fasten off.
4. Attaching the Base
Flatten the bottom slightly and sew or crochet a base circle to help your monster stand.
Base Circle (optional):
-
MR, 6 sc (6)
-
inc around (12)
-
(sc, inc) ×6 (18)
-
(2 sc, inc) ×6 (24)
-
Sew or whipstitch to the bottom of the body.
This gives your monster a stable base and helps it stand upright like a proud swamp guardian!
5. Creating the Arms, Legs, and Tail
Arms (make 2)
-
MR, 6 sc (6)
-
(sc, inc) ×3 (9)
3–6. sc around (9) -
Stuff lightly, flatten, and sew to the sides of the body.
Legs (make 2)
-
MR, 6 sc (6)
-
(sc, inc) ×3 (9)
-
(2 sc, inc) ×3 (12)
-
Rounds 4–6: sc around (12)
-
Flatten and sew symmetrically to the bottom sides.
Tail (optional – for an aquatic touch)
-
ch 10, sc in 2nd ch from hook, then hdc, dc, dc, hdc, sc, sl st this makes a curved fin.
-
Sew it to the back base of your monster.
6. Assembly & Positioning
-
Placement: Start with the arms near the upper belly and legs lower down, spaced evenly.
-
Ears or Horns: Create two tiny cones MR, 4 sc, (sc, inc) ×2 (6), sc a few rounds, then attach to the head.
-
Eyes & Expression: For personality, add an eyebrow ridge or small eyelids.
-
Balance Check: Before tightening all seams, set your monster on a flat surface and adjust for even balance.
Expert Tip: If your monster leans, add a bit more stuffing to the opposite side or sew a small washer into the base for stability.
7. Adding Final Touches & Accessories
Now for the fun part details!
-
Mouth: Stitch a curved smile or use black felt for a jagged monster grin.
-
Teeth: Cut small white felt triangles and glue them inside the mouth.
-
Belly Patch: Crochet a small oval (cream or tan) and sew it to the front.
-
Spikes: Make chains of 6–8 stitches, sl st back for a simple ridge and attach along the spine.
-
Slime Effect: Add green embroidery thread streaks or sew a few French knots for swamp bubbles.
Your monster should look cute yet quirky think swampy, not scary!
Customization Ideas
Make your Mini Monster Swamp uniquely yours with these creative twists:
-
Color Variations:
-
Classic Swamp Monster: Olive green + dark brown accents
-
Alien Edition: Neon green + purple horns
-
Ice Monster: Pale blue + white belly patch
-
Rainbow Creature: Variegated yarn for a psychedelic look
-
-
Yarn Types:
-
Cotton: Clean stitches, modern look
-
Acrylic: Soft and easy to shape
-
Fuzzy Yarn: Adds hair or moss texture great for swampy vibes
-
-
Add-ons & Themes:
-
Tiny scarf or cape for a “hero monster”
-
Party hat or crown for a birthday edition
-
Mini fly or bug made from felt as a funny sidekick
-
Halloween special: black-and-orange stripes, little pumpkin accessory
-
Advanced Tips & Troubleshooting
-
Invisible Decrease: Work through the front loops only of two stitches, pull through, then complete one sc seamless and smooth.
-
Consistent Tension: Relax your grip and keep yarn flow even. Stitches that are too tight make shaping difficult.
-
Avoid Twists: Ensure your foundation rounds are flat twists cause uneven stuffing.
-
Stuffing Control: Use tweezers for tight spaces; small tufts of stuffing prevent lumps.
-
Joining Parts: Whip stitch for firm joins; ladder stitch for invisible seams.
-
Pattern Reading: Always note whether you’re in continuous rounds or joined rounds it affects symmetry.
-
Shape Correction: Massage the stuffed piece gently the fibers inside adjust with pressure.
-
Fin Placement: Pin before sewing; step back to check symmetry.
-
Safety Eyes Tip: Always lock eyes before closing the head reopening stuffed pieces can distort shape.
-
Finishing Touch: Steam lightly to relax the yarn surface (avoid plastic eyes).
Care Instructions
Keep your swamp buddy clean and cuddly for years:
-
Hand Wash Only: Use lukewarm water and mild soap.
-
Rinse Gently: Avoid wringing squeeze softly to remove excess water.
-
Air Dry Flat: Shape arms and fins while drying.
-
Avoid Direct Sunlight: Prevents fading of darker greens or neon shades.
-
Storage: Keep in a breathable bag; avoid sealed plastic in humid areas.
-
For Gifting: Wrap in tissue and place inside a small kraft box it adds a handmade, personal touch.
Display & Gift Ideas
Your Mini Monster Swamp deserves the spotlight! Here are some fun ways to show it off or gift it:
-
Home Décor: Place it on a bookshelf or plant shelf as a quirky accent.
-
Kid’s Room Friend: Perfect as a nightstand guardian or storytelling prop.
-
Office Desk Companion: Brings charm and personality to your workspace.
-
Holiday Ornament: Add a loop of yarn and hang it from a Halloween tree or wreath.
-
Gift Idea: Pair it with a “Monster Adoption Certificate” for a handmade, personalized gift.
Benefits of Making Crochet Mini Monster Swamp
-
Relaxation & Mindfulness: Crocheting in repetitive rounds is meditative the perfect antidote to busy days.
-
Stress Relief: Watching your monster take shape stitch-by-stitch replaces tension with satisfaction.
-
Sustainable Crafting: Handmade gifts reduce waste and promote meaningful gifting.
-
Sense of Accomplishment: Finishing a project, no matter how small, boosts confidence and creativity.
-
Connection & Joy: Every handmade toy carries your energy and care it’s an emotional gift, not just an object.
Photography & Social Media Tips
Make your monster Insta-ready!
-
Natural Light: Photograph near a window with soft daylight for true color.
-
Backdrop Ideas: Neutral backgrounds (wood, linen, or grass) make your monster pop.
-
Add Props: Use small leaves, moss, or tiny jars to create a swamp scene.
-
Angles: Capture front, side, and close-up shots of details like horns or spikes.
-
Editing: Keep brightness natural; enhance texture slightly for clarity.
Conclusion
The DIY Crochet Mini Monster Swamp Amigurumi is more than just a fun craft it’s a burst of creativity, imagination, and relaxation rolled into one project. Whether you make it spooky, silly, or adorable, your handmade monster will carry your personality in every stitch.
So grab your hook, pick your swampy hues, and dive into this magical little project. Within a few hours, you’ll have a chubby, cheerful monster who’s ready to guard your yarn stash or sit proudly on your shelf. Handmade art doesn’t just fill your hands it fills your heart.