
Crochet has a quiet kind of magic to it. With just a hook, some yarn, and a little imagination, you’re able to transform a soft skein into a delightful creature full of charm and love. Crocheting allows us to escape the hustle of everyday life, slow down, and focus on creating something tangible, meaningful, and made with care.
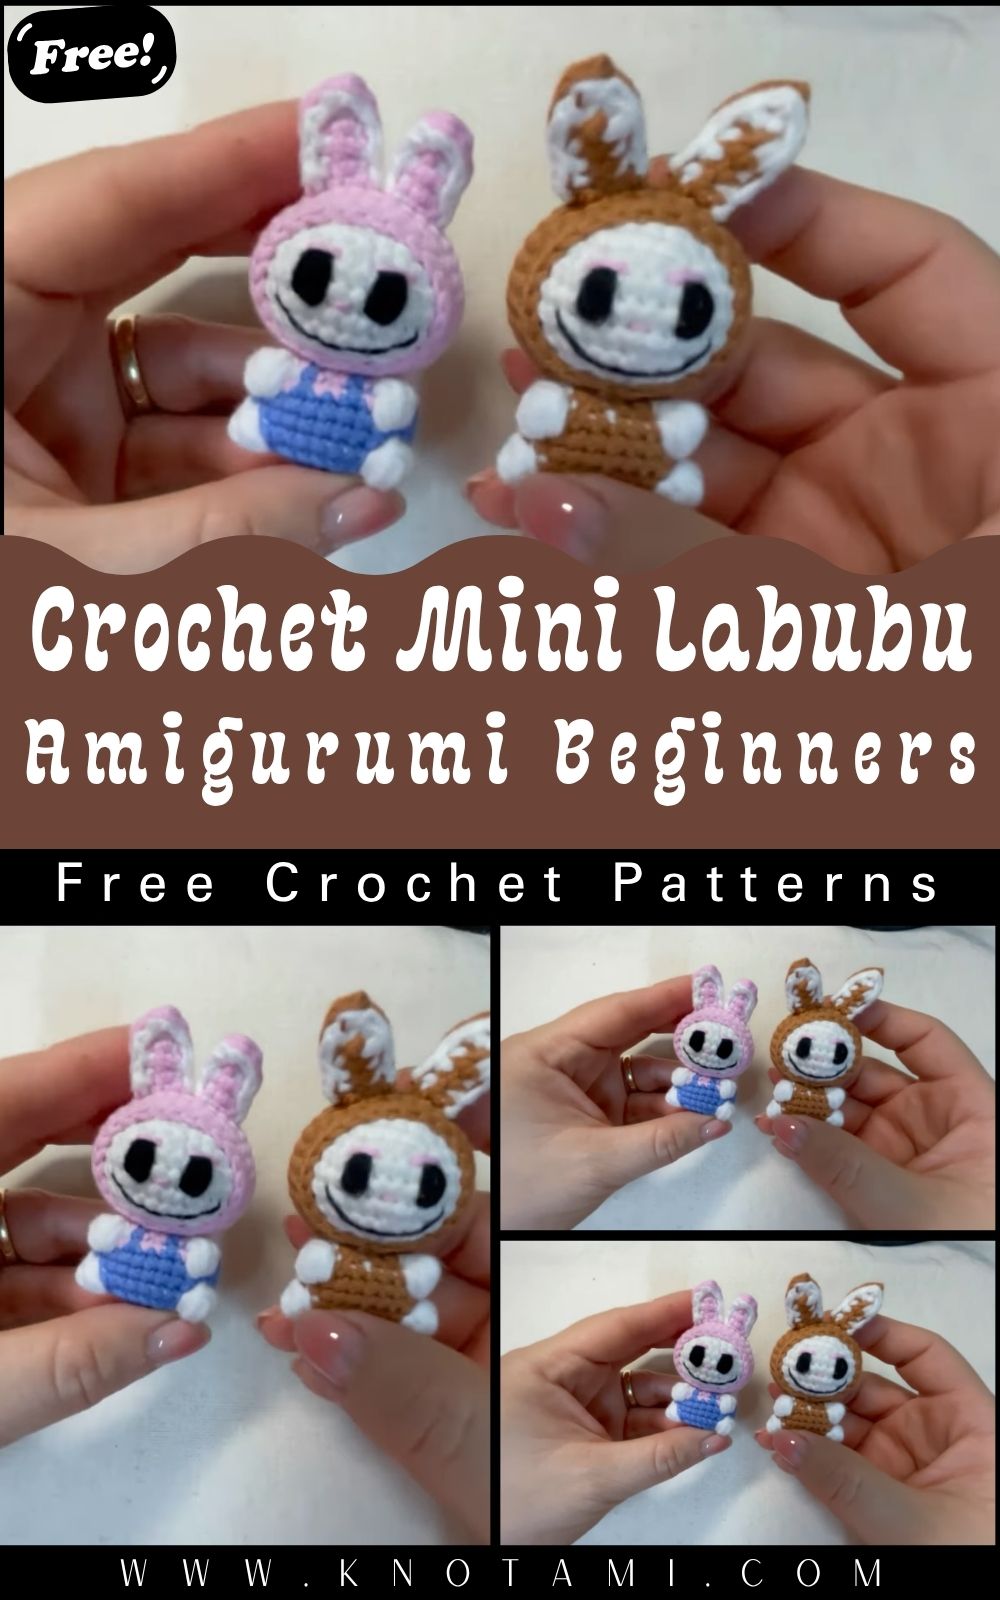
Today’s project is all about that magic, the Crochet Mini Labubu Amigurumi. Based on a popular fantasy creature design, this adorable plushie is cute, quirky, and full of personality. Whether you’re a collector of mythical crochet creatures or simply want to create something that will spark joy, this Mini Labubu is guaranteed to put a smile on your face.
Materials & Tools
Before we begin gather the following supplies to make your Crochet Mini Labubu:
Yarn:
-
Yarn weight: Fine 2 or Light 3
-
Yarn type: Acrylic or Cotton (soft plush yarn is great for a furry effect)
-
Main color: Pale pink or pastel purple (common Labubu shades)
-
Accent color: White for face, black for nose/mouth details
Crochet Hook:
-
Hook size: 2.0mm–2.5mm (for tighter stitches)
Other Tools & Accessories:
-
6mm–8mm Safety eyes (or embroidered eyes)
-
Polyester fiberfill stuffing
-
Stitch markers
-
Tapestry needle
-
Scissors
-
Optional: Black embroidery thread for fine details
Yarn Advice:
To make your Labubu extra cuddly and plush, choose a soft-textured acrylic yarn or a velvet yarn for a fluffy finish. Make sure the yarn weight matches your hook for consistent stitch tension.
4. Step-by-Step Crochet Instructions
Let’s start crocheting your Mini Labubu Amigurumi! Follow each step carefully, and remember to use stitch markers for tracking rounds especially when working in continuous spirals.
1. Crochet the Head
The head forms the largest part of the Mini Labubu and sets the overall shape.
-
Start with a magic ring and work single crochets in continuous rounds.
-
Increase evenly to form a smooth sphere.
-
After reaching the midsection, start decreasing to shape the chin.
-
Insert safety eyes between rounds before finishing.
-
Stuff firmly but gently to hold shape and avoid lumps.
Tip: Use invisible decreases for a seamless finish.
2. Form the Neck & Upper Body
Once the head is complete, continue crocheting straight down to form the neck, then increase for the upper torso.
-
Maintain stitch count for 2–3 rounds for a slim neck.
-
Increase to widen into the upper body.
-
Add small details such as color changes or markings as desired.
3. Build the Main Body
The body tapers slightly at the waist and expands towards the base to give your Labubu a cute, round figure.
-
Use evenly spaced increases and decreases.
-
Leave a long tail for closing the bottom after stuffing.
-
Stuff firmly but not too tightly you want the piece to feel soft and squeezable.
4. Attach the Legs
Crochet two short legs:
-
Begin with a magic ring.
-
Crochet in rounds until reaching appropriate length.
-
Stuff legs lightly and attach symmetrically near the base of the body.
Tip: Position legs carefully so that the Mini Labubu stands upright or sits stably.
5. Create the Arms & Ears
-
For arms, use same steps as legs but make slightly shorter.
-
For ears, crochet simple long ovals or pointed shapes.
-
Attach ears with slight curve outward to mimic Labubu’s signature look.
6. Final Assembly
Time to bring your creature to life!
-
Sew arms onto the upper sides of the body.
-
Attach legs symmetrically.
-
Stitch or glue on nose, mouth, and optional decorative features.
-
Weave in all ends securely.
7. Add Final Touches & Accessories
You can go the extra mile with:
-
Embroidering teeth, markings, or spots
-
Adding tiny hats or small props
-
Using blush markers for cheek highlights
5. Customization Ideas
One of the best parts of making amigurumi is in the personalization. Try these fun ideas:
-
Color Variations: Neon green Labubu for bold styling, pastel blue for soft tones.
-
Holiday-Themed Labubu: Santa hat version, Halloween pumpkin Labubu.
-
Mixed Yarn Types: Use fuzzy yarn for ears and tail while keep body smooth.
-
Add Clothing Accessories: Tiny crochet scarf, overalls, or a flower crown.
6. Advanced Tips & Troubleshooting
Here are expert tips to keep your work smooth and professional:
-
Use invisible decreases for cleaner shaping.
-
Keep consistent tension for uniform stitch size.
-
Avoid spiraling slant by marking the first stitch in each round.
-
Fix loose stitches by gently pulling excess yarn from inside.
-
Stuff incrementally to avoid distortions.
-
Join parts with a whip stitch and matching yarn for seamless attachments.
-
Read abbreviations carefully: sc (single crochet), inc (increase), dec (decrease), etc.
-
Practice color changes smoothly using the “yarn-over” finishing method.
7. Care Instructions
To keep your Mini Labubu in perfect shape:
-
Hand wash gently with lukewarm water and mild detergent.
-
Squeeze excess water with a towel do NOT wring.
-
Air dry flat in shade.
-
Store in a dust-free, cool location to avoid fading or pilling.
8. Display & Gift Ideas
Your Mini Labubu Amigurumi makes a wonderful:
-
Desk companion for creative inspiration
-
Bag charm or keychain
-
Kid’s toy for imaginative play
-
Handy gift for crochet lovers, fans of collectible creatures, or birthdays
-
Adorable decoration for bedrooms, craft shelves, or office nooks
9. Benefits of Crocheting Your Mini Labubu
Crafting your own Mini Labubu Amigurumi offers:
-
Relaxation: Slow stitching helps calm the mind.
-
Mindfulness: Increases focus and reduces stress.
-
Creativity: Every detail reflects your unique style.
-
Eco-friendly Gifting: Handmade gifts reduce waste and carry personal value.
-
Emotional Joy: Knowing you created something from just yarn and your hands.
10. Photography & Social Media Tips
Want to share your finished Mini Labubu online? These tips will help:
-
Use soft natural light near a window.
-
Add props like yarn skeins or flowers for background interest.
-
Use plain colored fabric or paper as your backdrop.
-
Do close-up shots to show texture details and facial expression.
11. Project Summary Table
| Category | Details |
|---|---|
| Skill Level | Beginner–Intermediate |
| Estimated Time | 4–6 hours |
| Finished Size | 10–12 cm (depending on yarn) |
| Estimated Cost | $8–12 |
12. Conclusion
The joy of holding something in your hands that you made from scratch is unmatched especially when it’s as cute and charming as this Crochet Mini Labubu. Whether you’re making one for yourself or gifting it to someone special, this little creature carries the heart of handmade love and creativity in every stitch.
So go ahead pick up your hook choose your yarn colors, and enjoy the soothing, magical process of crocheting your very own Mini Labubu. The world could always use a little more handmade happiness, and this project might just be the perfect place to start.
Happy crocheting!